Saturday, 5 January 2013

Sixth year anniversary

From a blogging perspective, 2012 was a disasterous year.  I barely averaged 3 posts a month and I seriously loss interest for weeks on end.  I'm still not entirely sure why.  Part of it was certainly down to losing the ability to create blog posts at work as a result of new anti-abuse software (yes, I know doing this sort of thing at work is an abuse anyway, but the result was that I couldn't anymore access photos, or sometimes even my blog itself), and finding it difficult to pick things up at home in the evening.  Part of it was difficulties in finding the right space to take photos in our new house, particularly given the lack of sunshine in the UK last year (from a weather perspective, 2012 is now officially the most dismal, wet, grey and generally depressing year in over 100 years). Blogger and Photobucket, with their endless tinkering, were a further problem; even now, I till find it difficult to post comments on some blogs - I write the comment, analyse and type the "prove you're not a robot" thing and then the comment just vanishes.  Finally, there was simply wavering interest: 6 years is a long time to run a blog and there were times when other things just seemed more important.  I'm very grateful for the readers who've continued to follow, and comment on, this blog despite it going awol for long periods.  I really appreciate the support.

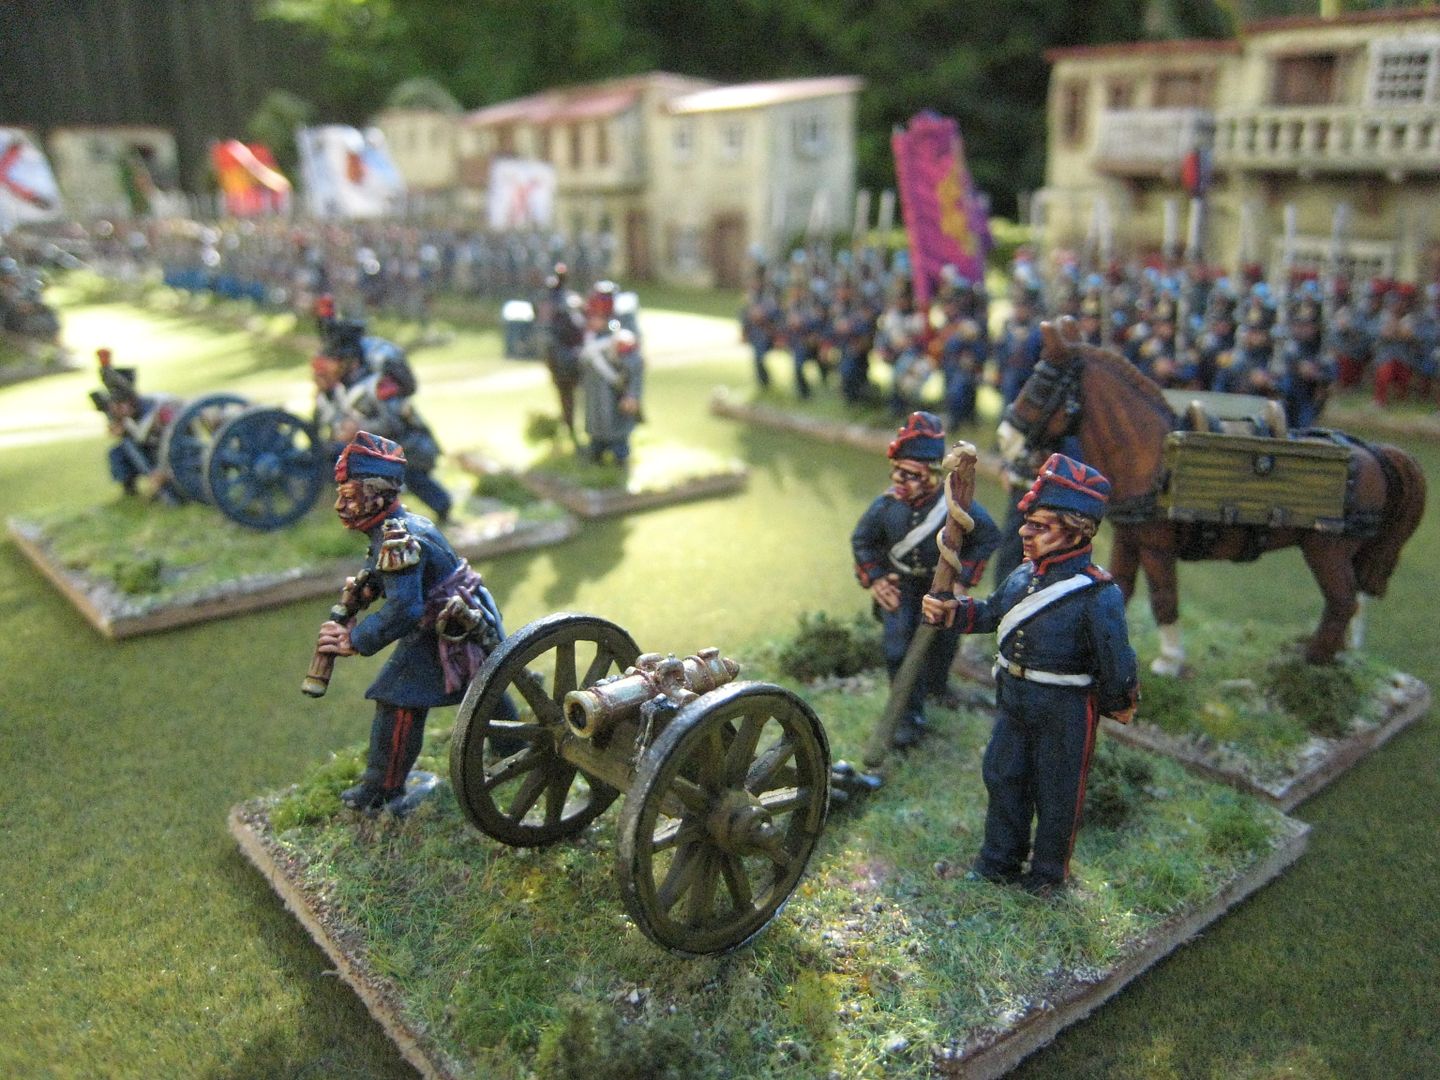
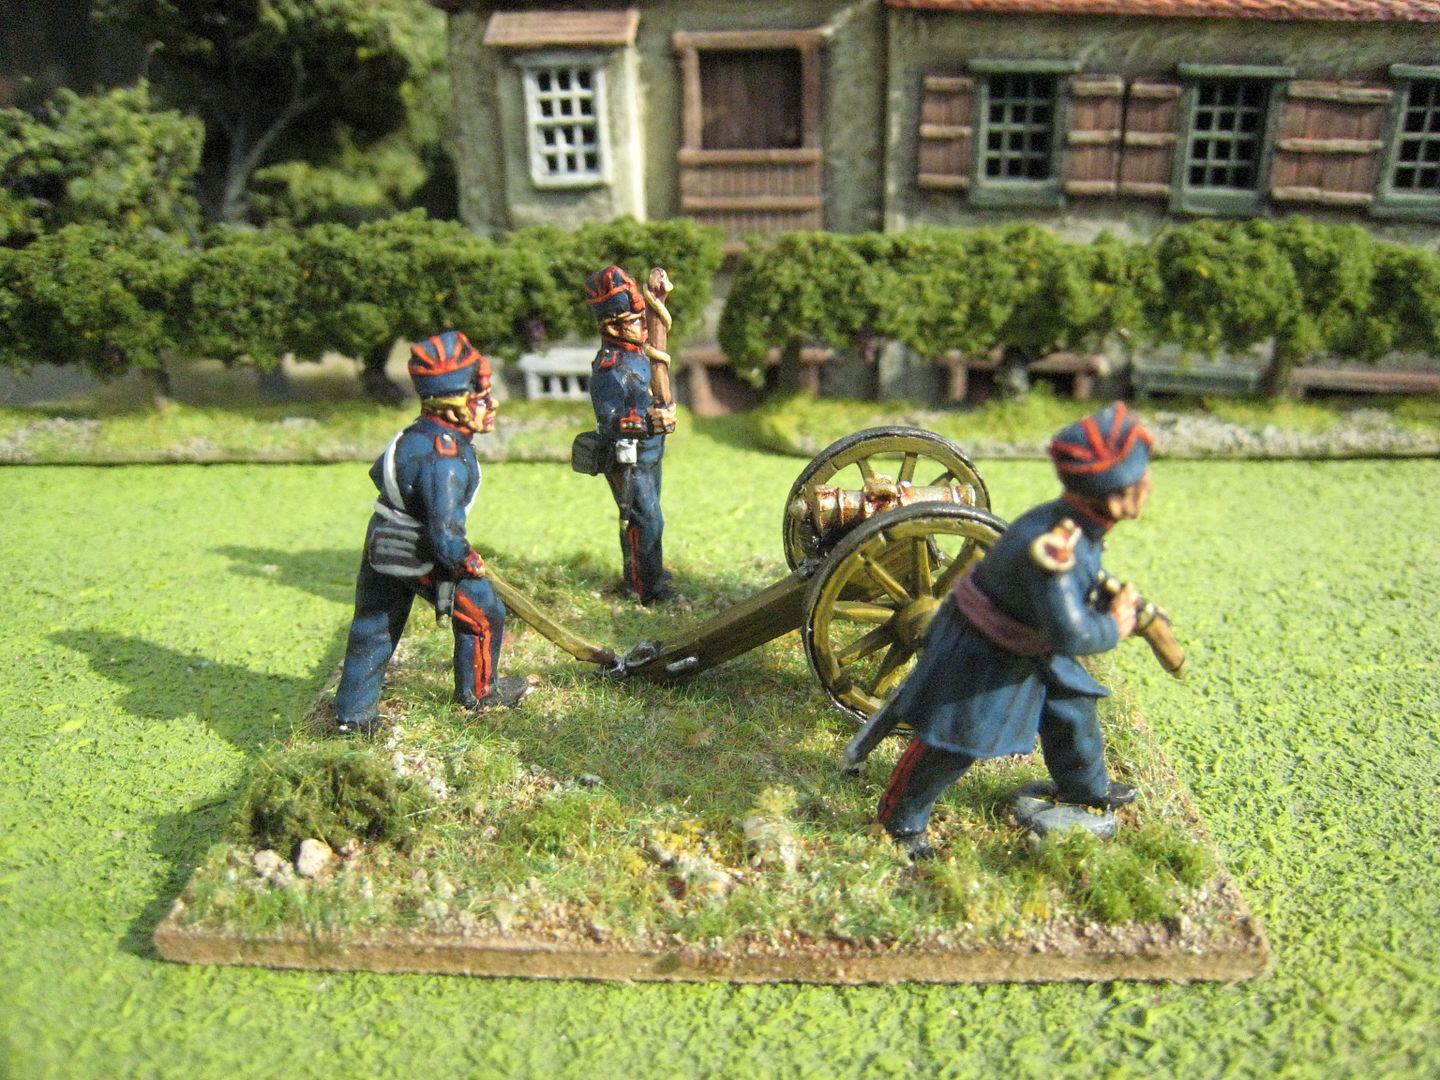
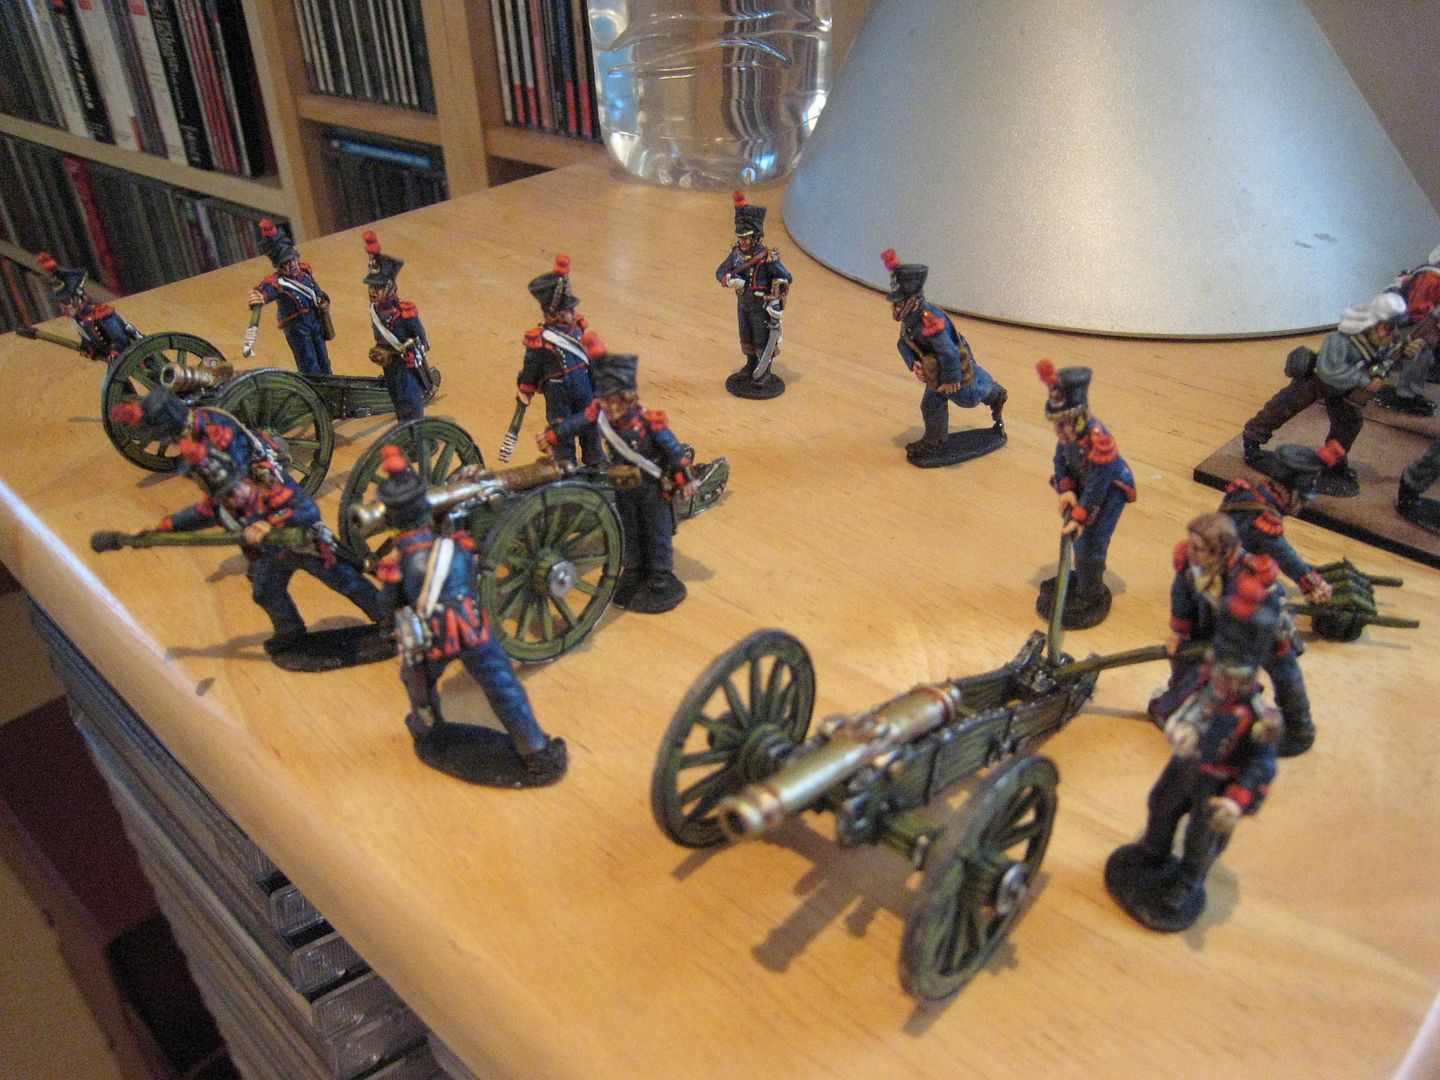
Wargaming action was very light last year.  I can't now recall whether I had a game - if so, it would have been a 15mm Austerlitz game at Eclaireur's around this time last year, but that game may actually have been at the very end of December 2011.  I also attended only 1 show - Salute, it appears, will now be my only regular show attendance.  I did keep painting, however (which makes the last of posts even more idiotic), with units completed for all my core periods.  I'm currently trying to finish off some Perry French Napoleonic artillery packs (wip photo opposite), before launching into AWI highlanders for both my own collection and Bill Nevin's.

2012 tally, all 25mm:

- AWI: 8 foot, 8 cavalry.

- 1815: 50 foot, 5 cavalry and 4 guns.

- First Carlist War: 94 foot, 18 cavalry and 3 guns.

- ECW: 2 cavalry (I really must post about these 2 command stands I painted last January!).

- ACW: 120 infantry (I really must post about these as well!).

- Other: 6 foot.

That gives me 352 points, which is better than 2010 but 30 points fewer than 2011.  It's still miles away from the heady days of Life Before Children: in 2009, for example, I reached 524 points.  Still, the 2012 tally equates to 6.7 figures a week, which isn't that bad, I suppose.  I was pleased to have made some progress with my Carlist War collection and felt very virtuous at painting the 100-odd ACW figures from my leadpile.  I kept wargaming purchases to a minimum - the only figures I bought were those I acquired at Salute (admittedly a fair number) and a small Perry order for figures to finish off a couple of units.

2013 is going to be a good time to kick-start this blog, as it can't be long now until the Perry plastic AWI British infantry are released.  Alan is clearly working on the metal side of the AWI range again, and Bill Nevin of King's Mountain Miniatures has released his extensive highlander range with the teaser of new figures to come later this year.  I still have half a dozen Eureka American dragoon units in the lead pile, together with Perry French and a few other things.  So I anticipate that 2013 will see this blog return to the AWI is some style.  That will result in much lower activity on the First Carlist War.  My 1815 work is already largely contained by Perry Miniatures having moved away from the Waterloo campaign to the 1809-12 period; so I can concentrate on painting what I already have and not buying anything new.  Similarly, I have no ACW expansion plans at the moment.  Other bits and bobs will probably come and go - for example, I understand Empress Miniatures are going to release a third wave of NZ Wars figures, which might make an interesting diversion for a month or so.  All that, however, is subject to something else which I'm not sure I mentioned last year: the Kiwi and I are expecting our second child in about 5 weeks.  The due date has come around ridiculously fast, and I have no idea what's going to happen to my painting time when the little one arrives!  And talking of Kiwis, I can now look forward to another trip to NZ later this year (that will be my 7th visit - more times than I've been to Paris!).

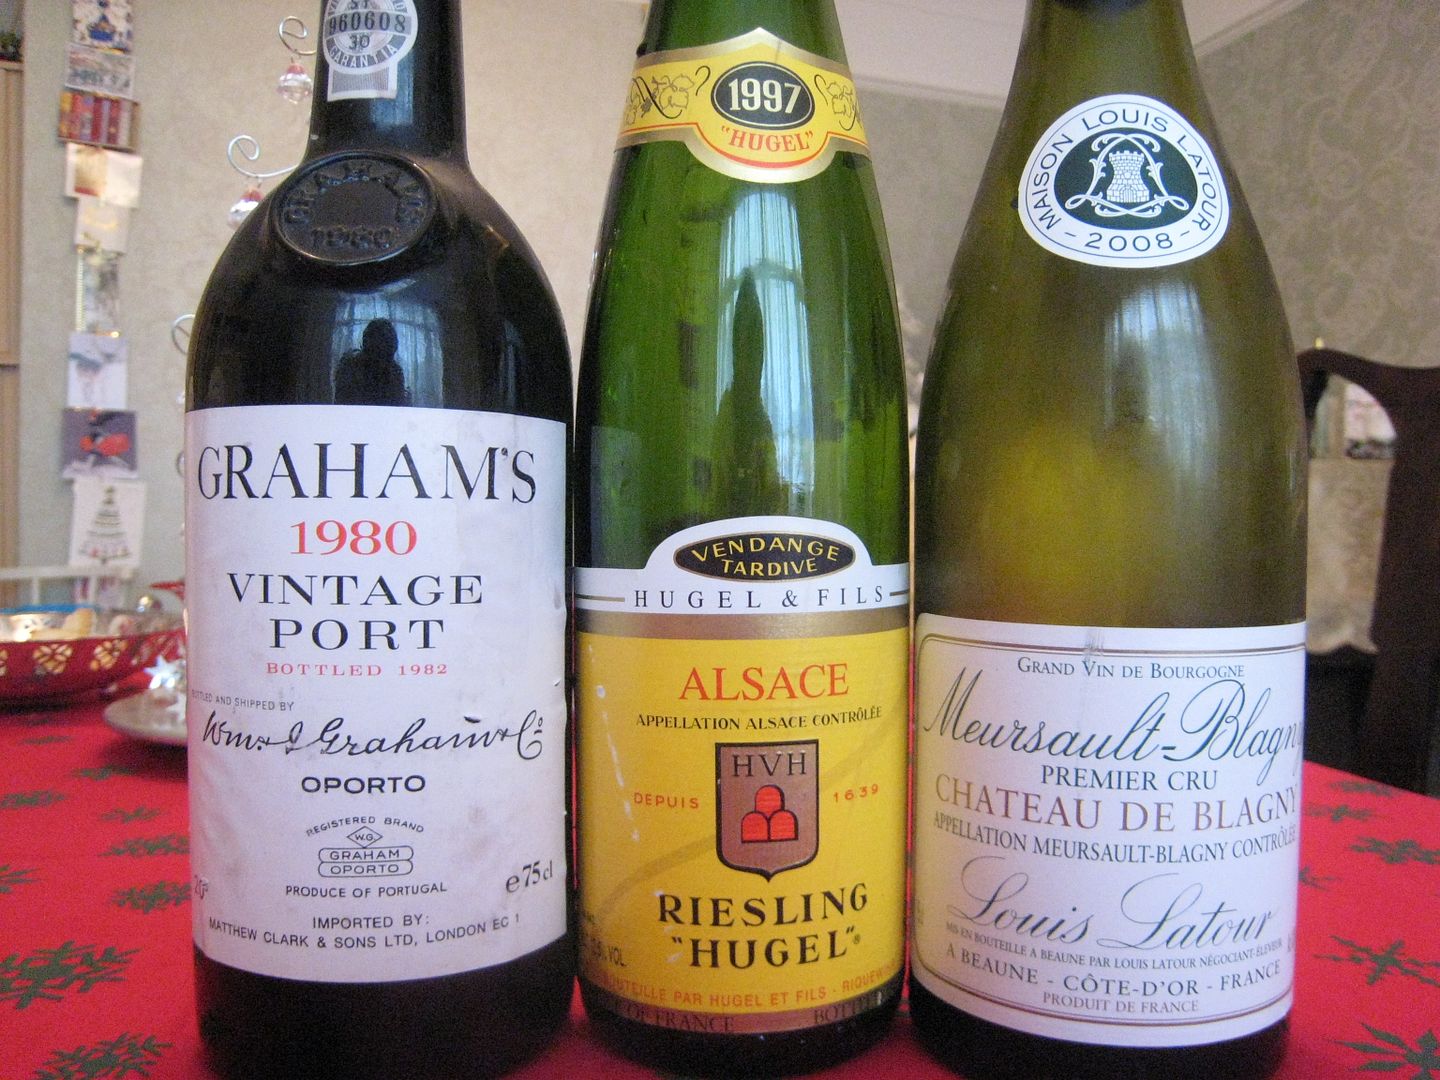
Finally, because I know one or two readers are interested in such things, I thought I'd post a couple of photos of my family's Christmas Day drink selection.  Rather anally, I take photos every year but usually keep them to myself.  My father always provides the wines (I now provide all the wine for the extended family pre-Christmas meeting, which is in mid-December to celebrate Hugo's birthday).  The standard format is champagne, then white Burgundy, red Bordeaux and then "stickies" and port. 
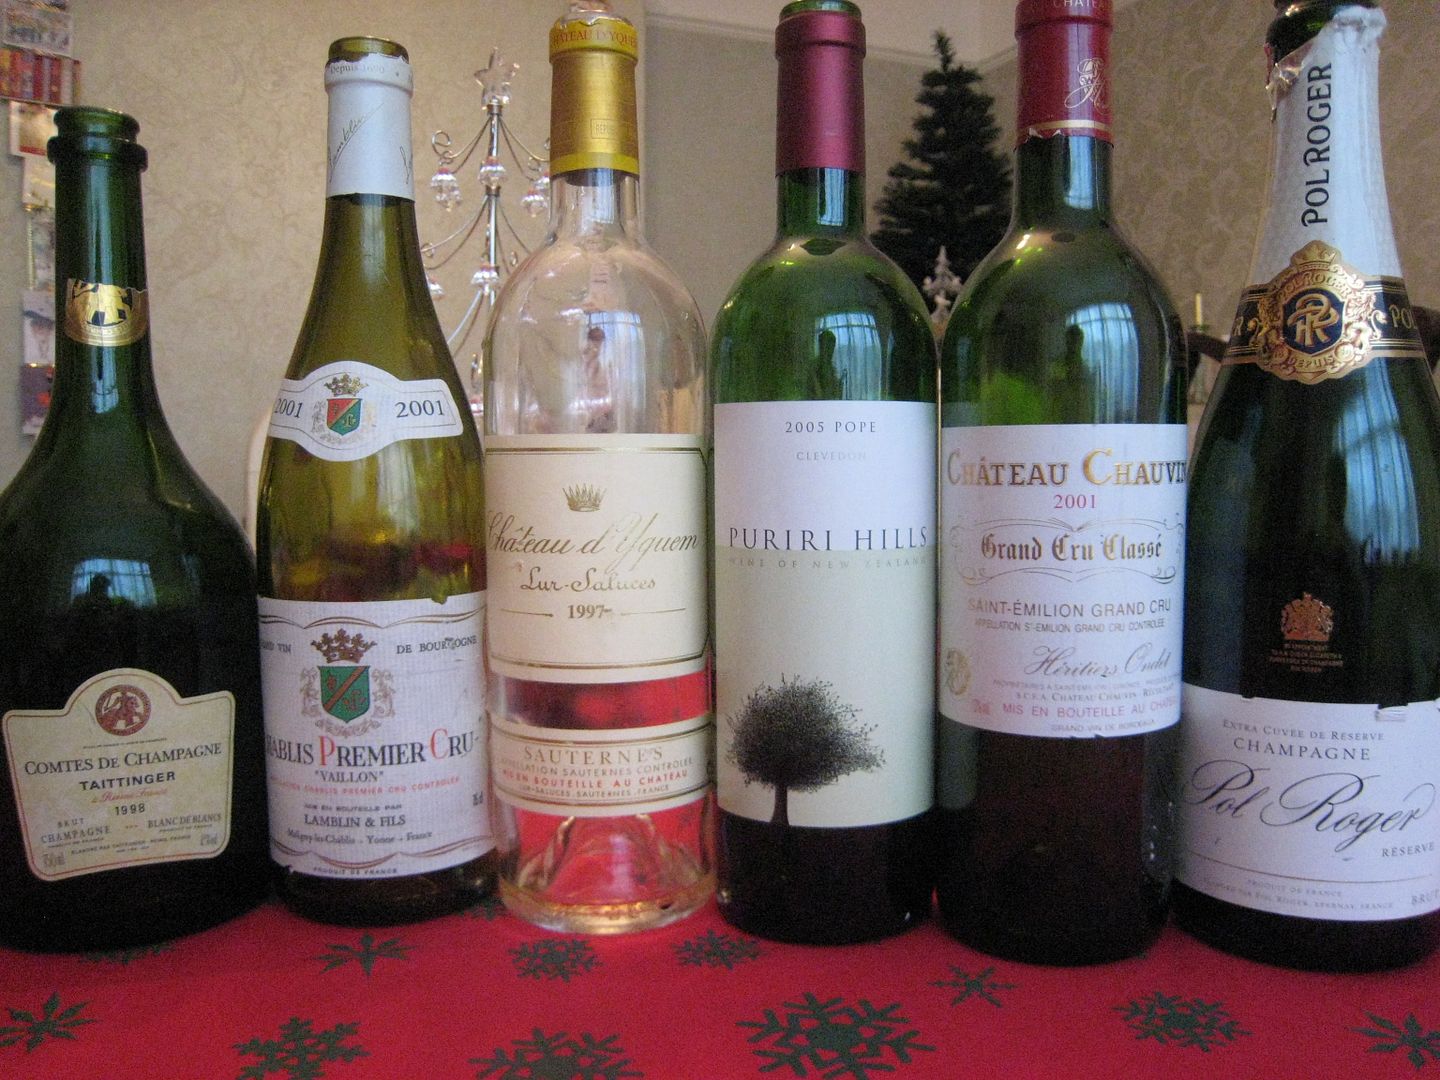

Some years ago my father bought a case of Chateau d'Yquem 1997, considered to be one of the best vintages of the 1990s, and each Christmas we have 1 bottle.  It really is fantastic stuff, more luscious each year but never cloying.  Since 2010 our reds wines have been one or more clarets and then some wines from a boutique NZ producer, Puriri Hills.  Located in Clevedon, just south of Auckland, Puriri Hills is a winery that has a luxury cottage in which my parents stayed for a couple of days before flying back to the UK after my wedding in March 2009.  My father developed DVT on the flight over from the UK and he spent the week before our wedding in Auckland General Hospital. Judy and her team at Puriri Hills looked after my parents very well during their stay and my father has been a loyal customer ever since.  That's good news for the rest of the family, because Puriri Hills make absolutely top-end stuff.  The flagship wine, only released in exceptional years, is a Bordeau-blend called "the Pope" (named after a former winemaker, not the Pope).  This Christmas we finished off our last bottles of 2005 Pope and, as with last year, it knocked the socks of the (quite excellent) 2001 Chateau Chauvin from Saint-Emillion.  Pope costs about £100 a bottle, but it's one of NZ's best wines so don't ever pass on an opportunity to have some.


But even the Pope was denied gold position this year by the port, Graham's 1980.  For a 30-year old wine it still tasted very fresh and was wonderful.  The [ ] Hugel riesling, from Alsace, wasn't at all bad either; at the end of its prime, perhaps, but the acidity and sweetness were well-balanced and it made a good foil to the d'Yquem.  Lastly comes Louis Latou's Chateau de Blagny 2008, another white Burgundy that I confess I largely polished off myself whilst watching "Downton Abbey".  A 2008 Meursault is a bit on the young side now, but this was nonetheless excellent with a good life ahead of it.  I found out the next day that this bottle in fact belonged to my brother, who'd bought a case to be put it aside for investment purposes and for some reason kept it at my parents' house - how I came to have consumed this bottle is one of those mysteries lost in the haze of Christmas Day lunchtime drinking!

Happy new year, everyone.
Saturday, 22 December 2012

First Carlist War: Isabelino parade (2)

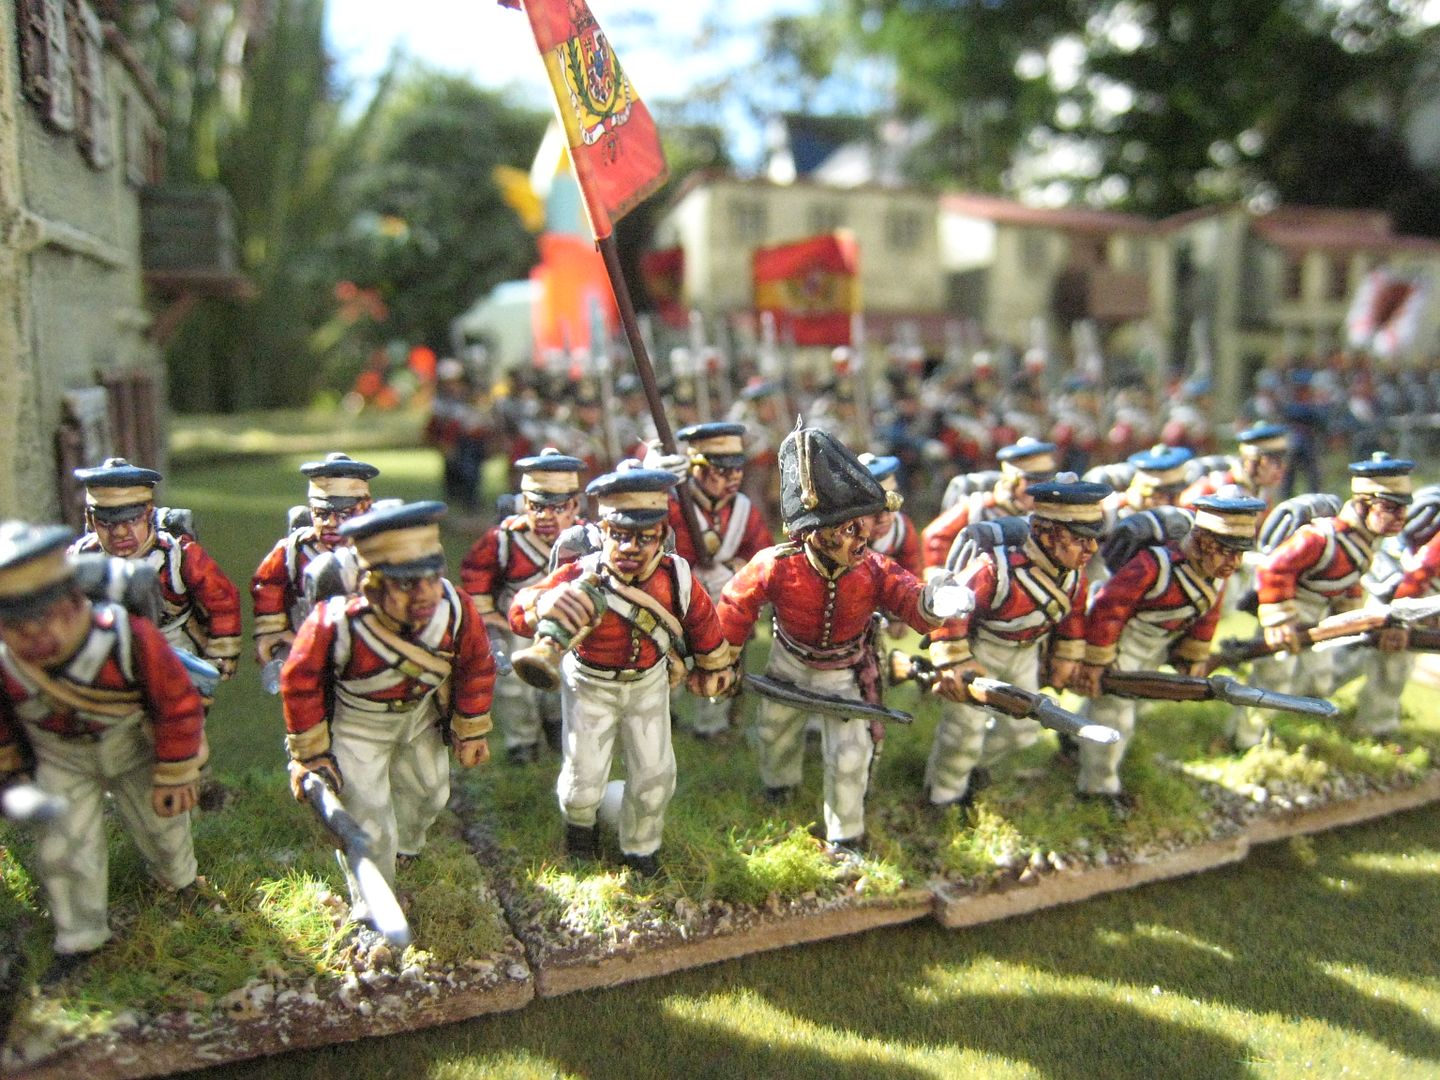
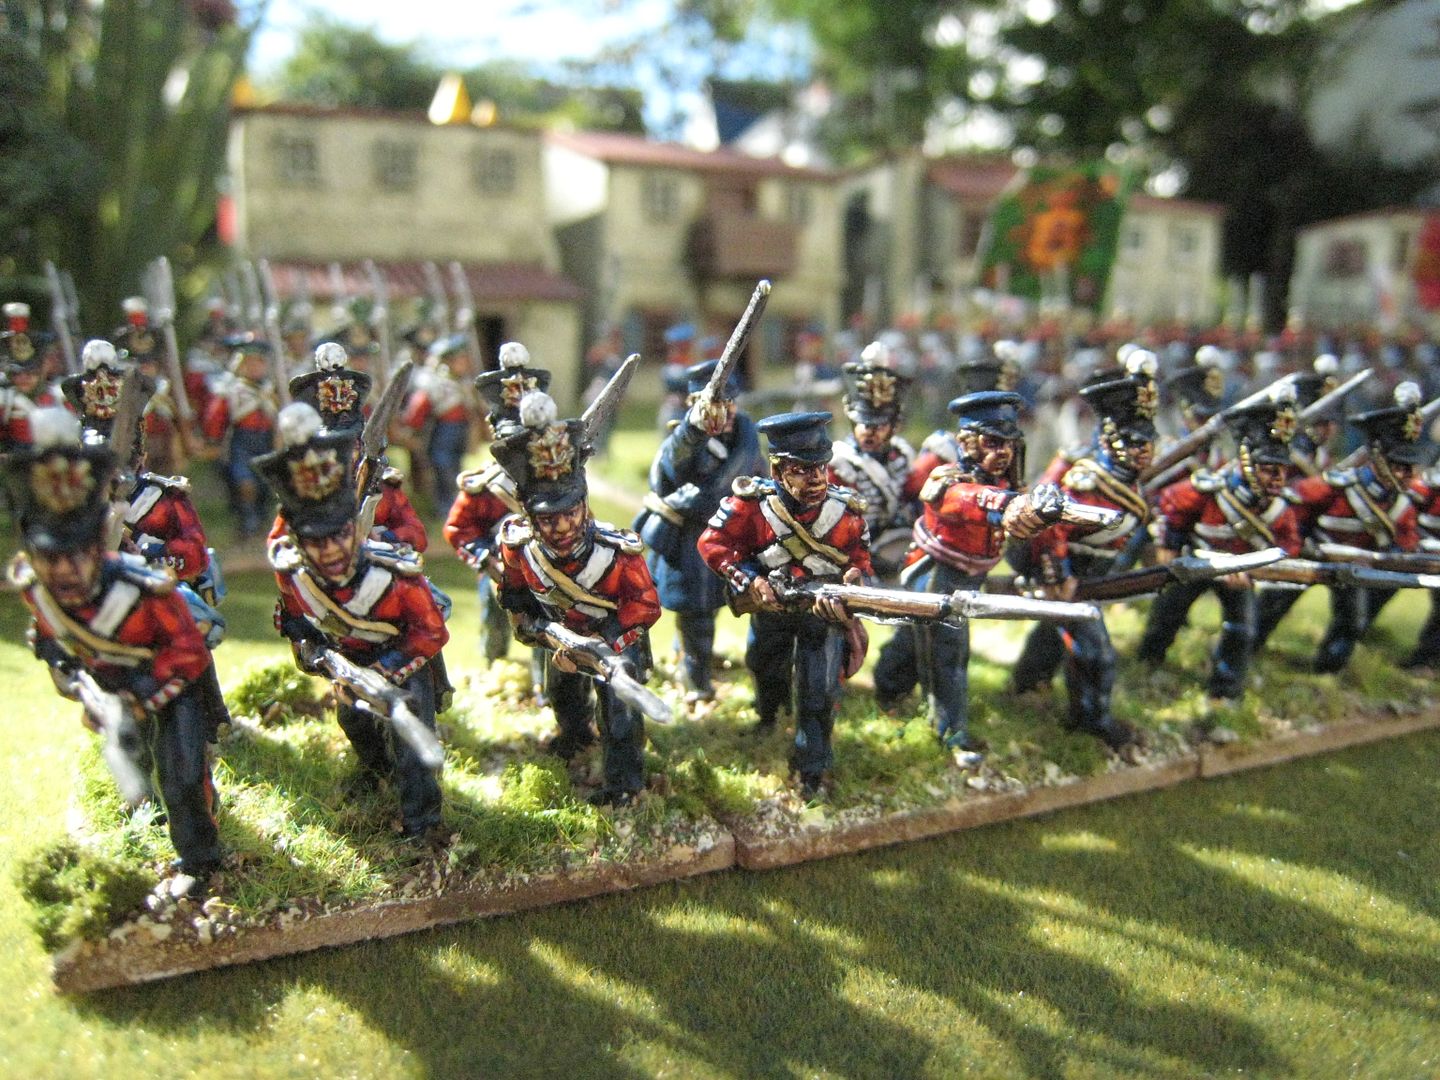
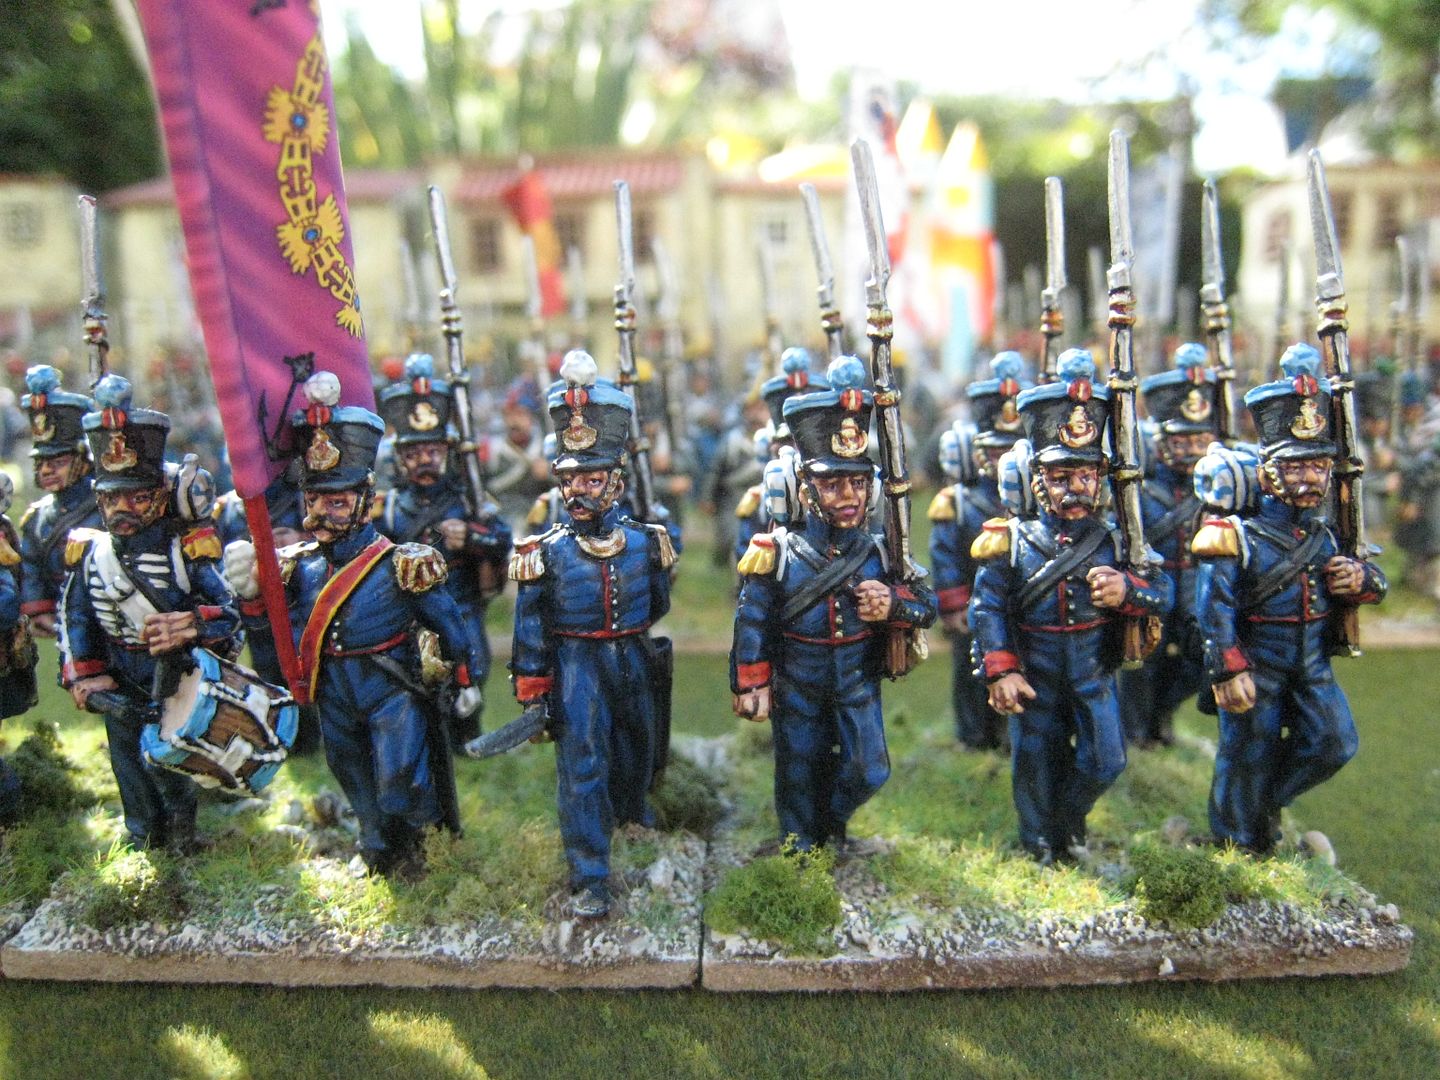
Here are some photos of the "foreign" element of my Isabelino army: the British Auxiliary Legion and the French Foreign Legion.  There was a Portuguese force as well, and hopefully at some stage Perry Miniatures will release figures for that.  The BAL started off with 10 line infantry battalions, a rifles corps of about 500 men, 2 regiments of cavalry and an artillery corps.  This volunteer force was paid directly by the Spanish crown and was not the responsibility of the British government, which was reluctant to commit regular troops to the conflict.  As it happened, units of the Royal Navy, the Royal Artillery and the Royal Engineers did participate in the war.

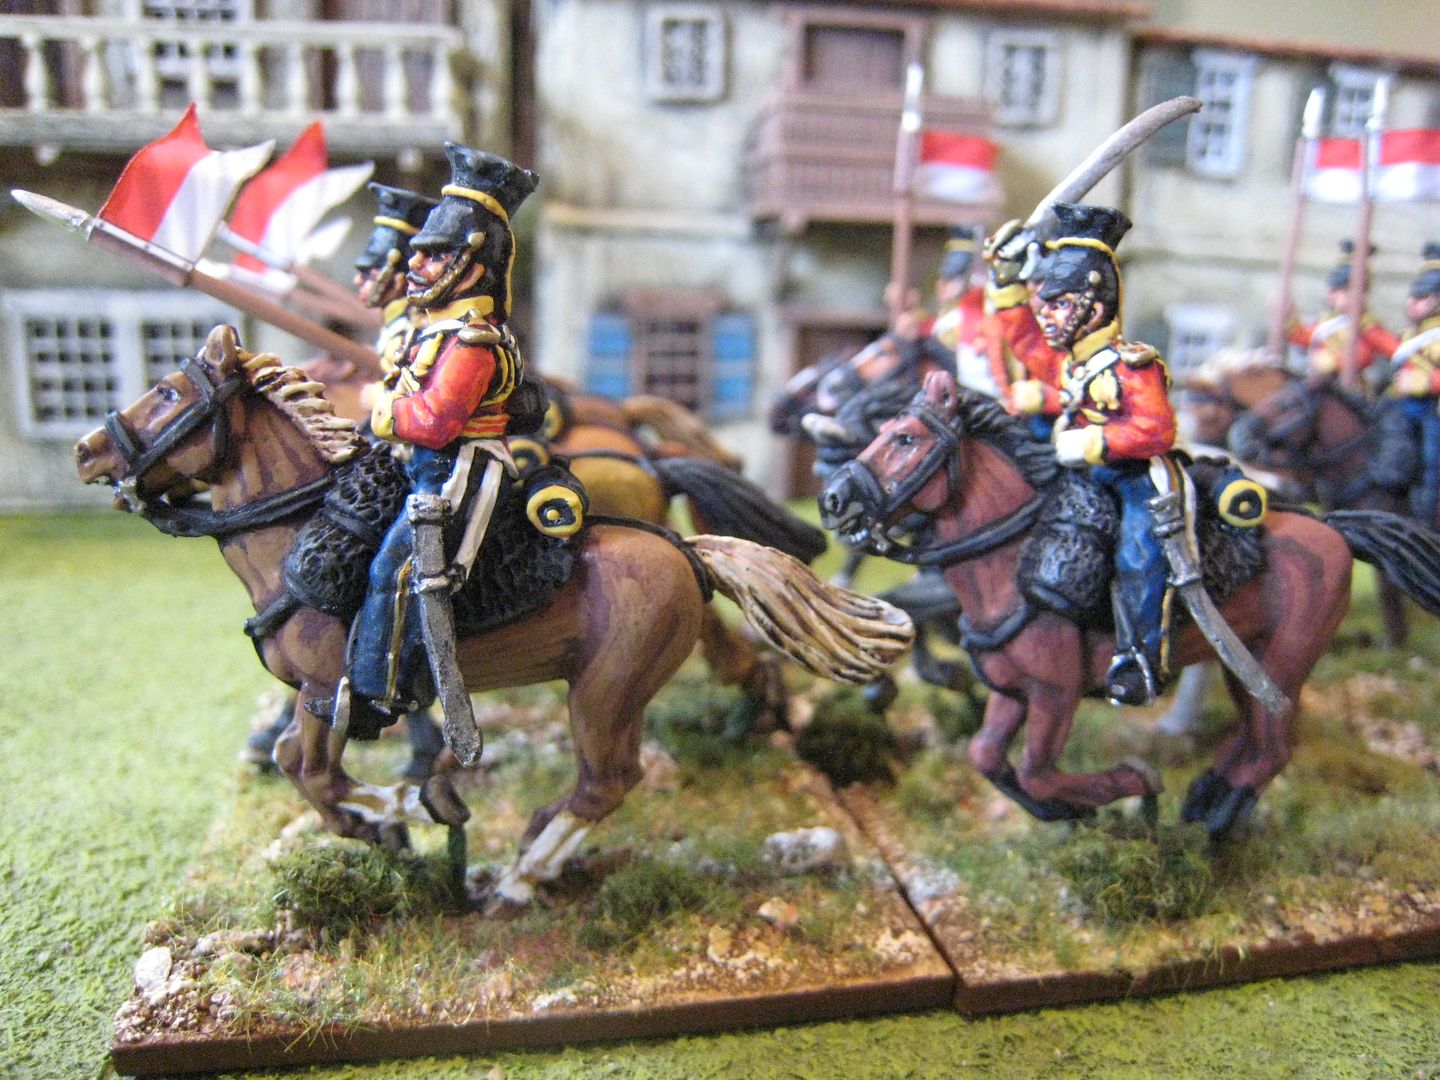
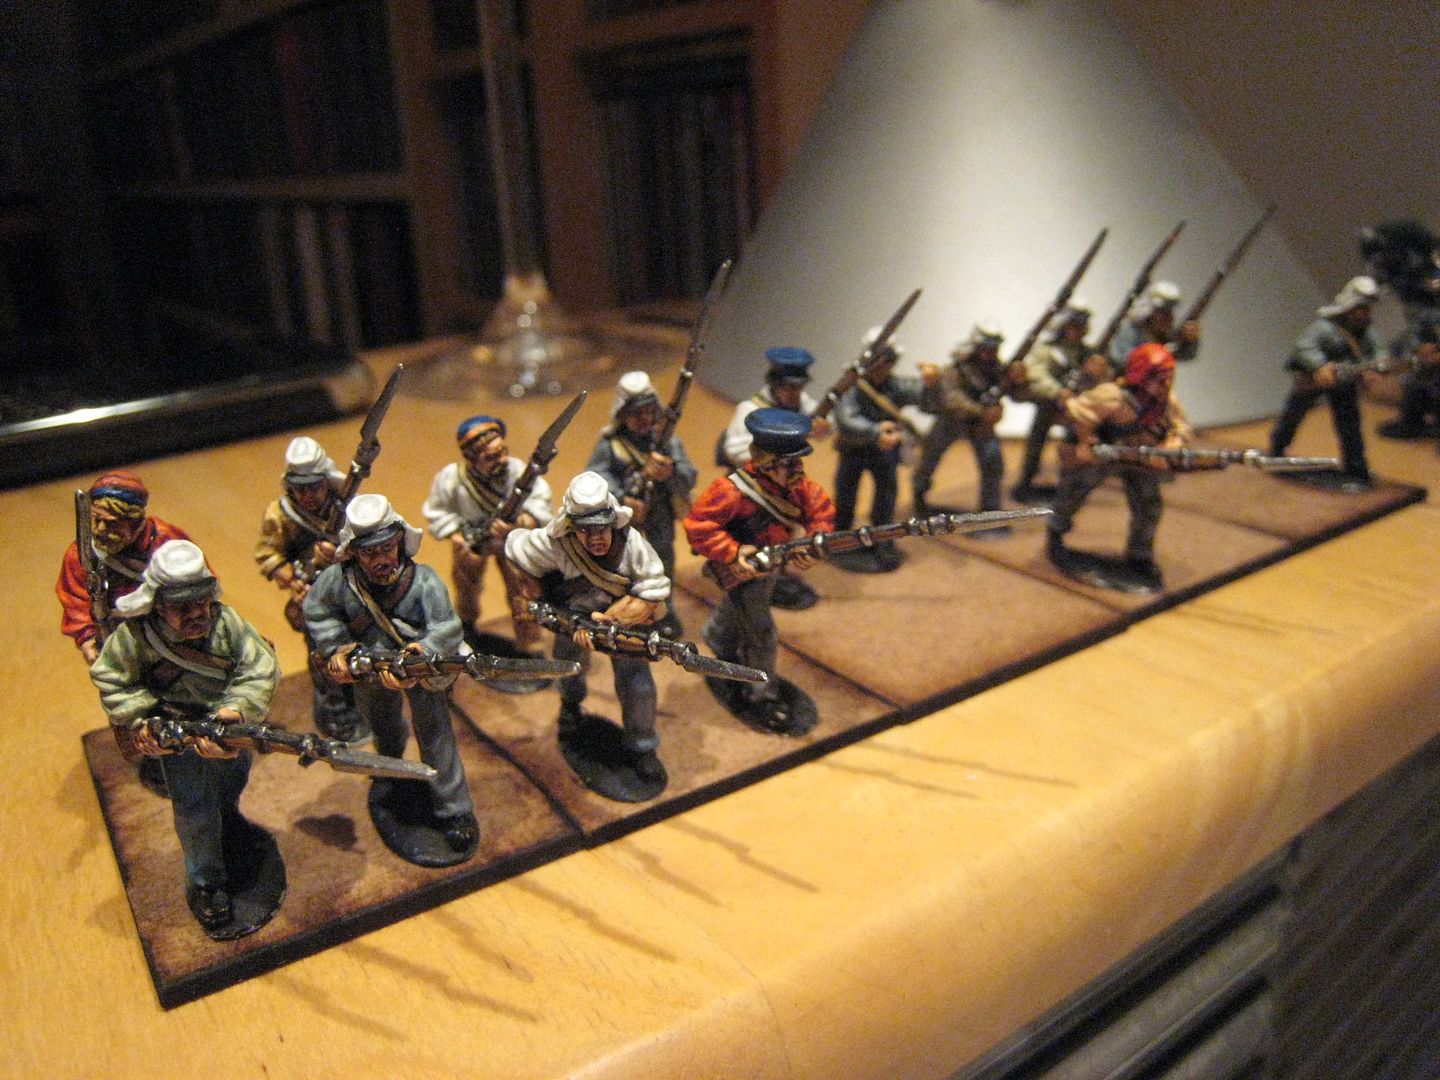
To date I have 3 of the infantry battalions, the 7th, 9th and 10th, together with the rifle unit, a battalion of Royal Marines and some artillery.  I recently finished a lancer cavalry unit which I'll post about next week.  From what I can tell, the BAL tended to fight its battles without much Isabelino army support, so I'll need to bulk the force up to 8 infantry battalions and a full artillery compliment.  With hindsight, I should have painted the artillery in uniforms that are a much darker blue; I might see if I can remedy this when I next paint some.
10th Regiment, "Munster Light Infantry"

7th Regiment, "Irish Light Infantry"

 
Royal Marine rocket troop

Royal Marines

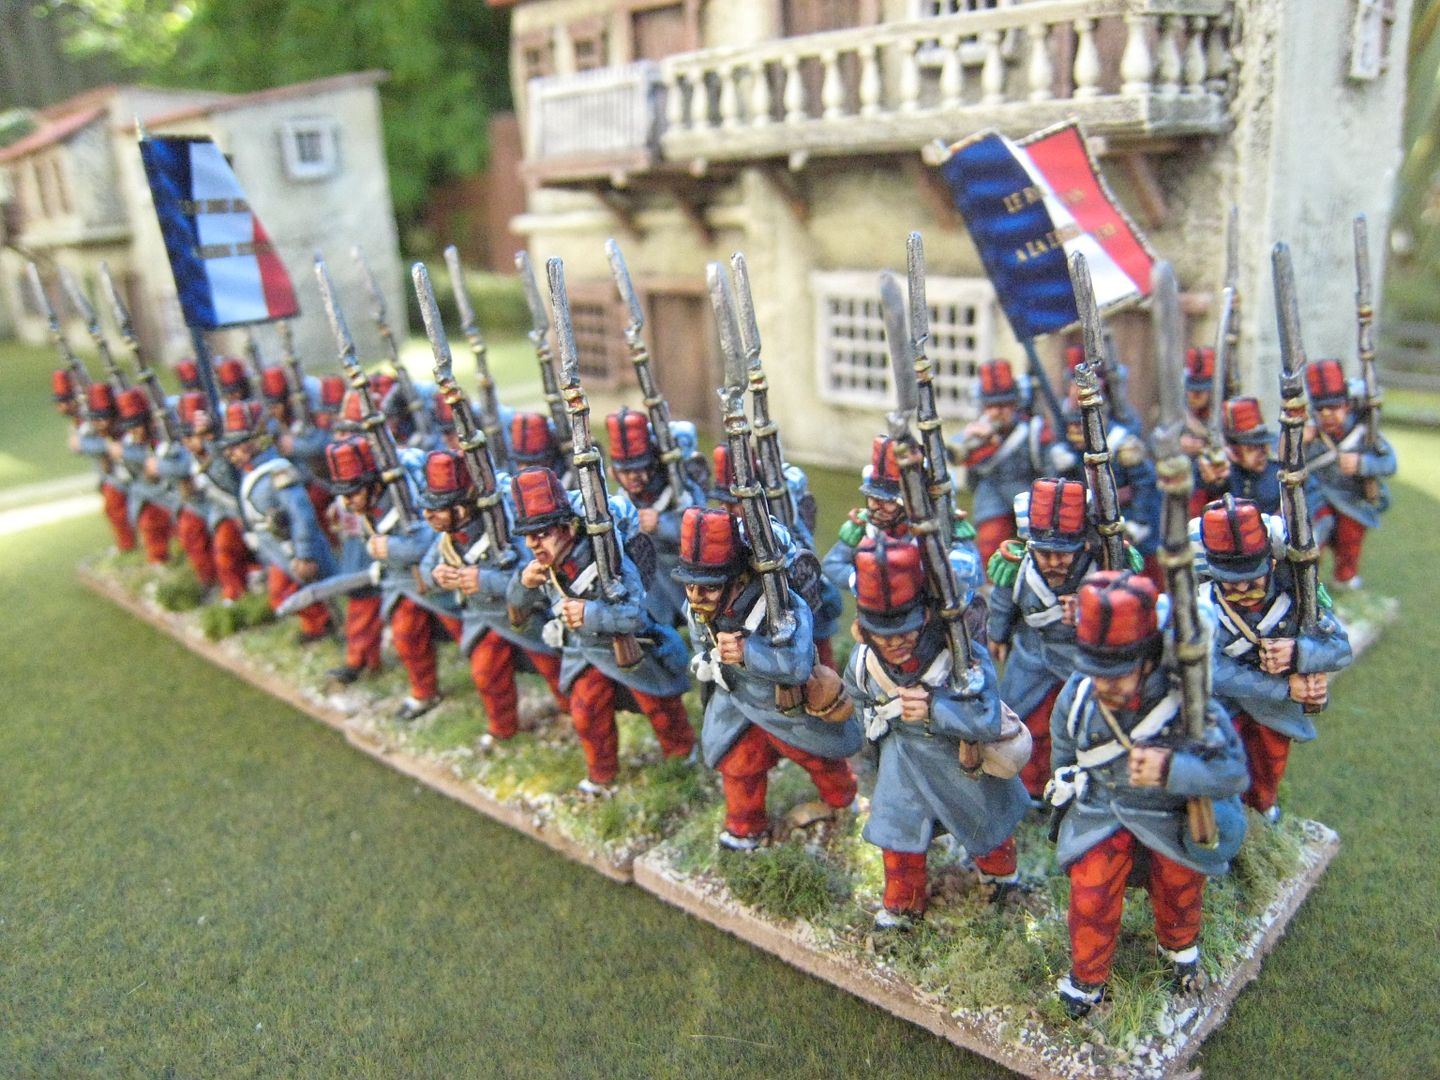
I blogged about the the FFL recently, so won't do so again here.  I plan on raising 2 infantry battalions to start with (I have 1 and a bit), and some cavalry.


PS. I meant to post the grand total for the Isabelino army.  It's 166 infantry and 12 artillery crew with 3 guns for the Spanish regulars; 126 infantry, 12 cavalry and 11 artillery crew and 3 guns for the 2 legions.  I reckon that's just over half of what I want to do.  And here's a taster of the BAL lancers:


Wednesday, 19 December 2012

First Carlist War: Isabelino parade (1)

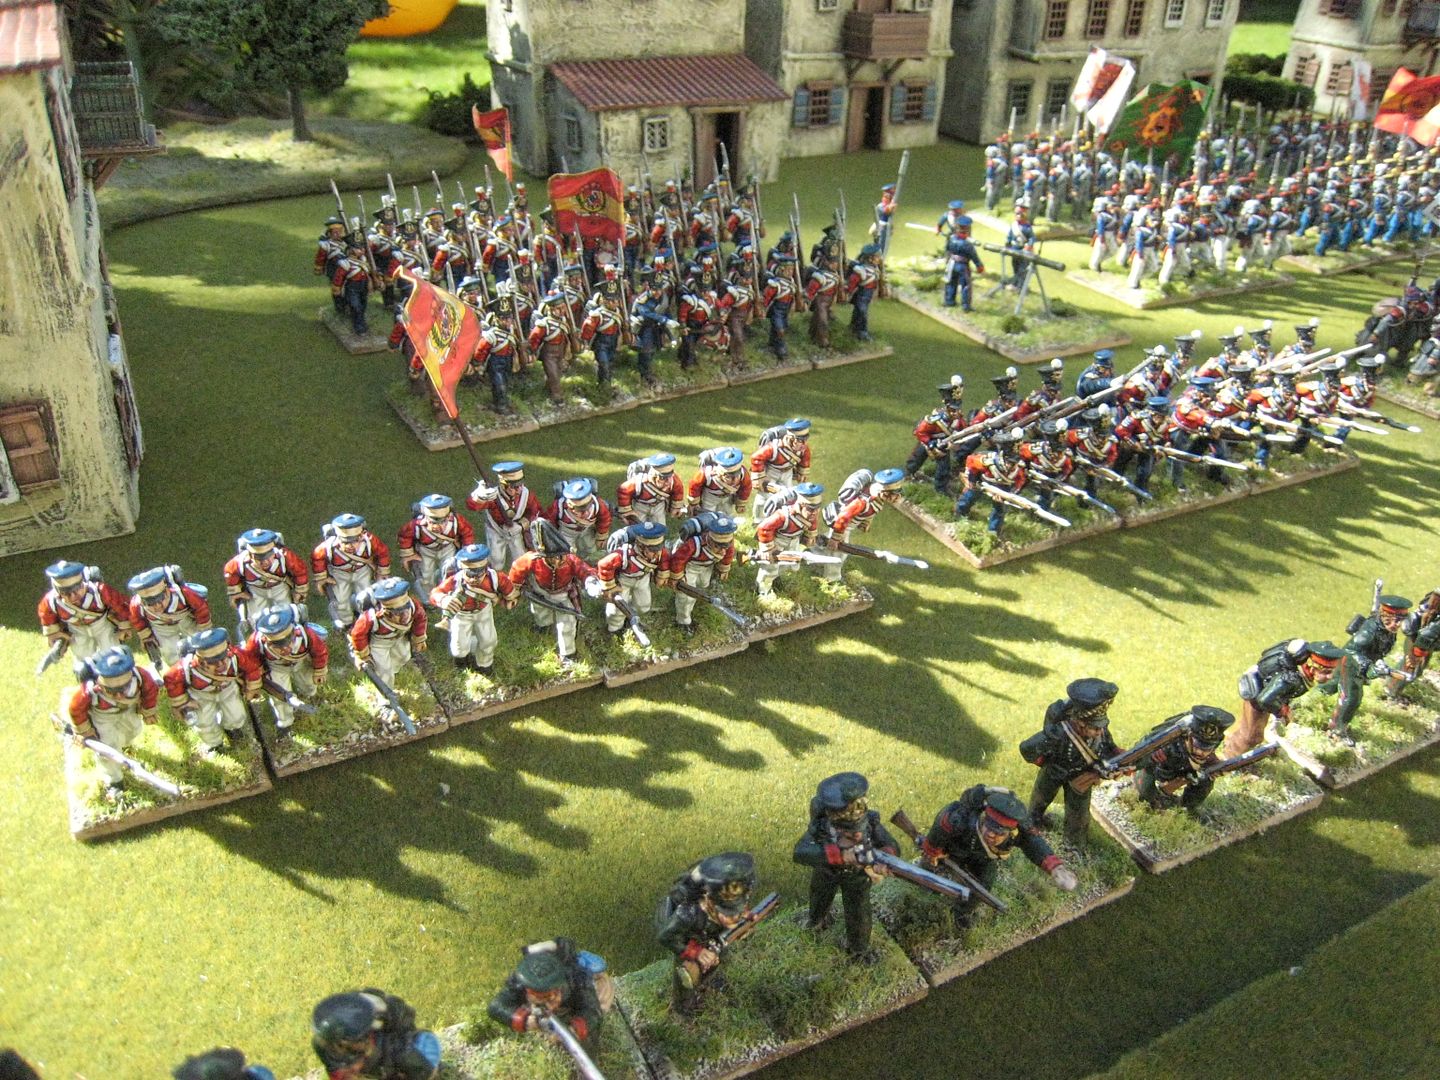
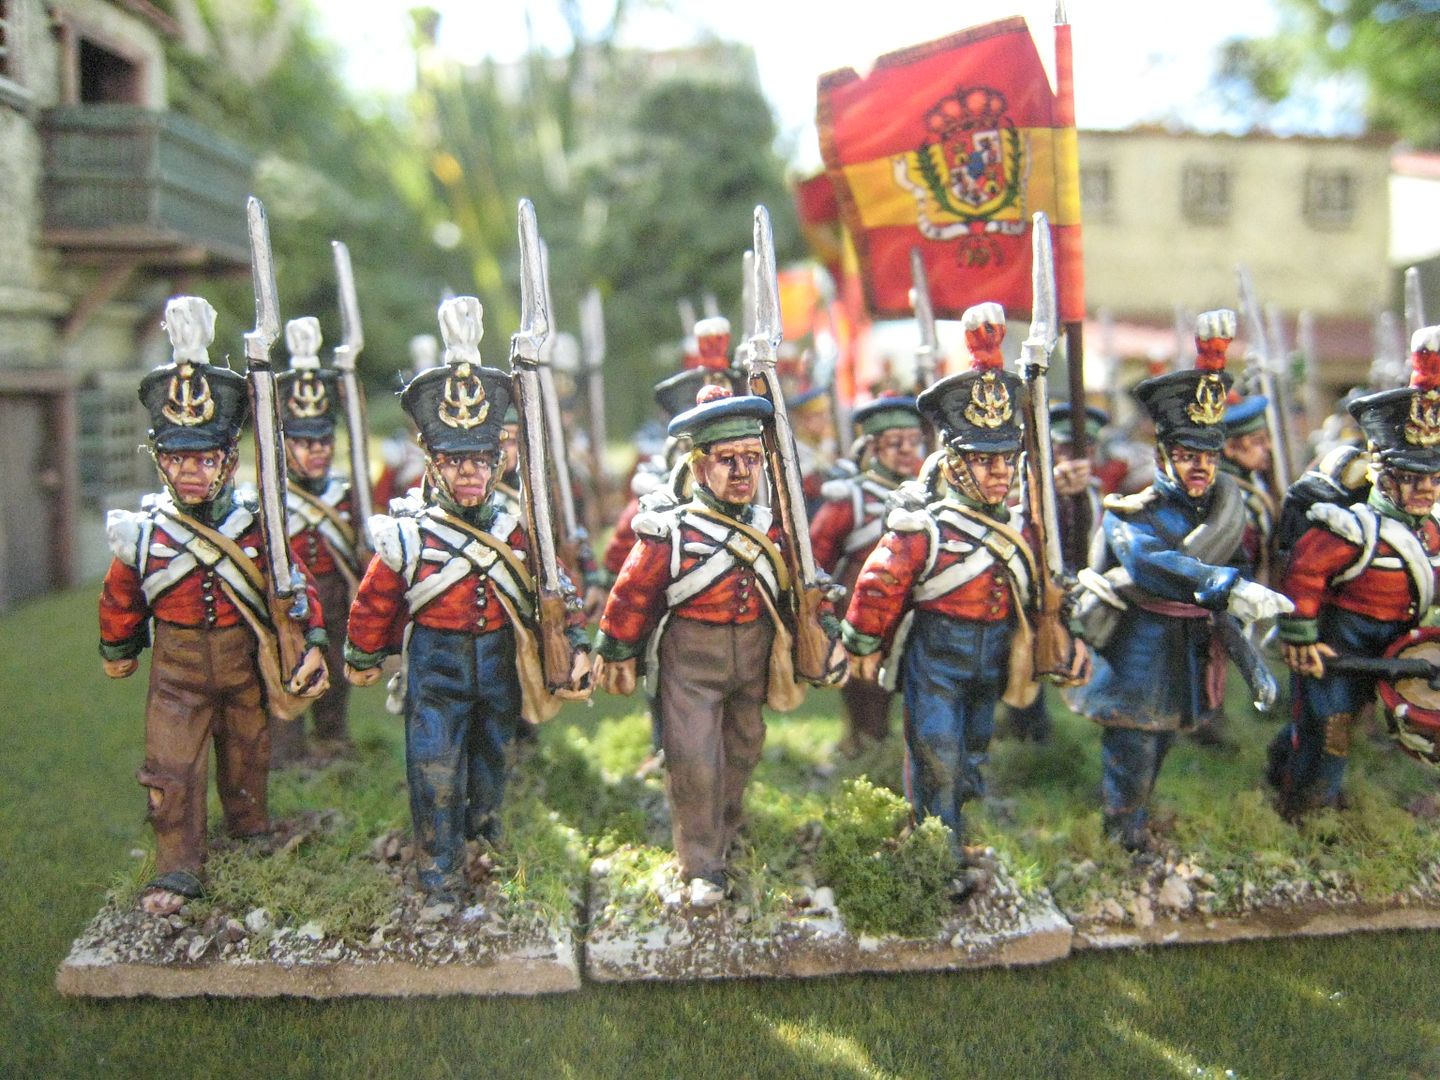
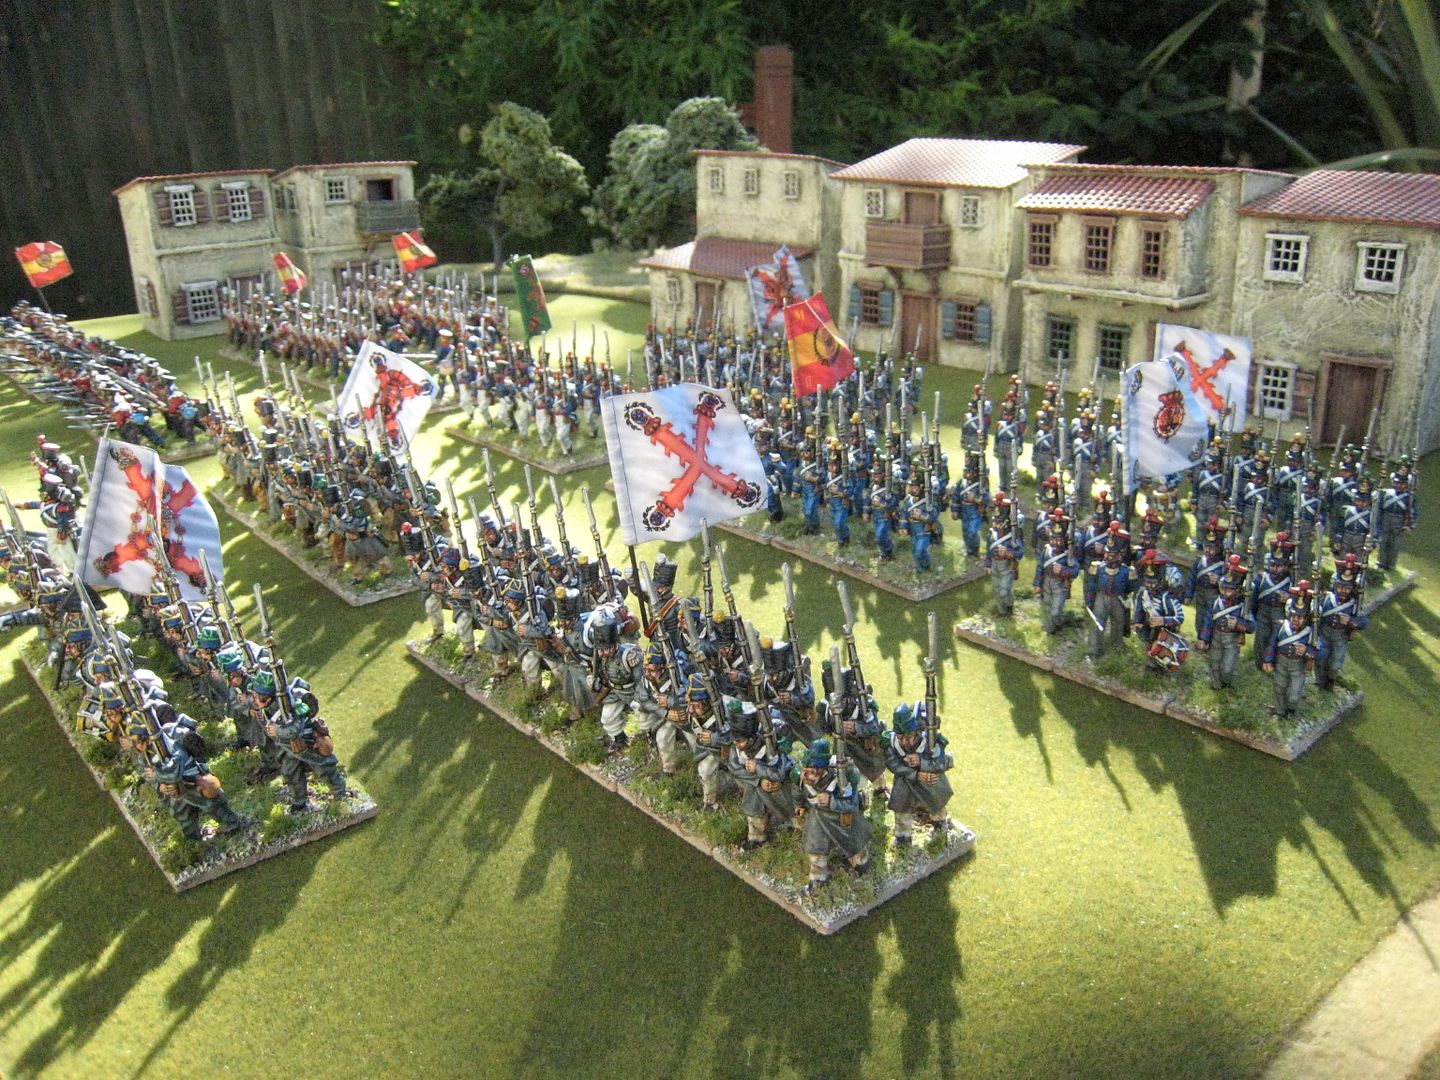
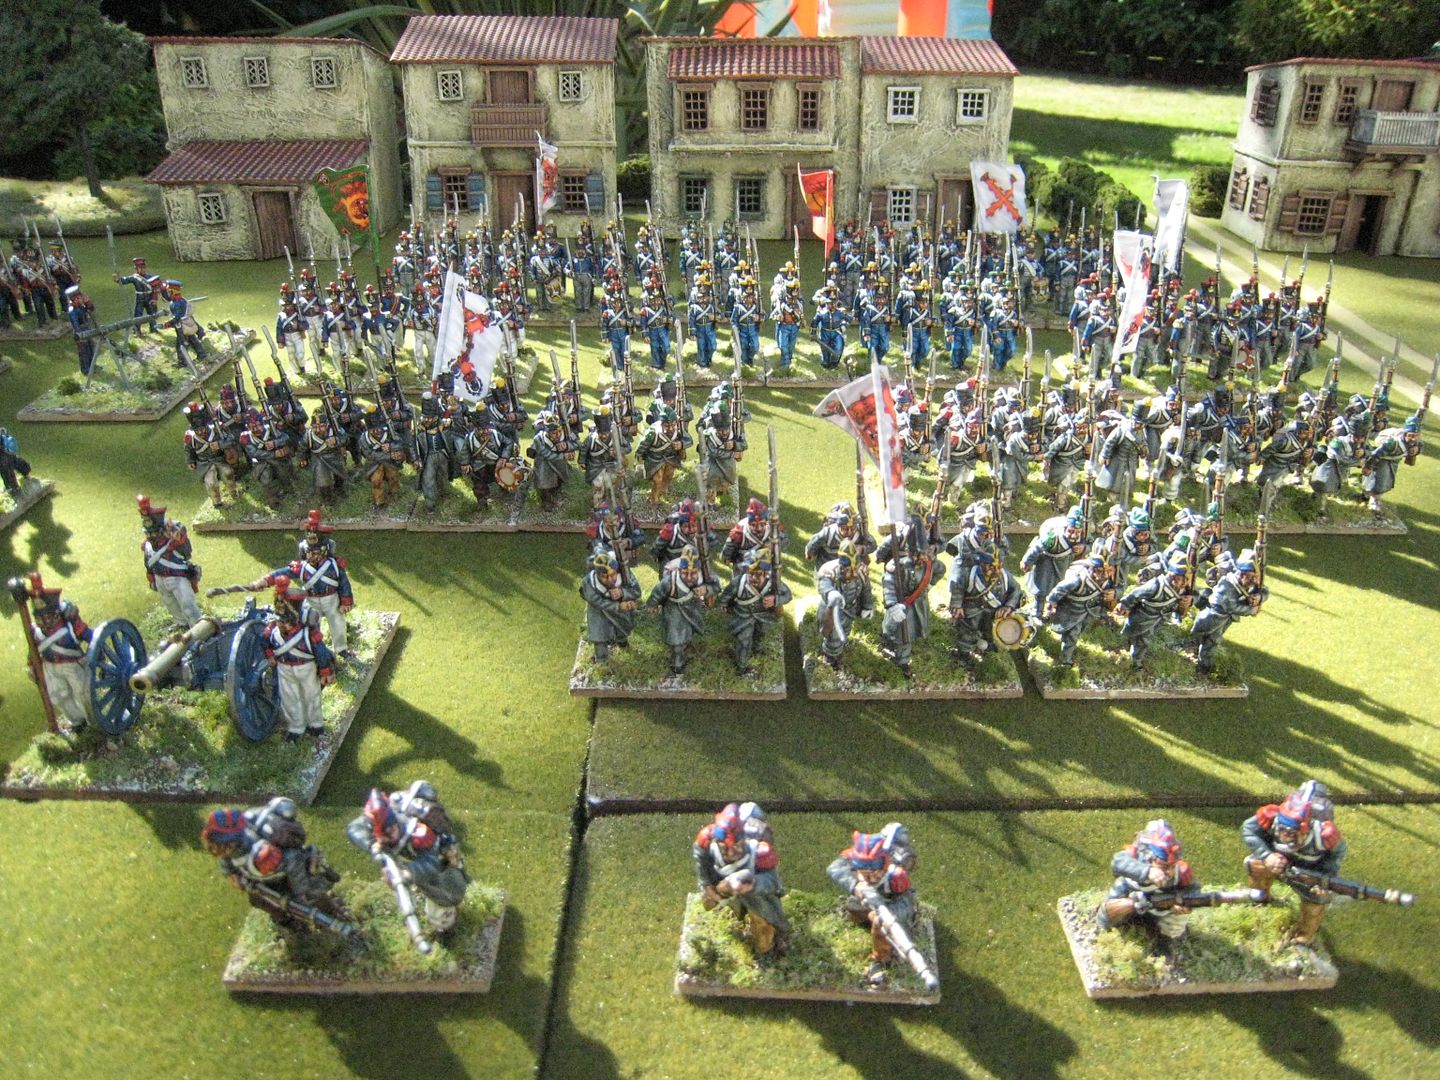
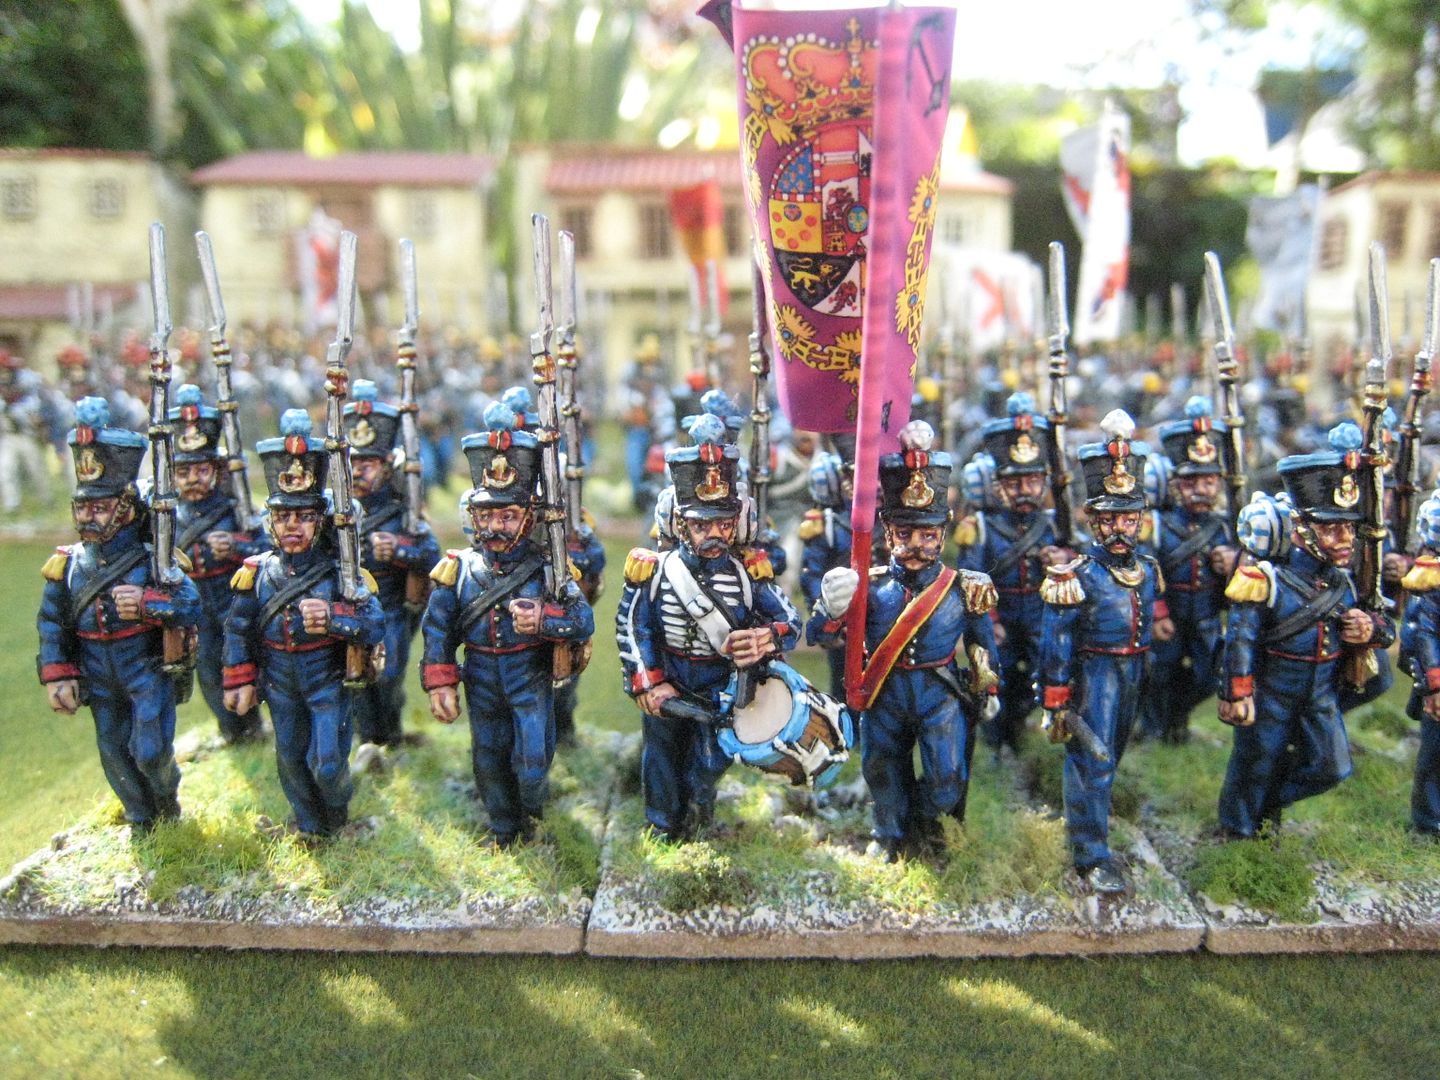
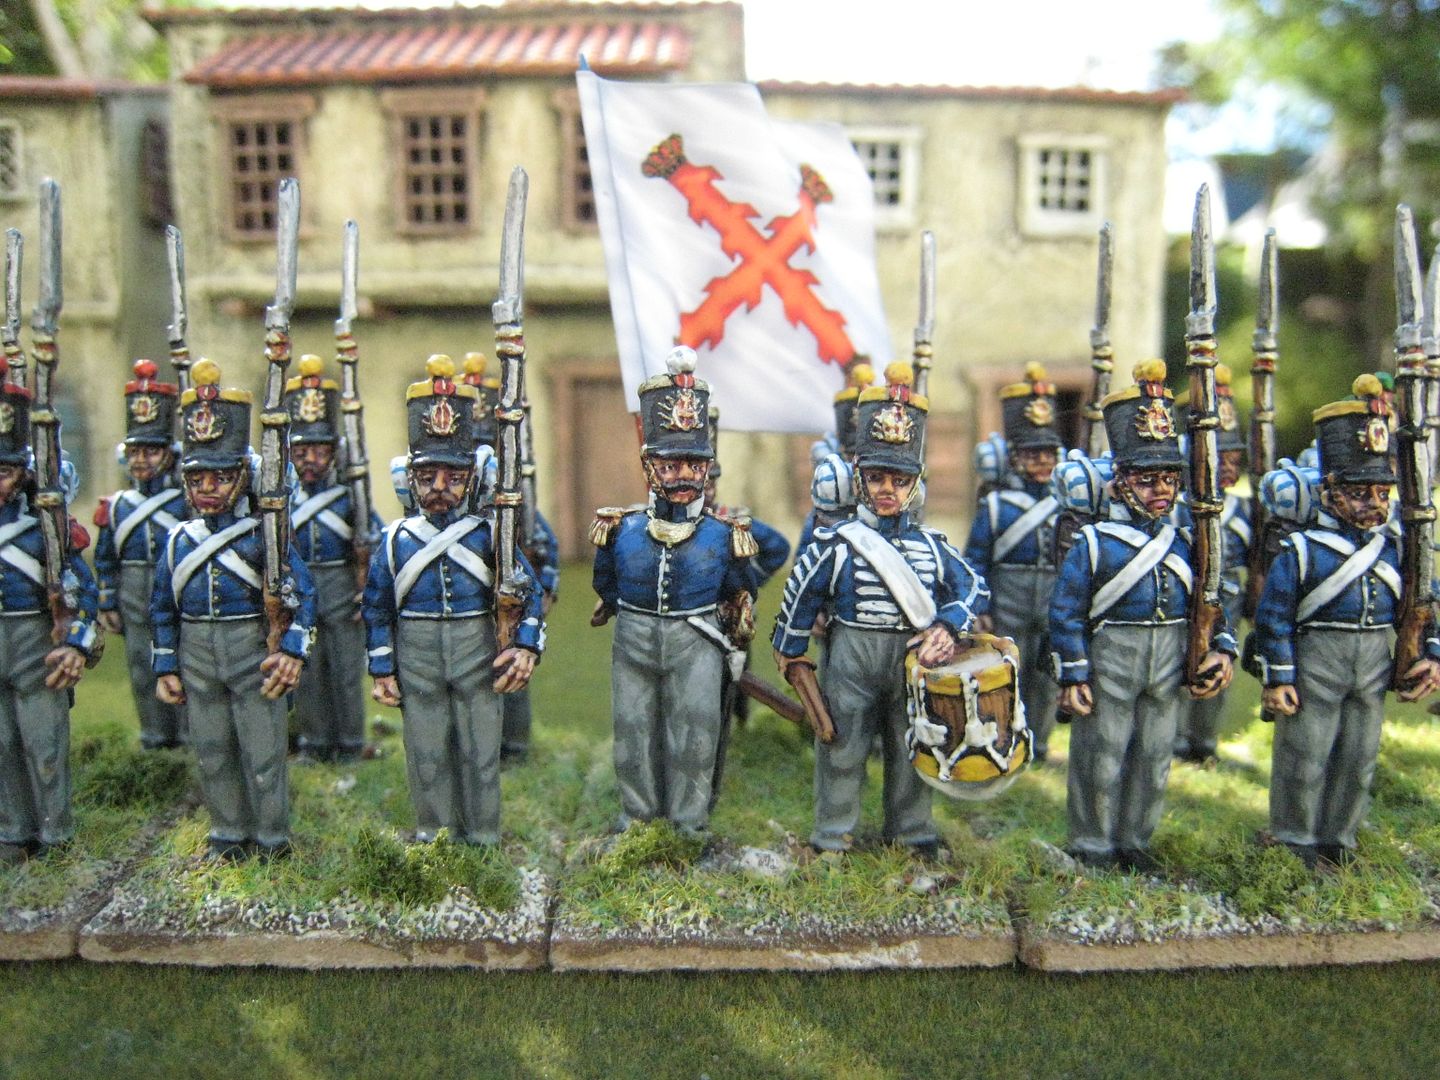
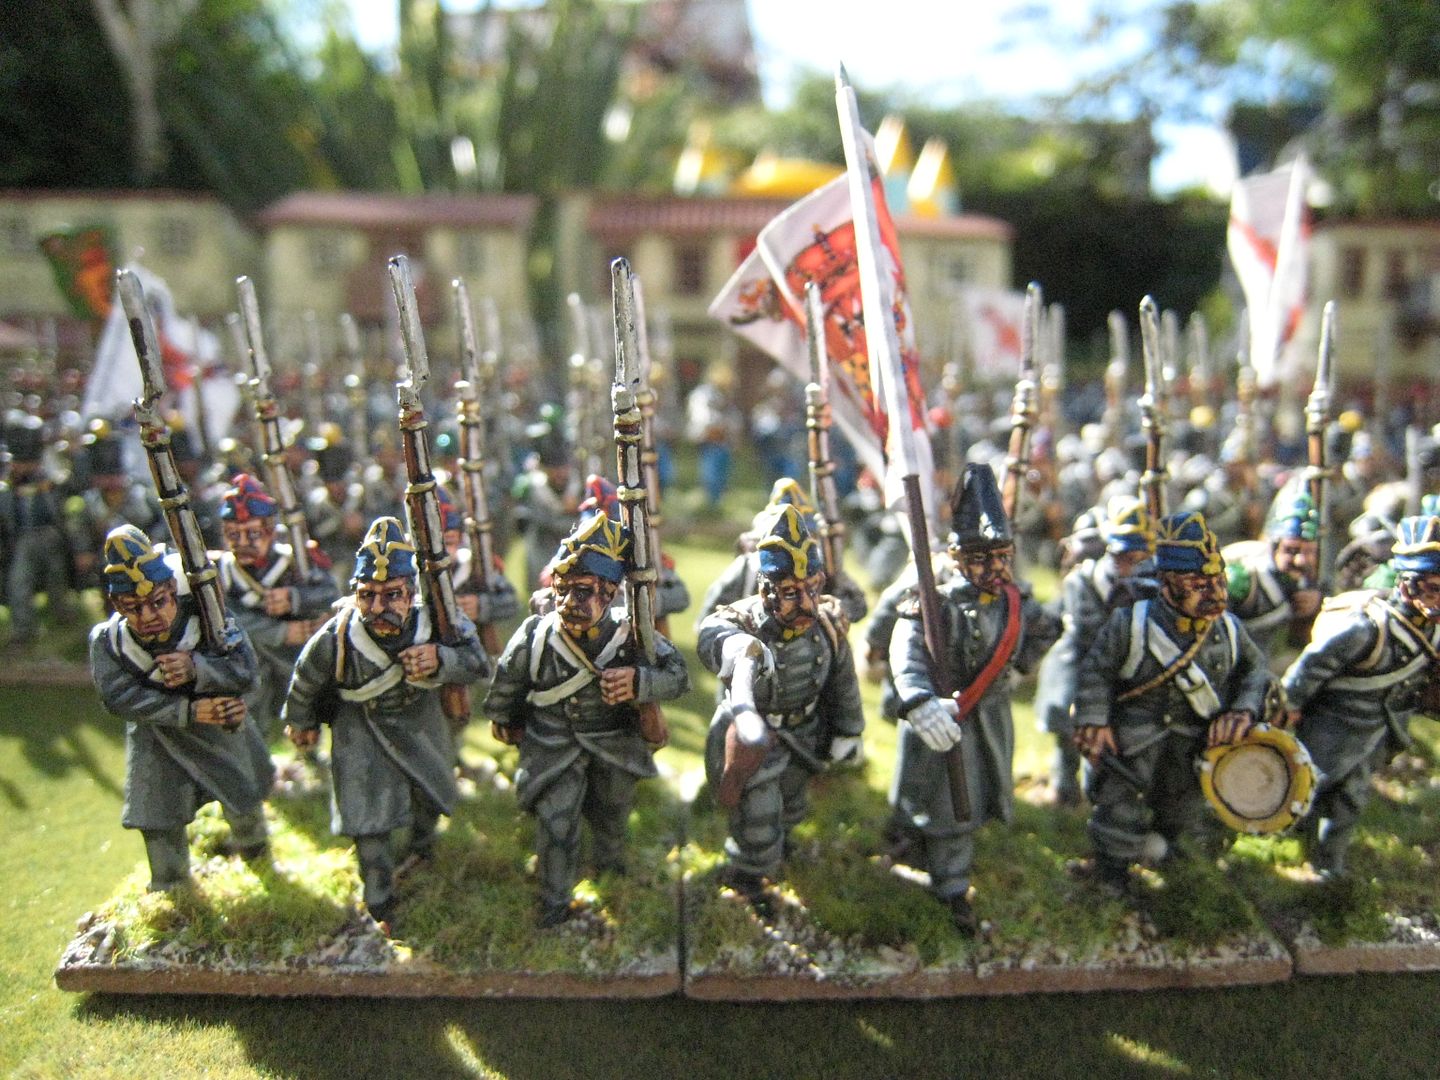
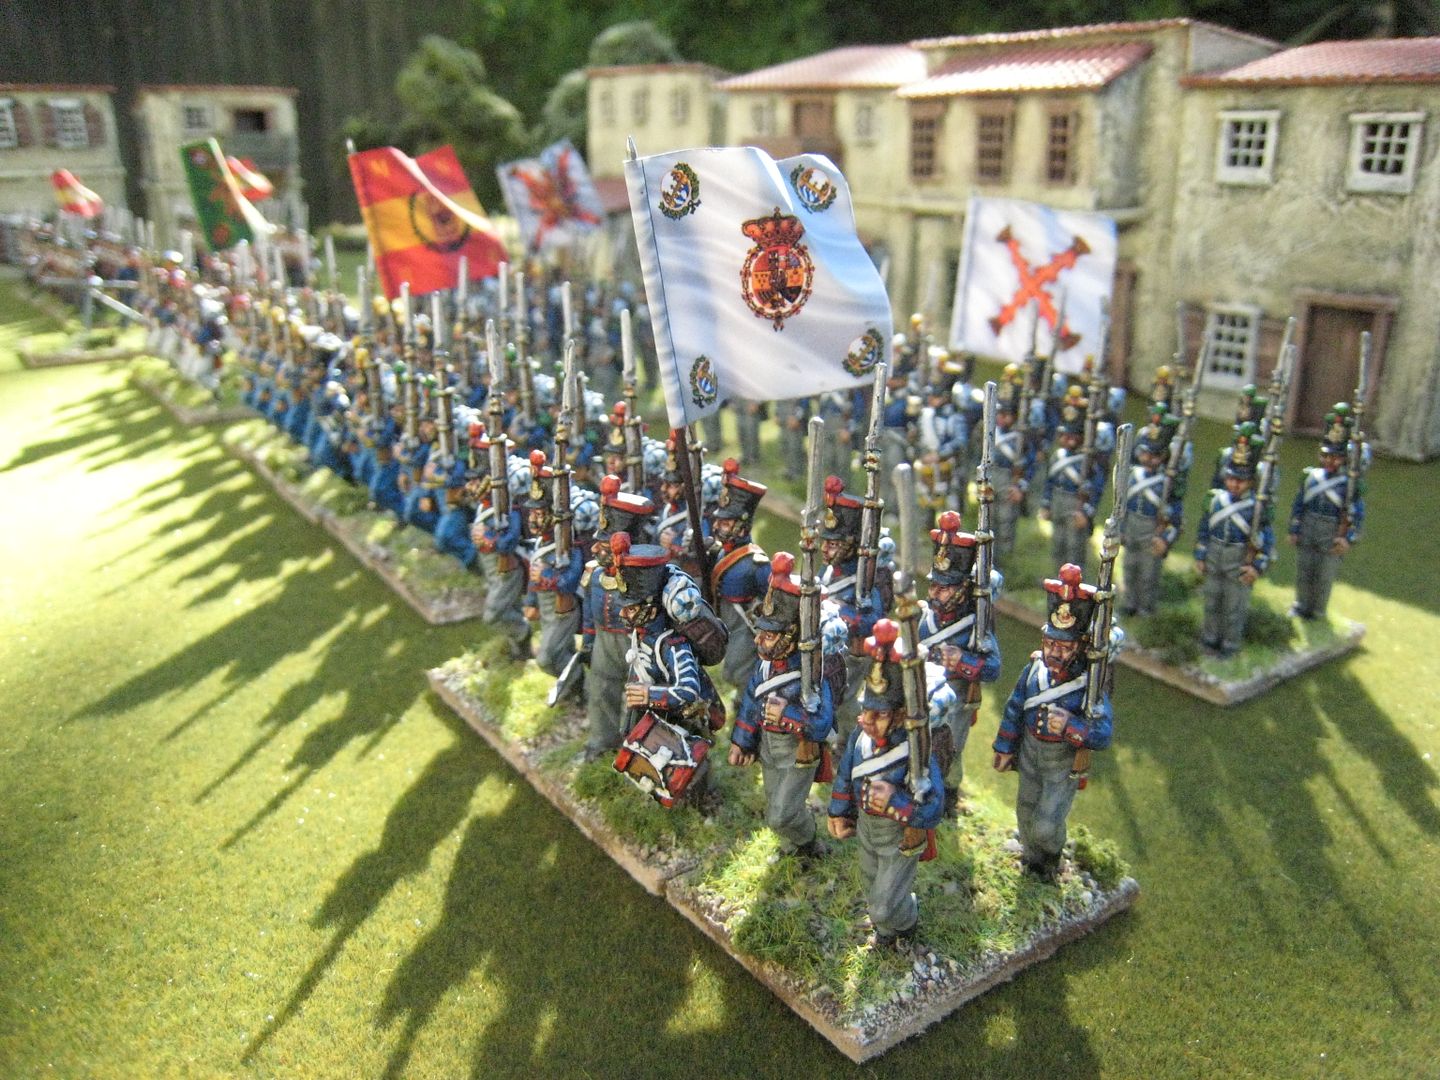
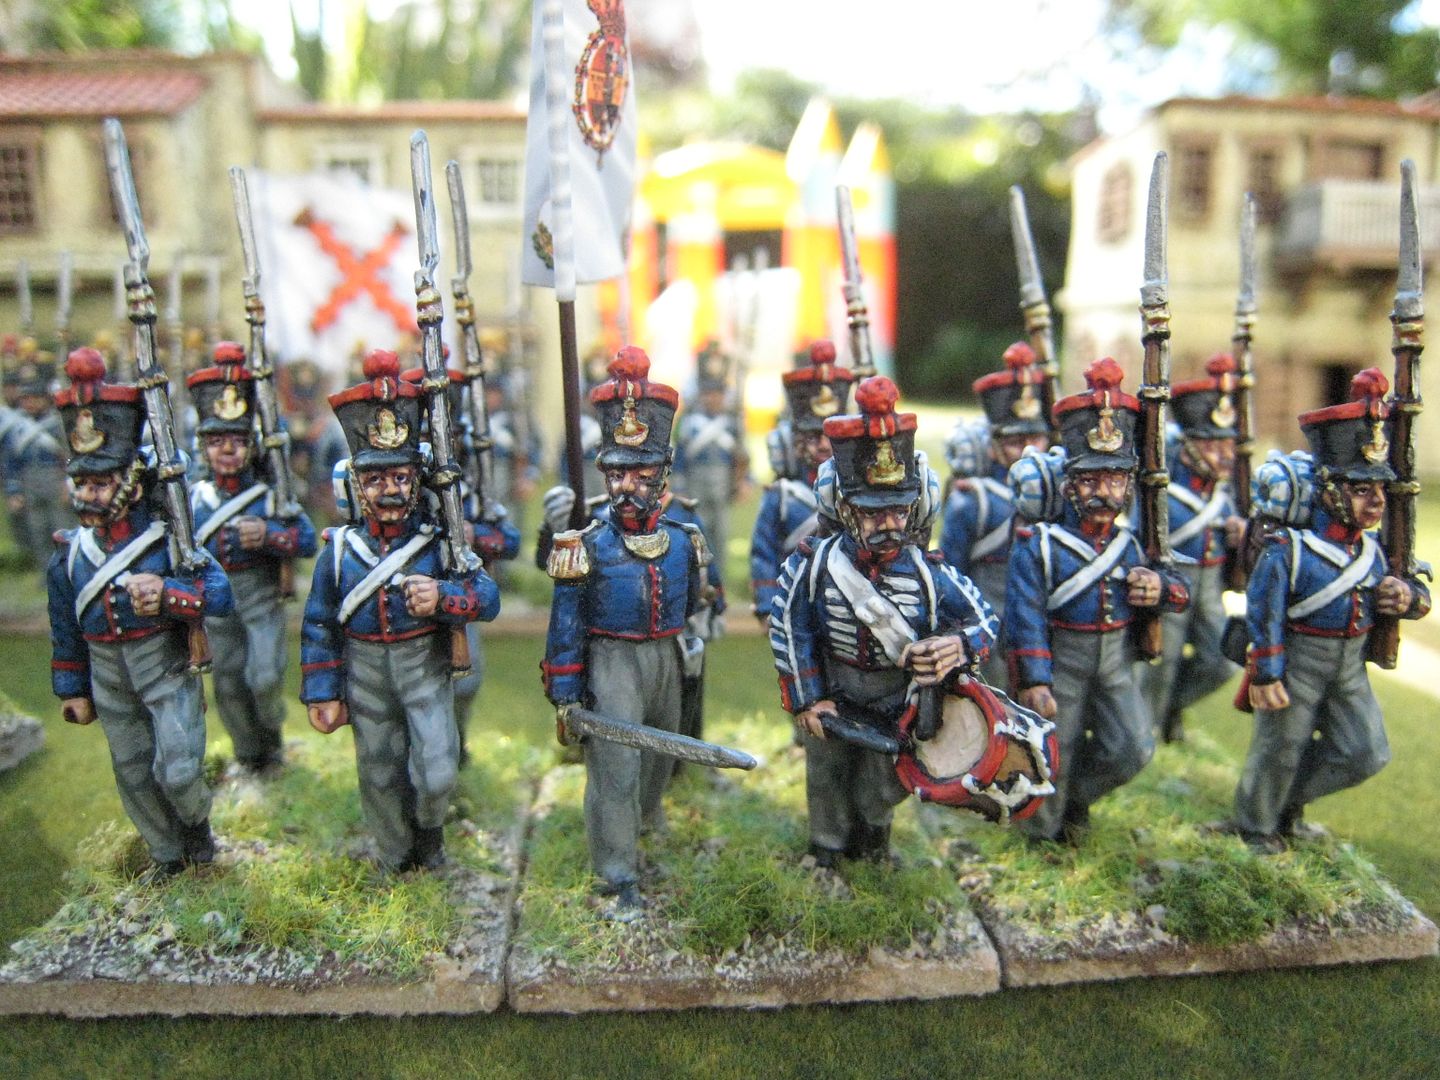
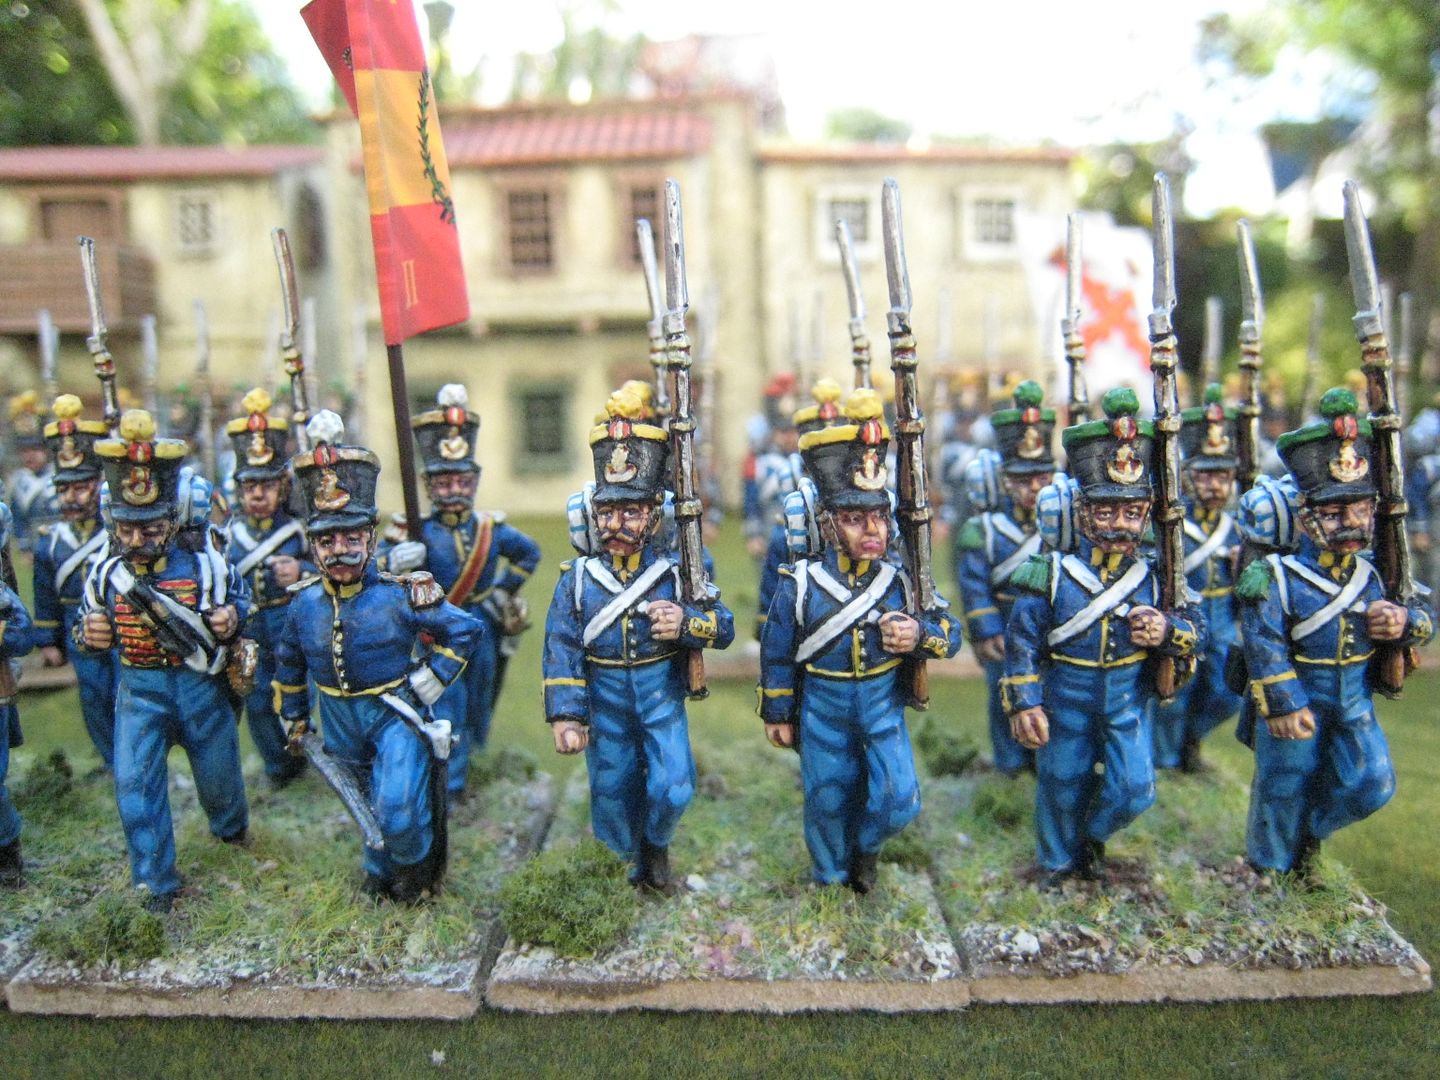
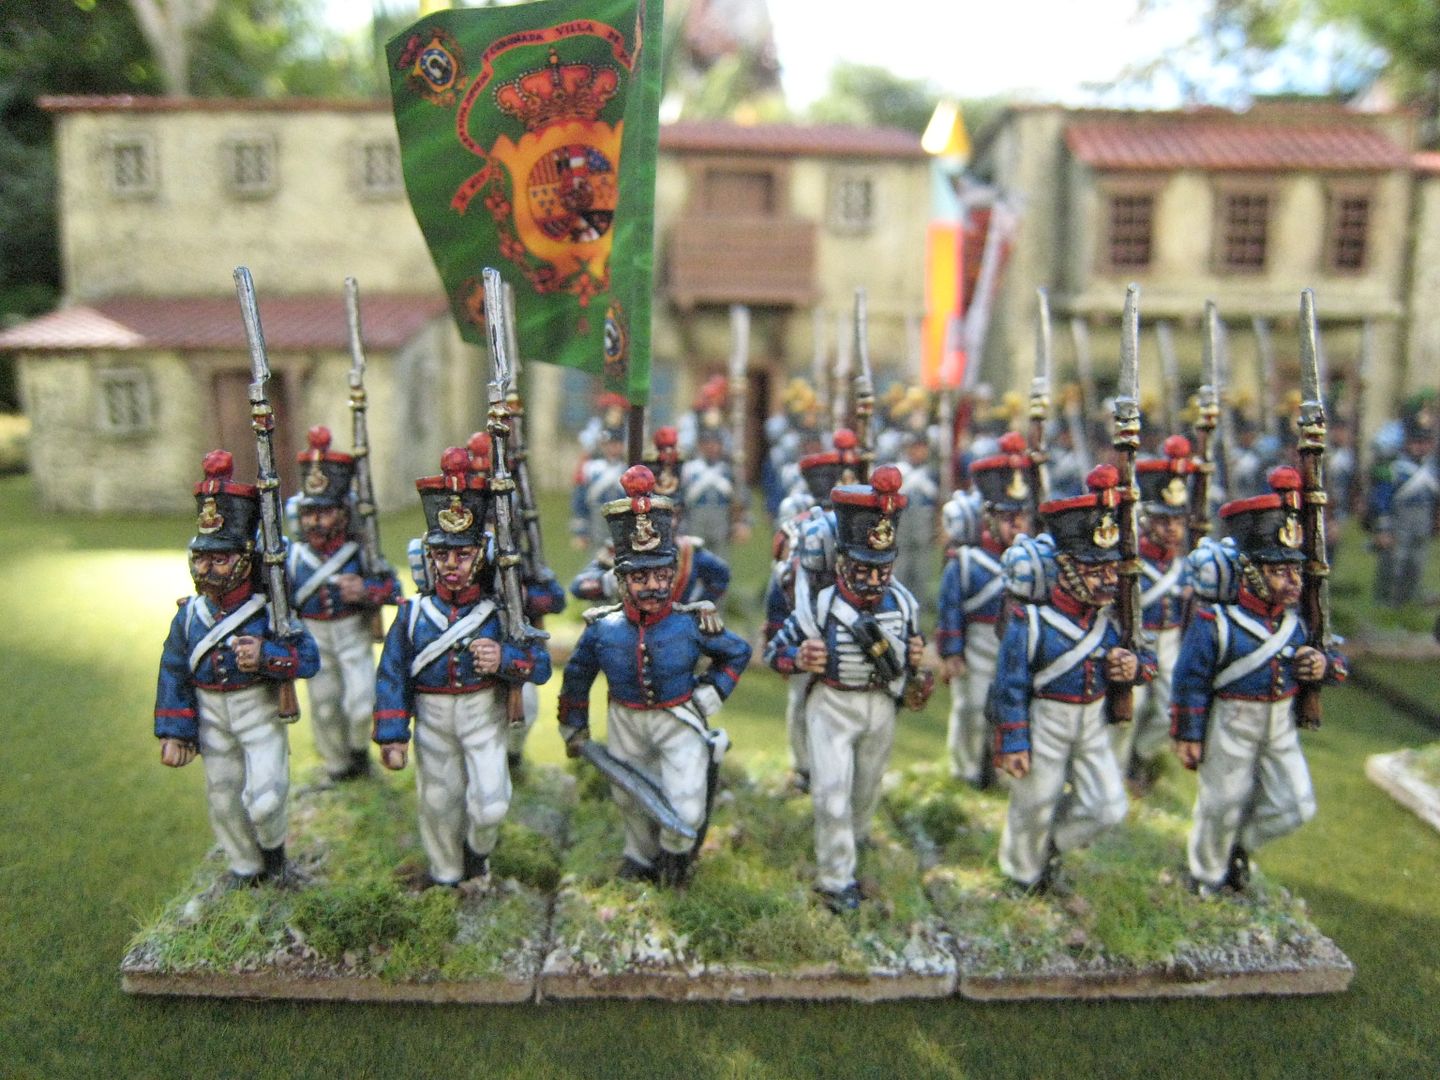
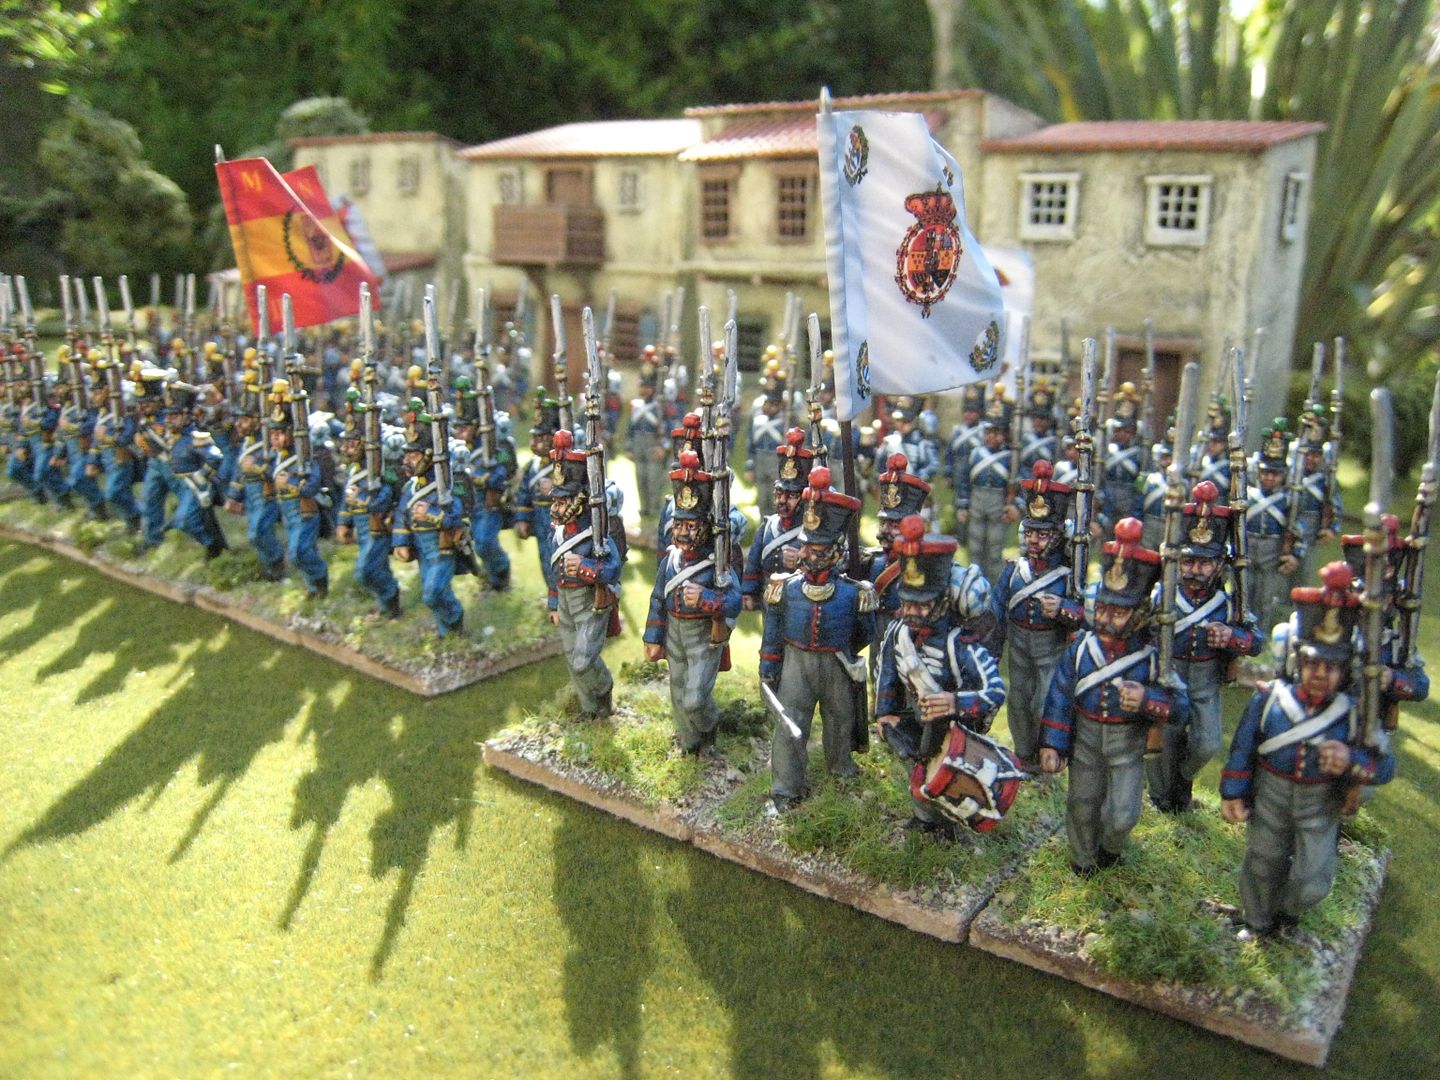
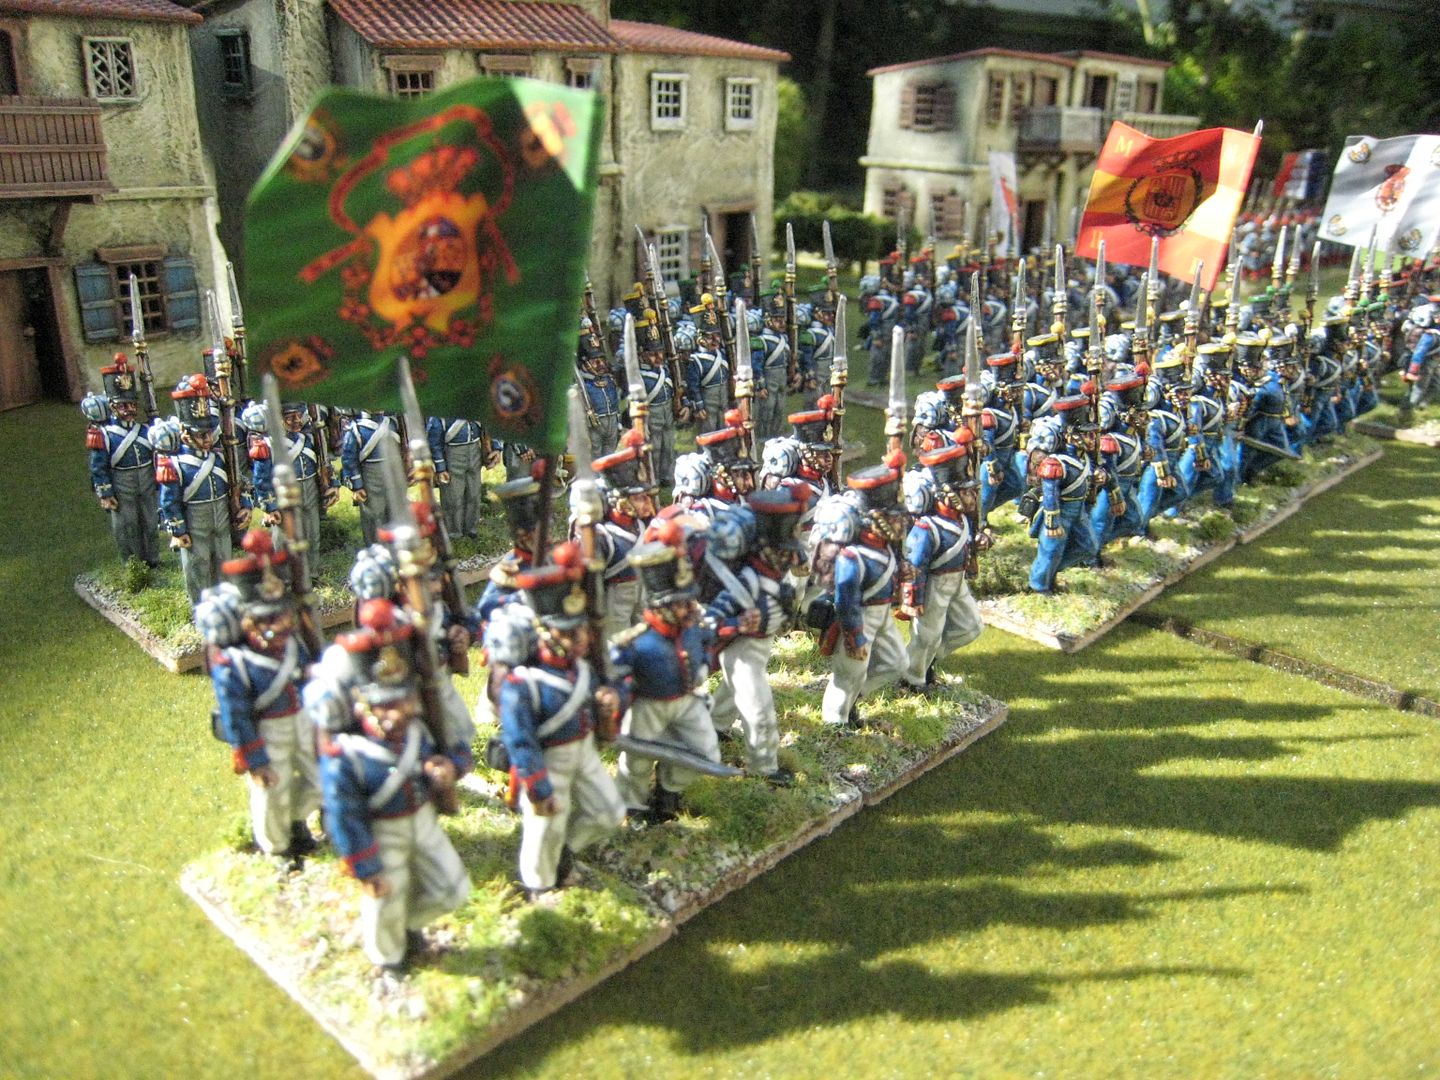
The last "parade" I photographed over the summer was my Isabelino army for the First Carlist War.  At that time (August) it was one unit short of where it is now (I painted a regiment  of lancers for the British Legion in September), but it has everything I've painted since I first fell for this period at Salute in 2009.  This doesn't seem much for almost 4 years' work, but then I have painted a decent amount of AWI and Napoleonics in the meantime as well.  The progress of the Isabelino collection can be followed here.  On the Carlist/rebel side, I only have a handful of units as yet, so they will be the main focus over the next 4 years.  For the Isabelinos, I need to do some cavalry, light infantry and finish off the British and French Foreign Legions, as well as a couple of line infantry units.  So I'm not quite done yet.


The backbone of the army is formed of 6 battalions of regular infantry: 5 line and 1 of marines.  There are two battalions of each of the Regiment Princessa (tunics) and the Regiment Borbon (greatcoats).  I have 1 battalion of the Regiment de la Constitution, and intend to add a second in due course.  The marines are a favourite unit, because of their deep blue uniforms and beautiful pink flag.  The infantry are painted in a mix of white summer trousers and grey winter ones.  There is nothing scientific behind this; I just wanted some differentiation between the units.  I don't yet have any light infantry, which wear rather smart dark green piped/faced yellow uniforms.  There's also the Guard, in snazzy scarlet trousers, that I would like to do one day.  
Marines


La Princessa
Regiment de la Constitution


After the regular army units are the provincial militia regiments.  These were smaller units raised on a city by city basis and which supplemented the regular army.  I have two of these, the Madrid and Pentevedra militia, or 12 figures each (the flank companies would have been detached to form the Royal Guard).  Finally, there is the Zaragosa National Militia.  The national militia was different to the provincial militia, and was more like an urban-based paramilitary and police force.  Their primary function seems to have been to defend the cities from Carlist attack and sedition.  I chose the Zaragosa because of its attractice uniform of sky-blue trousers and yellow piping.  These units add some colour to what would otherwise be a largely over-coated army.

Pontevedra Provincial Militia

Zaragosa National Militia

Madrid Provincial Militia


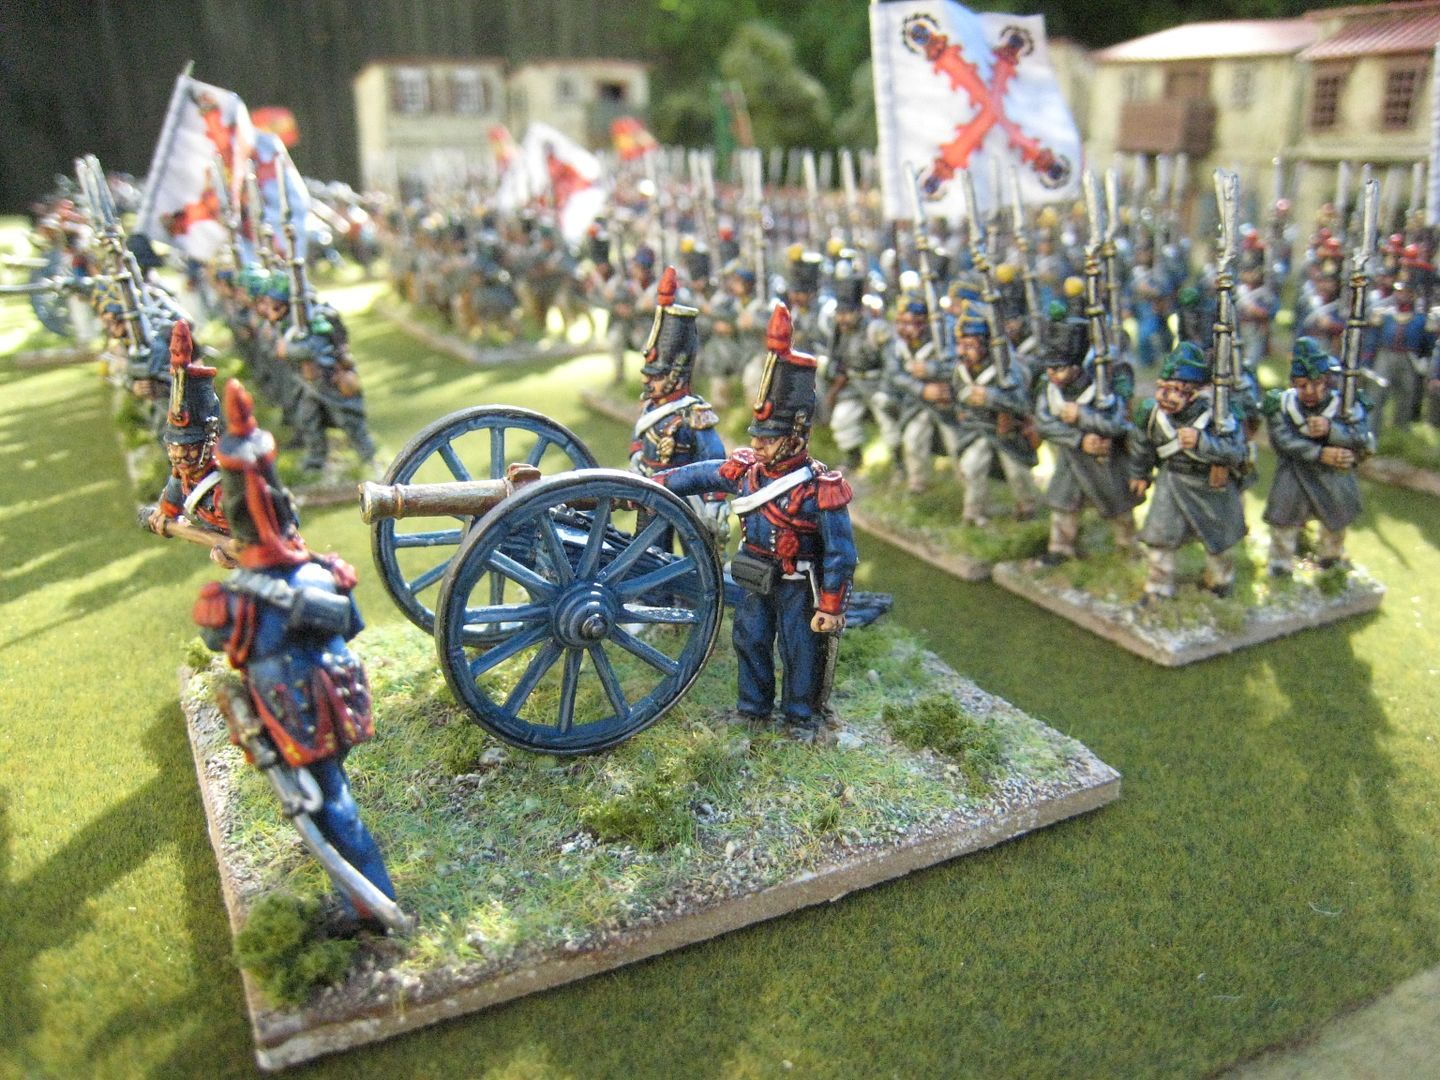
I don't have many guns as yet: 2 foot artillery crews and 1 horse artillery.


All the buildings are made by Paul Darnell/Touching History.  Flags are from Adolfo Ramos and the figures are, of course, from the Perry Miniatures range.  I hope these photos show what a colourful period the First Carlist War can be.  Over the next couple of days I'll post the remaining photos on the foreign auxiliary troops. 

Thursday, 13 December 2012

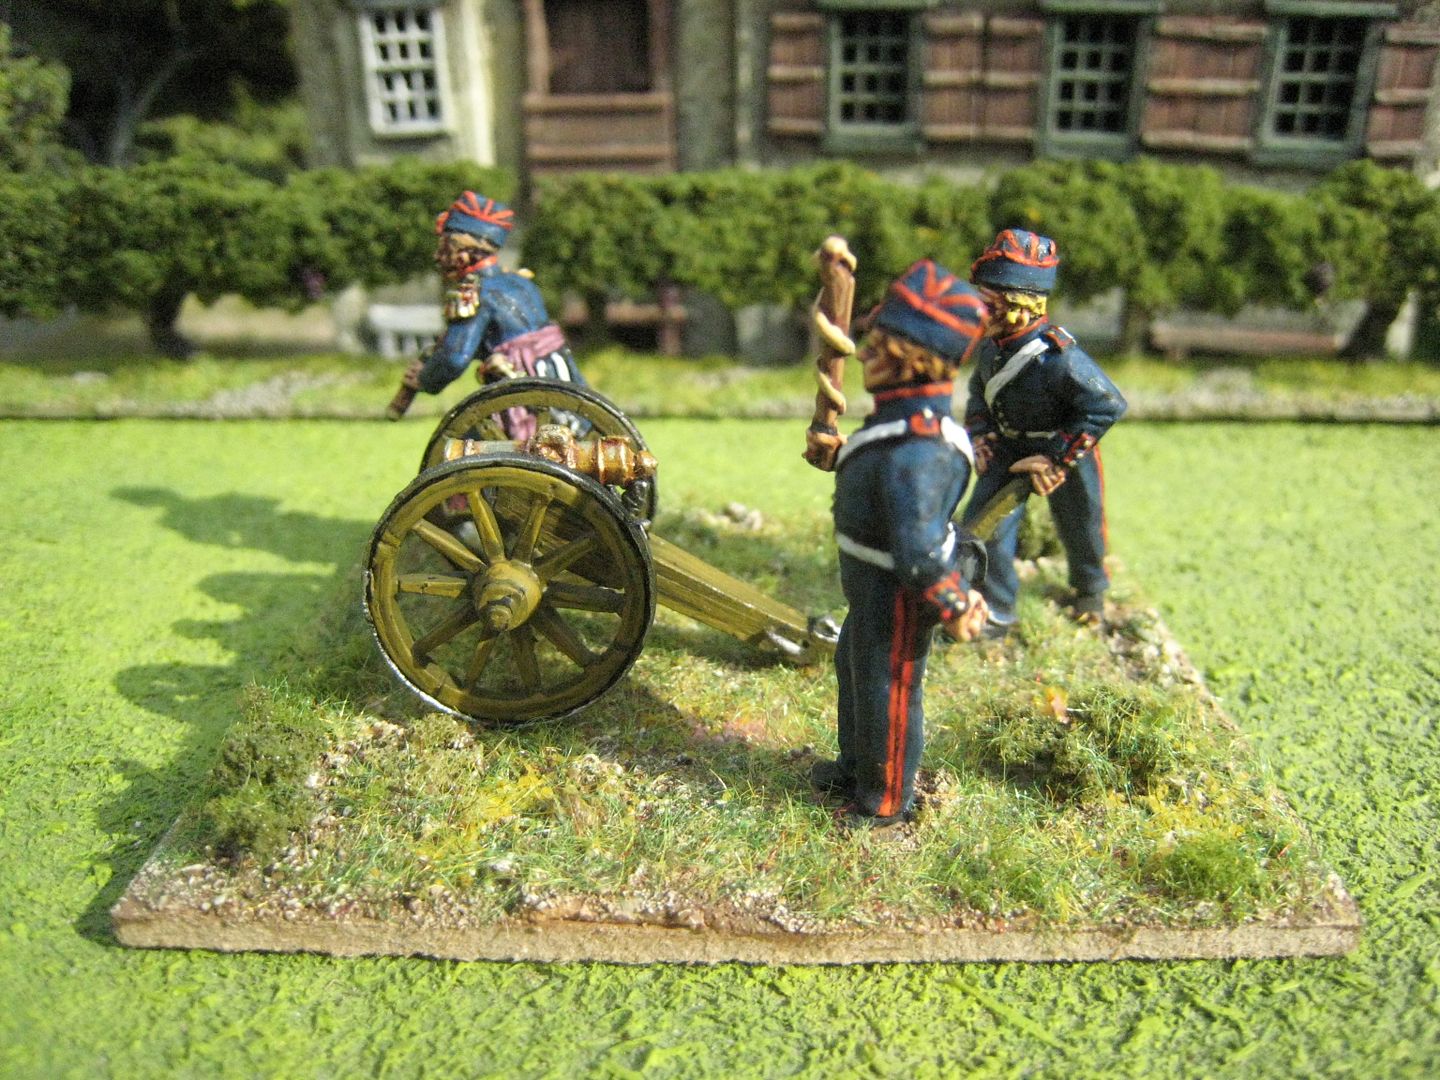
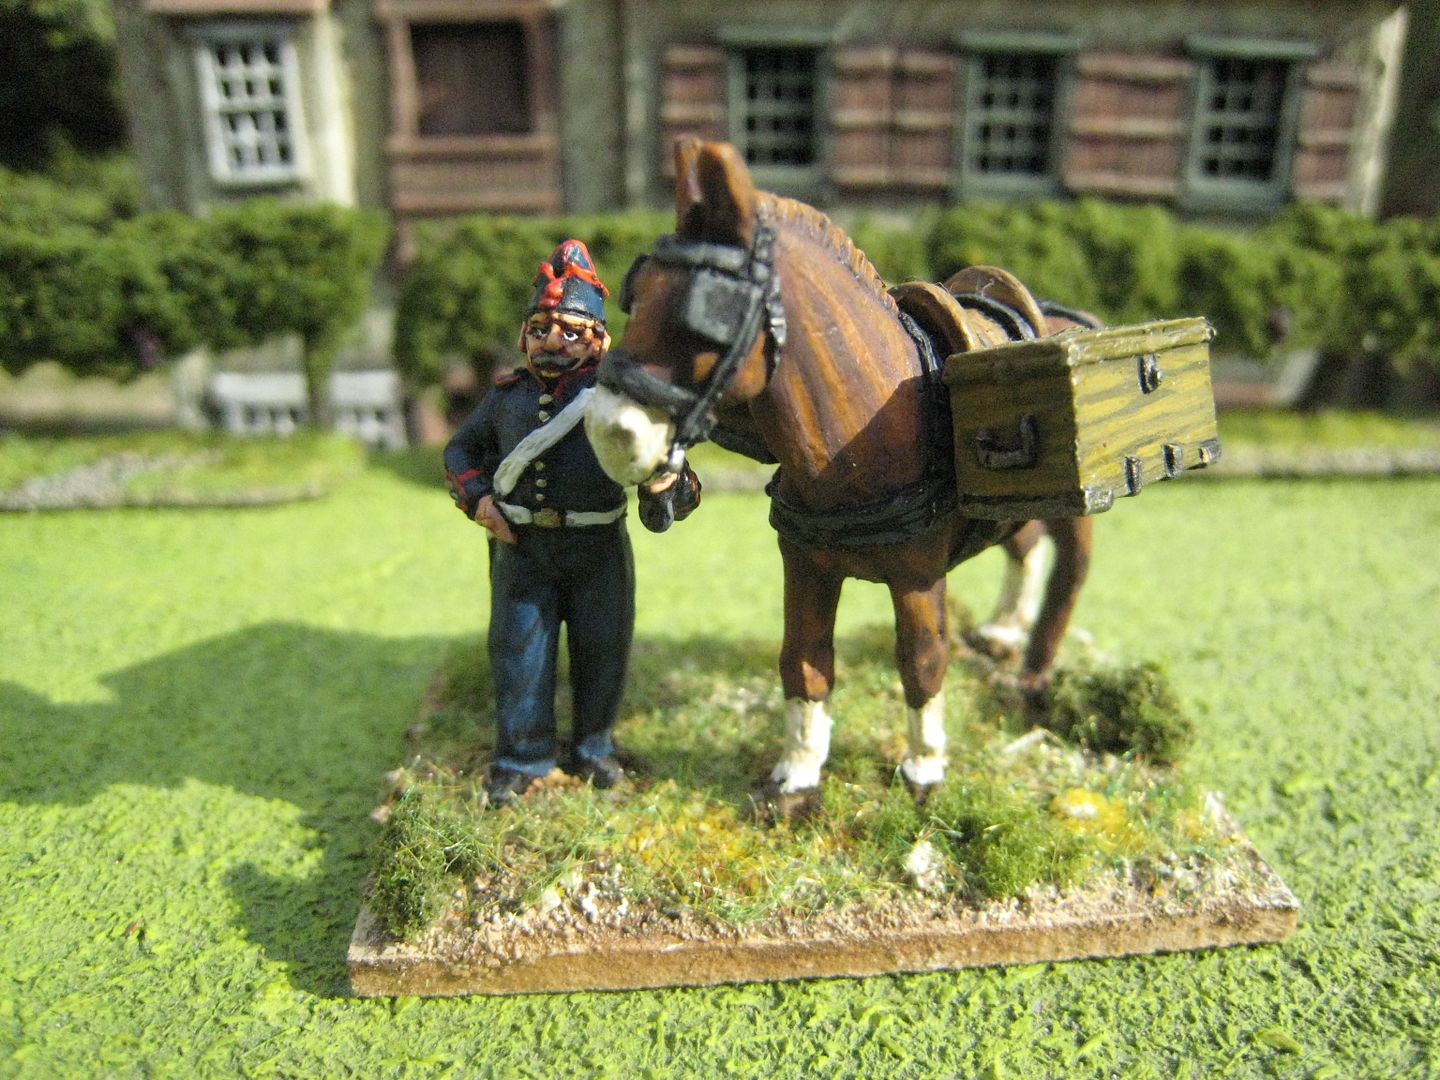
French Foreign Legion Artillery (1)

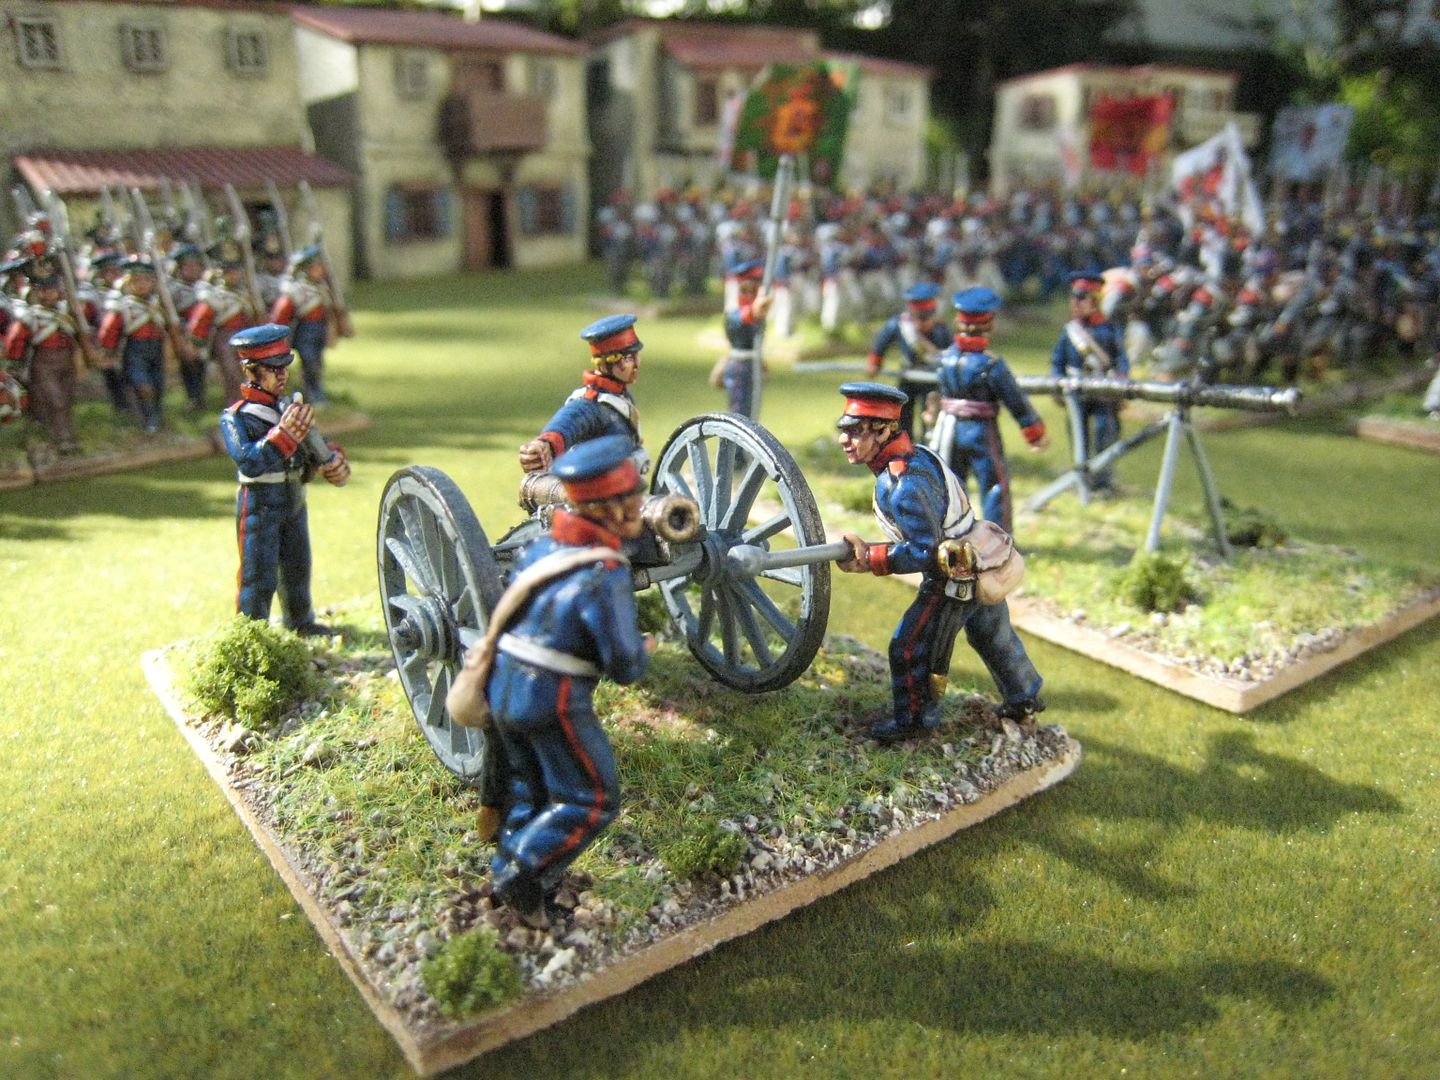
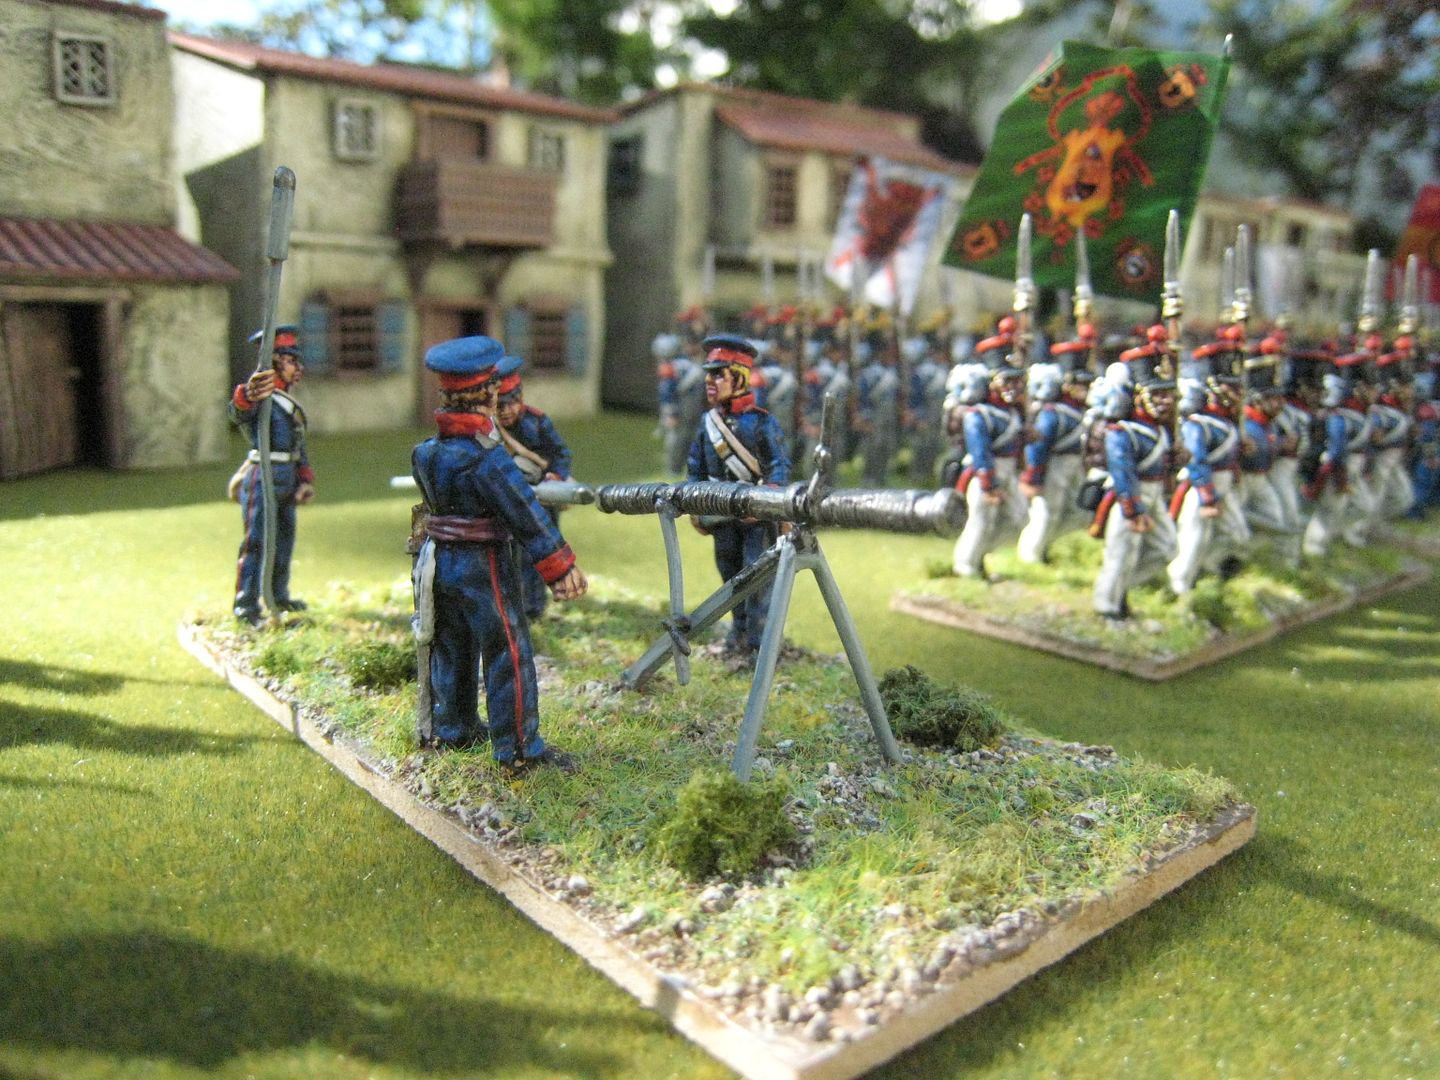
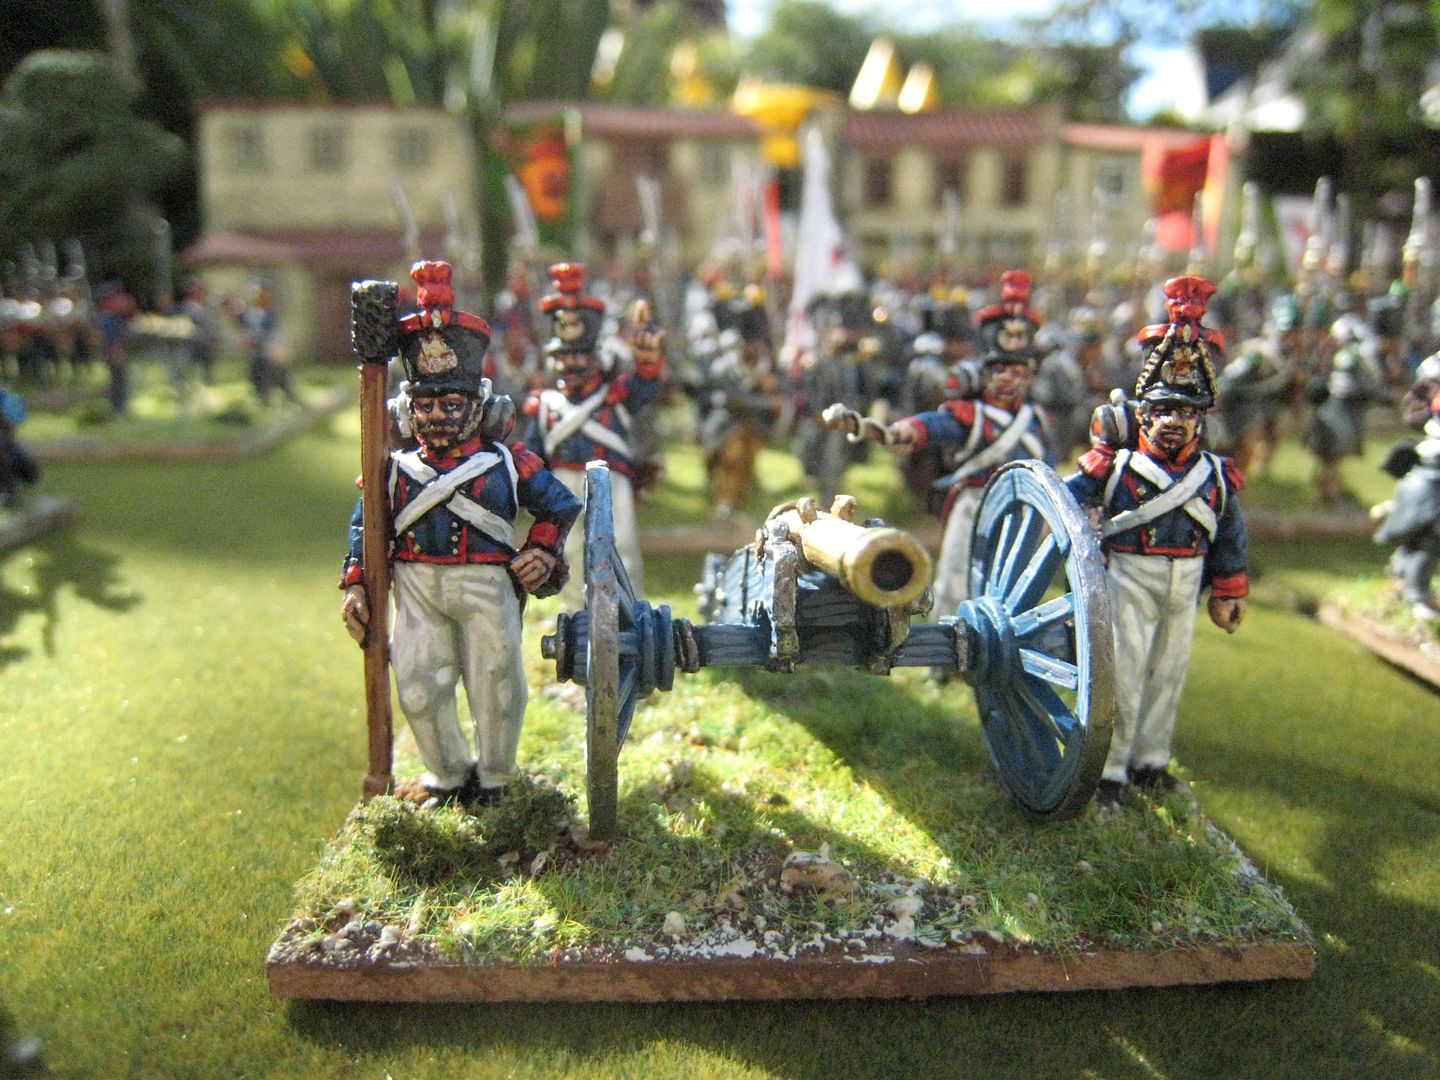
A few months after the FFL arrived in Spain, its commander, Colonel Joseph Bernelle, decided to form an artillery battery and a unit of lancer cavalry.  These appear to have been staffed from existing legionnaires, so presumably were trained from scratched.  The artillery battery was equipped with small calibre mountain guns.

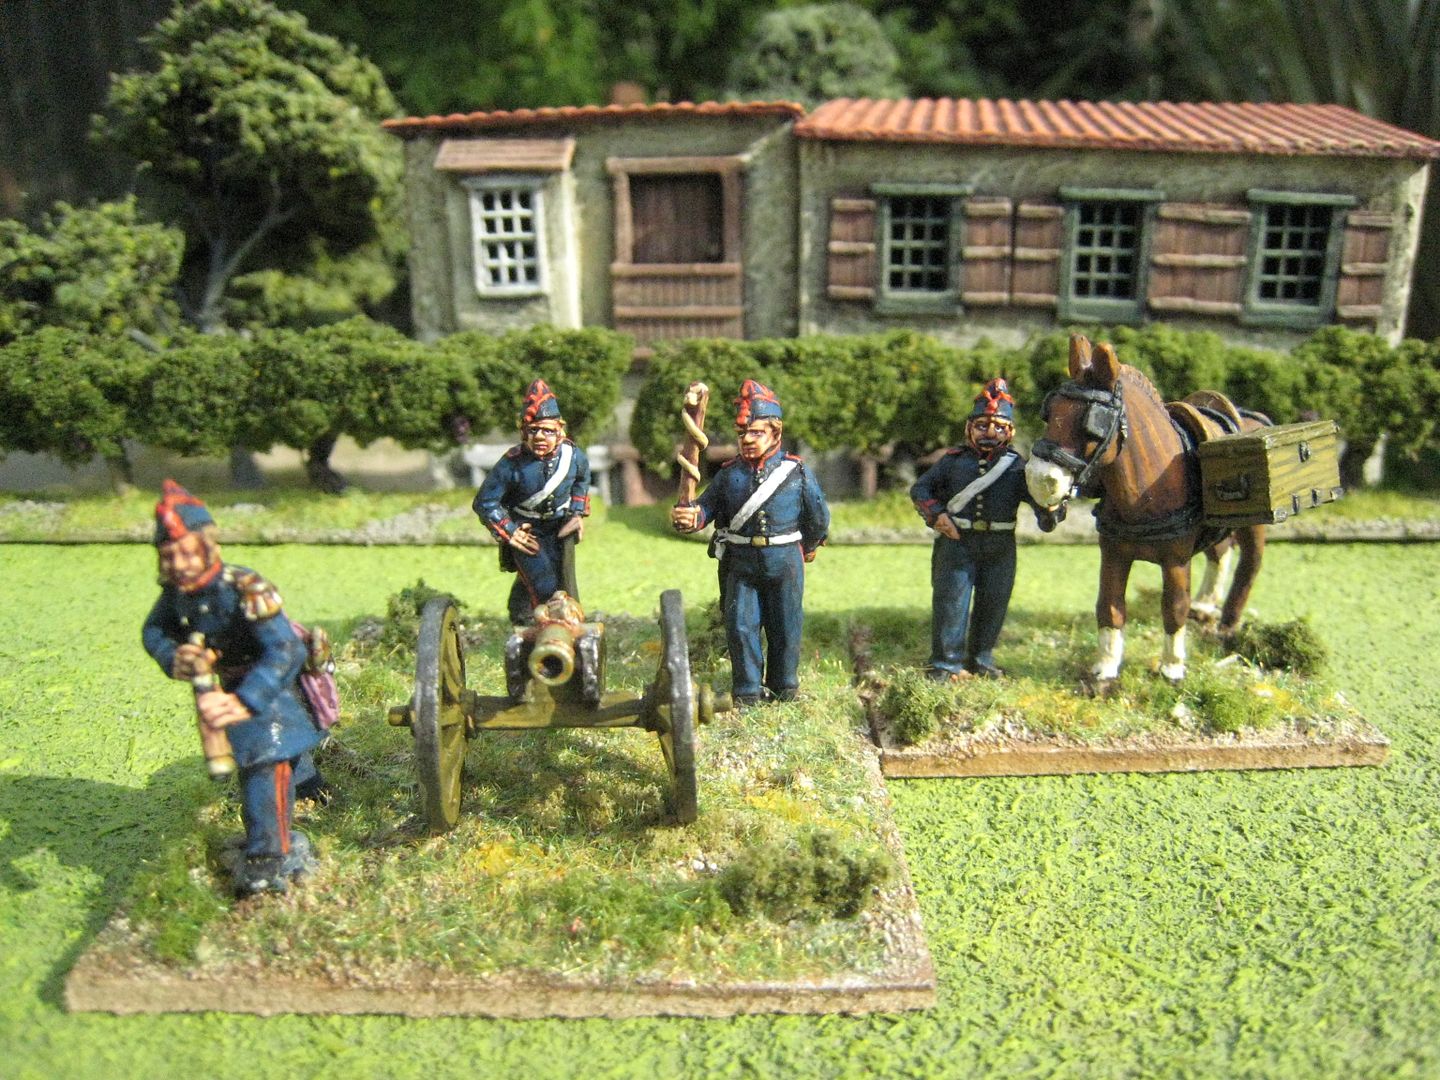
I used this pack to try out some new Vallejo paints for the colour of French artillery woodwork.  When I last painted a French cannon (a Foundry Napoleonic set) I wasn't really happy with the colour, despite the use of the Foundry Napoleonic French artillery palette.  "French Artillery Green" is one of those colours that seems to change all the time.  Apparently the opriginal mix was 1 part black to 100 parts ochre, but I've seen many model French guns on the internet which are far more "green" than "ochre" (on the Perry Miniatures site, for example).  I just don't know how accurate this is, although there are guns at the Tower of London that look pretty similar and I now lots of wargamers have gone for a more apple-green colour.  I looked at the paintings in the (admittedly older) Ospreys and decided I wanted to have a more olive colour that captured my traditional idea of French artillery green.  As I say, I may well be behind the times a bit here. 

I decided on Vellejo paints, which I usually don't use on account of their pipette delivery system (which to me seems rather wasteful).  For the gun here I used "Yellow Green", "Dark Yellow" and "Japan Uniform WW2", variously mixeed together and with black added for the original undercoat.

4 figures and a mule. Painted May 2012.


Tuesday, 4 December 2012

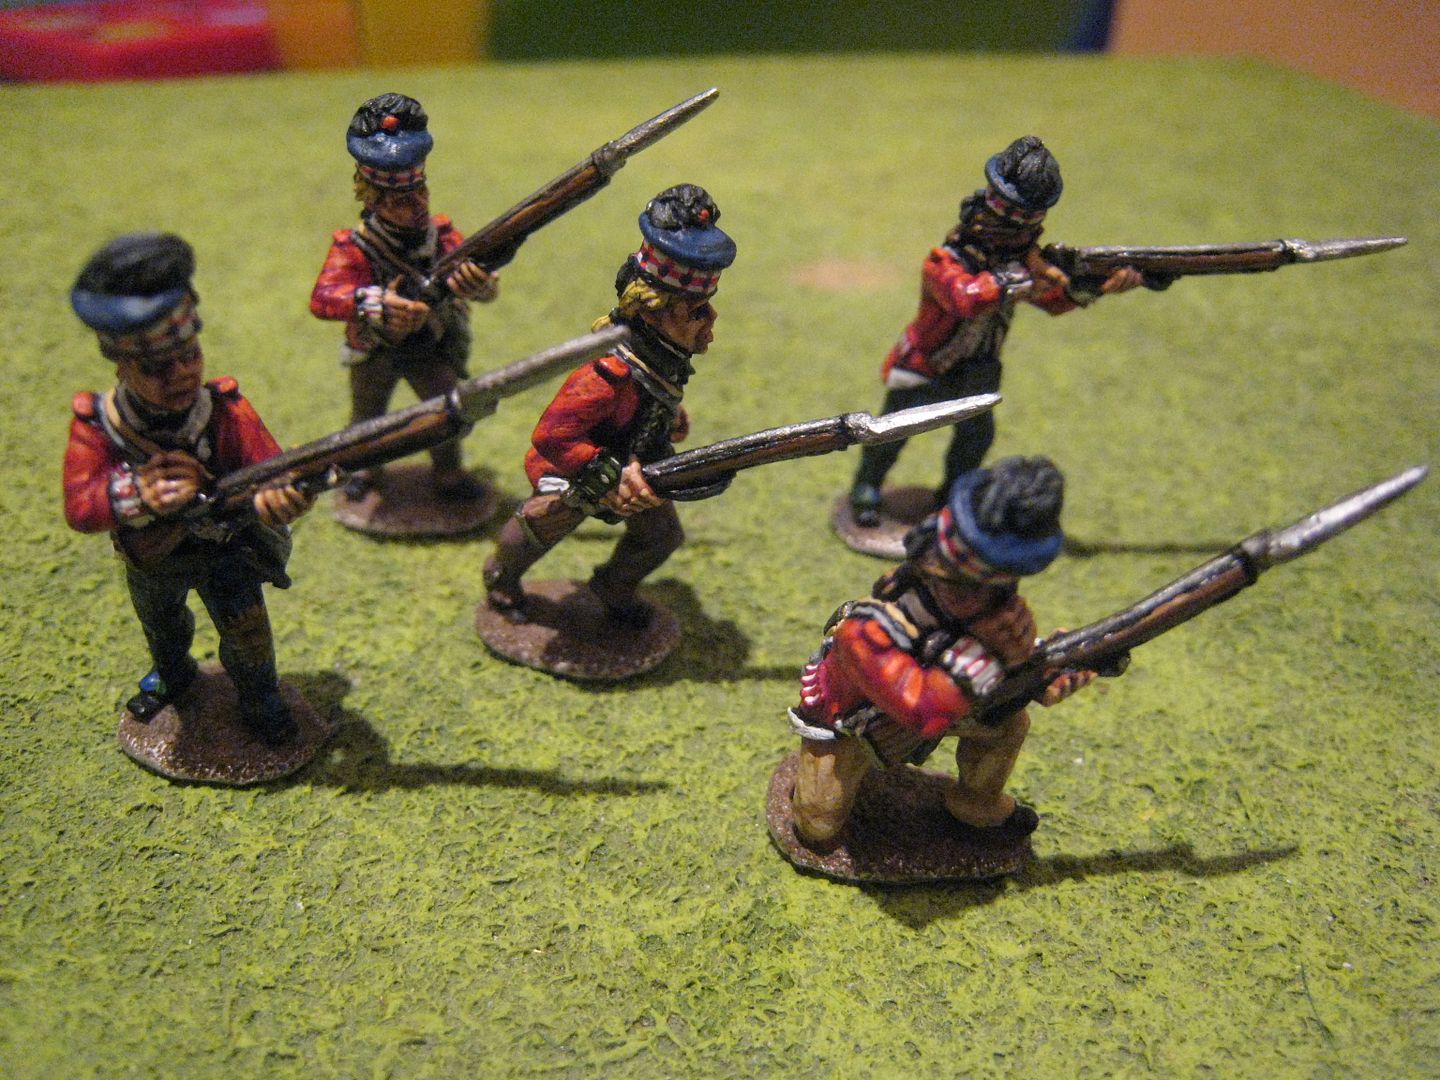
AWI highlanders (5)

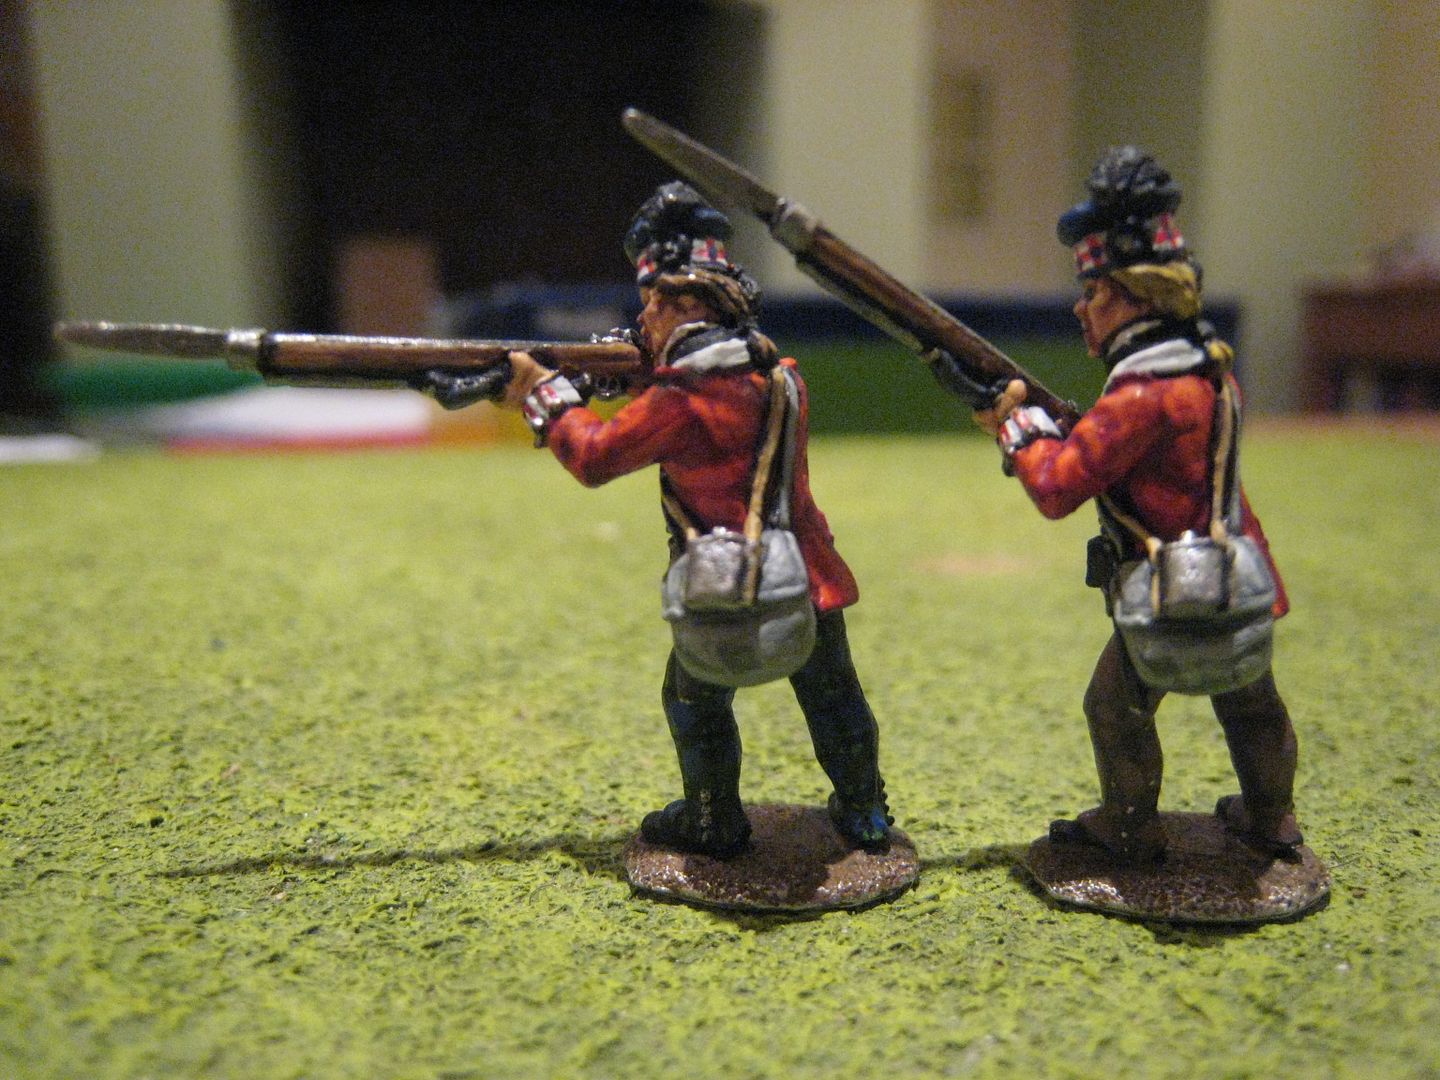
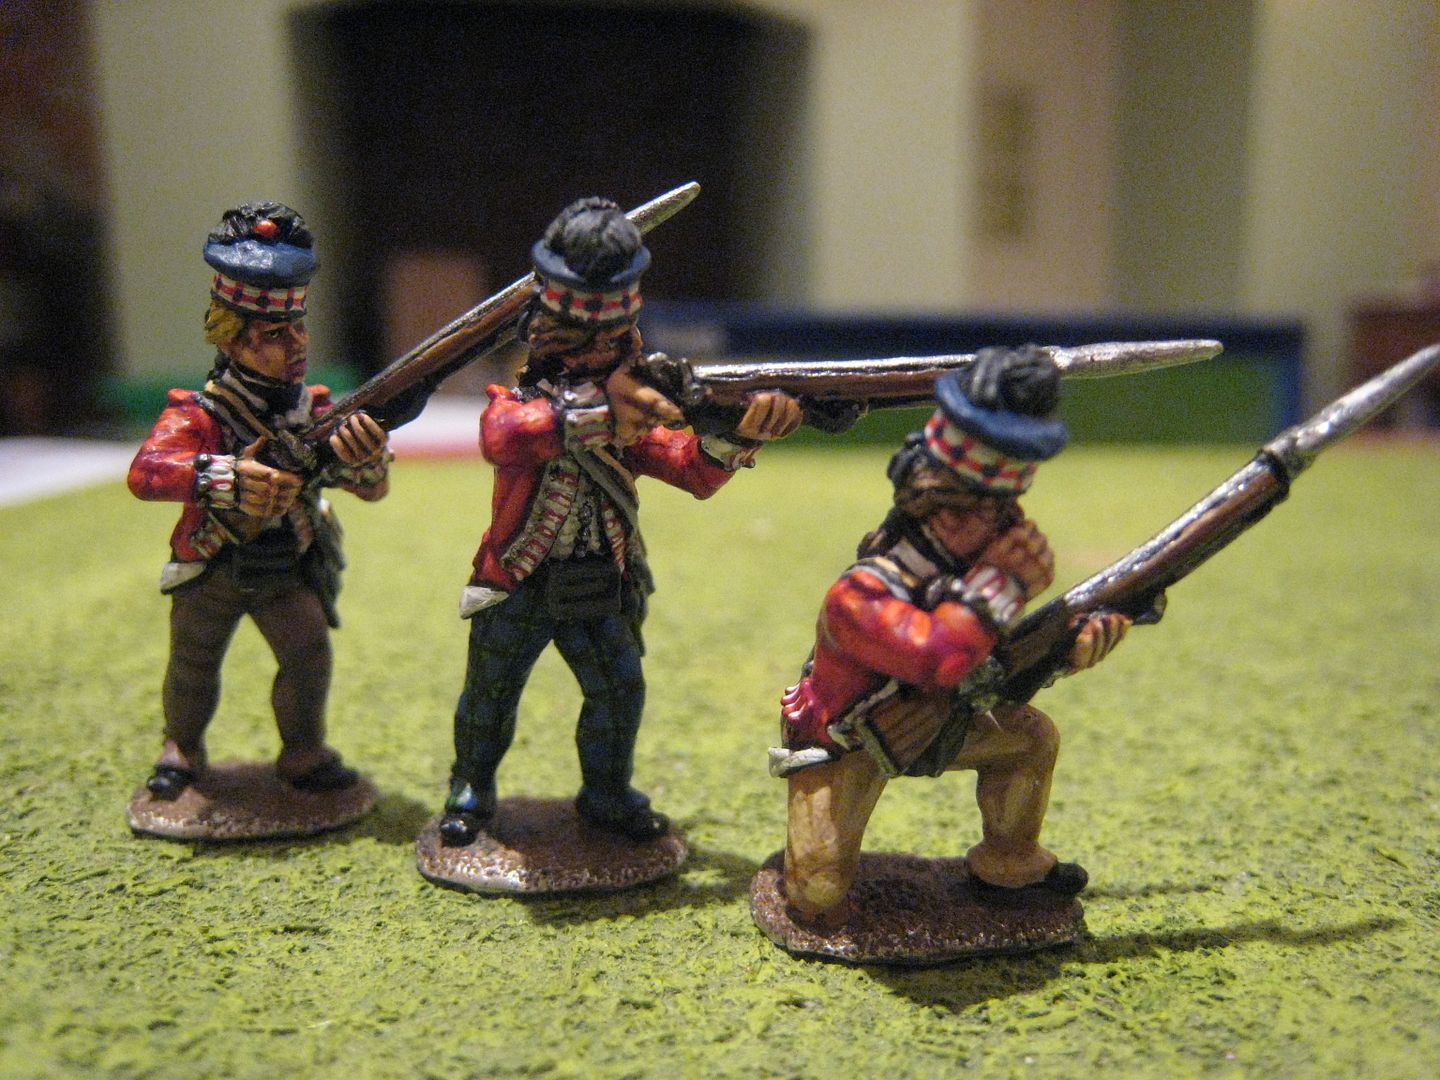
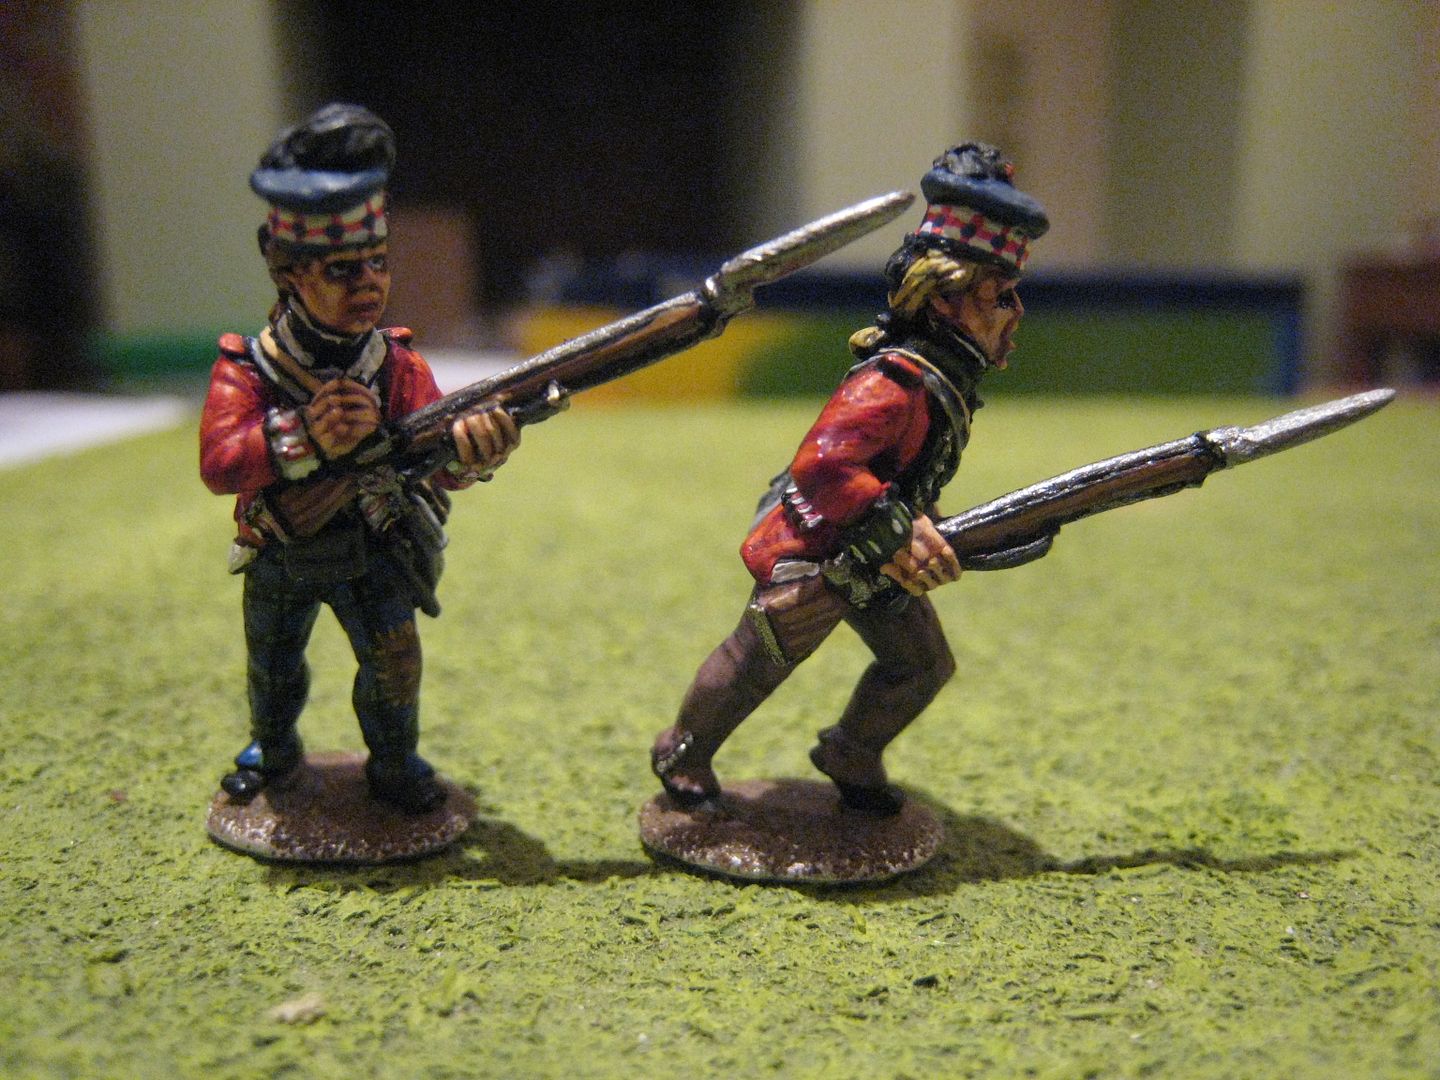
I tried waiting for the sun to come out to take some decent pics of the finished figures (or try to) but it wasn't happening so here are some artificially lit photos.  Anyway, here are the 5 highlanders with everything finished.  I find that when I do the basing I usually find some paint that's rubbed off and needs touching off - with these figures I suspect it will be the highlighting on the feathers.

The black leatherwork, cartridge case and feathers were highlighted very discretely with Foundry "Charcoal Black 34B and C".  Buttons and other pewter/silverwork/buttons were painted with Foundry "Gun Metal 104C".  Finally, various bits were touched up and some blacklining redone.  I said that I'd mention the grey haversacks.  I've never really found a satisfactory palette for this item of kit.  Troiani paints it in a variety of browns and beiges, Mollo has almost pure white and Embleton in his Ospreys has a sort of dirty grey colour.  I've not managed to nail "natural canvas" but when I first started painting AWI British infantry I went for the Embleton dirty grey.  Following Embleton paintings does carry some risk - I find he dulls his colours quite a lot, especially in his later Ospreys, and his lighting can be a bit iffy so God knows what colour his grey haversacks are supposed to represent.  The colours I've used here are Foundry "Stone 57B and C", and then a further highlight of C mixed with white.  In this photo the colour does look quite light, so maybe it's ok.  I'm actually experimenting with different haversack recipes at the moment with my Bunker Hill rebs.
Now I just need to think about how I'm going to base the 71st figures.  Once I've done a bit of reading and studying I might post my thoughts on the smaller scale actions that the 71st fought in.  On the painting table at the moment are the remaining 8 figures of the ACW Bunker Hill packs I bought at Salute and some Eureka French civilian types.  Once those are out of the way I need to paint more AWI highlanders and some French 1815 artillery that have been in the queue for ages.  This week I'm hoping to post about the remaining First Carlist War units I've painted over the past couple of months.  I have some catching up to do with posts, which is good as work is going to be bad and it's Hugo's third birthday in mid-December (so he's old enough how to have multiple weekend parties with different groups of people....).

Saturday, 1 December 2012

AWI highlanders (4)

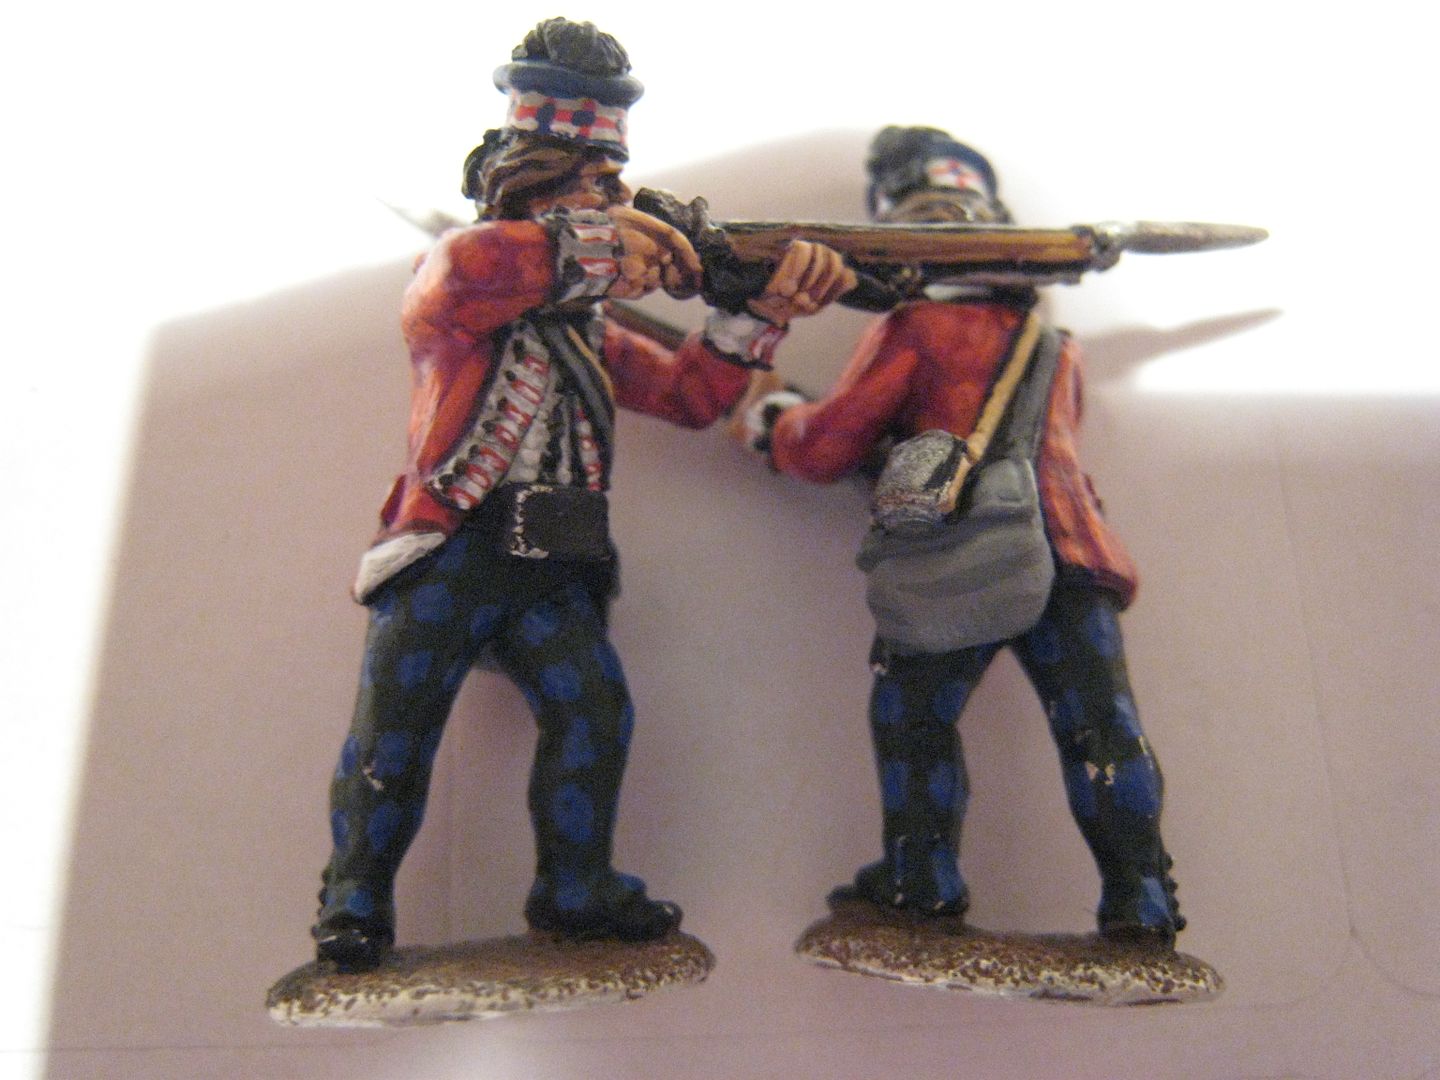
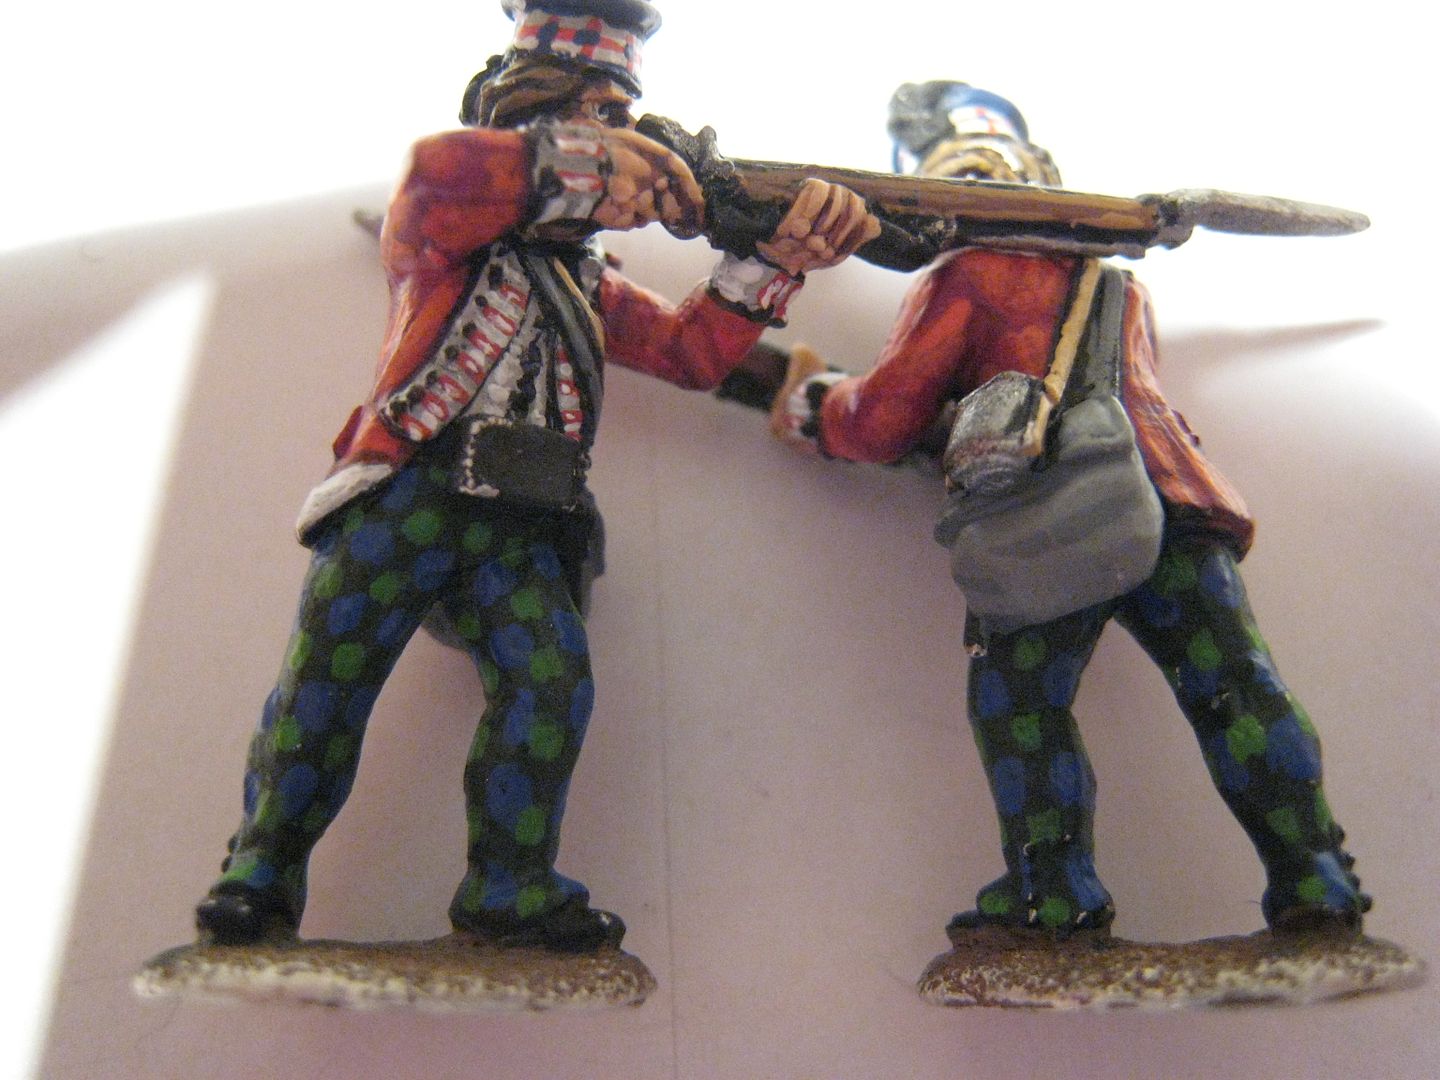
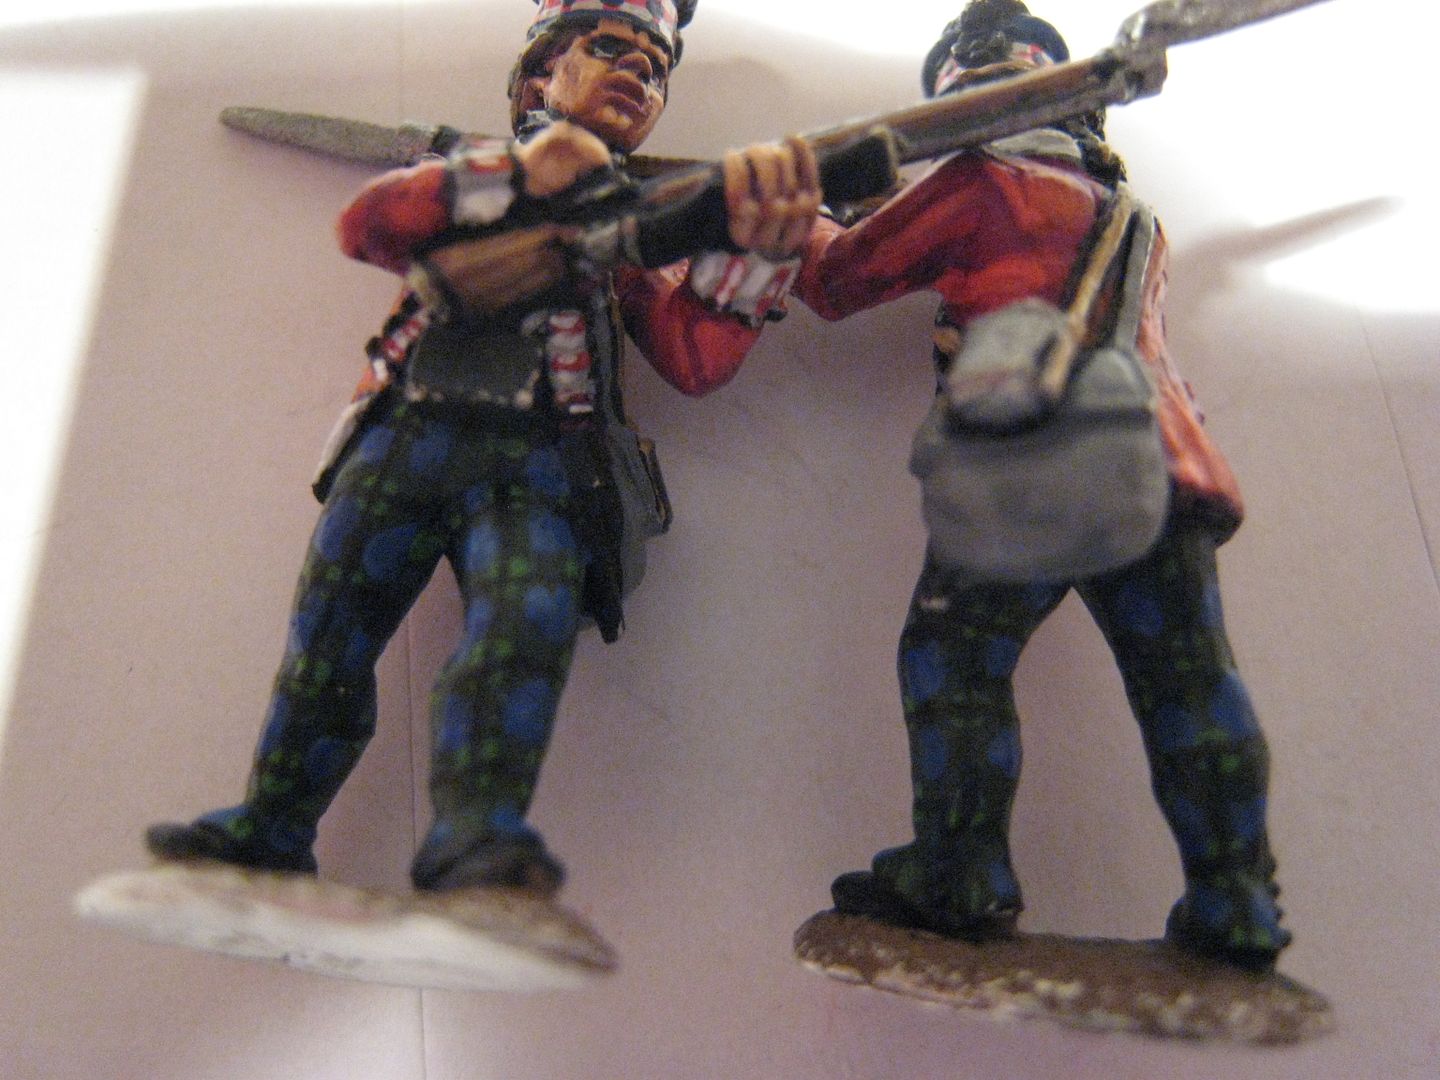
I finished the tartan trews this evening so I'll just post about that and then leave all the finishing off for tomorrow.  I don't think painting tartan is actually that difficult.  Yes, you need a steady hand and a very fine brush, but otherwise it's just a question of keeping one's nerve.  It takes time, but I don't think technically it's as difficult as some people think.  I think highland socks/hose is way harder to do.  Anyway, this is my recipe for government sett, the standard AWI tartan.

As I mentioned before, the base coat I use is very old GW "Dark Angels Green".  The next stage is to place dark blue squares in a check formation from top to bottom of the trews.  It's very important that these form convincing lines down the trousers - bear in mind the shape of the leg and that it's not just a question of a perfect vertical.  On these two figures, one of the legs is bent forward, so the checks need to follow that incline to look natural.  The blue I've used is Foundry "Deep Blue 20C".  It looks quite bright in the photo, but actually against the dark green background it does look much darker - I lost track of the checks a bit when I put the green ones in.  I always find that placing the first blue check on the knee acts as an anchor and it's easier to form the vertical lines once that one is in place.  I also find that the effect is increased if you don't just apply full checks where there is space to do so but follow them through right to the edge of the trews - the final check at the belt might just be the smallest dab of paint, but it still suggests that the pattern is continuing. 

The next stage is placing a line of green checks in the spaces between the blue ones.  This is like a "X" - imagine the points of the x are the blue checks and in the middle goes the green one.  The shade of green is entirely dependent on what look you want your tartan to have.  If you are going for an ultra-realistic dark blue/dark green blend, then use a medium green.  I've chosen a green which on its own is pretty bright - Foundry "Bright Green 25C".  However, the brightness will be toned down substantially once the black lines are painted through it, so I use this colour in order to maintain a clear distinction between the blue and green check.  Anything darker, and I think it would all merge into a bluey-green mess (which as I say is probably more authentic and some people may prefer that look).
Once the green checks are in place, the final stage is the cross-hatching in black, linking up all the green checks both vertically and horizontally.  This is one reason why I don't think the bright geen I use is inappropriate - the black cross-hatching dulls this colour quite a bit.  Obviously, the black lines need to be as thin as possible, and this is when you discover whether the blue and green checks are aligned - if not, the cross-hatching will srat to look wavy rather than straight.  I confess I didn't quite get it right in these two figures, but luckily the mistakes are hidden around the back... 

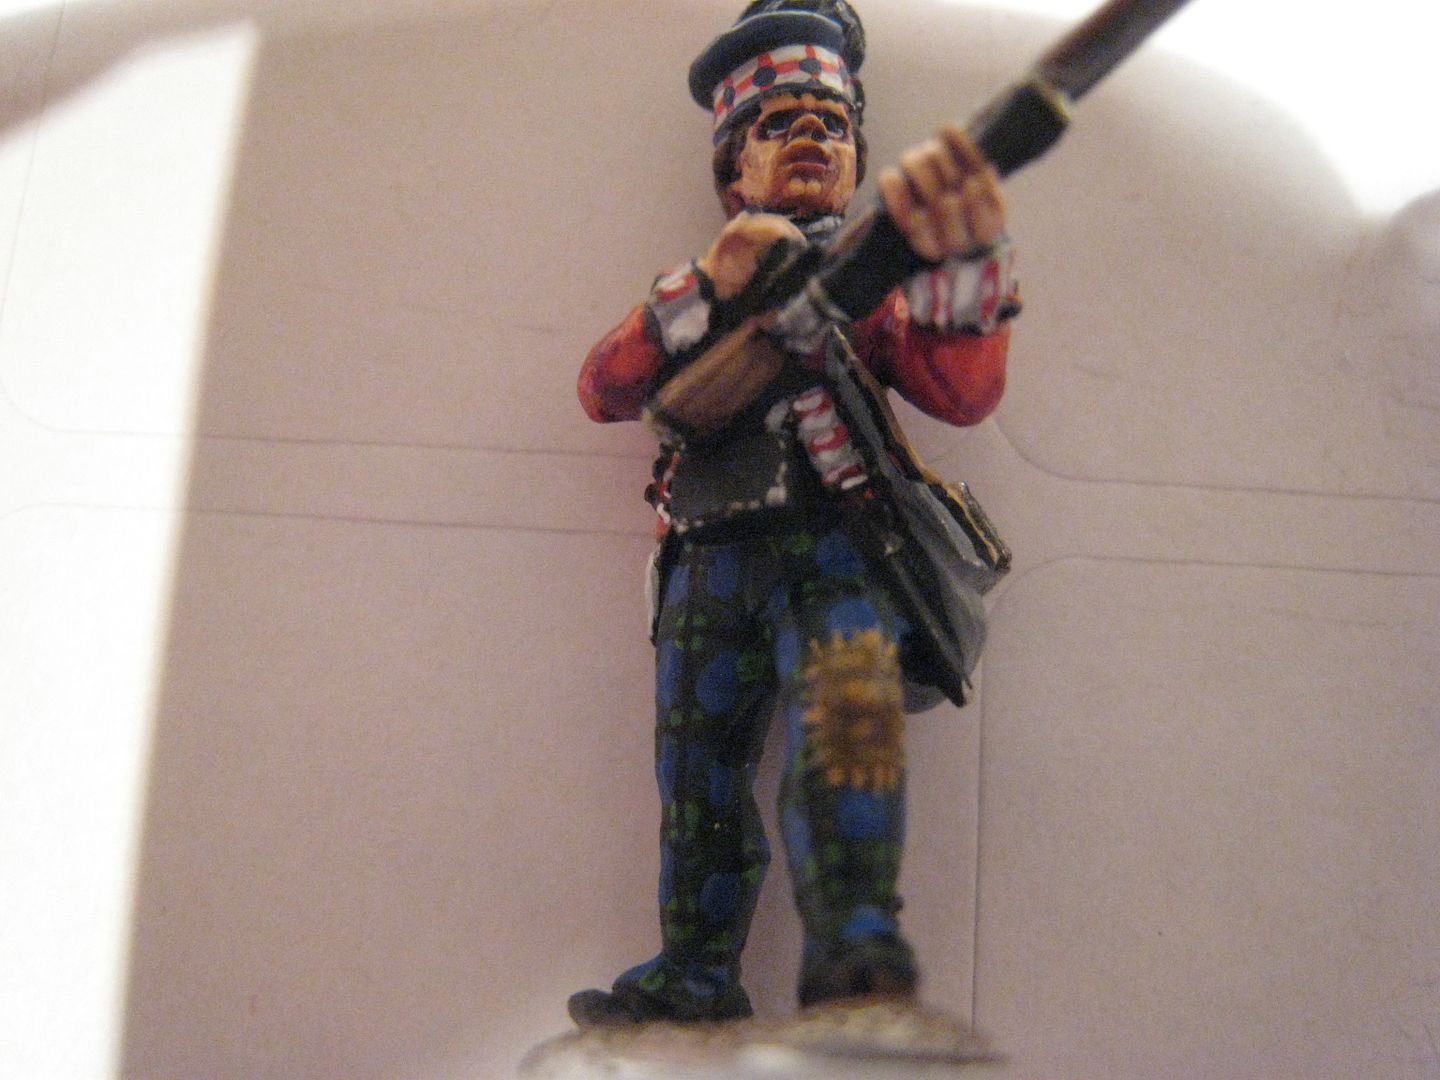
It took me about half an hour to do these two pairs of trews.  I had already decided that I wanted to add a patch to one of the figures.  This is something shown in various Troiani pictures and I wanted to have a campaign dress look for my 71st - i.e. gaiter-trousers of varying colours and lots of patches. The patch itself was painted with Foundry "Deep Brown Leather 45"; the stitching is Foundry "Canvas 8A".  The end result is not quite as messy as it looks in the rather blurred photo on the right.

Tomorrow I'll do the final highlighting on the black leather and haversacks, add the silver buttons, and generally tidy up.  I managed to finish the batch of ACW rebs I'd started on Wednesday - with another 8 figures to go, this will give me one finished unit and a couple of stands of another one.

AWI highlanders (3)

I've used various paints for flesh over the years.  Currently, I'm using the Foundry "expert flesh" set, which is 6 colours.  I only use 5 of those - I miss out the final highlight, 127F, as that really is too light I think.  As I mentioned in my first post, I use 127A as the base coat and then wash everything with Winsor &Newton Peat Brown ink.  This is quite a dark ink, and nothing like the "chestnut brown wash" which GW used to make and which I used a few years ago. 

This ink pools in the eye sockets and this replaces any need to use black paint as a background for the eyeballs (I haven't used the "black eyesocket" method since about 2003, when my then girlfriend asked what type of mascara my figures were using...).  I know many people don't paint eyes and/or think that to do so is completely out of scale.  That's a perfectly valid stance and the scale point is probably true.  But then think about the size of buttons - everyone usually paints them, but are they any larger than eyes?  Like many painters , I can see myself not bothering with painting eyes any more as I get older.  At the moment, however, I'm more than happy to give the eyes a go.  Personally, I think if done effectively painted eyes can add a lot of character to figures and help draw groups of figures together.  My own method is to paint a white oval slit and then add the smallest black pupils that I can.  I try to leave a bit of white between the bottom of the iris and the eyeball- that is because I think it looks a bit more realistic and also because it helps give that "1,000 yards stare" look.  The greater the space between the bottom of the iris and the eyeball the more the figure looks as if he's looking upwards - what I call the "where's that cannon ball going?" look.  There's no denying that I find painting the eyes the hardest part of every figure.  Sometimes I have to do them several times to get them right; and sometimes even after several attempts I give up and just put the "bad eye" figures in the back row.  I find that if it's getting too tricky an easier solution is to place the irises in the corners of the eyes, as if the figure is looking in another direction (perhaps the "what's happening on our flank?" look).  With firing-pose figures I always paint the right eye open and the left eye closed; that said I dimly recall reading somewhere that in the 18th century soldiers were trained to fire with both eyes open - perhaps a reader has further information on this.

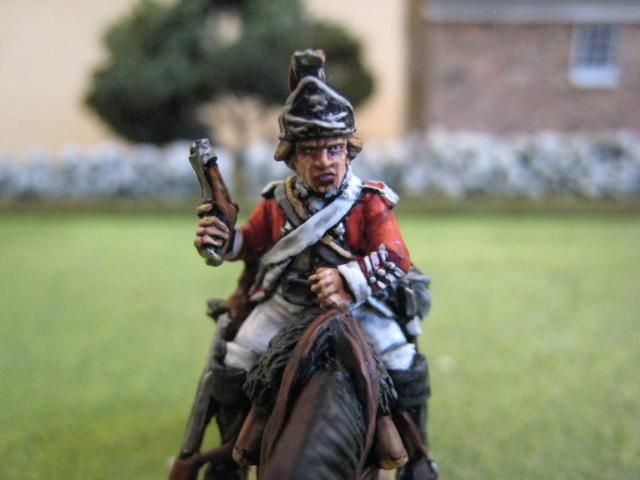
It's difficult to describe how I highlight the face itself, and there's right or wrong way, really.  I use 127B to cover most of the face and then use progressively smaller amounts of 127C-E.  I paint "eyebrows" with the B and C highlights - I find this is a good way of giving expression to faces. Slant the eyebrows down and you have a look of determination; arch them and you have surprise or worry.  Upper lips are good for character too; incline one end a bit and you have a decent snarl.  On the right is a face that I'm quite proud of, where I think the eyebrows, upper lip and eyes combined to give a real sense of character to this Perry British dragoon.  Once I've finished with the Foundry 127 paints, I paint over any bits of the face that still have too much ink was he showing with Coat d'Arms "Dwarf Flesh", which is a darker flesh colour can tone down any of the highlights that look excessive. Black lining is something I've done since I first read about it in a White Dwarf heavy metal article in the late 1980s. It always requires a fair amount of tidying up and so is time-intensive, but at the moment it's part of my style. I have seen many figures painted without any black lining that look absolutely terrific (an example that comes to mind is Melbourne war gamer John Chadderton's Eureka French Revolutionary Wars figures), so one day I may well drop it.

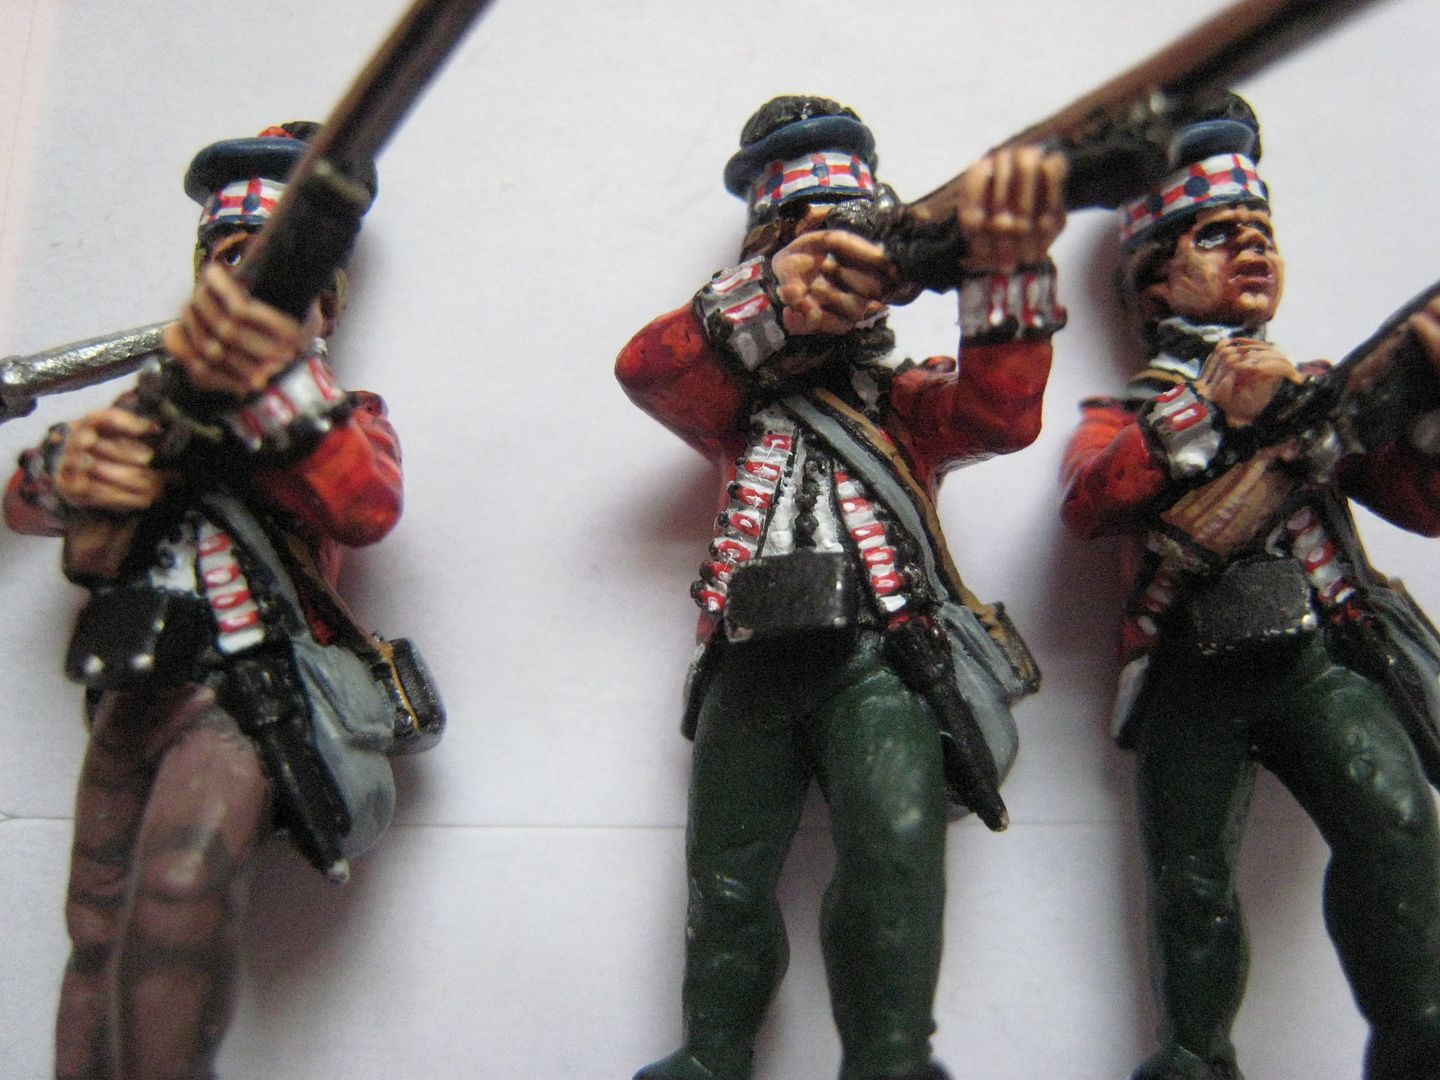
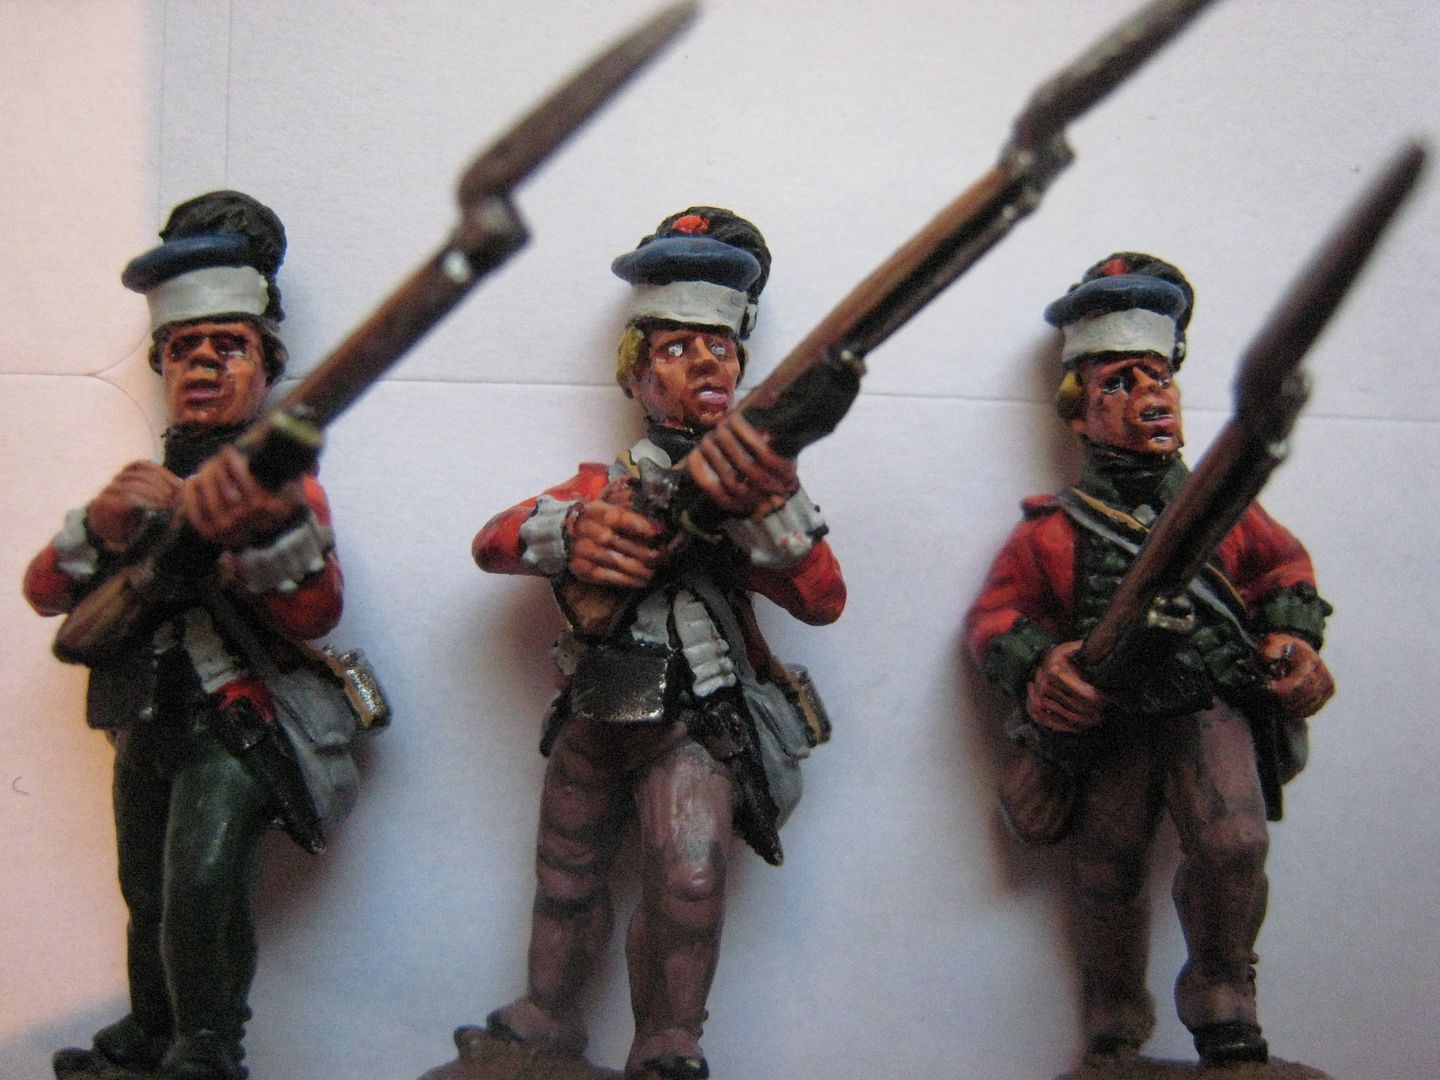
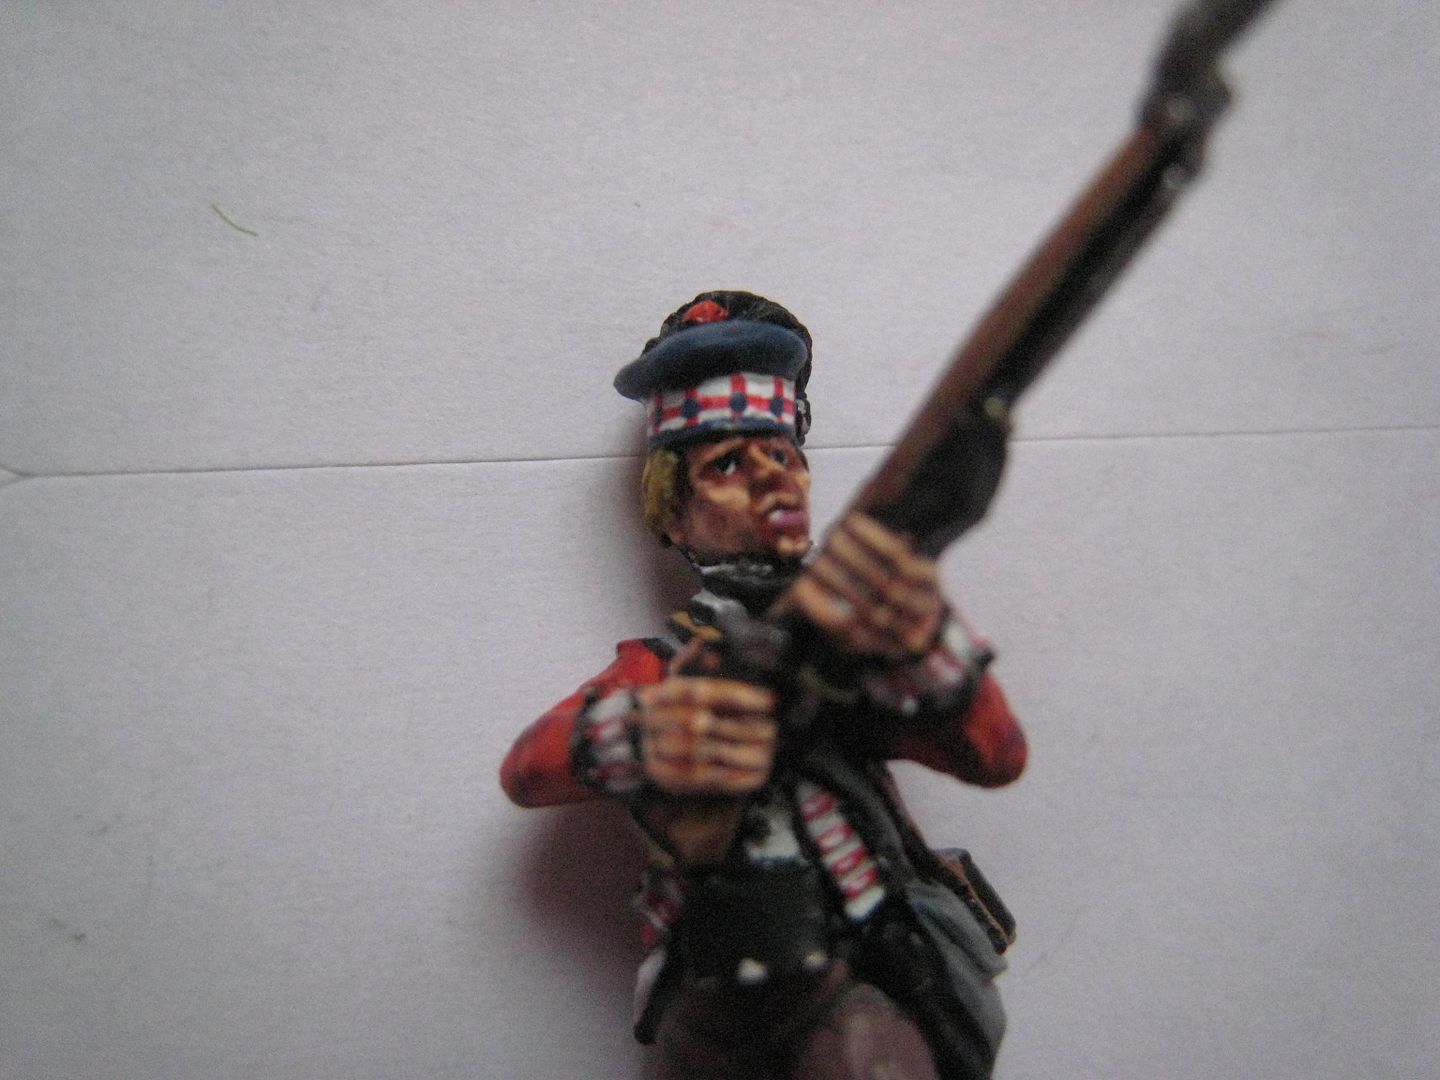
I've now done some final post-black lining highlighting and painted in the button-hole lace. Clearly trying to paint the exact lace would be daft, but I think it's good to paint an approximation of the lace to make it more interesting than a simple white line. What I do is look hard at the regimental lace until it blurs into a general impression (try the website here for replicas of regimental lace). This process invariably produces either a white line with a coloured blob in it or a coloured line with a white blob. In the case of the regiments here, the lace for the 71st is red with a white blob and for the 76th is green with a white blob.  I looked again at pictures in Troiani, Mollo and the various Ospreys to see how the dicing on the bonnets works.  What I hadn't noticed before is that all those pictures show a bit of blue underneath the dicing band, so I added this in very carefully after I'd finished the dicing.

Next will be final highlighting and the tartan trews. This afternoon I took a bit of time out to finish off the 7 Bunker Hill Virginians I had on the workbench, so the next post on these highlanders might have to wait until tomorrow.