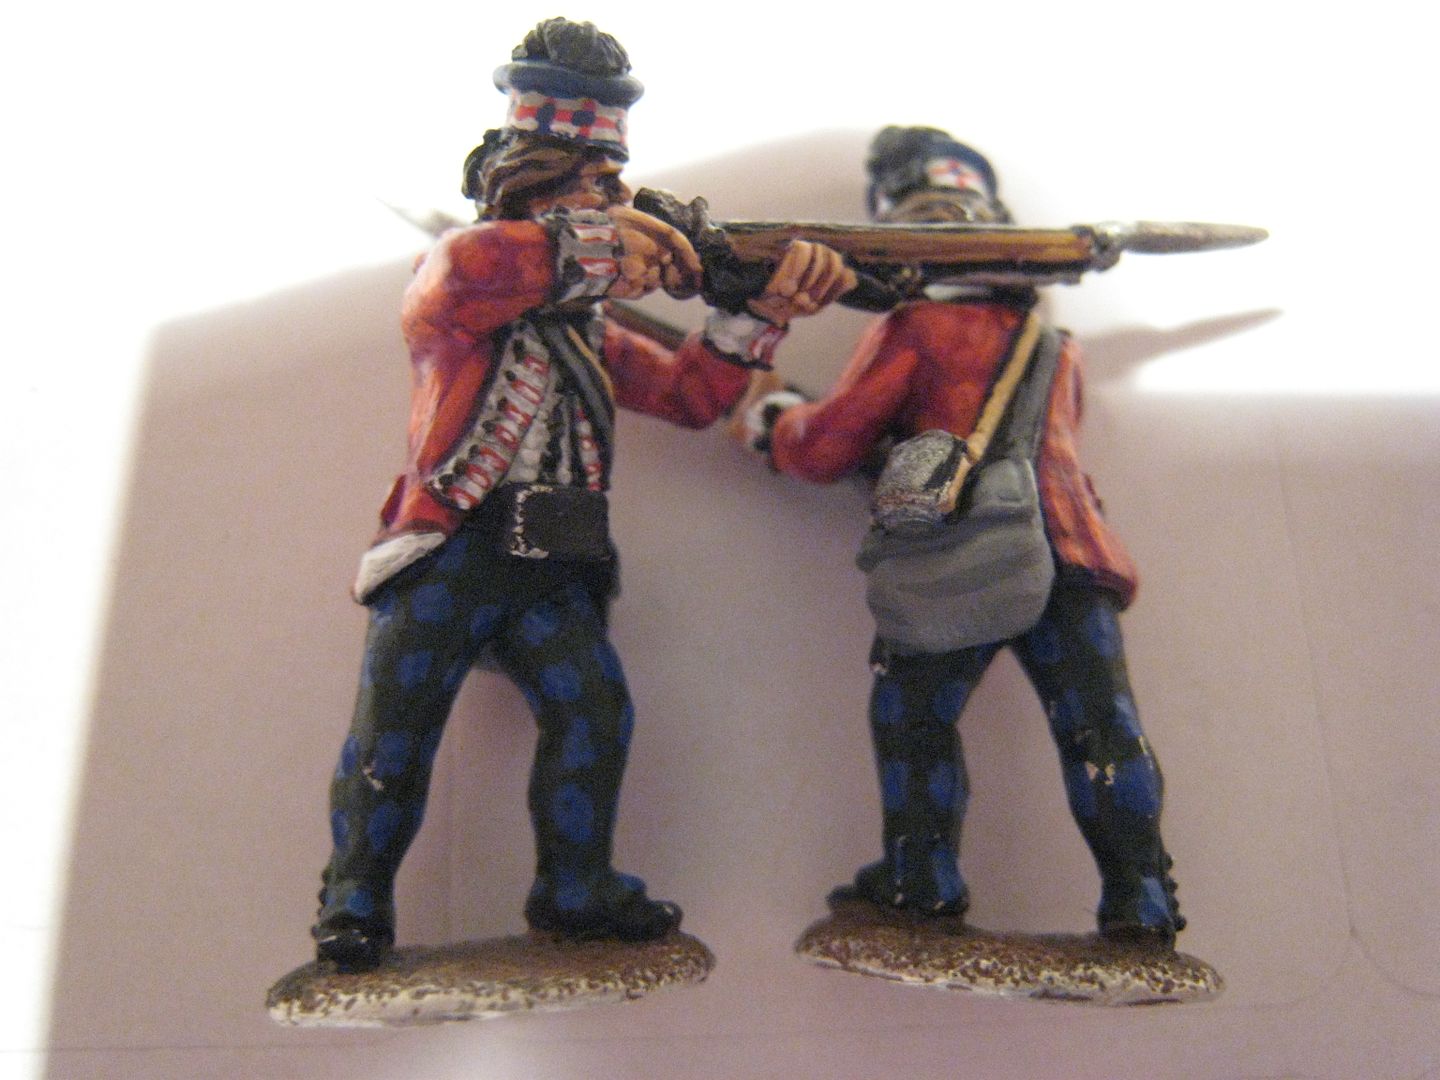
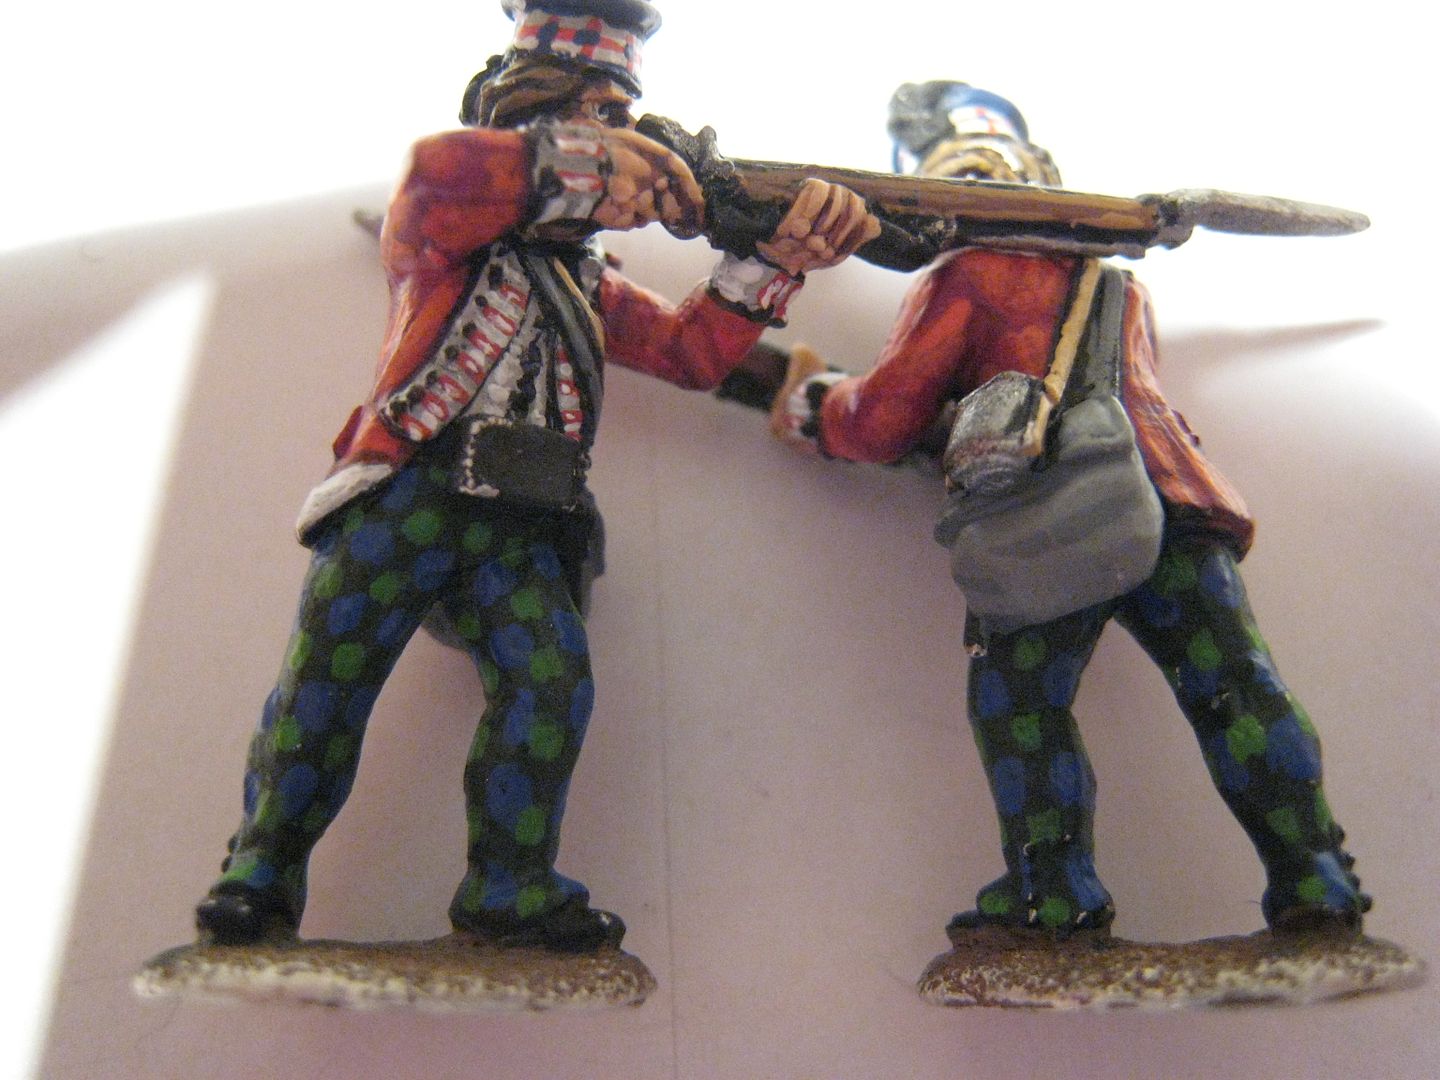
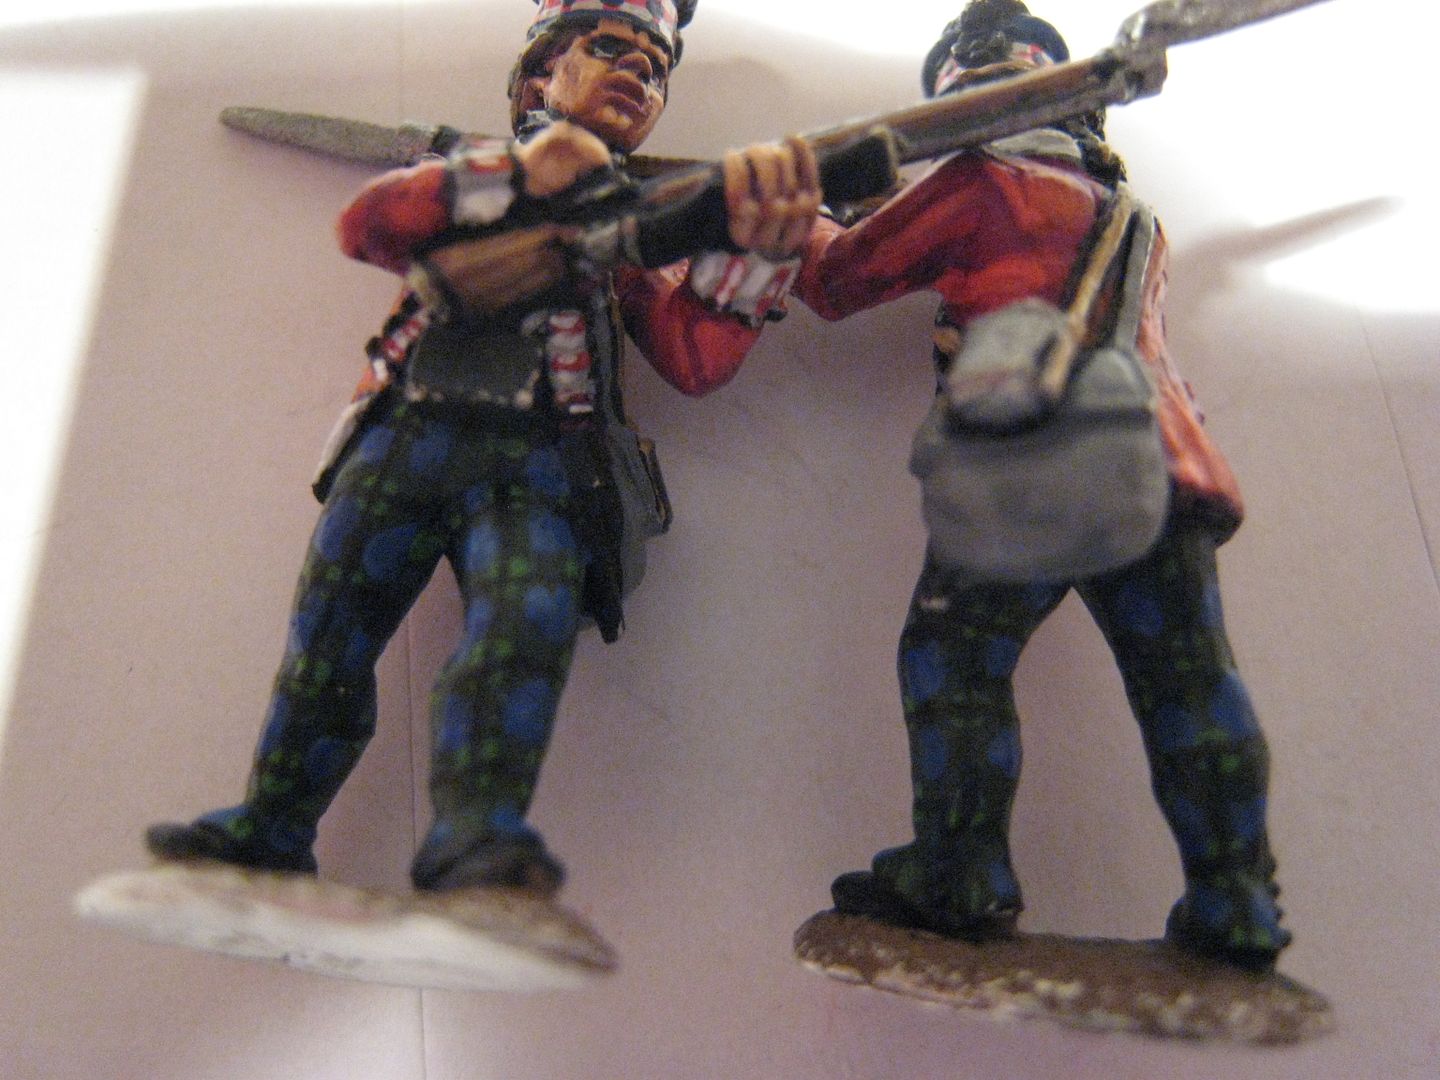
I finished the tartan trews this evening so I'll just post about that and then leave all the finishing off for tomorrow. I don't think painting tartan is actually that difficult. Yes, you need a steady hand and a very fine brush, but otherwise it's just a question of keeping one's nerve. It takes time, but I don't think technically it's as difficult as some people think. I think highland socks/hose is way harder to do. Anyway, this is my recipe for government sett, the standard AWI tartan.

As I mentioned before, the base coat I use is very old GW "Dark Angels Green". The next stage is to place dark blue squares in a check formation from top to bottom of the trews. It's very important that these form convincing lines down the trousers - bear in mind the shape of the leg and that it's not just a question of a perfect vertical. On these two figures, one of the legs is bent forward, so the checks need to follow that incline to look natural. The blue I've used is Foundry "Deep Blue 20C". It looks quite bright in the photo, but actually against the dark green background it does look much darker - I lost track of the checks a bit when I put the green ones in. I always find that placing the first blue check on the knee acts as an anchor and it's easier to form the vertical lines once that one is in place. I also find that the effect is increased if you don't just apply full checks where there is space to do so but follow them through right to the edge of the trews - the final check at the belt might just be the smallest dab of paint, but it still suggests that the pattern is continuing.

The next stage is placing a line of green checks in the spaces between the blue ones. This is like a "X" - imagine the points of the x are the blue checks and in the middle goes the green one. The shade of green is entirely dependent on what look you want your tartan to have. If you are going for an ultra-realistic dark blue/dark green blend, then use a medium green. I've chosen a green which on its own is pretty bright - Foundry "Bright Green 25C". However, the brightness will be toned down substantially once the black lines are painted through it, so I use this colour in order to maintain a clear distinction between the blue and green check. Anything darker, and I think it would all merge into a bluey-green mess (which as I say is probably more authentic and some people may prefer that look).

Once the green checks are in place, the final stage is the cross-hatching in black, linking up all the green checks both vertically and horizontally. This is one reason why I don't think the bright geen I use is inappropriate - the black cross-hatching dulls this colour quite a bit. Obviously, the black lines need to be as thin as possible, and this is when you discover whether the blue and green checks are aligned - if not, the cross-hatching will srat to look wavy rather than straight. I confess I didn't quite get it right in these two figures, but luckily the mistakes are hidden around the back...

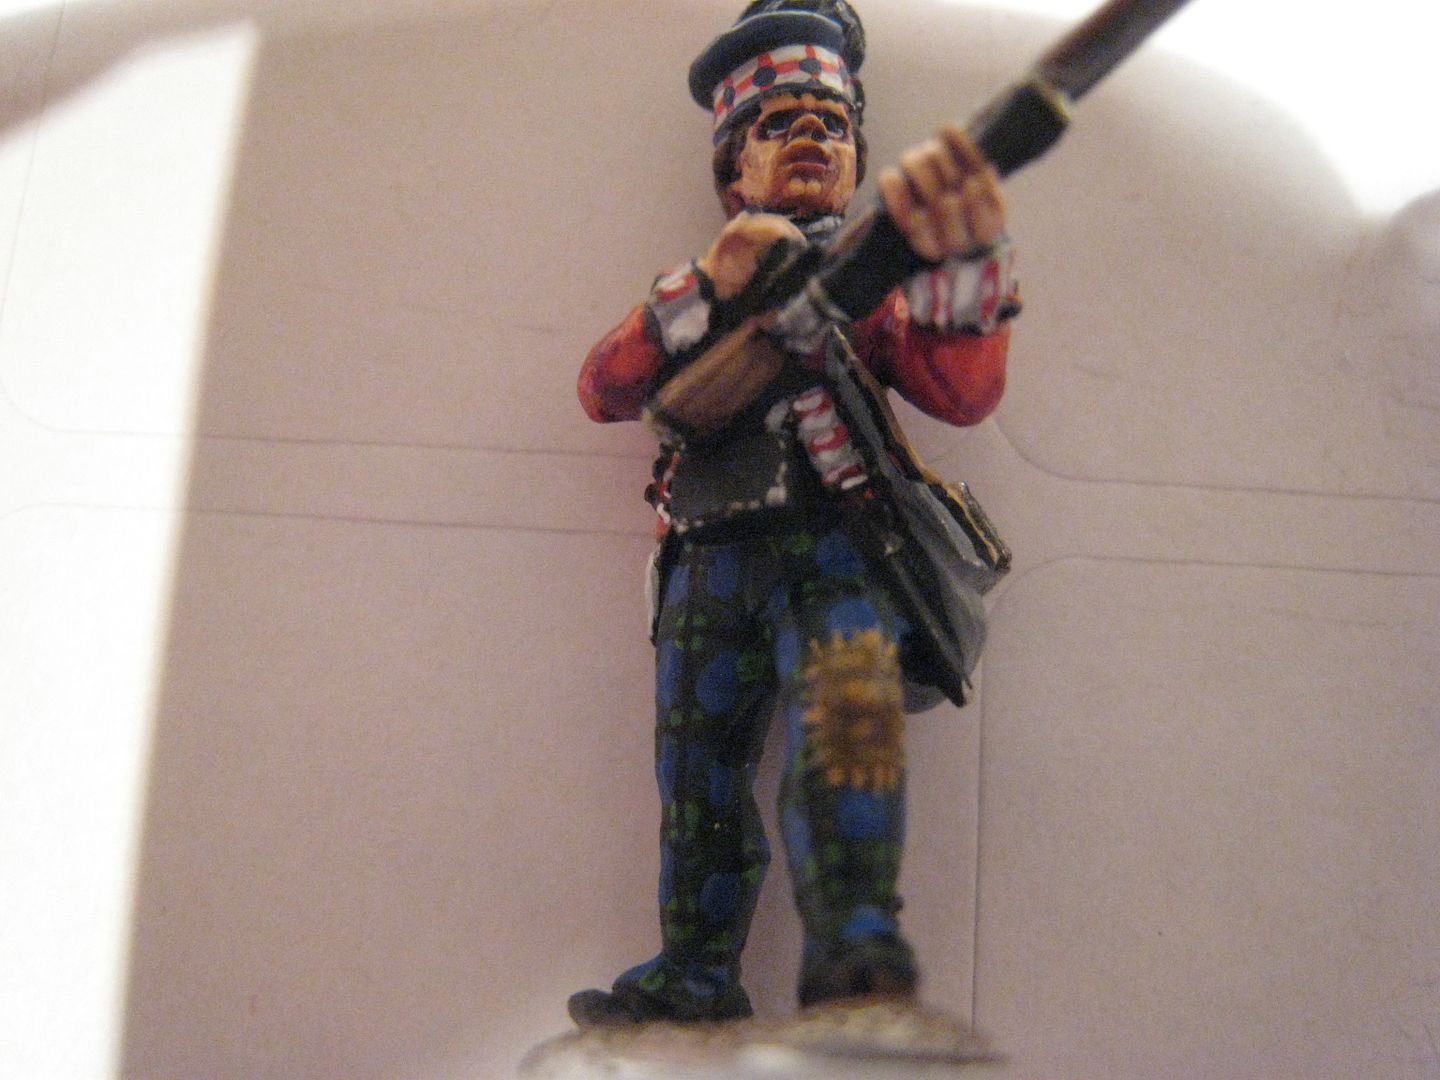
It took me about half an hour to do these two pairs of trews. I had already decided that I wanted to add a patch to one of the figures. This is something shown in various Troiani pictures and I wanted to have a campaign dress look for my 71st - i.e. gaiter-trousers of varying colours and lots of patches. The patch itself was painted with Foundry "Deep Brown Leather 45"; the stitching is Foundry "Canvas 8A". The end result is not quite as messy as it looks in the rather blurred photo on the right.
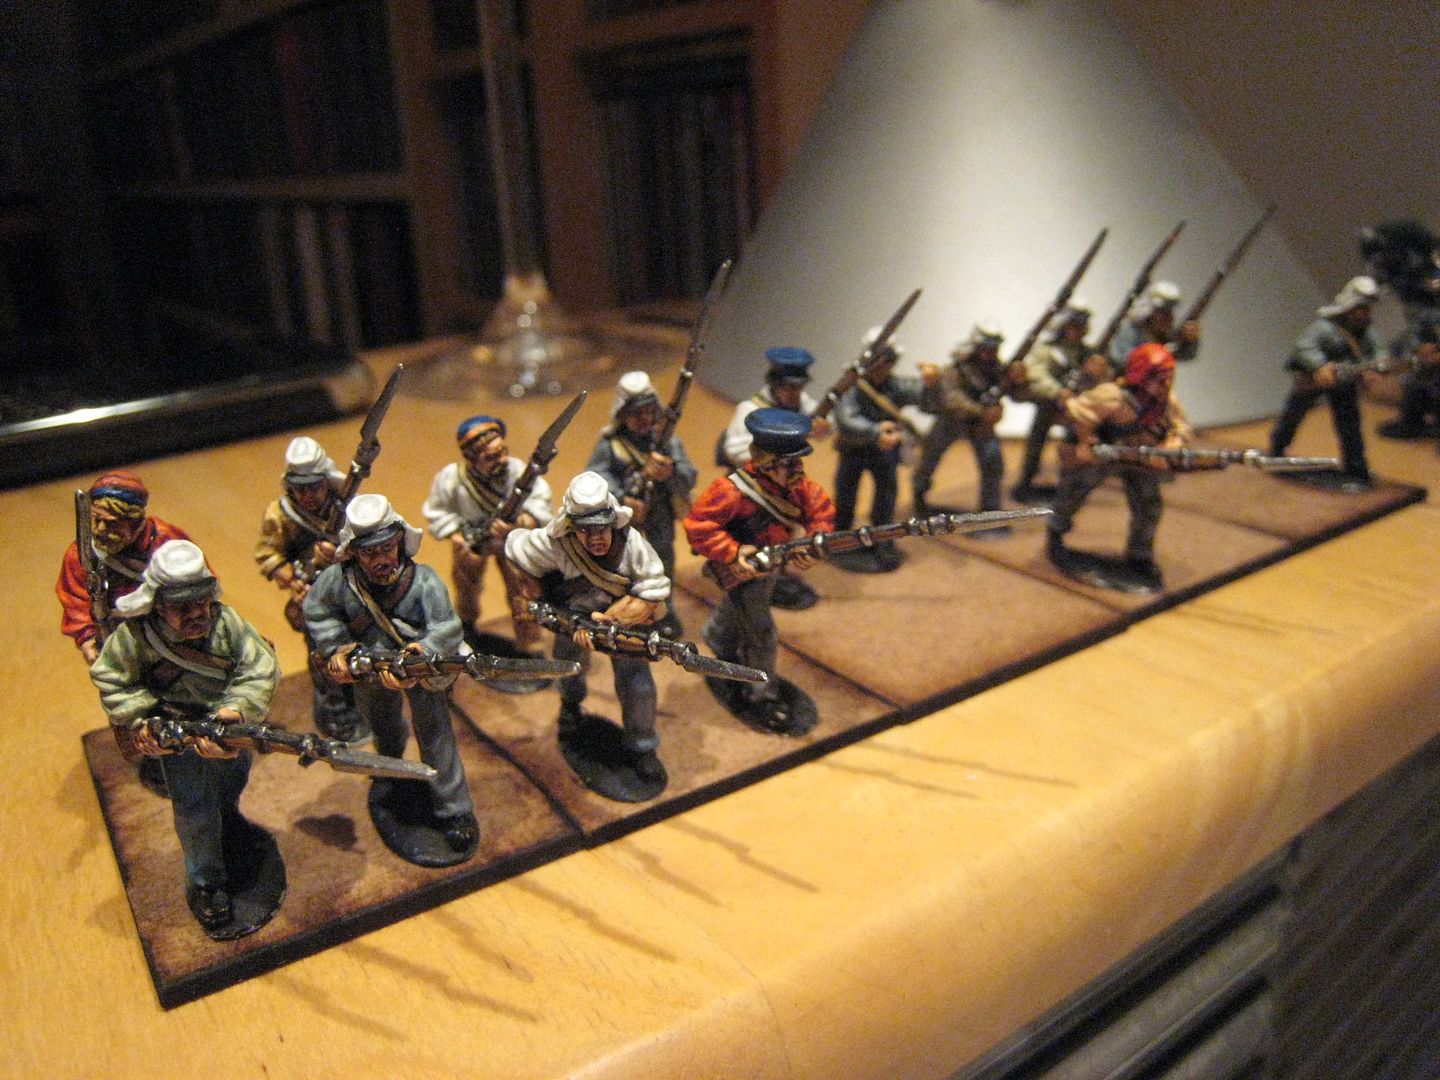
Tomorrow I'll do the final highlighting on the black leather and haversacks, add the silver buttons, and generally tidy up. I managed to finish the batch of ACW rebs I'd started on Wednesday - with another 8 figures to go, this will give me one finished unit and a couple of stands of another one.

6 comments:
Thanks Giles, your explanation and photo's are very helpful and I will come back and use your method and colour combinations when the time comes. Those Rebs look really good too.
Cheers,
Pat.
What a tremendous result, a fabulous post.
Mind boggling!! What a great effort.
Frank
http://adventuresinlead.blogspot.com.au/
Your rebels are superb! Must get more of mine done!
Many thanks for the guide. It's good to know how you get those great effects with your figures.
Post a Comment