Showing posts with label "British Grenadier" rules. Show all posts

Wednesday, 25 September 2024

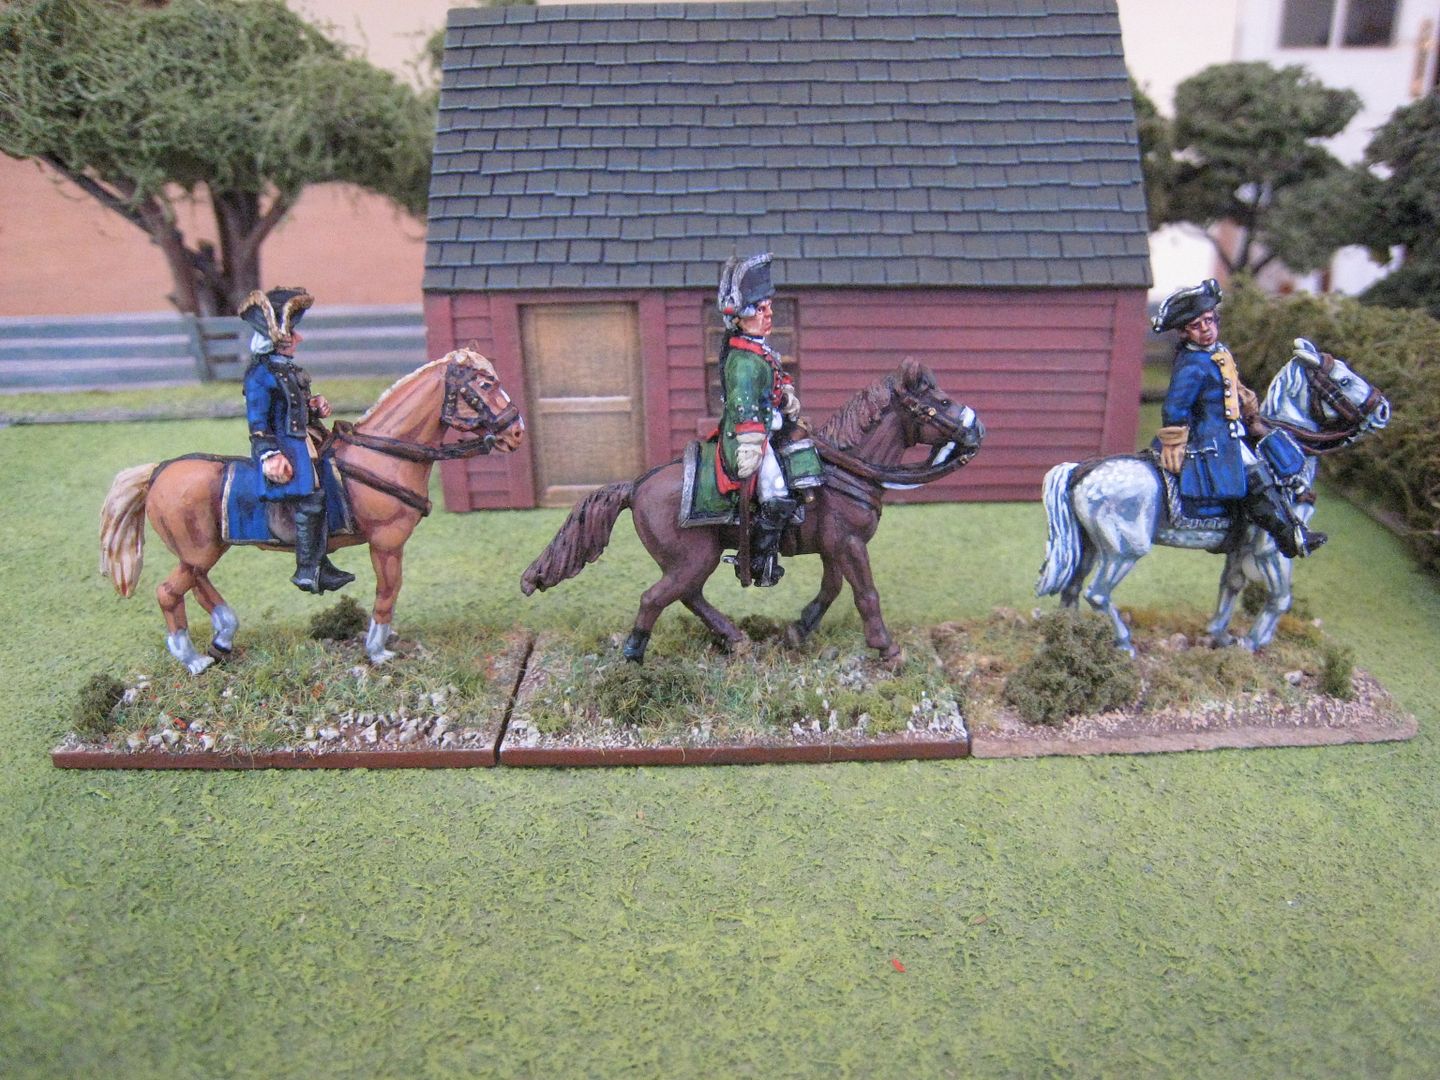
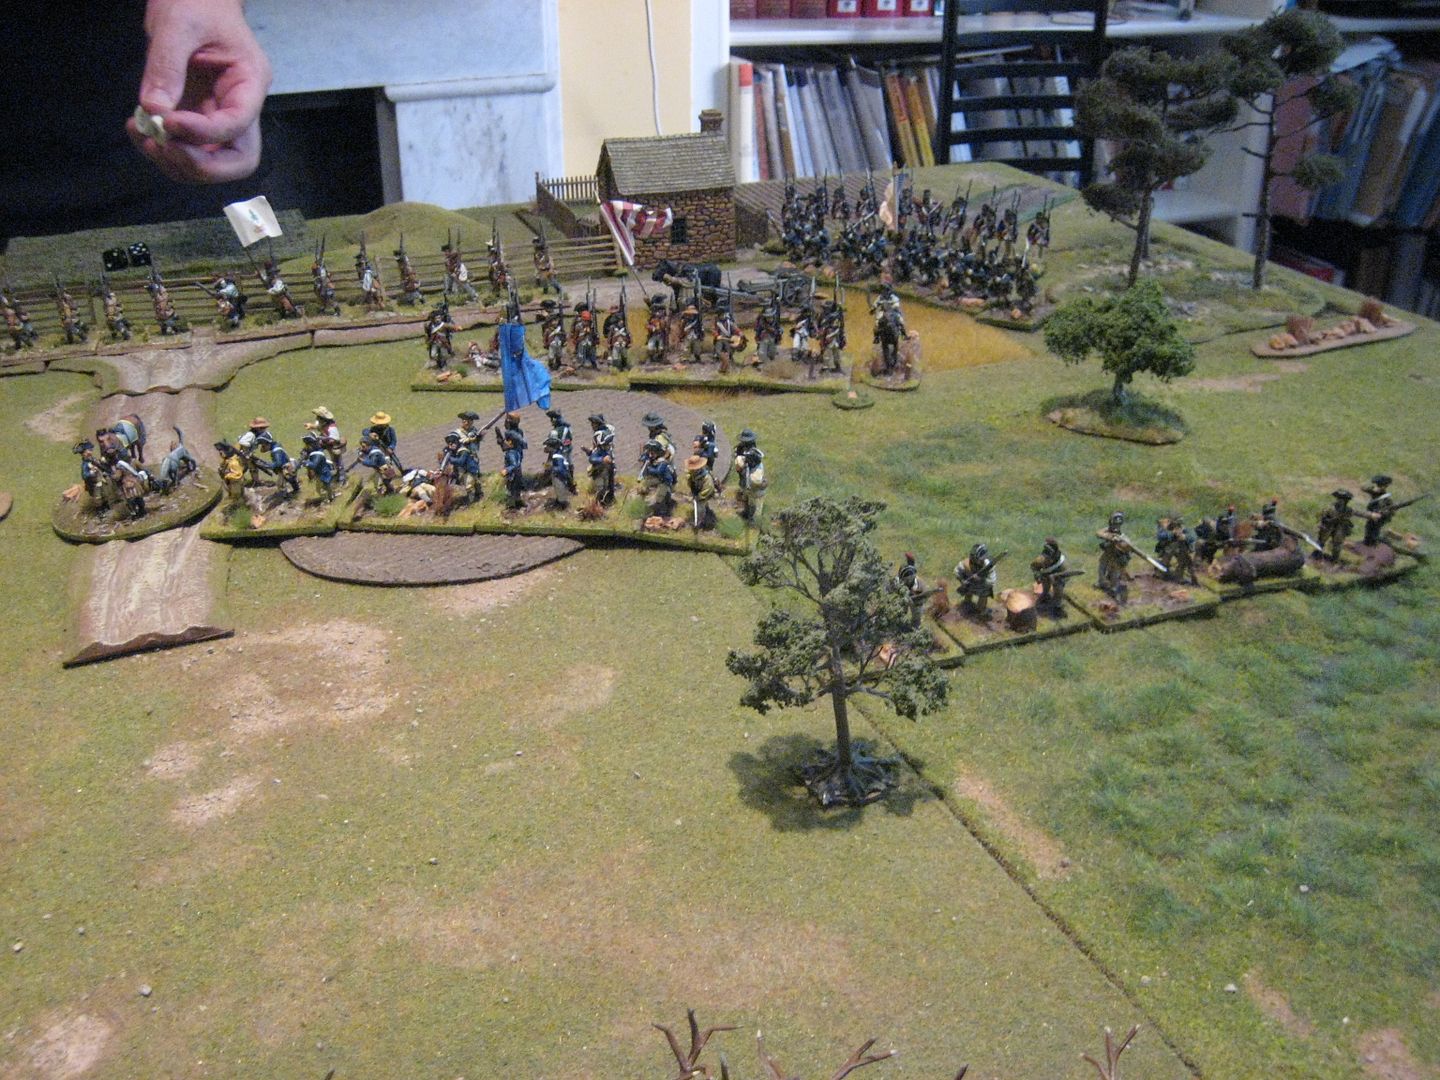
On AWI Hessian command figures

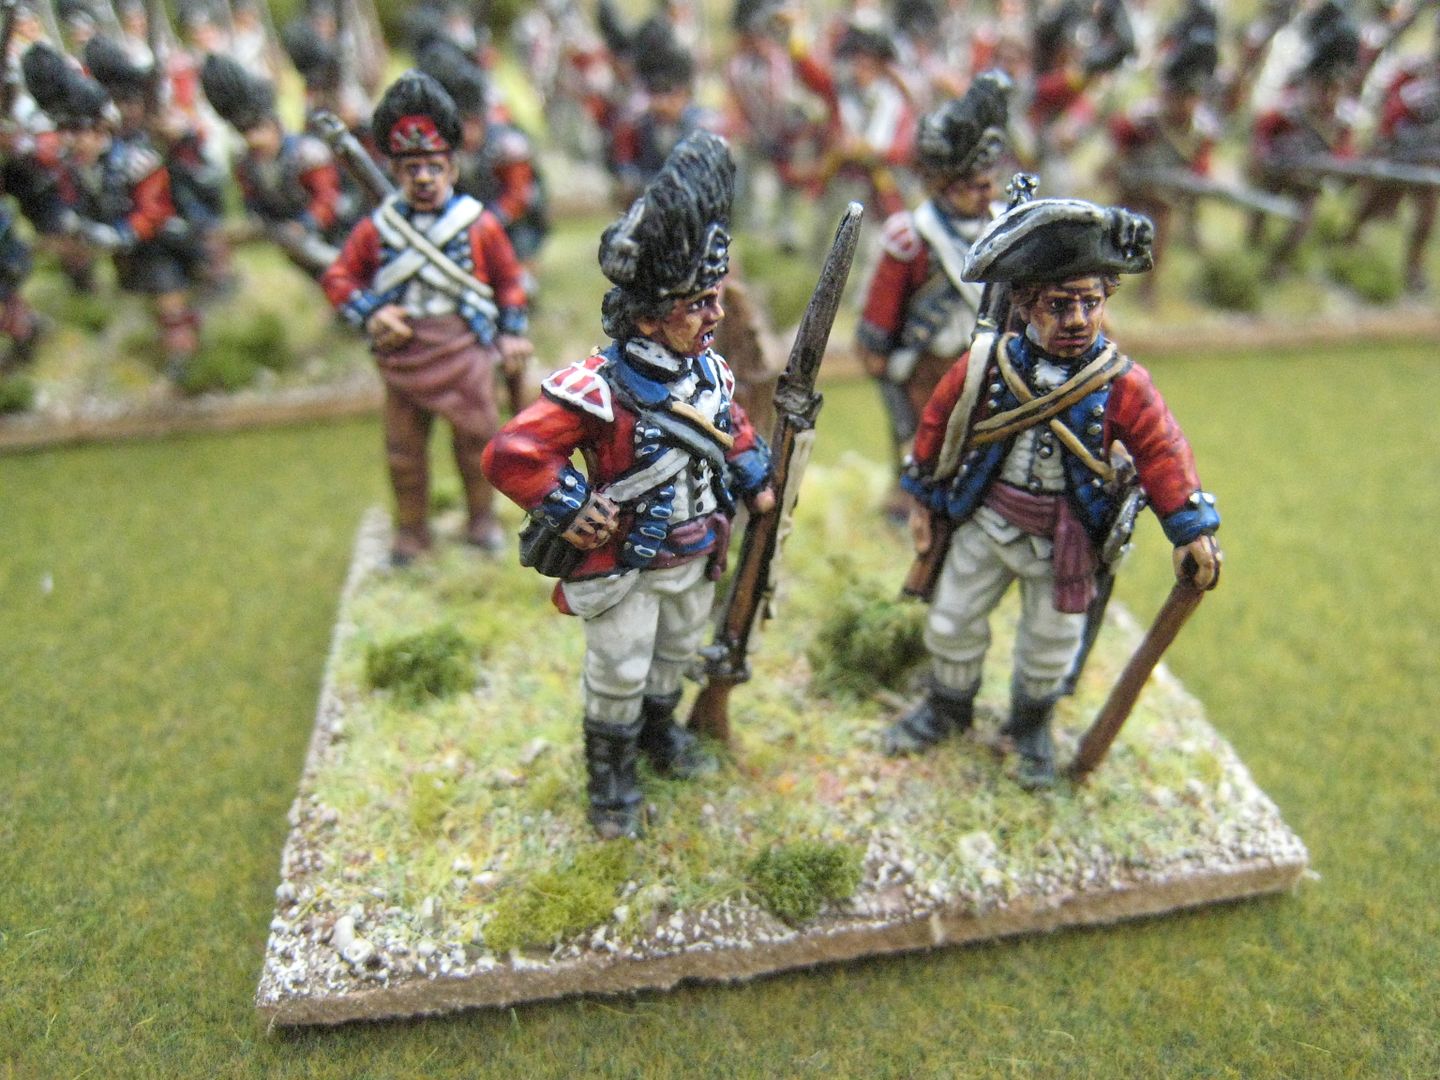
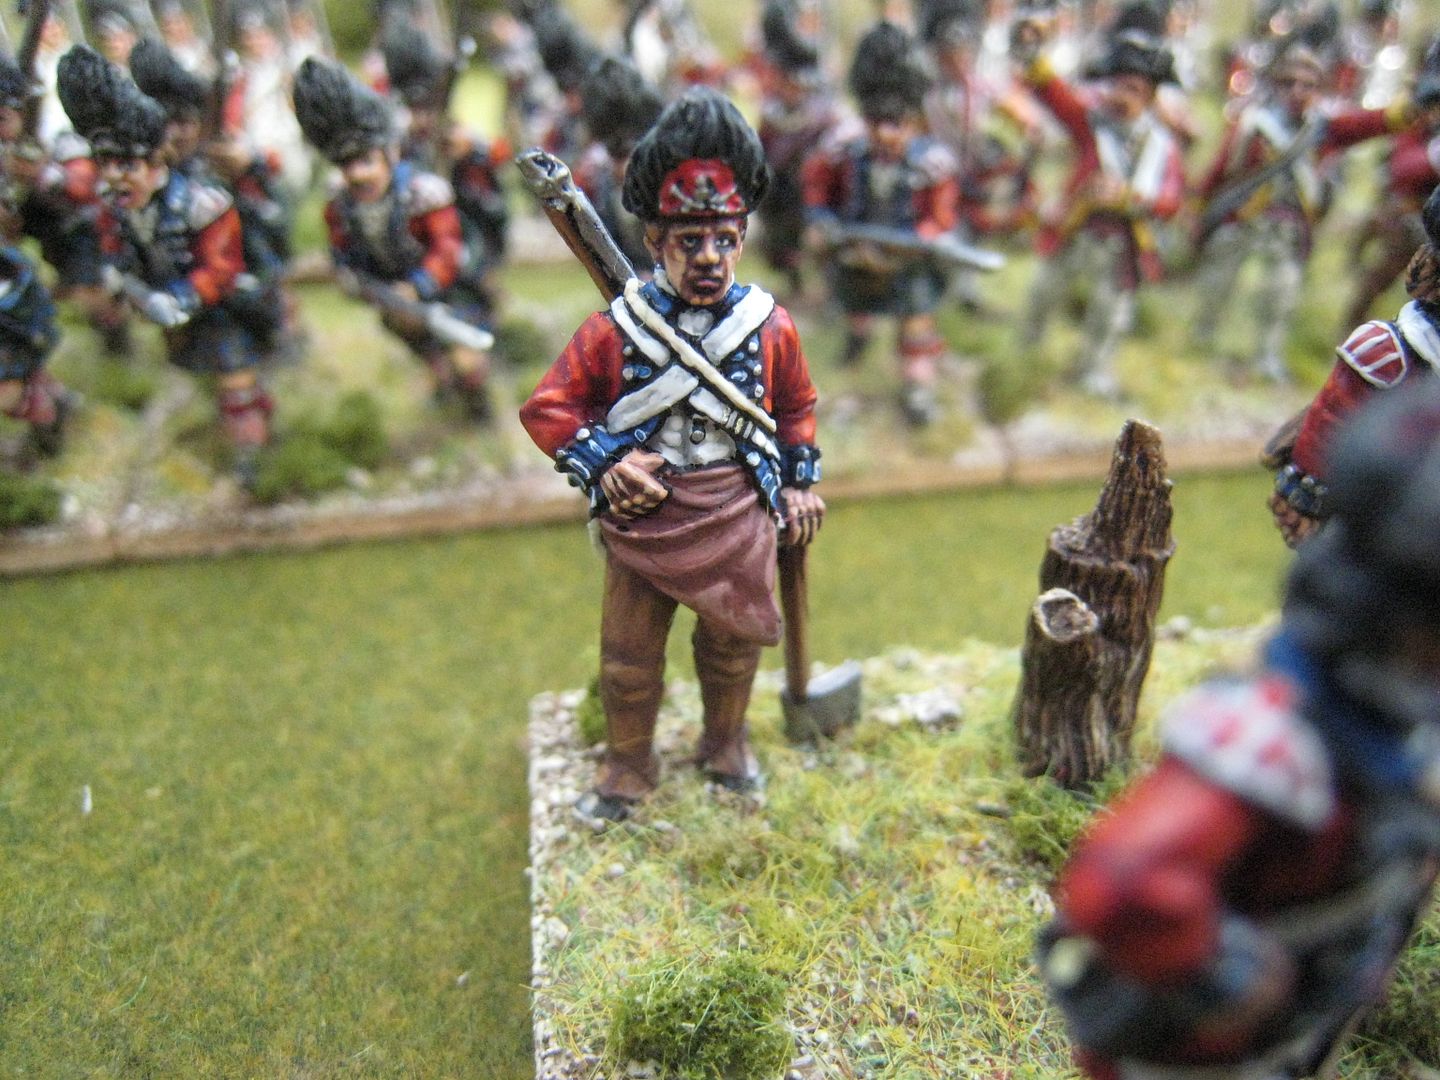
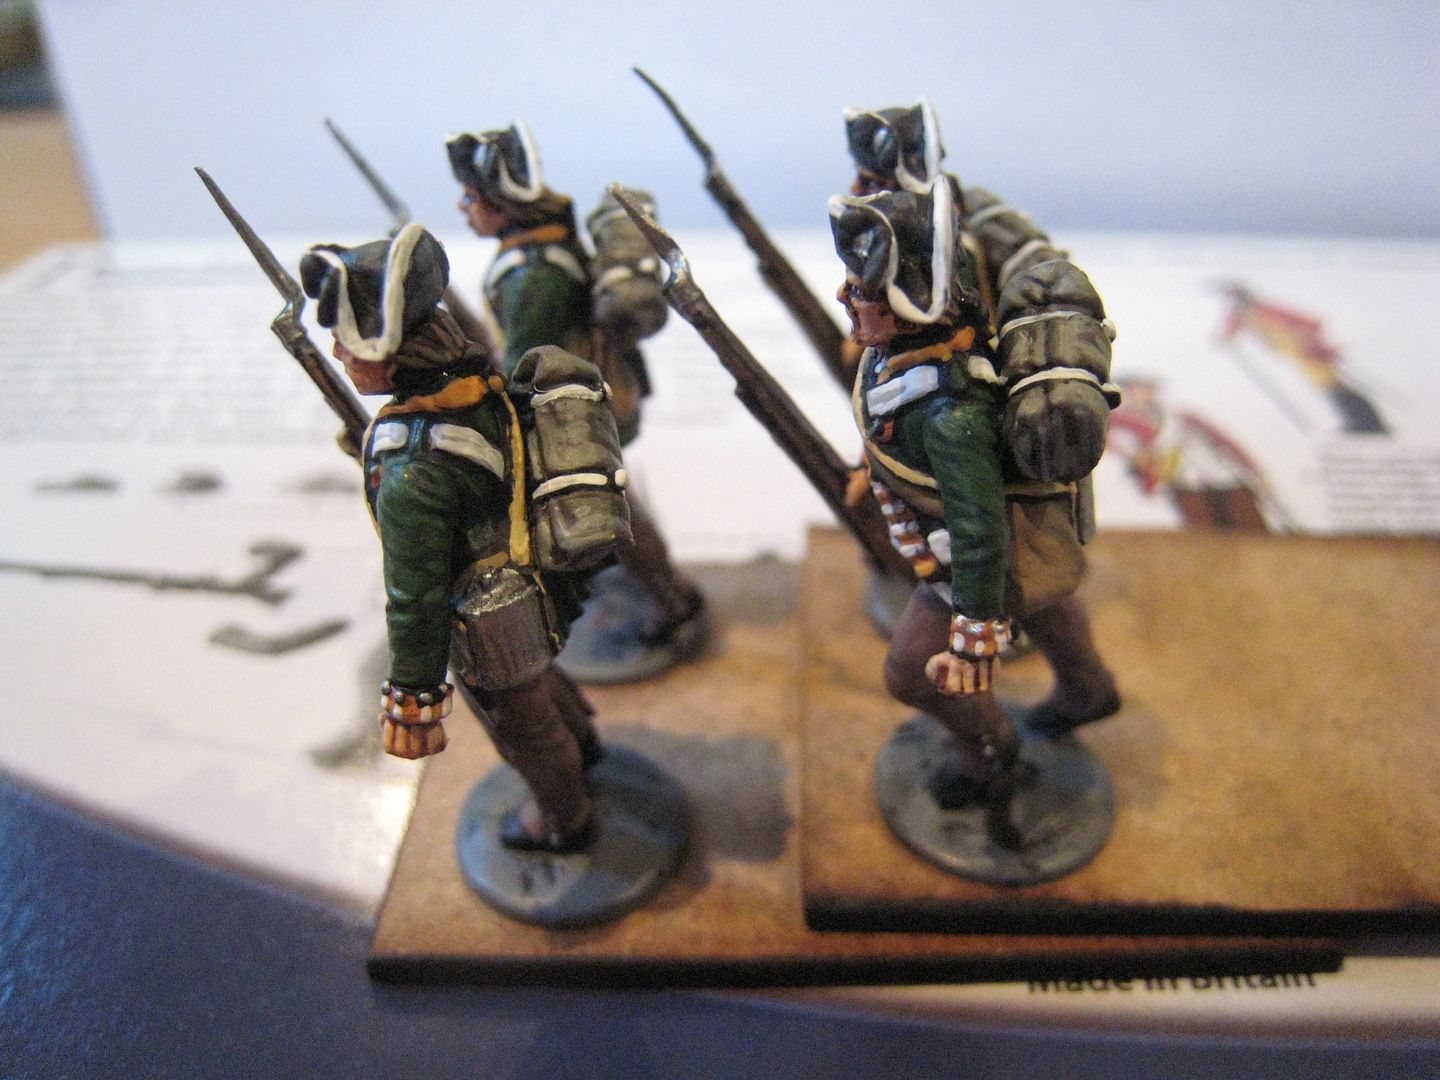
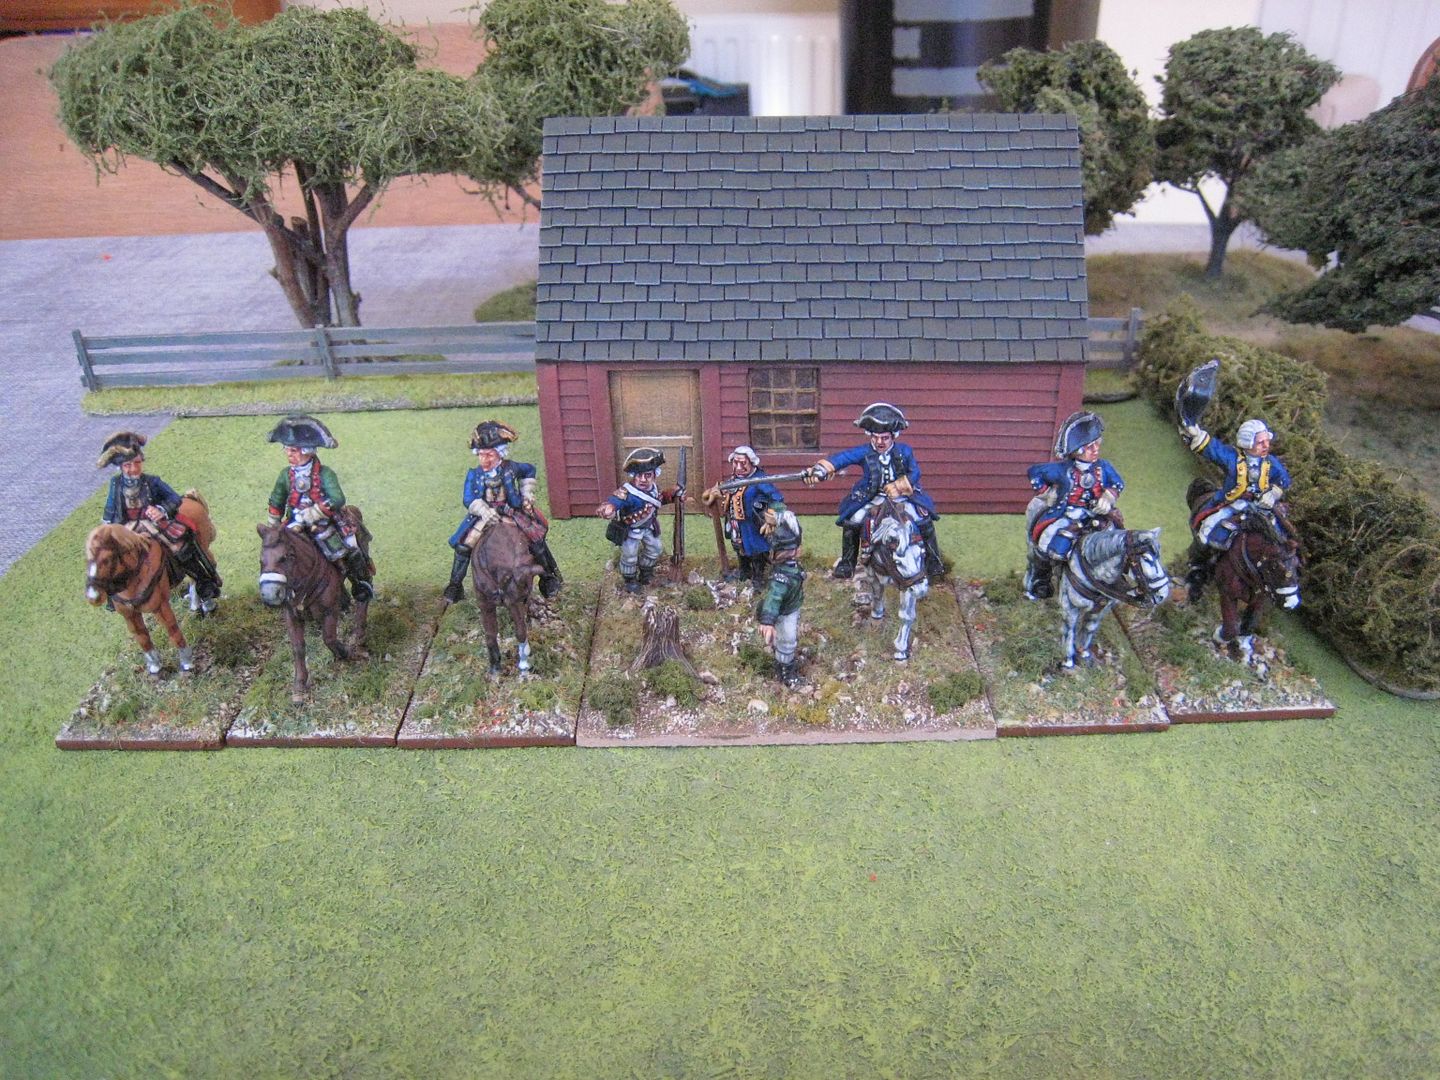
After the past couple of weeks' posts, I thought it might be useful to circle back on Hessian command figures, and what one might want or need for an AWI collection.  There is no need, of course, to paint up separate figures for each of the personalities - I've done this simply because I enjoy exploring the lives of these characters and representing them on the tabletop.  The Caliver/"British Grenadier!" scenario books rarely require more than 2-3 Hessian command figures in any one scenario (see below); so that's all you really need.  It's perhaps rather obsessive to paint up 10 separate personality figures (12 if you count the Brunswickers as well).

But let's just remind ourselves how the Hessian corps was organised. The corps consisted of two divisions, the first commanded by Lieutenant-General von Heister and the second (which consisted largely of the garrison regiments) by Lieutenant-General von Knyphausen. (Both commanders were in their sixties, which they used to extract from the Landgrave extra pay and pensions for their families, should they not return from America.)  Once in America, von Heister had overall command of the Hessian corps until he was replaced by his subordinate, von Knyphausen, after the disaster at Trenton.  Knyphausen handed over command to Lieutenant-General von Lossberg in 1782.  The grenadier battalions were brigaded together under the command of Colonel von Donop until he was killed in October 1777, at which point the grenadier brigade was commanded by Colonel, then Major-General,  Kospoth. Major Generals von Mirbach and Stirn also served as brigade commanders, with other officers doing the same as necessary (e.g. Rall, effectively, at Trenton).  One of the things that irritated Hessians commanders was the British habit of promoting officers above them with back-dated commissions - so, e.g. von Lossberg and Kospoth (and two others) were promoted to major-general rank in February 1779, and this prompted Clinton to promote seven British brigadiers to equivalent rank, with their commissions back-dated prior to those of the Hessians.    

In terms of what the scenarios require, we have:

- Commanders-in-chief: 

  • von Heister (White Plains);  
  • von Knyphausen (Brandywine);  and 
  • Rall (Trenton).

- Brigade Commanders: 

  • Brethauer (Trenton); 
  • von Donop (Long Island, Haarlem Heights, Brandywine, Bound Brook, Whitemarsh); 
  • Kospoth (Monmouth); 
  • von Linsing (Pell's Point); 
  • von Lossberg (Newport, Springfield); 
  • von Mirbach (Long Island); 
  • Rall (White Plains); 
  • von Riedesel (Saratoga battles); 
  • Scheffer (Trenton); 
  • Stirn (Long Island, Brandywine); 
  • von Westerhagen (Newport); 
  • von Wurmb (Springfield).

In other words, for Long Island you need 3 Hessian brigade commanders; for Trenton you need 2 brigade commanders and Rall as C-in-C; for Brandywine you need 2 brigade commanders; and for Newport you also need 2.  So having 3 Hessian command figures will sort you out for most scenarios, and if you can live with differences in uniform facing colours etc, then 3 is all you need.  Even if you can't live with such differences, it is possible to "double-up": for example, von Mirbach and von Lossberg were chiefs of the same regiment, and therefore probably wore the same uniform; von Westerhagen and von Riedesel both wore uniforms with yellow facings - the difference was in the weave in their sashes (red for Hesse-Kassel, yellow for Brunswick);  a figure without lapels will do you for Rall and Kospoth. So one figure with yellow lapels, one with red lapels, and a third with no lapels would serve pretty nicely. Personally, I think Carl von Donop is also worth doing, as he was a pivotal figure, appears in a number of scenarios and had a distinctive uniform; and a jaeger commander can then double up as Lieutenant-Colonel Ludwig Wurmb.

So those are my thoughts. Suitable figures are available from Perry, Foundry and Brigade Games, as noted in the individual posts.  Size-wise, Foundry are the chunkiest and Brigade Games the slimmest, whilst the Eureka Miniatures figures are probably the tallest - a comparison pic is below.  If I did this again would I do anything differently?  Yes - I'd paint von Heister in his light blue dragoon uniform (as per the Osprey MAA); and I'd perhaps use the Brigade Games mounted jaeger officer for von Donop.  I use the same blue paints that I use for the Continental Army - the Foundry "Deep Blue" 20 set, and it's maybe a bit "light" for the Hessians.  But I'm pleased with these personality figures. The Hessians were good solders, and they are worth a bit of your time.     
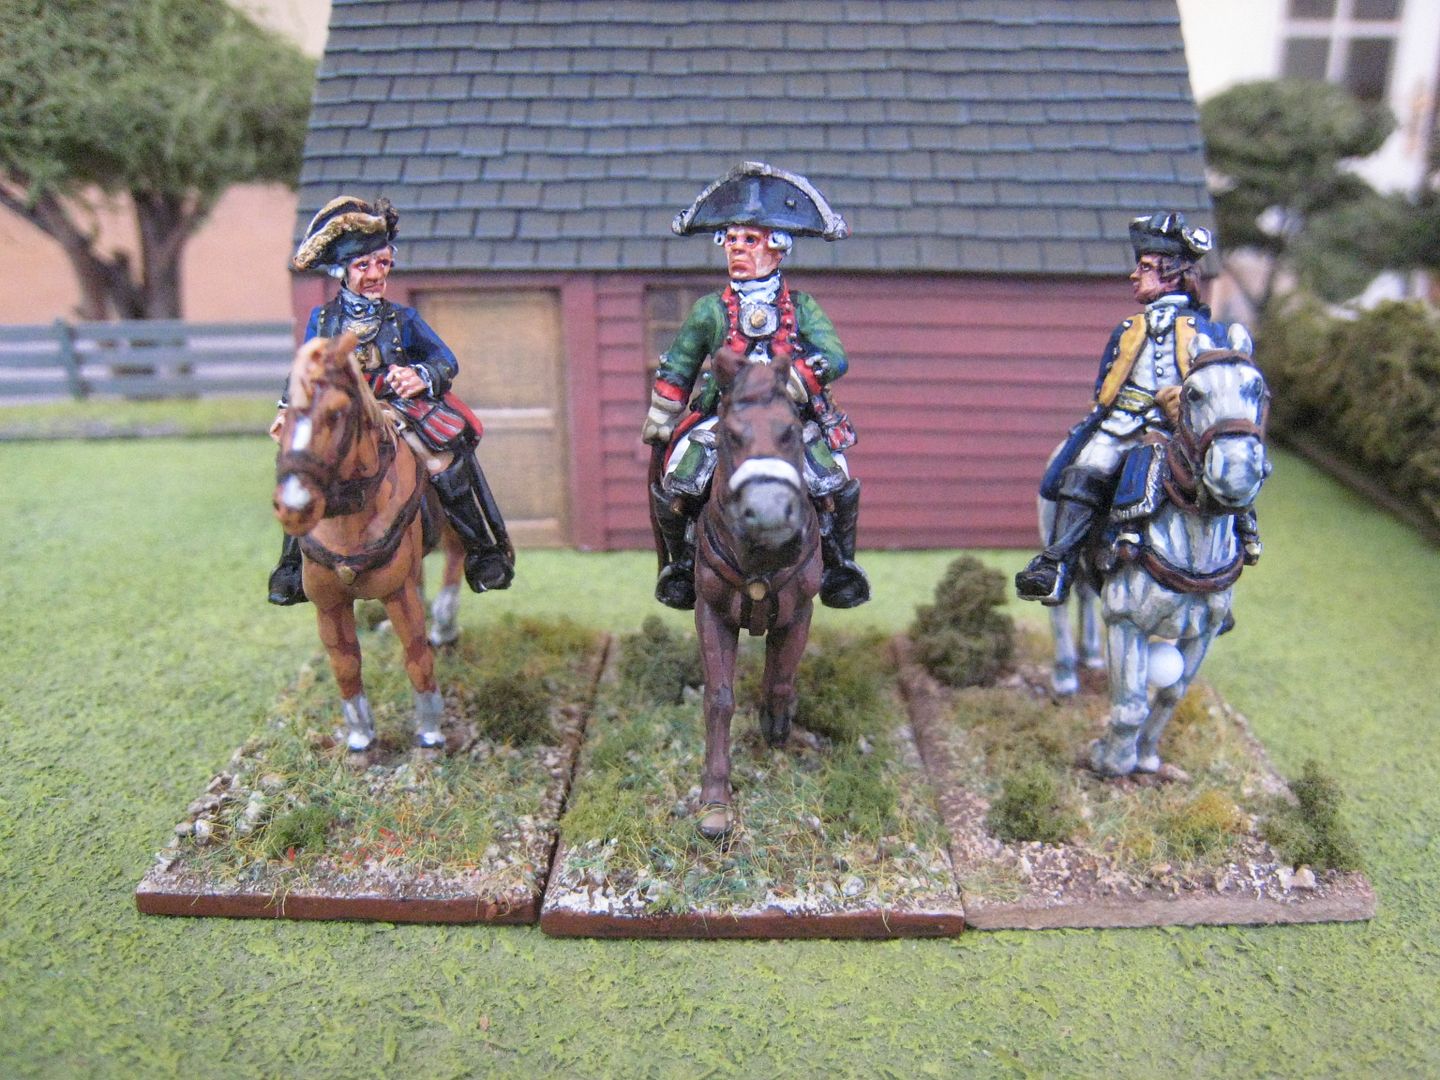


From left to right: Brigade Games, Eureka, Foundry


Some Old Glory American command are next!     

Friday, 9 September 2016

British reinforcements (2)

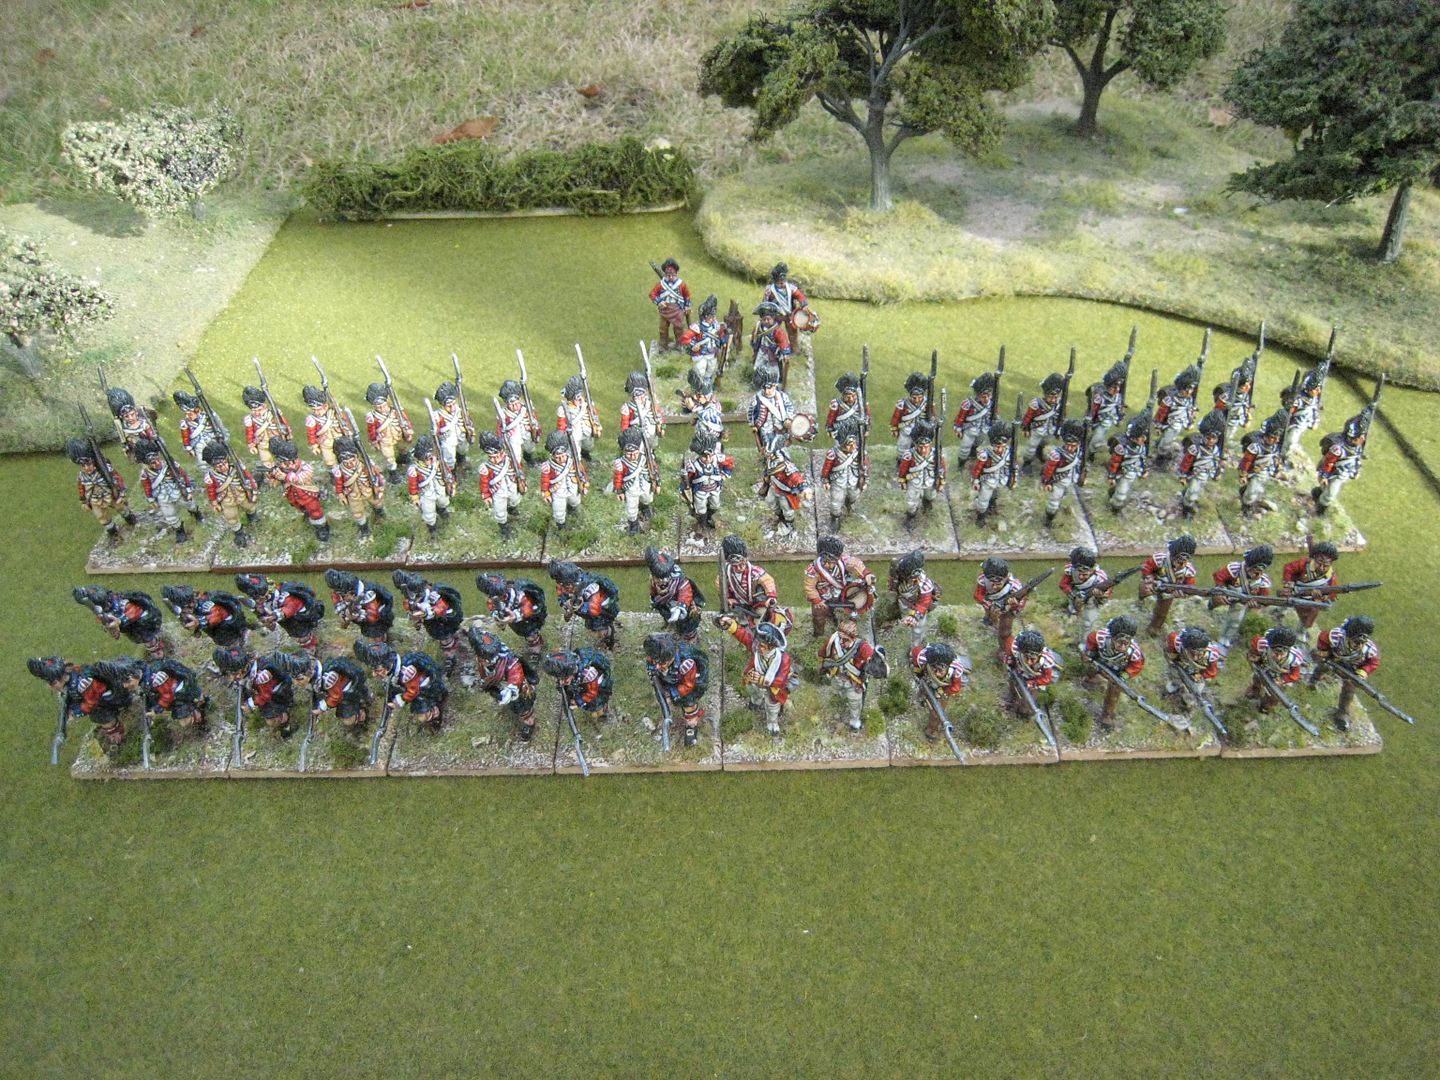
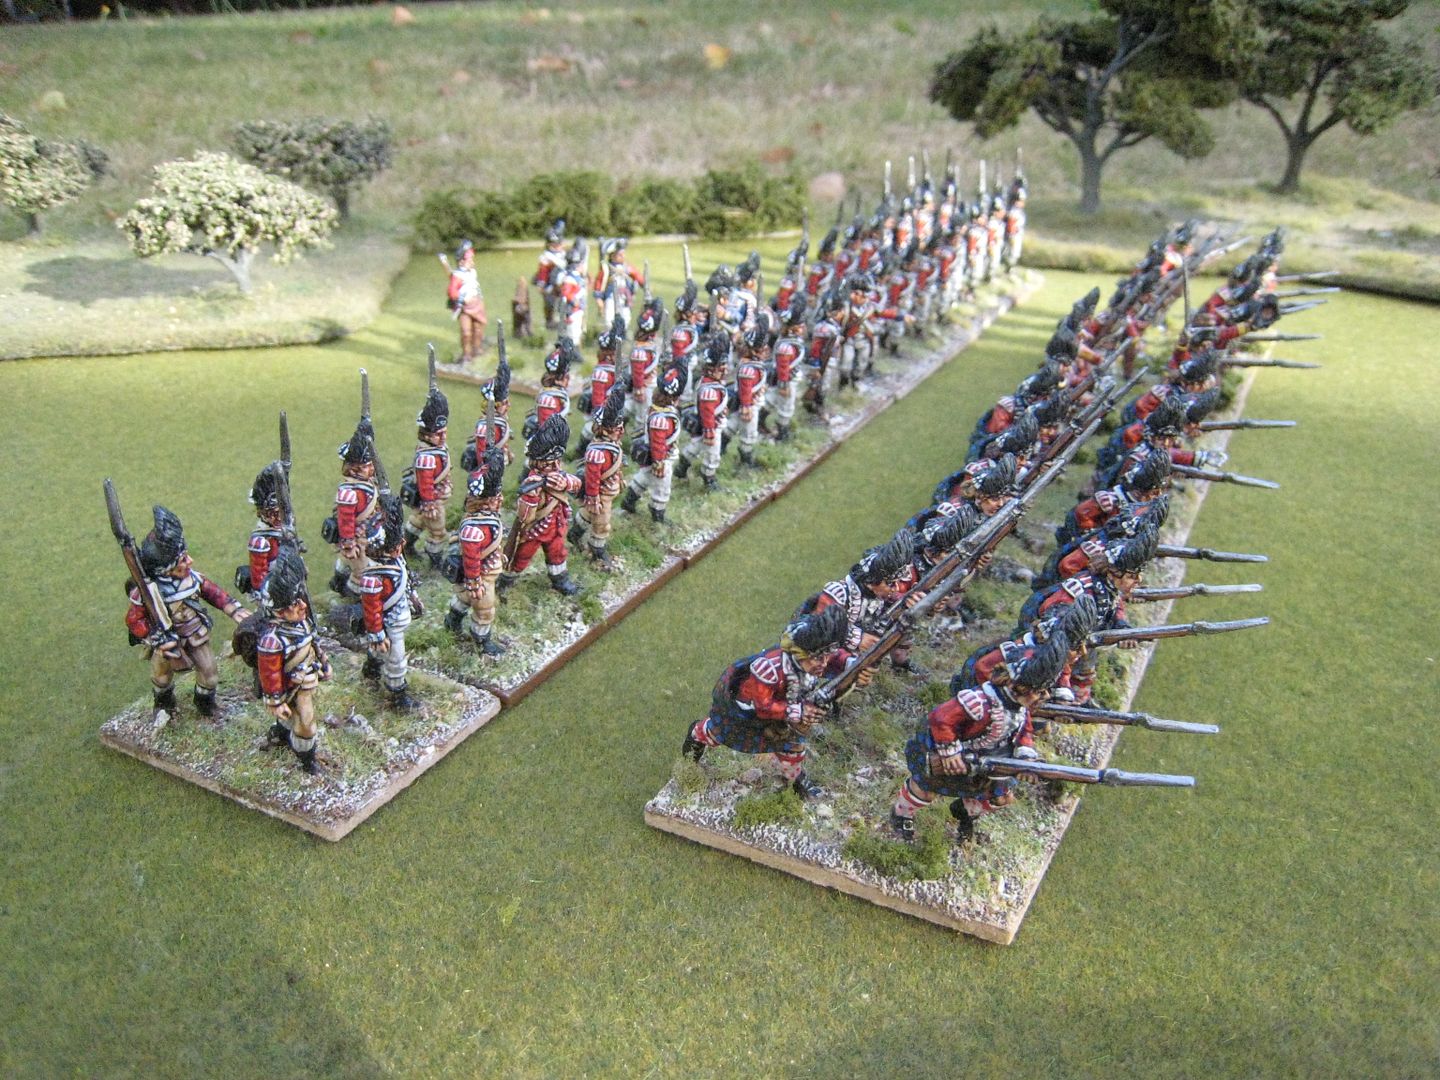
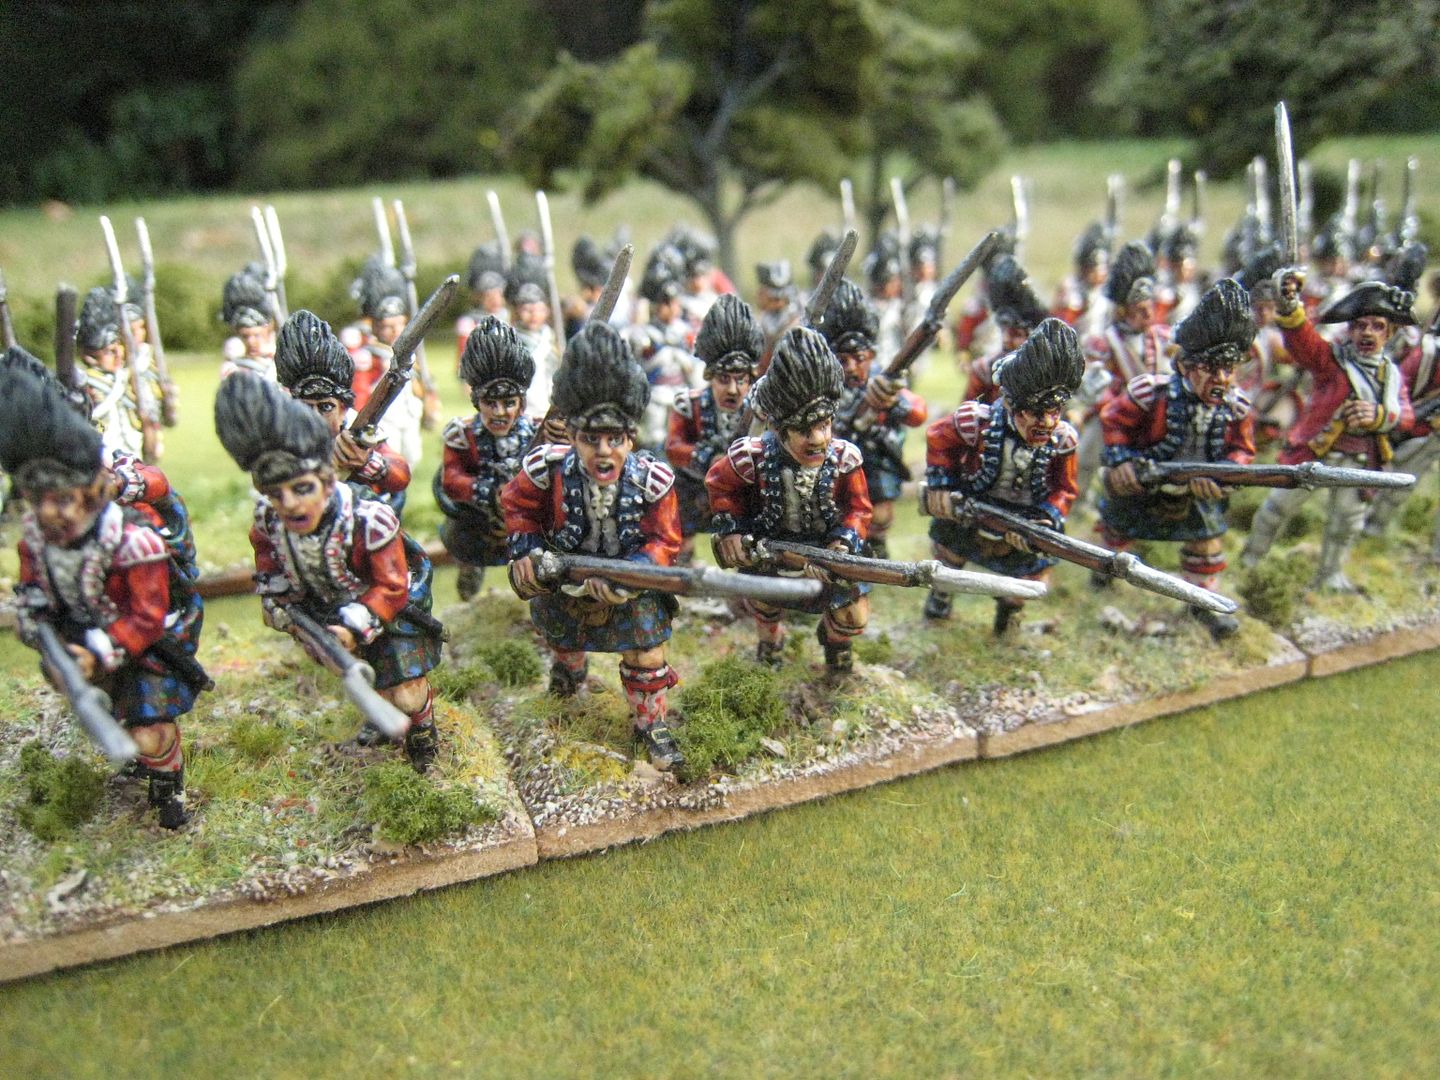
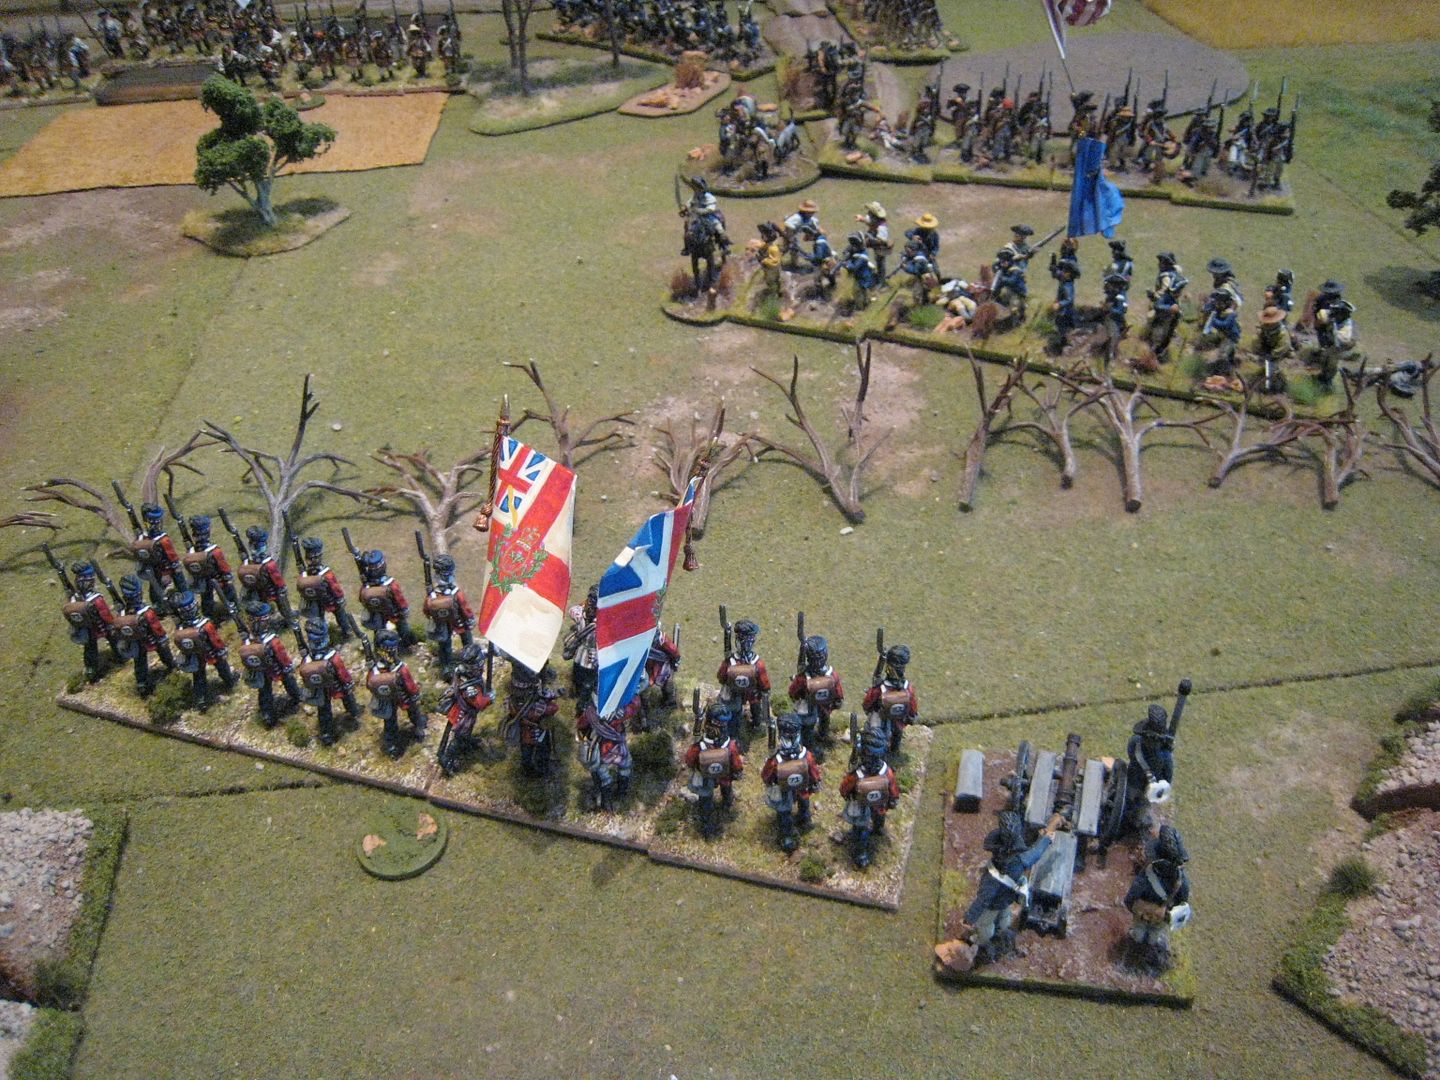
This is my second "reinforcements" post and it gives me an excuse to think about British grenadiers.  I'll start with the basics. These troops served in composite battalions that combined the grenadier companies of the various regiments serving in the Americas.  These combined units did not carry colours and were often much larger than in strength than the parent line battalions (as they contained more companies).  At the beginning of the AWI there were two combined battalions of grenadiers, expanding to four in 1776.  In October 1776 the 4th Grenadiers were disbanded due to high rates of sickness, with the 42nd Foot's grenadier company being transferred to the 3rd Grenadiers.  During the northern theatre battles of 1777-78, the main army had two large battalions and Burgoyne's 1777 Saratoga army had a battalion of just under 600 men.  The grenadiers shrank once major operations in the north ceased and there appears to have been just one battalion in the South.
I suppose there are three issues that might concern an AWI wargamer when considering how to add some grenadier units to his/her collection: size, facing colours and headgear.  The last is probably the easiest issue to address: there is evidence that bearskins were worn in the war's earlier years, and further evidence that they were put into storage in later years, from 1779 or thereabouts, if not earlier (and quite probably during the Saratoga expedition as well).  But realistically, who is going to pass on having these iconic troops in their full finery?  So bearskins all round.

The issue of size, is less binary, although you have two broad choices: medium or xtra-xtra large.  Below is a breakdown of grenadier units as they appear in the published "British Grenadier!" scenario books:

Lexington: 24
Bunker Hill: 16
Dorchester: 16
Long Island: 20, 20, 16, 16 (1st, 2nd, 3rd, 4th Grenadiers)
Haarlem Heights: 20, 20, 16, 16 (1st, 2nd, 3rd, 4th Grenadiers)
Bound Brook: 20
Pell's Point: 40
Brandywine: 24, 24 (1st and 2nd Grenadiers)
Hubbardton: 32
Freemans' Farm: 24
Bemis Heights: 16
Whitemarsh: 24, 24 (1st and 2nd Grenadiers)
Monmouth: 32, 32 (1st and 2nd Grenadiers)
Briar Creek: 10
Eutaw Springs: 14
La Vigie: 20

So a unit of 24 figures will cover over half the scenarios, and many gamers will be satisfied with that.  It's when you look at the larger battles that numbers get a bit sticky.  There are five scenarios in which the 1st Grenadiers and the 2nd Grenadiers both appear and two of those also feature the 3rd and 4th Grenadiers.  So the most grenadier figures you need at one time, for Long Island or Haarlem Heights, is 72.

I painted the 3rd and 4th Grenadiers for a Long Island game back in 2008 (together with a command stand).  Those 16-figure units, both in charging poses, helpfully combine to form the 2nd Grenadiers for Brandywine, Whitemarsh and Monmouth.  My existing 1st Grenadiers, in marching poses, was 24 figures, so that needed bulking up to 32 anyway.  But I then looked at the other scenarios and thought I might as well just another 8 figures to bring the unit up to 40 so I could use it as both the 1st and 2nd Grenadiers for Long Island and Haarlem Heights.

Having decided on numbers, the last issue is to think about what regiments the unit(s) should include.  The composition of the combined battalions changed over the duration of the war, but the following information seems reliable (and is taken mostly from the research that Brendan Morrissey has made available either in his excellent Osprey books or on TMP and other websites): 

At Bunker Hill in June 1775:
- 4th, 5th, 10th, 18th, 23rd, 38th, 43rd, 47th, 52nd, 59th. 

In 1776:
- 3rd Grenadiers: 15th, 28th, 33rd, 37th, 46th, 54th and 57th;
- 4th Grenadiers: 42nd (one double-size company) and 71st highlanders (three companies).

In 1777/78:
- 1st Grenadiers: 4th, 5th, 10th, 15th, 17th, 22nd, 23rd, 27th, 28th, 33rd, 35th, 38th, 42nd and 55th regiments;
- 2nd Grenadiers: 37th, 40th, 43rd, 44th, 45th, 46th, 49th, 52nd, 57th, 63rd, 64th, 71st, and Marines (the companies from the 71st and Marines were reassigned before the battle of Monmouth in June 1778);
- Burgoyne's Saratoga army: 9th, 20th, 21st, 24th, 29th, 31st, 34th, 47th, 53rd and 62nd.

At Eutaw Springs in September 1781:
- 3rd, 19th, 30th.

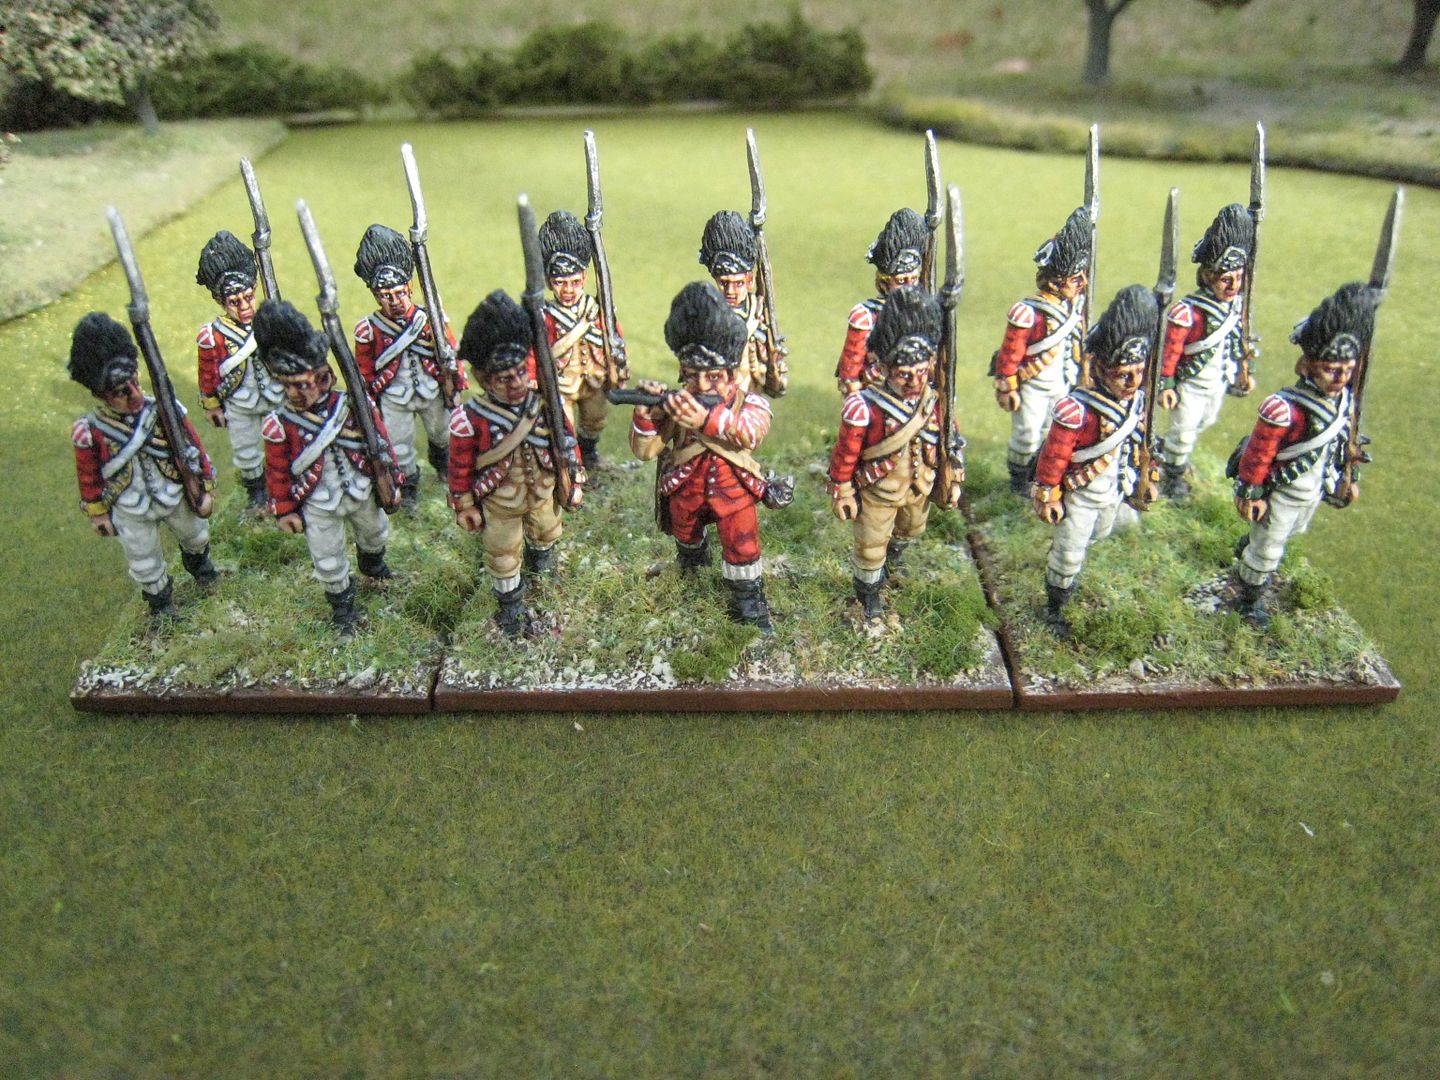
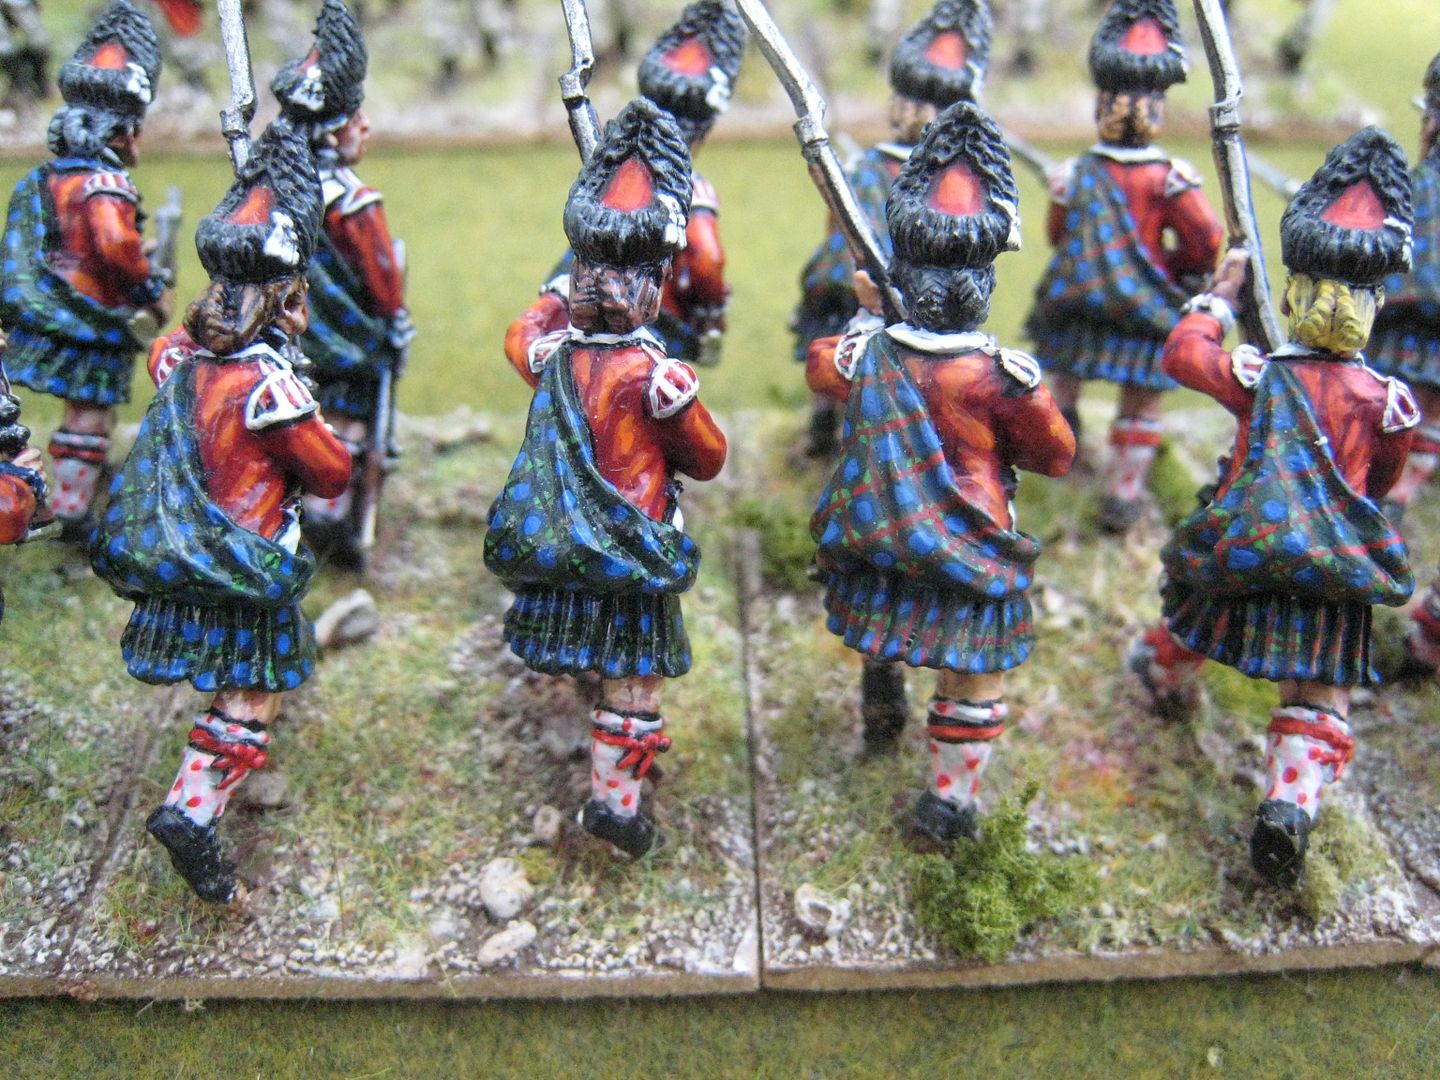
Trying to replicate the precise configurations of these combined battalions would therefore require a lot of extra figures to ensure that the correct regiments were represented.  The easiest way is probably to stick to just one pose, whether marching, charging or firing, as that would then allow you to mix and match more extensively.  I'm constrained by having one large unit in charging poses and the other in marching poses.  So combining my 3rd and 4th Grenadiers to form the 2nd Grenadiers at Monmouth, for example, doesn't really work as 42nd's grenadier company was with the 1st Grenadiers and the 71st's had been sent to New York.  The approach I've taken with the larger units to ensure the numbers are correct without worrying too much about the facings.  That said, the most common facing colours were yellow and dark green, so you can't go too wrong with lots of figures in those colours (looking at the 1st Grenadiers in 1777/78, for example, you have four companies with yellow facings, three with dark blue, two each with buff and dark green, one each with orange, white and red; of the seven companies in the 3rd Grenadiers in 1776, five had yellow facings).  The facing colour that is most noticeable is buff, because that means the colours of the smallclothes and cross-belts should be buff too.  I already had a couple of buff-faced figures in my existing 1st Grenadiers, but with an eye on the Eutaw Springs scenario I decided to paint a new base of 6 figures, including a Foundry fifer, to represent the 3rd Foot's grenadier company (and which I could then combine with two 4-figure bases to make the 14-figure unit required for that scenario).

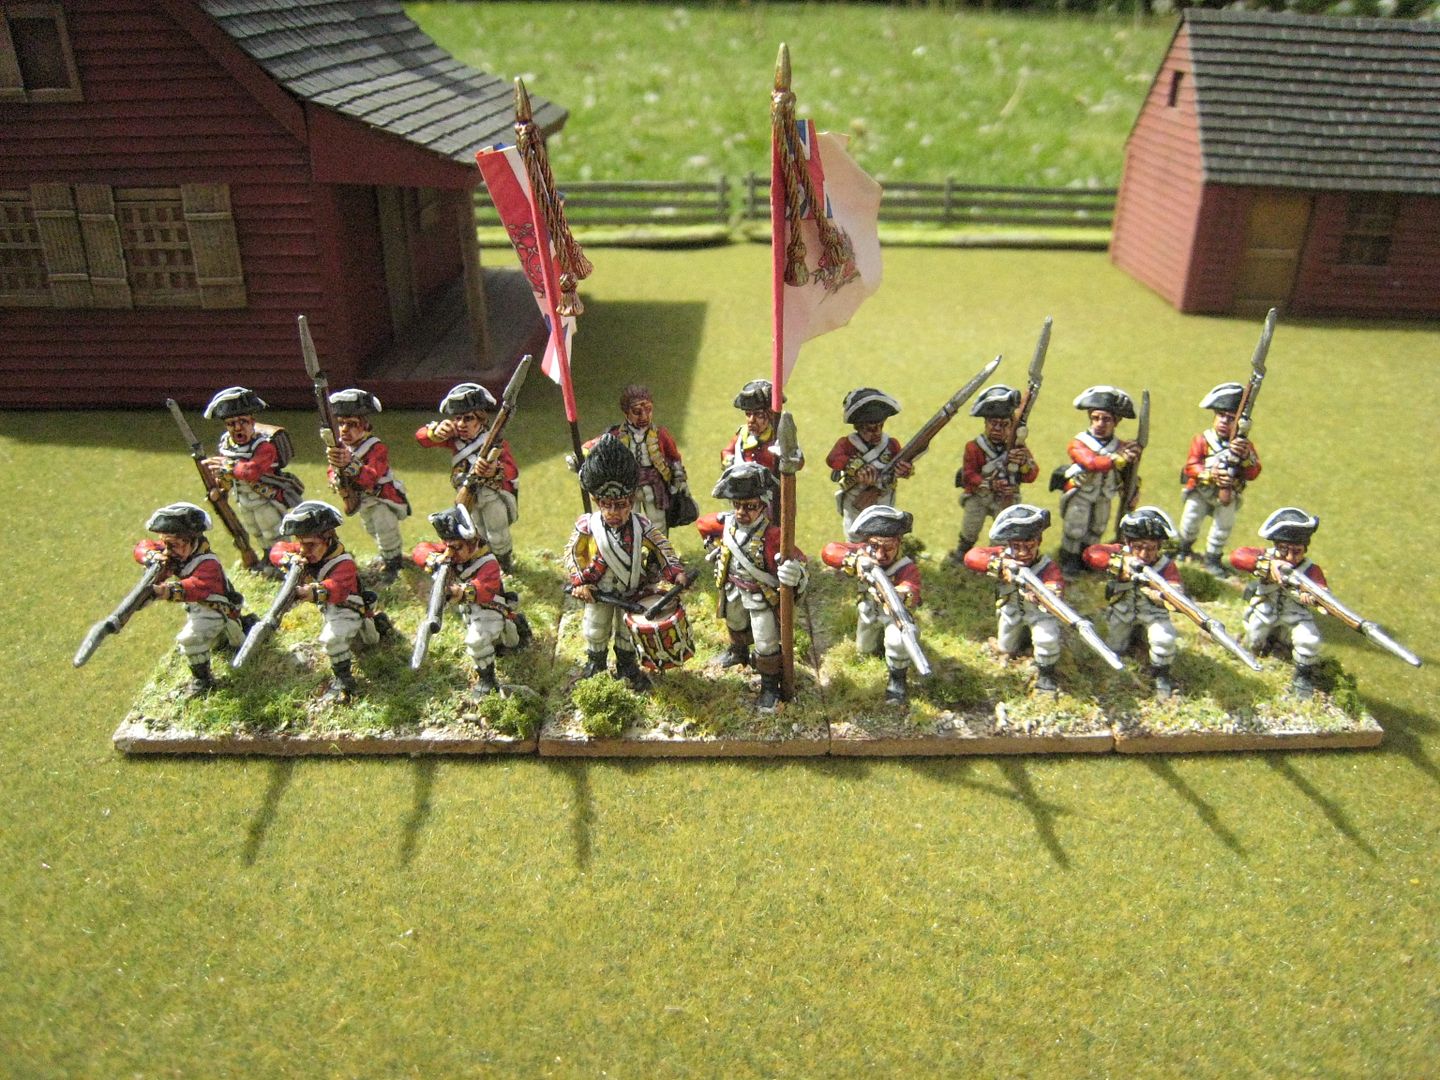
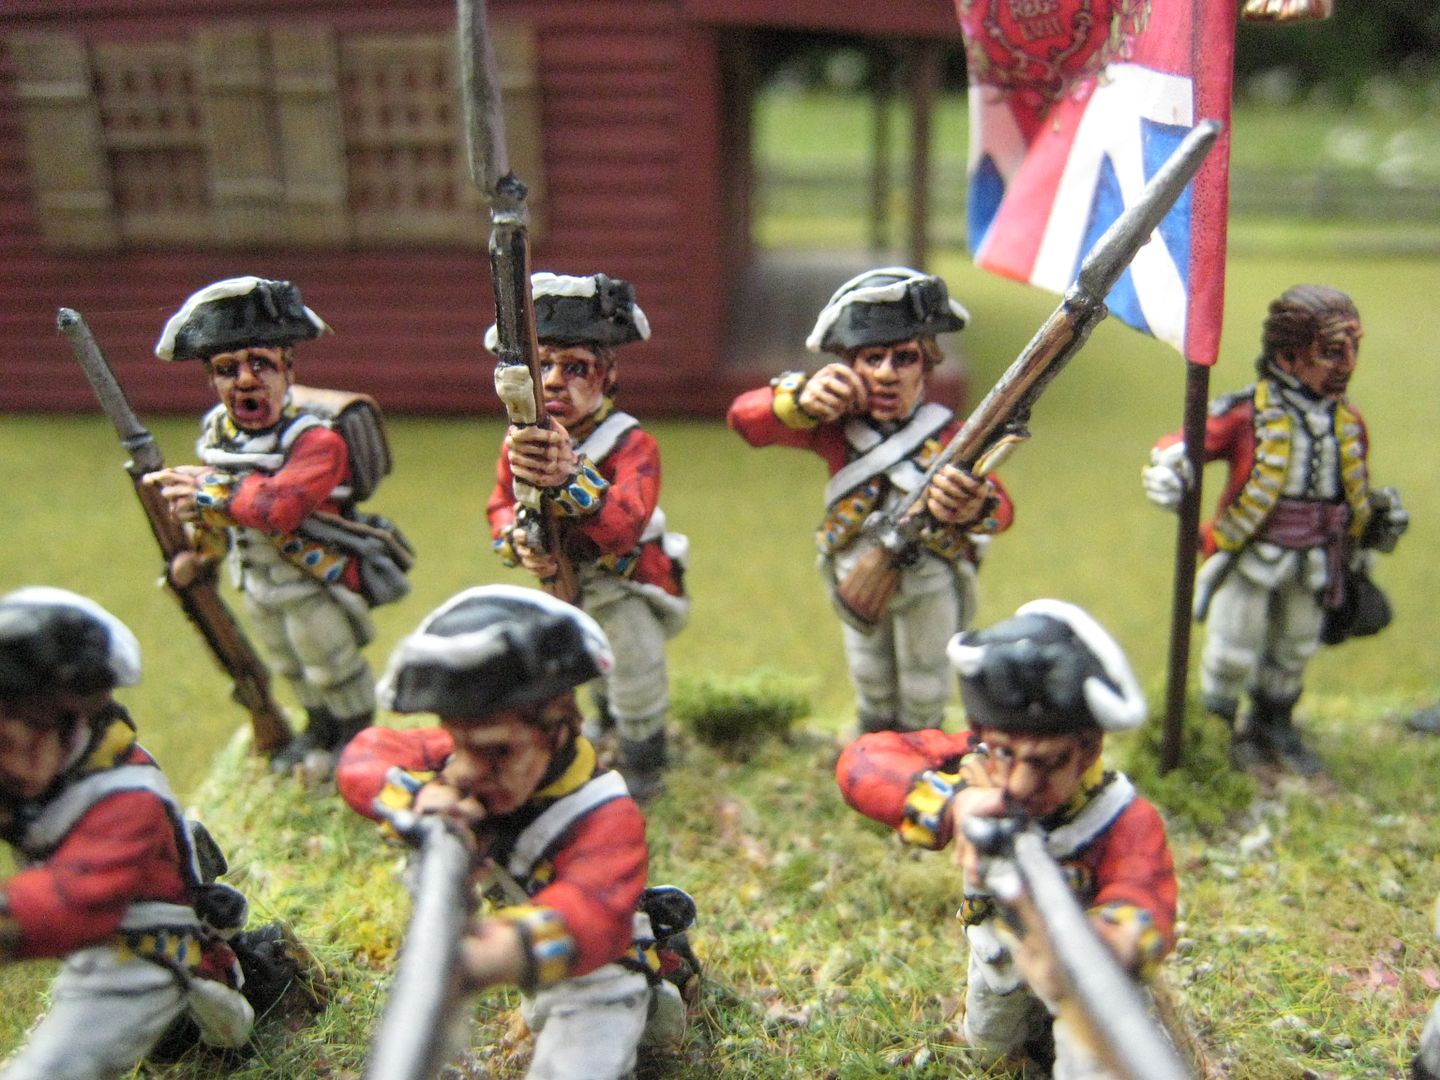
Here are the new figures:


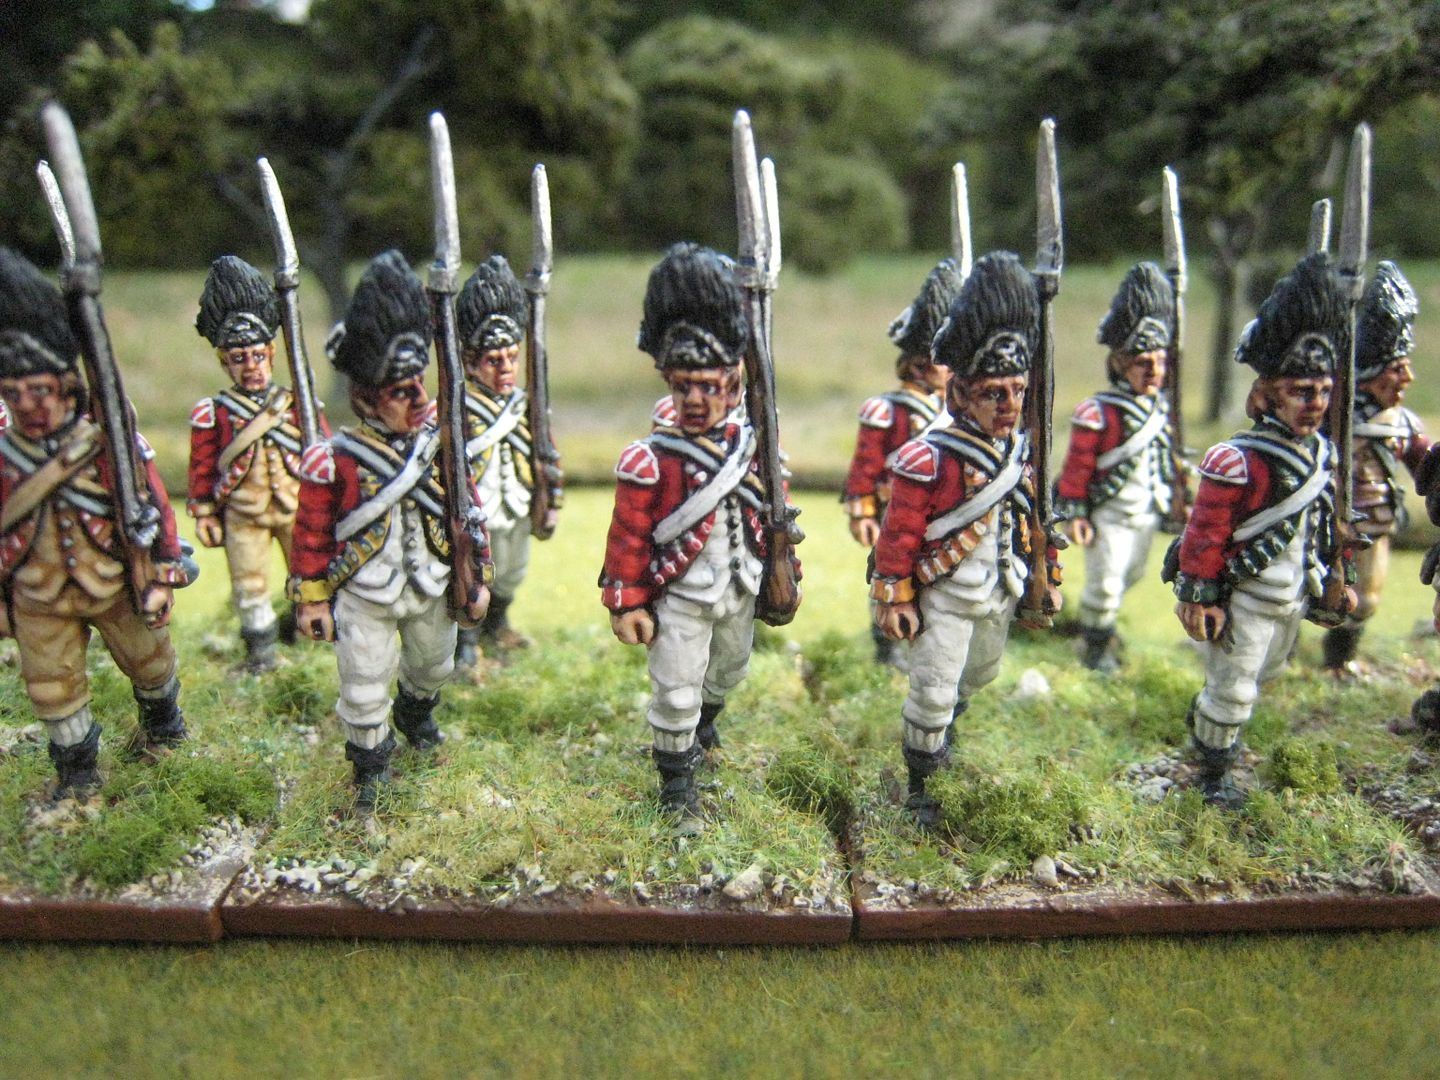
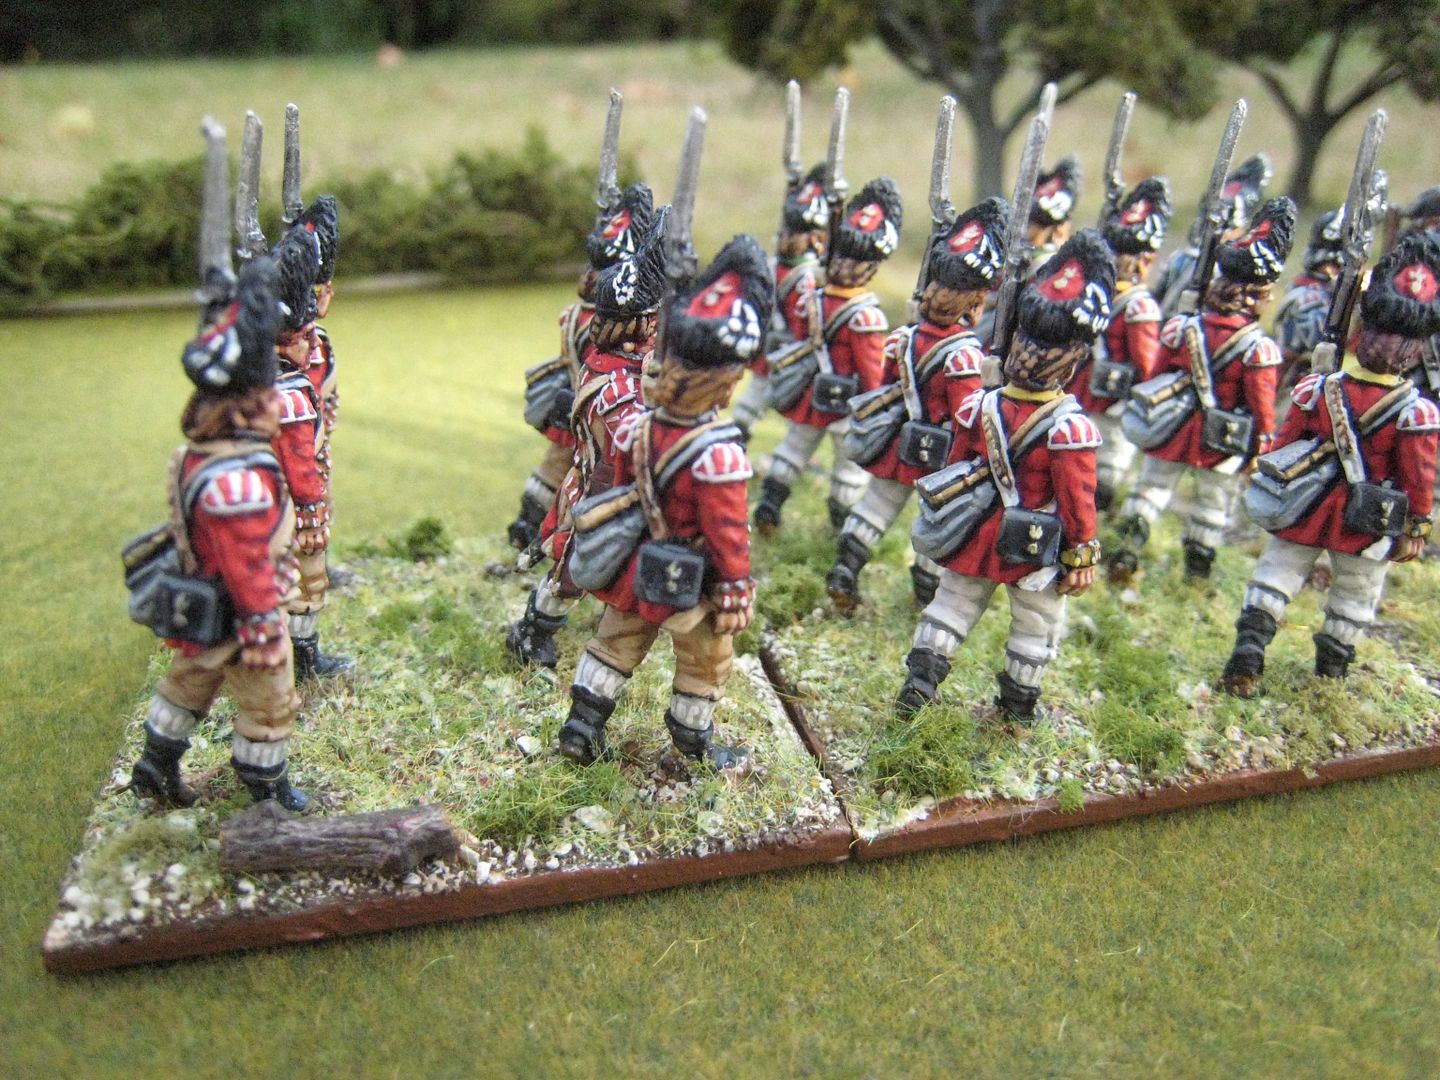
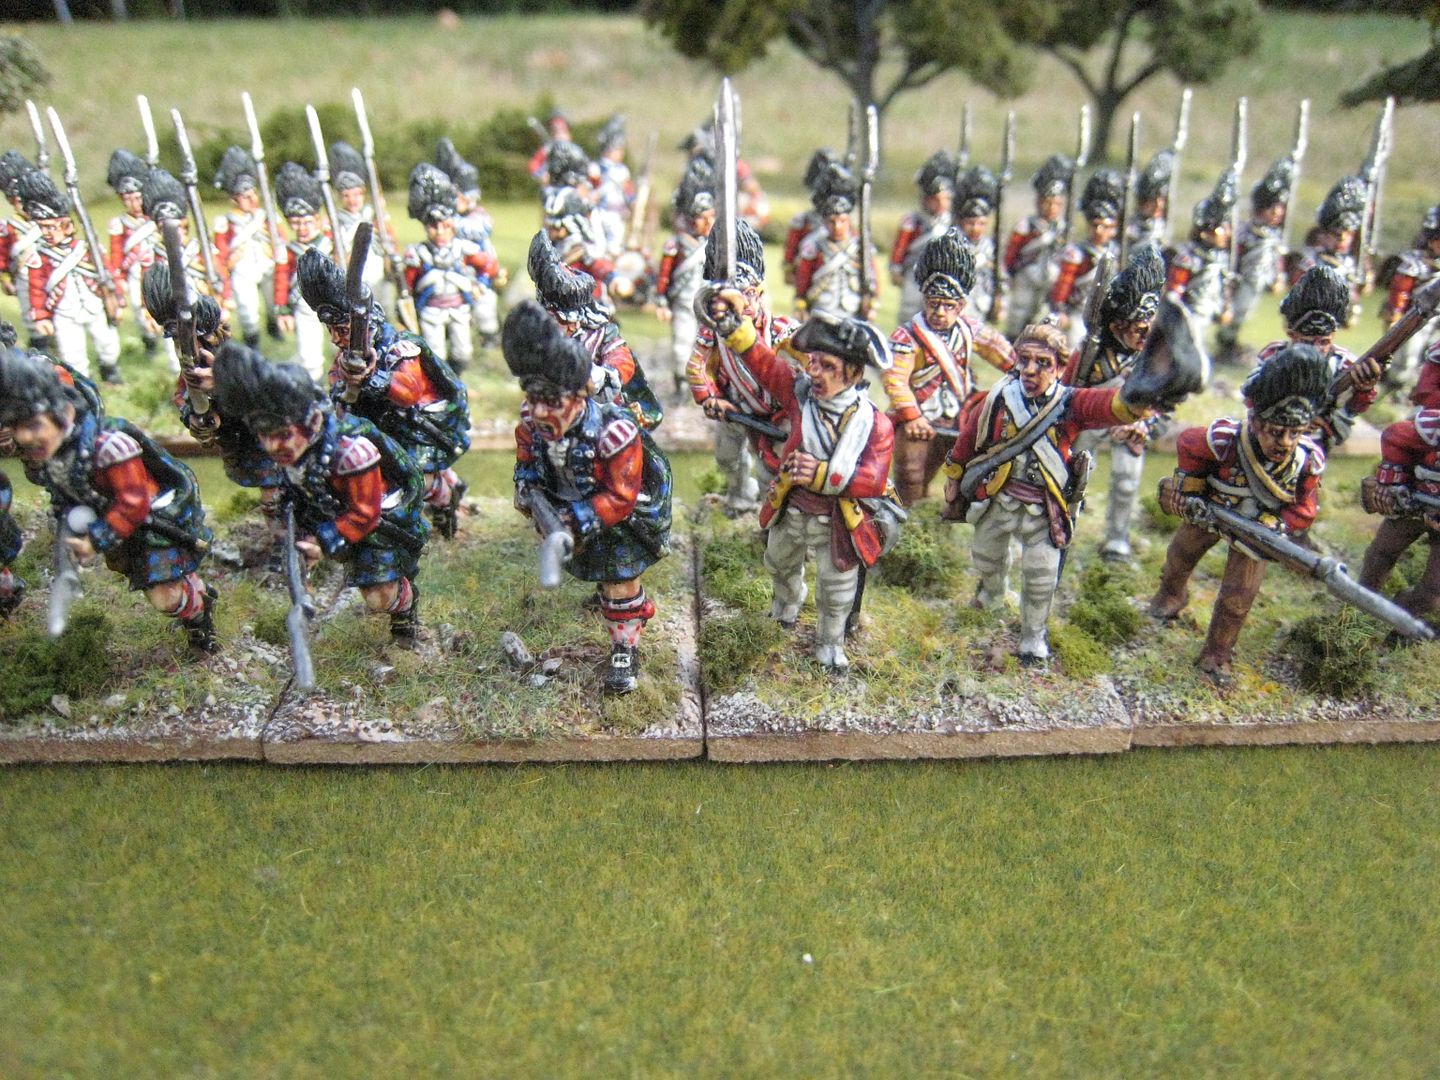
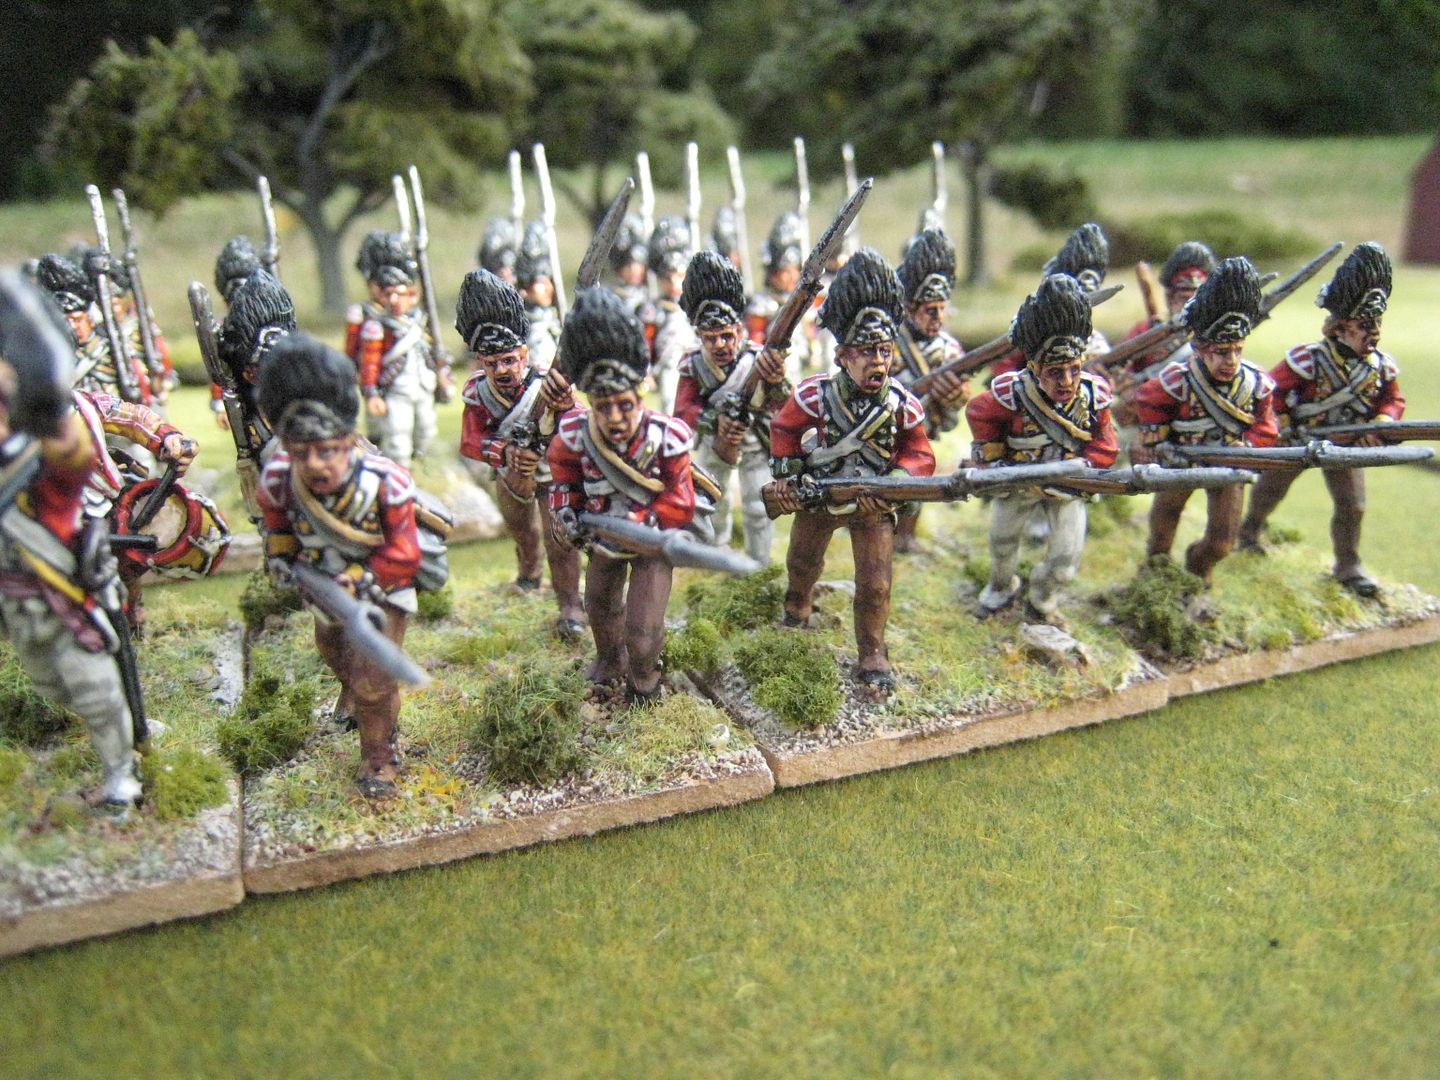
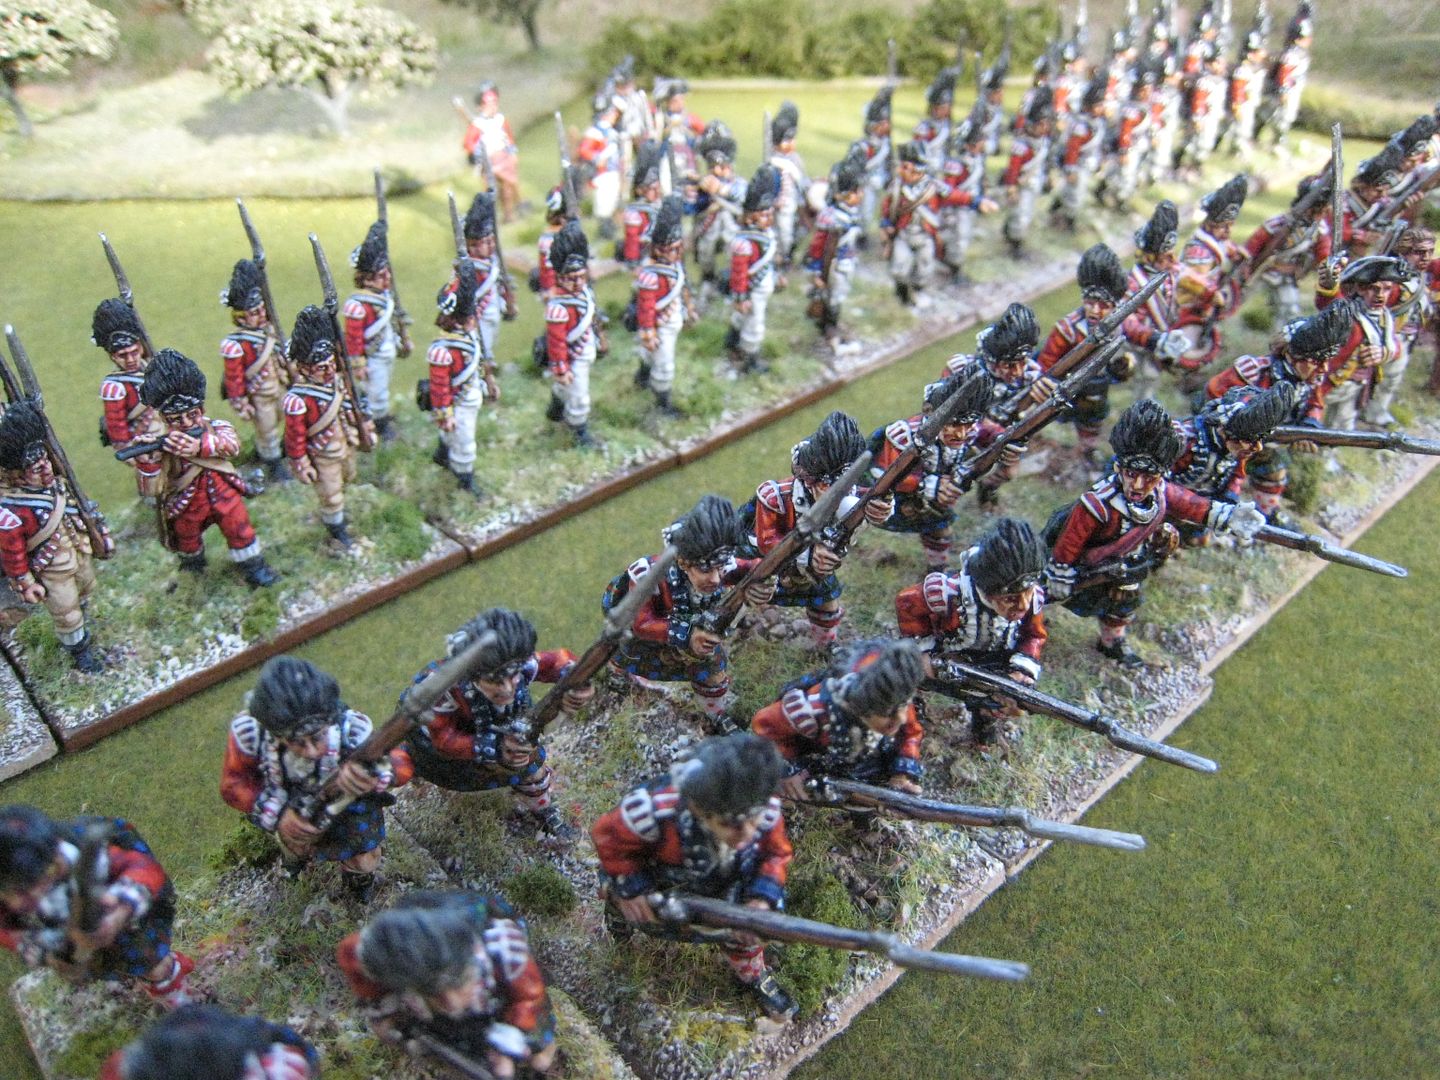
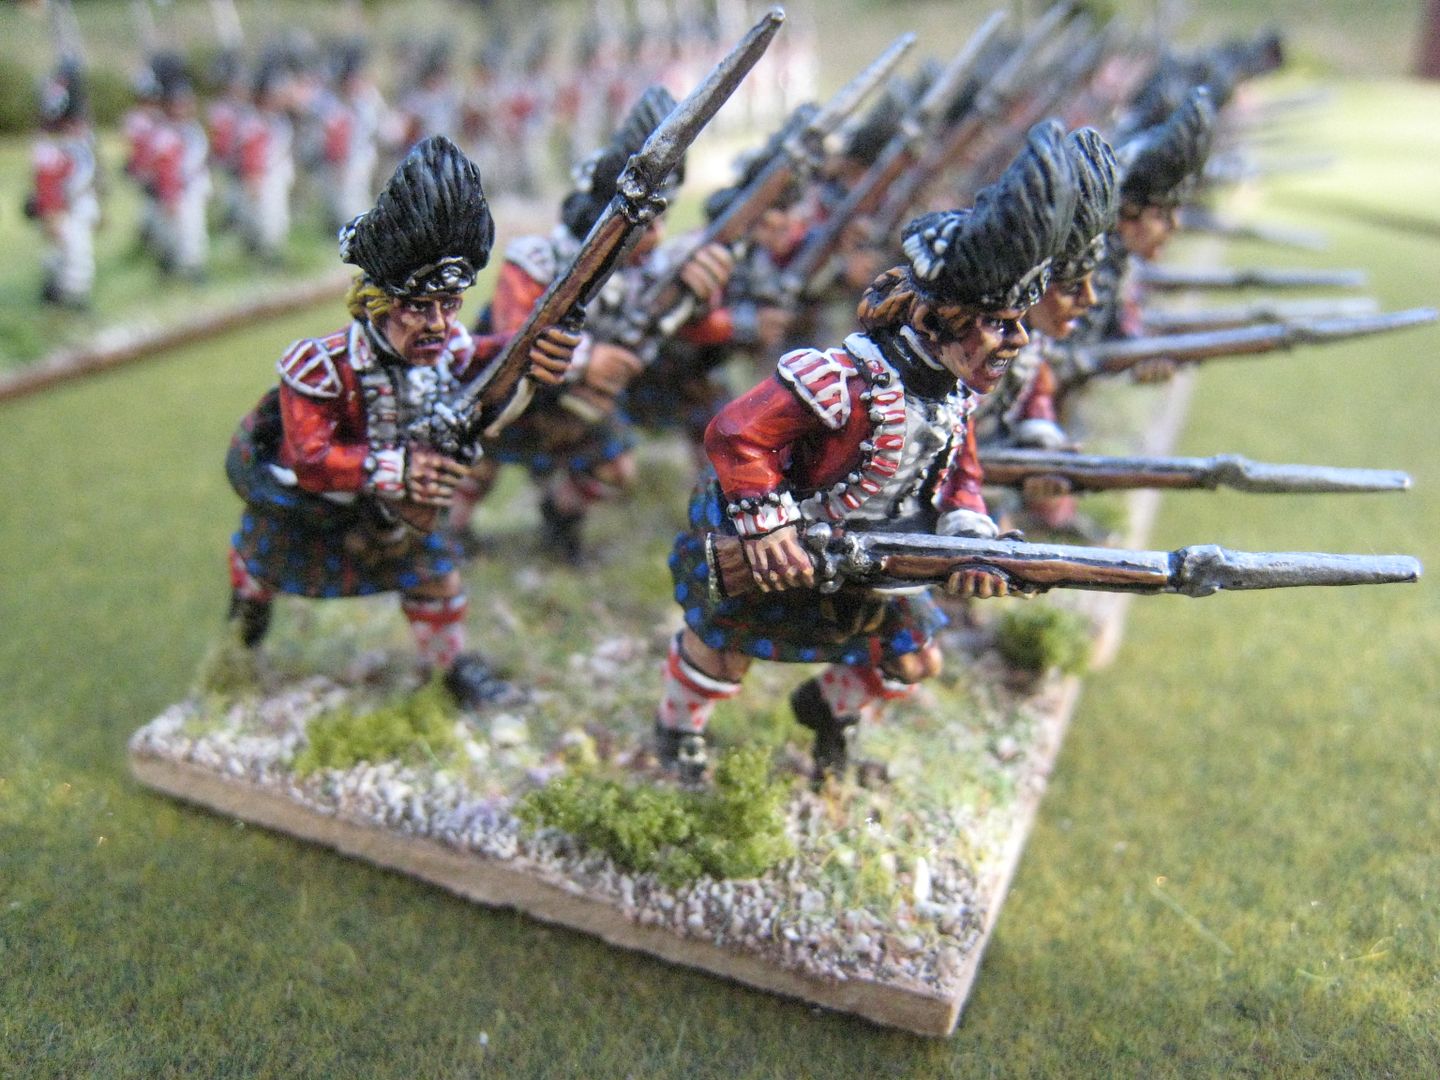
The figures here are mainly from Perry Miniatures, but with some older Foundry ones too.  Fife & Drum also make some nice grenadier figures.  I tidied up the older figures, which had a few daft painting mistakes.  So that's my brigade of British Grenadiers.  If I wanted to go absolutely nuts, I could do some more troops in "Saratoga caps" specifically for the Saratoga battles, but that would be right at the back of the list (I'd use Perry plastic figures, although they don't have flank company shoulder wings; but then did the grenadiers remove those wings before the campaign began....?).   My next batch of "reinforcements" will be British in campaign dress, but those will have to wait until later in the year.

I appreciate that the blog has been quite of late, but I'm now back in business and there is much more AWI to come shortly.

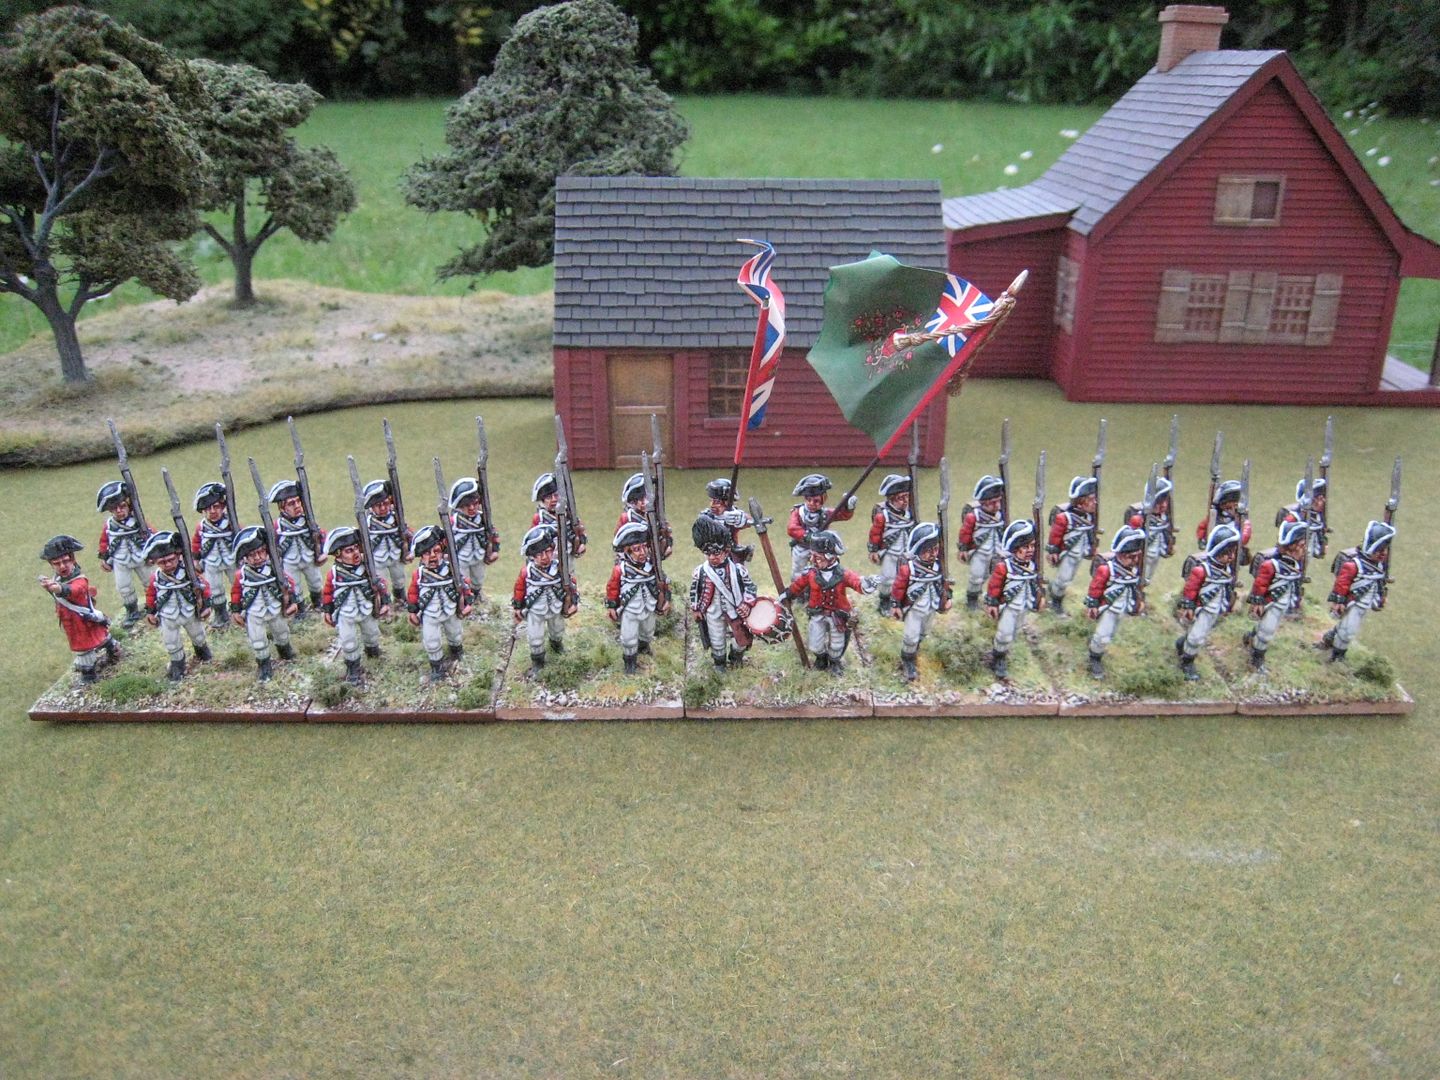
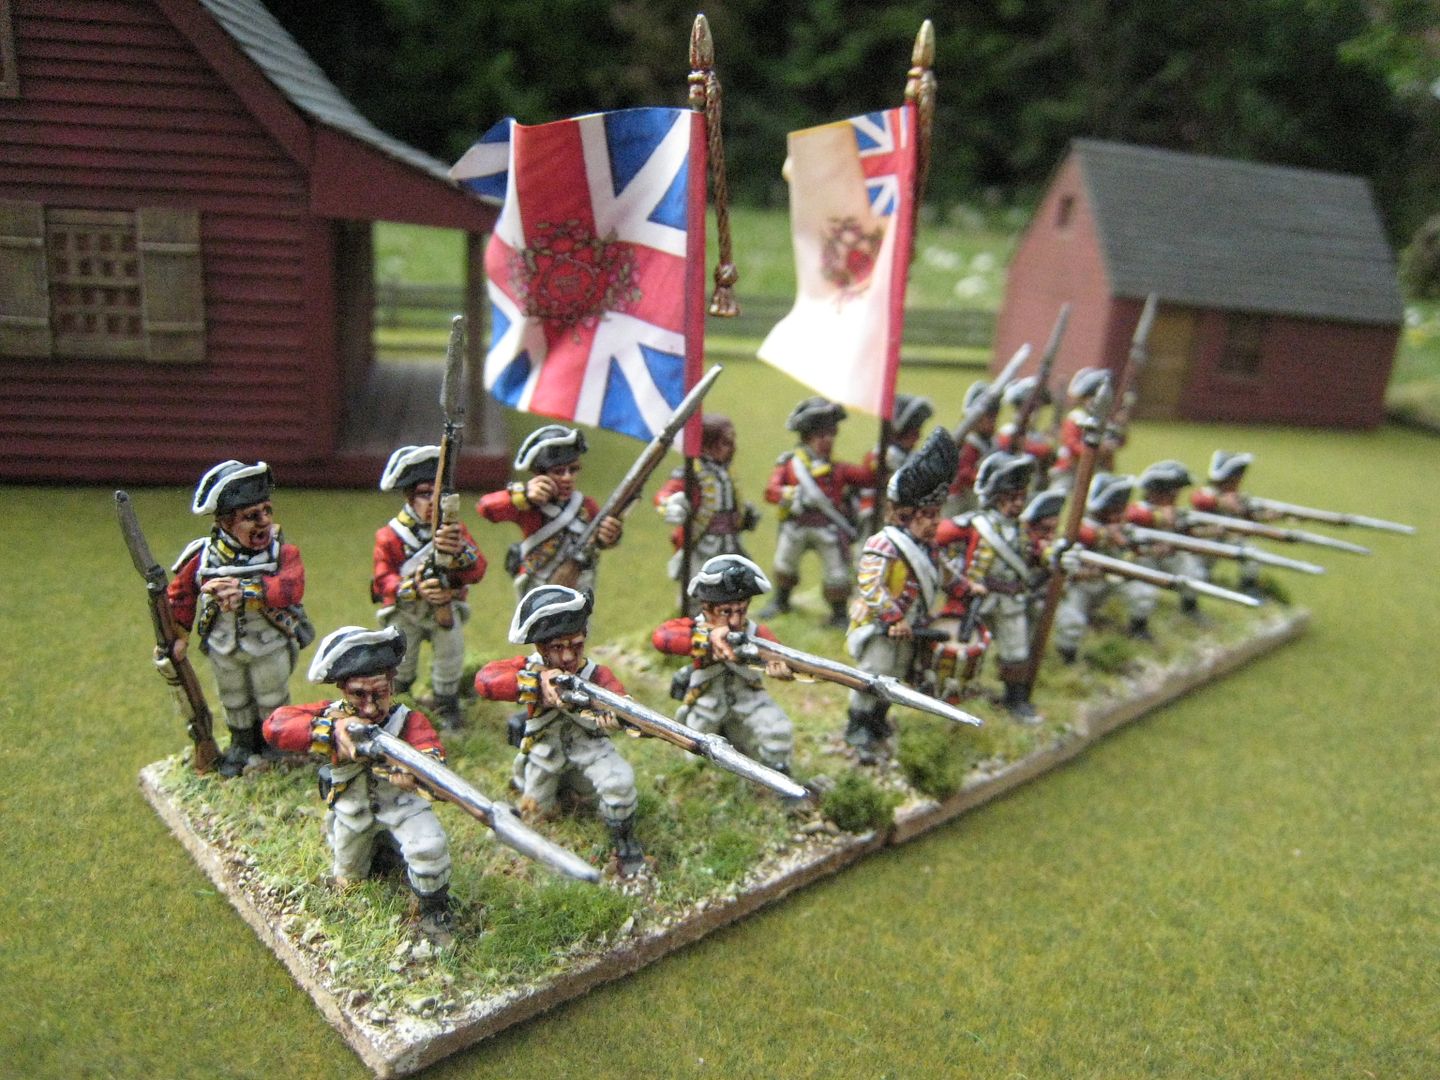
14 figures.  Painted August 2016.  Below are some other photos of the complete "brigade" out in the sun.


The second battalions of the 42nd and 71st have a red stripe in their plaid. 

Wednesday, 13 July 2016

British reinforcements (1)

I mentioned earlier this year that one thing on my AWI radar is to bulk up existing units to ensure they are of sufficient strength to cope with all relevant scenarios.  I keep a detailed spread-sheet of all units that feature in the published "British Grenadier!" scenarios and seeing regiments listed as "done" but with insufficient figures for the latest scenarios irritated my completist's mentality.  I hadn't meant to make a start on this work now, but I found some spare figures and painting them now would further my aim of painting all remaining AWI lead by the end of the year.  Of course it's in the nature of wargaming that finishing this task meant I had to buy a couple more packs of figures at Salute, but since they were largely painted immediately afterwards so the lead-pile hasn't been increased.   I realised that this "bulking up" project naturally falls into 4 stages: (i) units requiring Foundry figures in full/1768 Royal Warrant dress; (ii) units requiring Perry figures in campaign/cut-down coat dress; (iii) Hessians and Brunswickers; and (iv) units for the Guilford Courthouse scenario (this was originally presented in the first edition "British Grenadier" rulebook, but an amended version with different unit strengths appears in the 4th scenario book).  So that's probably the order in which I'll approach this sub-project.  I don't intend to re-do all my earlier blog posts about these units - I'll post pictures of the new figures as I go along and I'll add additional "group" shots to the original posts.

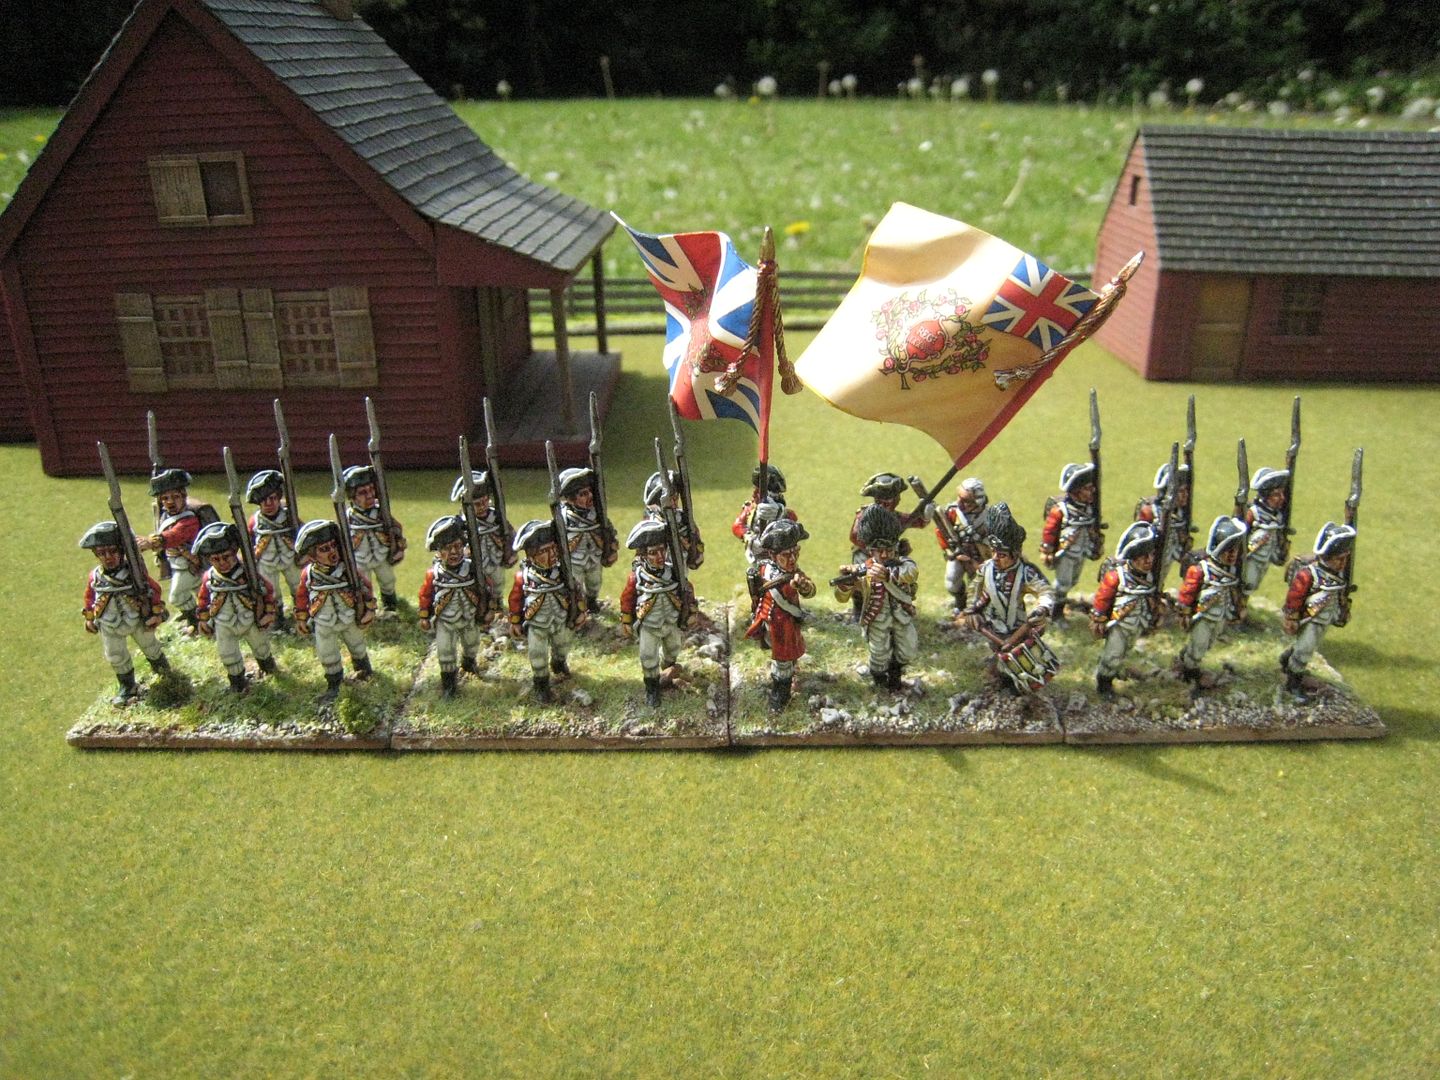
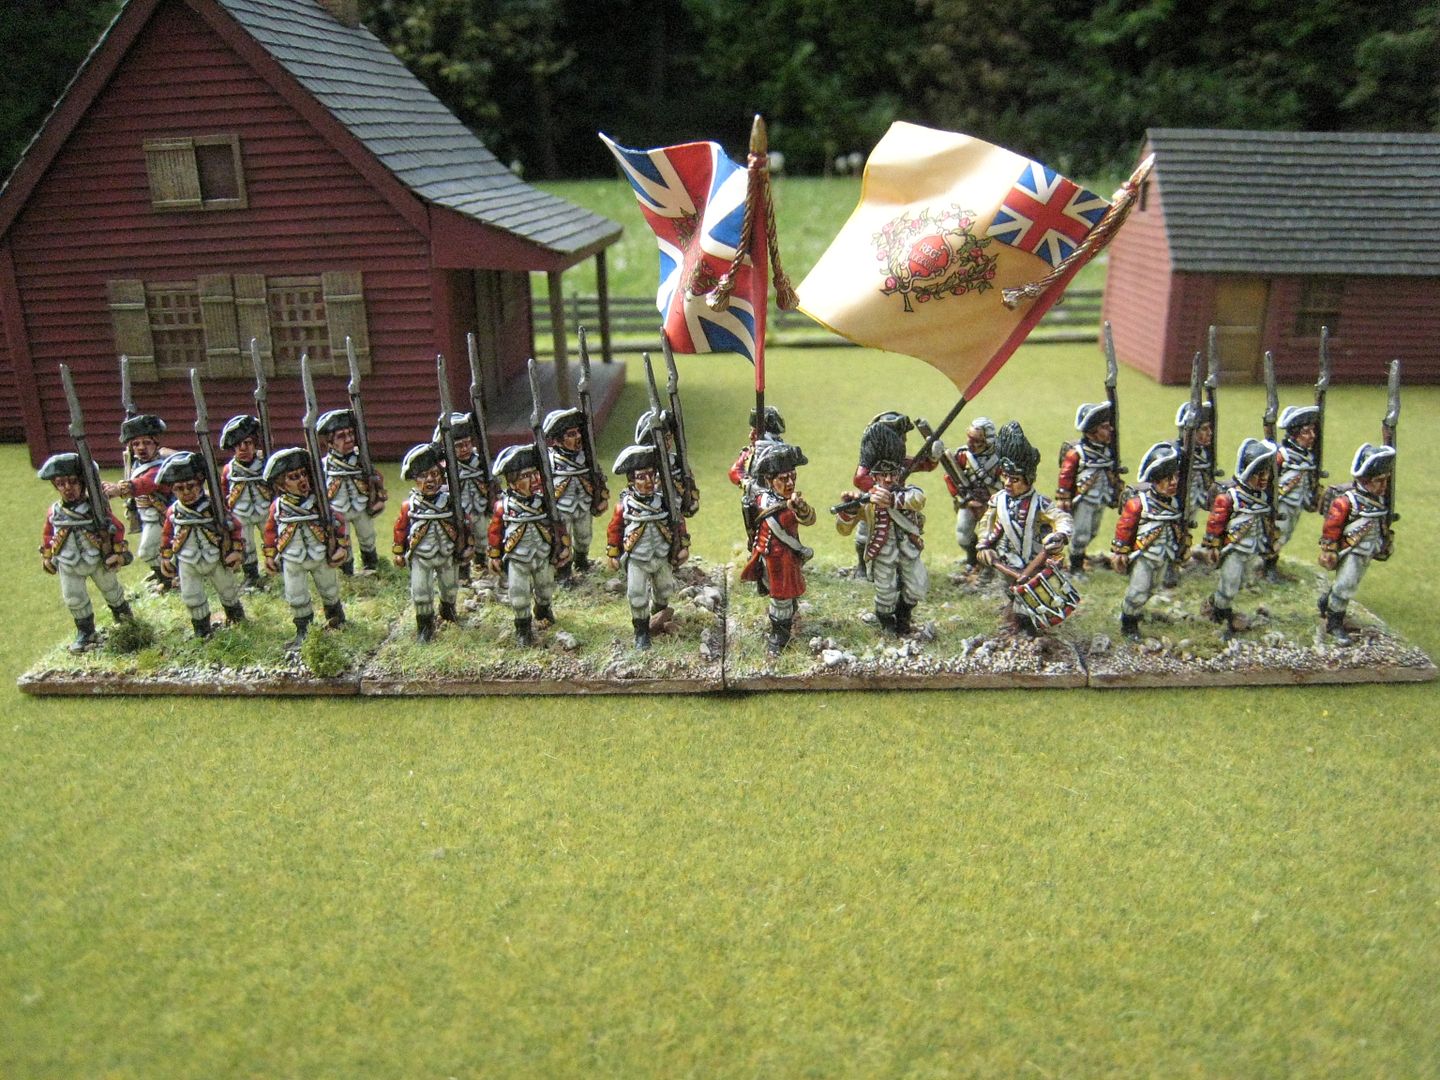
So first of all, here are the figures in 1768 Royal Warrant; this is a post that has been some months in the making!  These figures are the first Foundry British line I've painted for years.  Painting the marching figures took some getting used to, as they have a lot of kit and fiddly straps which one doesn't have on "campaign" dress figures.  That said, the firing line and charging figures were easy in comparison, as they don't have any kit other that the cartridge and bayonet belts.  I did a small amount of remedial work on a few of the original figures, some of which were painted as far back as 2003, when I first started out on my AWI odyssey.

First, I needed an additional 6 figures for the 38th Foot.  This is a useful battalion to have as it appears in the following scenarios: Bunker Hill (18 figures), Long Island (16), Fort Washington (12), Brandywine (16), Springfield (24).  I already had the battalion based in sixes for Bunker Hill so I've added a 4th base of 6 figures to take it up to the 24 figures required for Springfield.  That battle was fought in June 1780, and it's highly unlikely that at this stage the 38th was still in un-modified "full warrant" uniform.  But I don't think it's worth painting a whole new unit in modified campaign dress just for that scenario.


Secondly, the 63rd Foot needed 10 more figures to take it up to 30 for the Hudson Forts scenario.  The 63rd appears in the scenarios as follows: Bunker Hill (20), Long Island (16), Hudson Forts (30), Monmouth (16).   The attack on Forts Clinton and Montgomery took place in October 1777, so the regiment was most likely in cut-down coats by this time, but the rest of the figures are in full dress.  I painted up another base of 4 figures and then put the remaining figures on a base of 6 with an additional officer.  I see I need to paint the outside edges of the bases on the older figures.


Thirdly, the 49th Foot needed another 4 charging figures to bring it up to 20 for Dorchester.  This battalion's scenario appearances are: White Plains (16), Fort Washington (16), Dorchester (20), Brandywine (16) and Germantown (16).  I reckon full dress is ok for the first three of these battles, and again I don't intend to paint the regiment again in campaign dress for the 1777 scenarios.  Out of all these older units, I think this one shows the biggest change in style - the way I painted faces back in 2004 was rather embarrassing - oh, that horrid GW "Flesh Wash"!!


The 57th Foot required a further 6 firing line figures to increase it from 12 to 18.  The battalion appears only twice: Long Island (12) and Hudson Forts (18).   I had this regiment based in fours, so just added a base of 6 figures (including a corporal) to finish it off.


Lastly, the 43rd Foot, which I posted about only recently, needed another 6 marching figures to take it up to 24 figures for the Newport scenario.  The regiment otherwise appears in the Bunker Hill (18) and Long Island (16) scenarios.


I should add that anyone looking for Fort Washington in any of the BG!/Caliver scenario books will be disappointed.  It's on my scenario spread-sheet but the information on unit strengths came from material that AWI guru Brendan Morrissey posted on the General de Brigade website a few years ago.  Looking at that spread-sheet I see that the end is in sight for British line infantry.  Outside of  further "reinforcement" work, I have the following left to do:

- 3rd Foot ("the Buffs"): two wings of 18 and 16 figures for Eutaw Springs (both of which I'll do in full dress, given that the 3rd was only recently "off the boat" at the time);
- 22nd Foot: Long Island (16) and Newport (20);
- 26th Foot: Hudson Forts (24) and Monmouth (16);
- 37th Foot: lots of battles;
- 54th Foot: Long Island (16);
- 64th Foot: lots of battles;
- 80th Foot: Petersburg and Gloucester Point (32).

Add a couple of skirmish units and that's it.  So 32 line battalions done (plus 6 flank battalions) and 7 left to go.  That's not bad. Maybe I should get the boys out for a parade over the summer.....Next on the list will be the 37th and 64th (Perry metals in campaign dress, I think) and the Buffs. 

32 figures.  Painted March to May 2016.  All flags by GMB.  All buildings in the background made to order by Tablescape.

Thursday, 26 November 2015

Loyalist plans

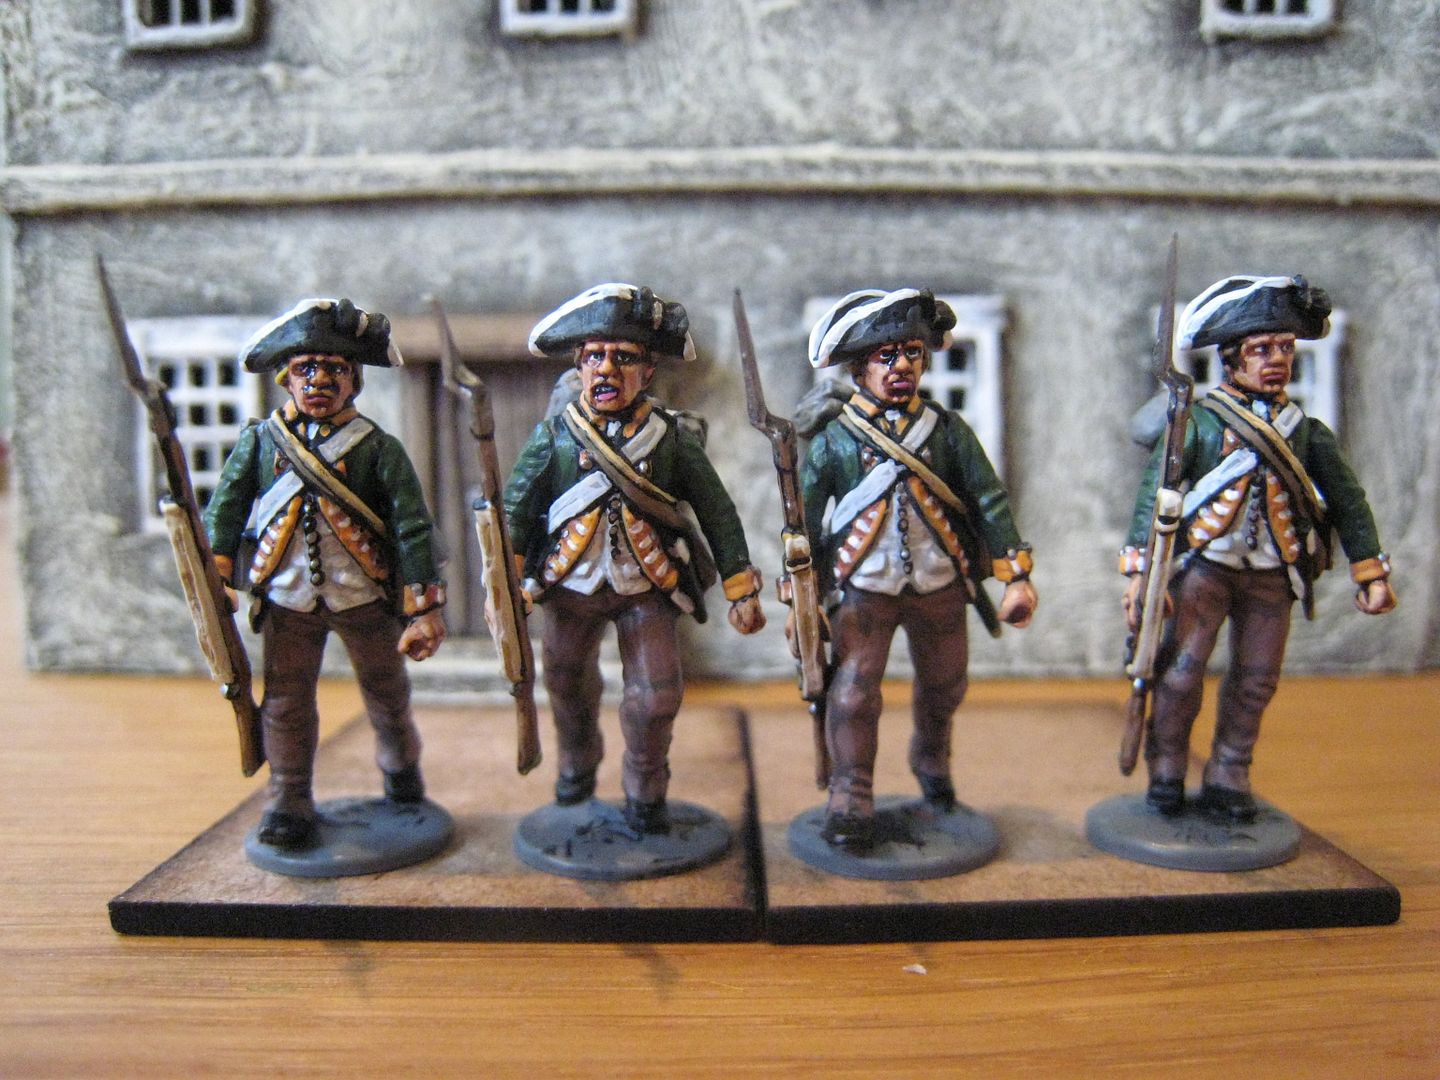
My last two posts have been about loyalist units and I mentioned that I've been doing some thinking on how to build up the loyalist part of my collection.   So I thought I'd set out my plans - this post might be useful to some people and I'd certainly appreciate thoughts and suggestions from others.  Most AWI gamers will know the basis "rules of thumb" for loyalist uniforms.  Many of the loyalist troops who were properly uniformed started out in green coats and then changed to red ones around 1777/78.  The uniform coats probably didn't have button hole lace, although some of the larger units did in their "red coat" incarnations.  For that reason, it's common for gamers to use "Continental" figures for loyalists rather than "British" ones.  Many units seem to have worn round or slouch hats.  Some of loyalist units adopted a light infantry-style of dress, with leggings or full gaiters and caps.  Gaitered trousers/overalls seem to have been very popular, as opposed to breeches and half-gaiters. 

With the figures currently available in 25mm you need to make a few compromises.  For example, if you want 25mm infantry in unlaced coats and full gaiters, like the Don Troiani Prince of Wales Volunteers here, then you're currently out of luck (I suppose you could use the Perry Hessian garrison troops, with a bit of conversion work).  Ditto if you want cut-down uniform coats, Indian leggings and round hats, like the Don Troiani Jessup's Corps of Loyalists here (you'd need to use Perry Saratoga figures and do some head swaps).  However, if you want unlaced coats, overalls and slouch hats, like the Don Troiani King's American Regiment here, then I think there are two ways to go at present: Perry plastic Continentals with hats from the British plastic set or the Fife & Drum British Guards figures (which don't have lace).  The former option isn't ideal because only half the Perry plastic Continentals wear overalls.  If you want figures that aren't in a marching pose, then it becomes more difficult and my solution is to use the Perry British plastics, even though they have lace.  I'll also mention King's Mountain Miniatures, as they have a massive range of separate heads which include several sets that are suitable for loyalists.  A further option is to be mega-creative and mix up all kinds of metal figures, as Steve Jones did with his South Carolina loyalists.

So the decisions I've made are within the contraints outlined above. I admit to not being particularly fussed about button hole lace - what's more important to me is the overall look of the unit and whether the head gear and poses suit the look I'm after.  I've also tried to double-up some units to increase their use, and that usually requires further compromise on particular uniform details.  The list isn't finite - for example, I've yet to decide what to do about Butler's Rangers and the infantry element of the Britih Legion.  As usual, references to battles are to the 4 Caliver/"British Grenadier!" scenario books.  Also worth a mention is Steve Jones' "Rebellion" supplement for the "Black Powder" rules, which contains an excellent section on loyalists and their uniforms. 

First, there are the well-known units for which particular figures have been made by Perry.

- Queen's Rangers (Brandywine, Monmouth, Germantown, Whitemarsh, Springfield, Gloucester Point).  20 figures will see you through most scenarios.
- Volunteers of Ireland (Camden and Hobkirk's Hill).  

Secondly, there are a number of other units which I propose to model with (largely) Perry Miniatures' plastic figures. These vary in size and follow the units involved in the scenarios.  There's nothing wrong in my view with painting up 24 figures in green faced red coats, or red faced blue coats, and having them stand in as generic loyalists for each and every scenario.  That would obviously save on money and painting time.  But I'm rather anal when it comes to the AWI and I appear to have accumulated several boxes of Perry plastics, so I'm going to have a stab at painting up several units which try, insofar as is possible and practicable, to be reasonably close to what the units may have looked like.  I haven't included "loyalist militia", which appear in a couple of scenarios (which I painted up last year).

- green coats faced blue, tricornes: Emmerich's Chasseurs (Indian Field, Hudson Forts), Prince of Wales' Volunteers (Newport) -  12 figures; Perry plastic Continentals; see here.

- green coats faced white, round hats: King's American Regiment early uniform (Hudson Forts, Newport) - 30 figures; Perry plastic British.

- green coats faced orange, tricornes: King's Orange Rangers (Hudson Forts) - 12 figures; Perry plastic British; see here.

- green coats faced red with green lapels and slouch hats: King's Carolina Rangers (Savannah) - 8 figures; Perry plastic Continentals with British slouch hats.

- green coats faced red, tricornes and Saratoga caps for the light company: King's Royal Regiment of New York (Oriskany) - 28 figures; Perry plastic British.

- green coats faced red, slouch/round hats: Loyal American Regiment (Hudson Forts) - 16 figures; Perry plastic Continentals with a mix of British and American hats.

-  red coats faced blue, white slouch hats: De Lancey's Regiment (Eutaw Springs; Savannah) - 18 figures; Perry plastic British.

- red coats faced blue, slouch hats: New York Volunteers (Hudson Forst, Hobkirk's Hill, Eutaw Springs), North Carolina Volunteers (Stono Ferry, Savannah, Camden) - 16 figures; Perry plastic British.

- red coats faced blue, tricornes: New Jersey Volunteers (Springfield) - 12 figures, Perry plastic British.

- red coats faced olive green, tricornes: King's American Regiment later uniform (Hobkirk's Hill) - 16 figures; Perry plastic British.

- red coats faced green, slouch/round hats: Queen's Loyal Rangers (Bennington) - 12 figures; Perry plastic Continentals with a mix of British and American hats and some metal militia.

- red coats faced yellow, slouch/round hats: South Carolina Royalists (Stono Ferry; Hobkirk's Hill) - 16 figures; Perry plastic Continentals with mix of British and American hats. [I might copy Steve and mix in a few metal militia types.]

I'm sure some will disagree with the above.  For example, should the King's Royal Regiment of New York have red or blue facings?  You can read a discussion about that on the re-enacted unit's website.  I decided to follow James Kochan and go with red, largely because I love the Don Troiani painting of the Battle of Oriskany which shows members of the regiment in light infantry caps and red facings.  There's a fair amount of work to be done in painting up the units listed above.  If I run out of plastics I might have to treat myself to some Fife & Drum Guards.  I'm already working on the King's Carolina Rangers and next in line will be the New Jersey Volunteers.

Thursday, 5 November 2015

"British Grenadier!"/AWI scenarios volume 4

Just a short post to remind people that the new volume of AWI scenarios is available from Caliver Books (or On Military Matters in the US).  This collection has been compiled by the usual "British Grenadier!" team of "Eclaireur", Brendan Morrissey and John Ingham, but it should be usable with any AWI rules.  I can't really write an objective review of this book, given that my mates wrote it and I provided many of the accompanying photographs.  AWI supremo Steve Jones has a review on his blog here.   However, while I saw the proofs some months ago (to show me where photos were needed) my hard copy arrived this morning and I thought I'd add some observations. 

First, it has some great photos!  A conscious effort was made to provide photos that featured units relevant to each scenario, although I wasn't able to set up the scenarios themselves.  That said, there are a couple of pics from the Stono Ferry playtest (see here) and a game the Perries put on of Weitzel's Mill.  The Perries provided some further more generic photos too.  Setting something up for the Cuddalore scenario proved challenging, given that it is set in 1783, outside a town on the east coast of India, and involves British and Honourable East India Company forces attacking an entrenched French and Mysorean army.  All I could think of was gathering together some Foundry Darkest Africa Baluchi figures and AWI French infantry and using some Sudanese-type buildings from Touching History to suggest troops marching through the streets of Cuddalore on their way to the fortifications outside.  Not a bad bit of improvisation, I thought!

Secondly, the scenarios themselves are a good mix of "theatres" and scales.  In all 4 books in this series, one aim has been to ensure that each of the main periods of the war is represented and that there are large and smaller-scale actions.  The books also often have a "what if" scenario and/or one that is set outside of the AWI mainstream.  So in the 3rd scenario book, for example, there is the attack on Fishguard of 1797 and the Deluxe edition of the "British Grenadier!" rules has a scenario from each of the F&IW and the War of 1812.  In this 4th volume, the "hypothetical" scenario is the attack on the Dorchester Heights near Boston that Howe planned at the beginning of March 1776.  The attack was called off as bad weather meant the assault force could not be ferried to its starting line.  This is a middle-size scenario, with 10 or so units per side, that gives the British player another crack at a Bunker Hill style assault.  The full list of scenarios, with some thoughts on the ones not already mentioned, is as follows:

1. Dorchester Heights, March 1776.

2. Pell's Point, October 1776 - a 1:10 ratio battle, where 4 battalions of Continentals try to hold up a force of British light infantry and Hessians.

3. Bennington, August 1777 - a large scenario involving 2 separate tables for the main action and the Brunswicker relief column; use here of some more exotic troops, such as Brunswick dragoons, a baggage train and Canadian auxiliaries.

4. Whitemarsh, December 1777 - historically, this was essentially a series of skirmishes between elements of Washington's and Howe's armies, before the latter decided to withdraw.  In the scenario, the full orbats are provided so a massive British attack of 3 divisions can be made.

5. Briar Creek, March 1779 - a small-scale, 1:10 "Southern" action, with the 71st Foot, lightbobs and loyalist militia attacking NC militia.  Some interesting units to model here, such as the loyalist Florida Rangers.

6. Stono Ferry, June 1779 - see my playtest report here.

7. Springfield, June 1780 - back in New Jersey, Hessians, loyalists and British Guards under General Knyphausen attack a large American force.

8. Weitzell's Mill, March 1781 - can the militia buy enough time to enable Continental battalions to escape from Tarleton and Cornwallis' superforce of the 23rd, 33rd and 71st Foot regiments and a 32-figure Von Bose?  This looks like a quick, exciting game.

9. Yorktown, October 1781 - this is the storming of Redoubts 9 and 10 by French troops and American light infantry.  The scenario allows for a British counter-attack to re-take the forts, which Cornwallis didn't bother with on the night.

10. Cuddalore,  June 1783 - I'm sure this would look pretty spectacular. I wonder if the Perries could be persuaded to release HEIC infantry and Mysorean troops...

Each scenario comes with historical notes, full orbat and terrain details, a colour map, some uniform guidance, tactical tips and, where required, special rules.  Also included are some colour paintings by the late Bob Marrion (whose illustrations will be much missed in future Caliver publications) and a points system for "British Grenadier!".

So there you have it!
       

Friday, 16 August 2013

Stono Ferry, 20 June 1779

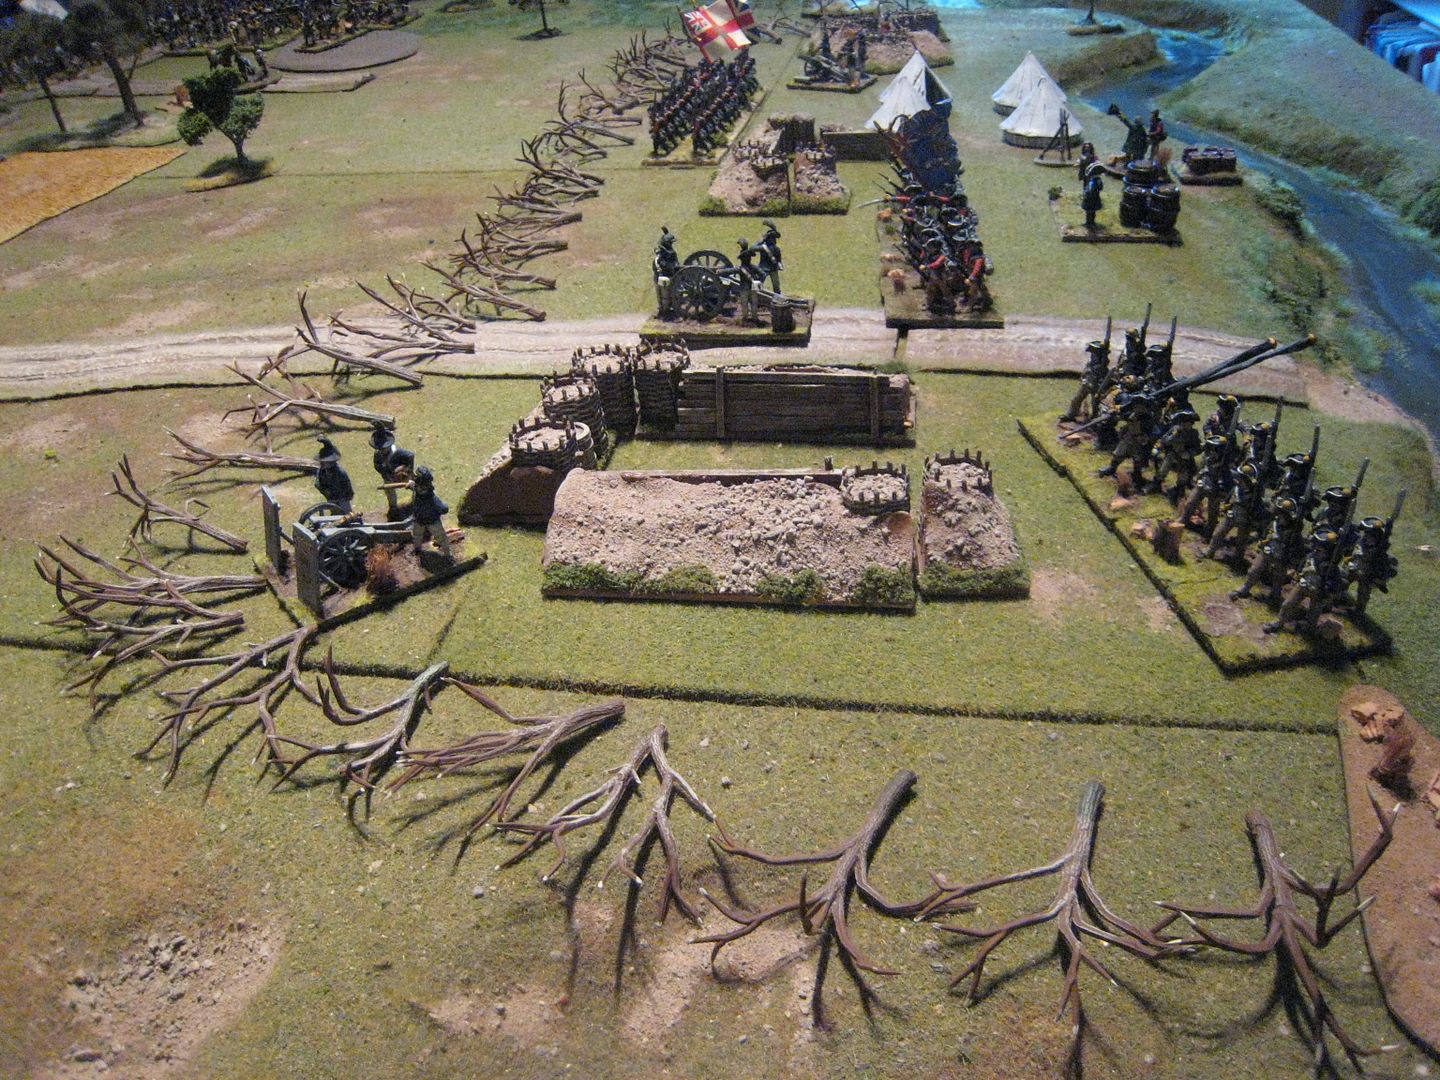
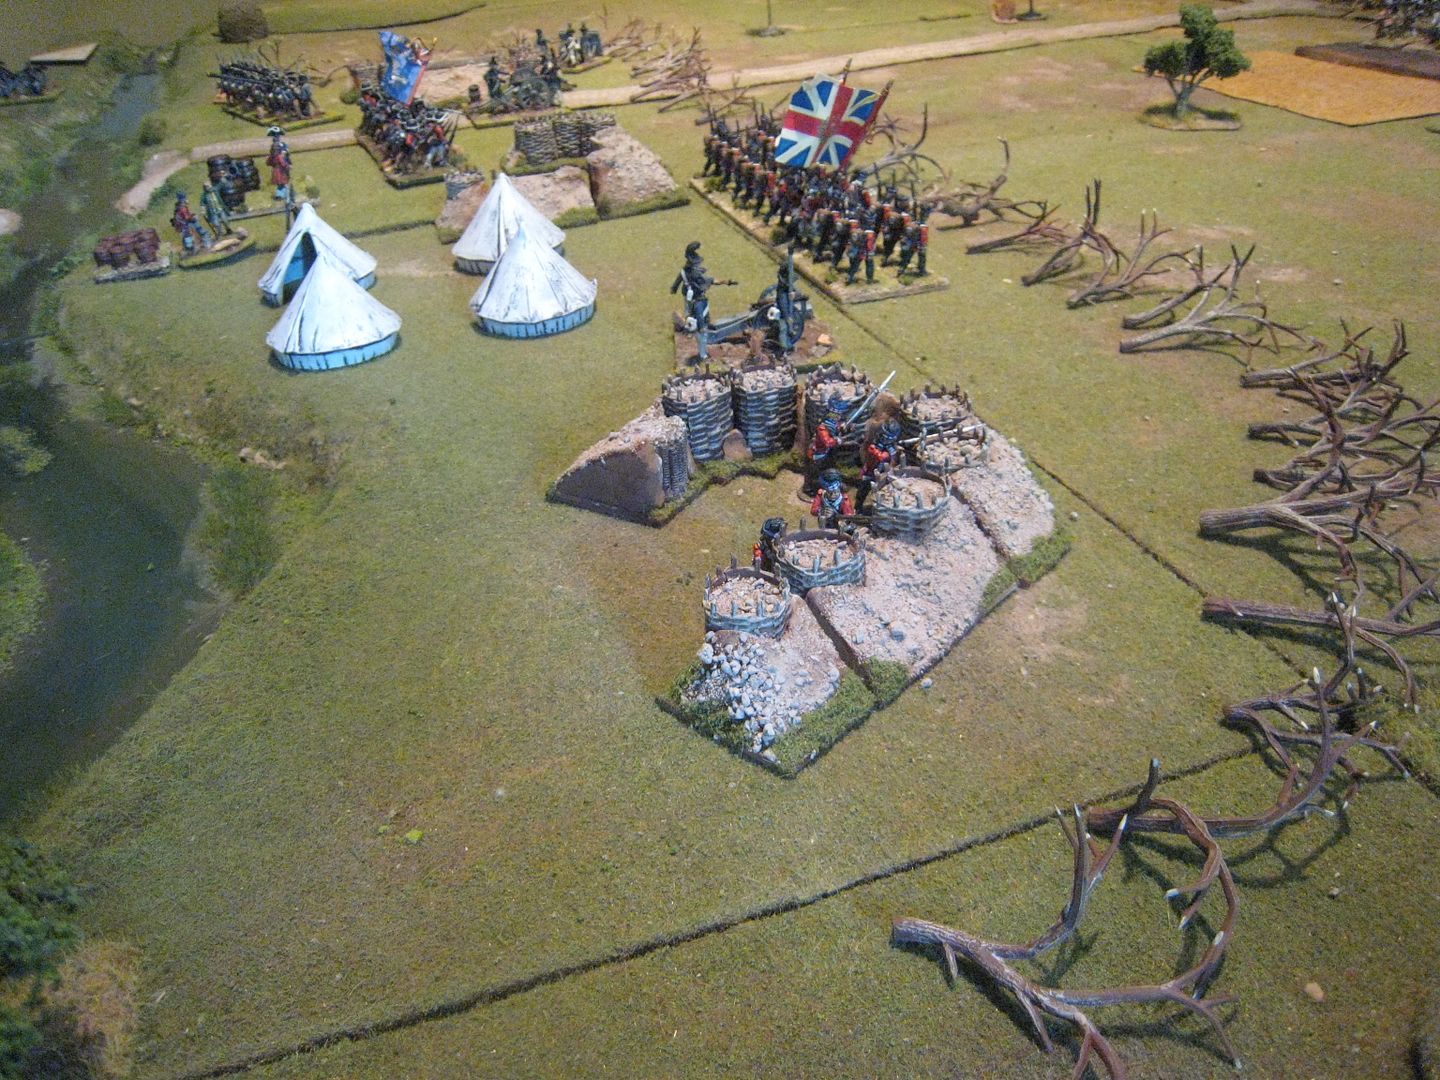
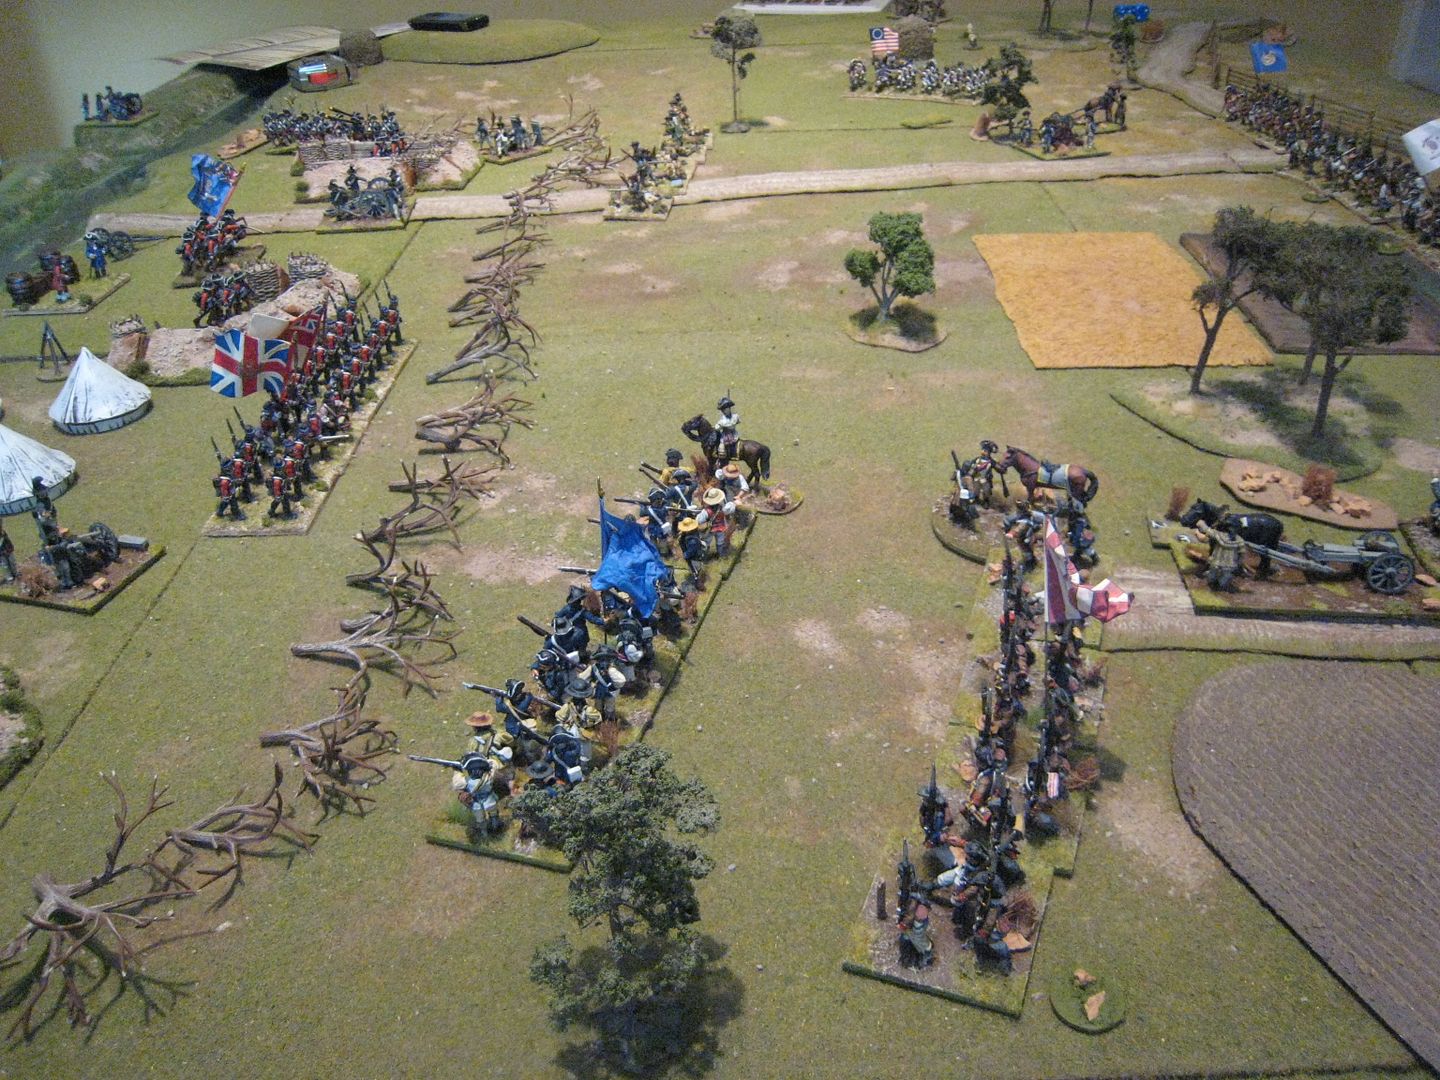
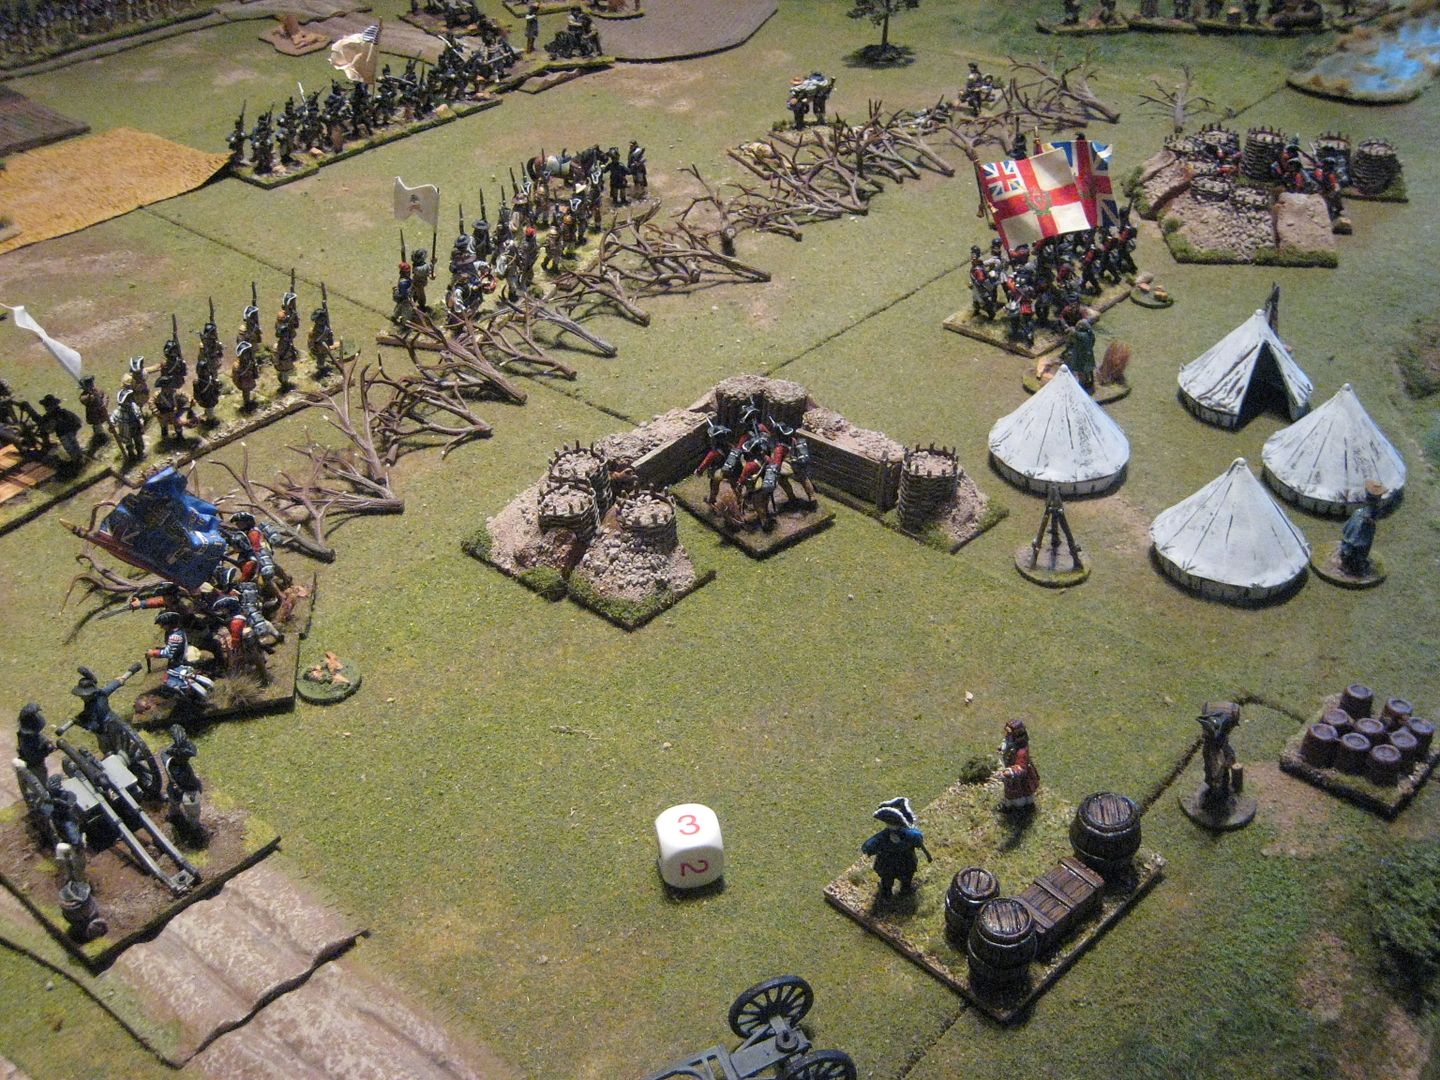
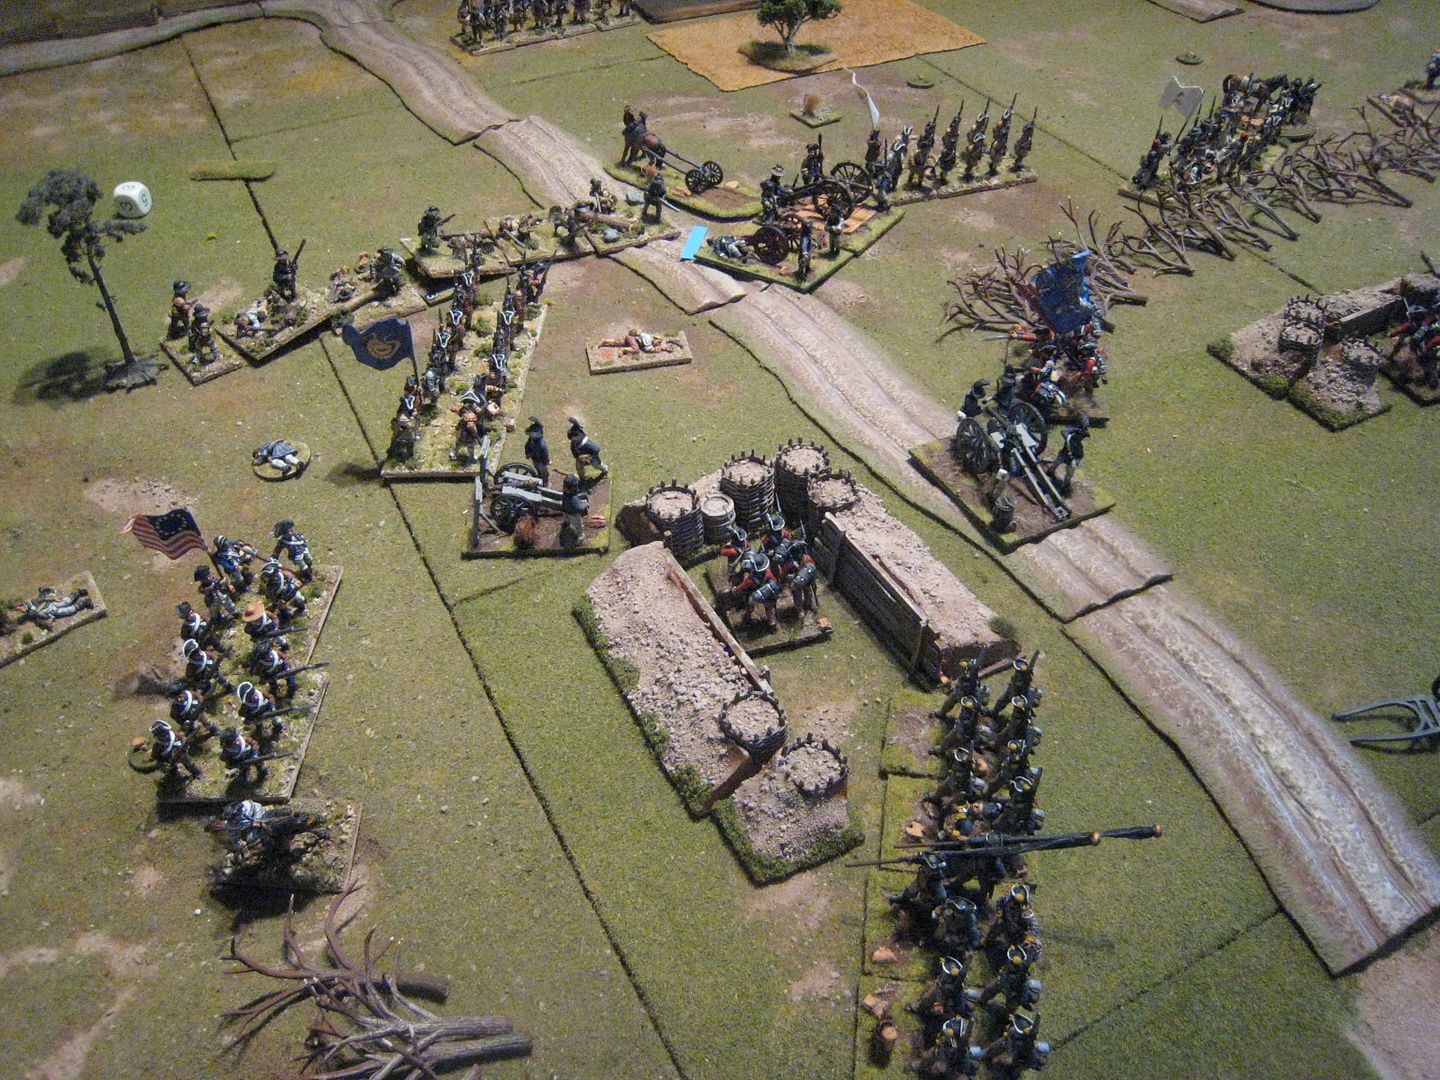
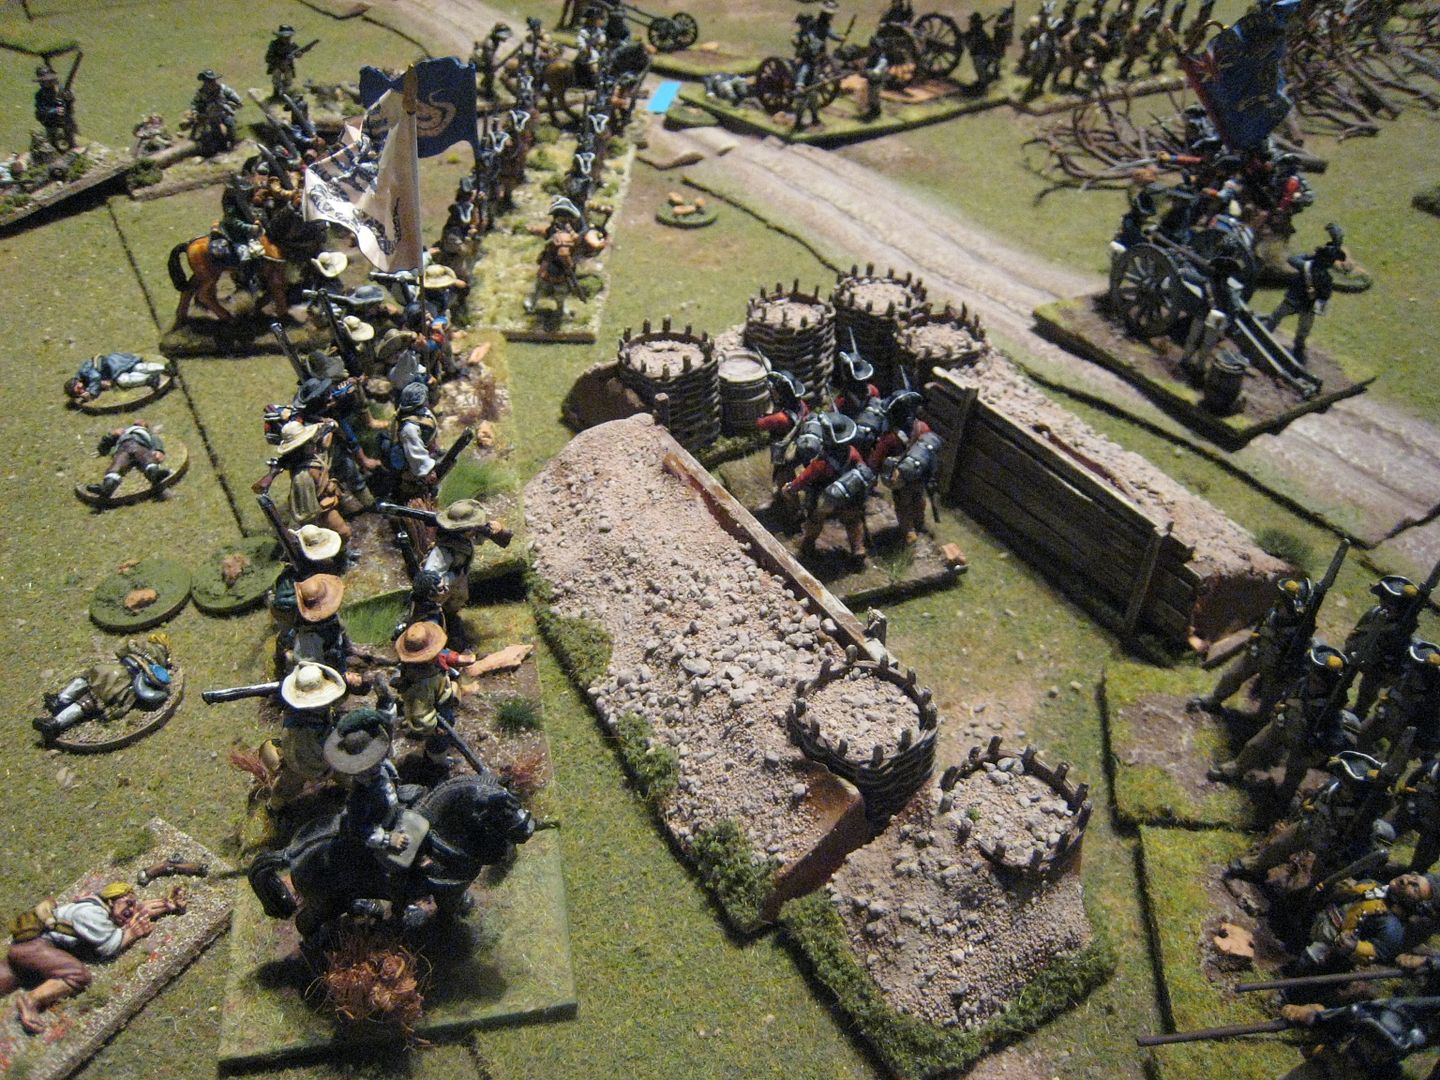
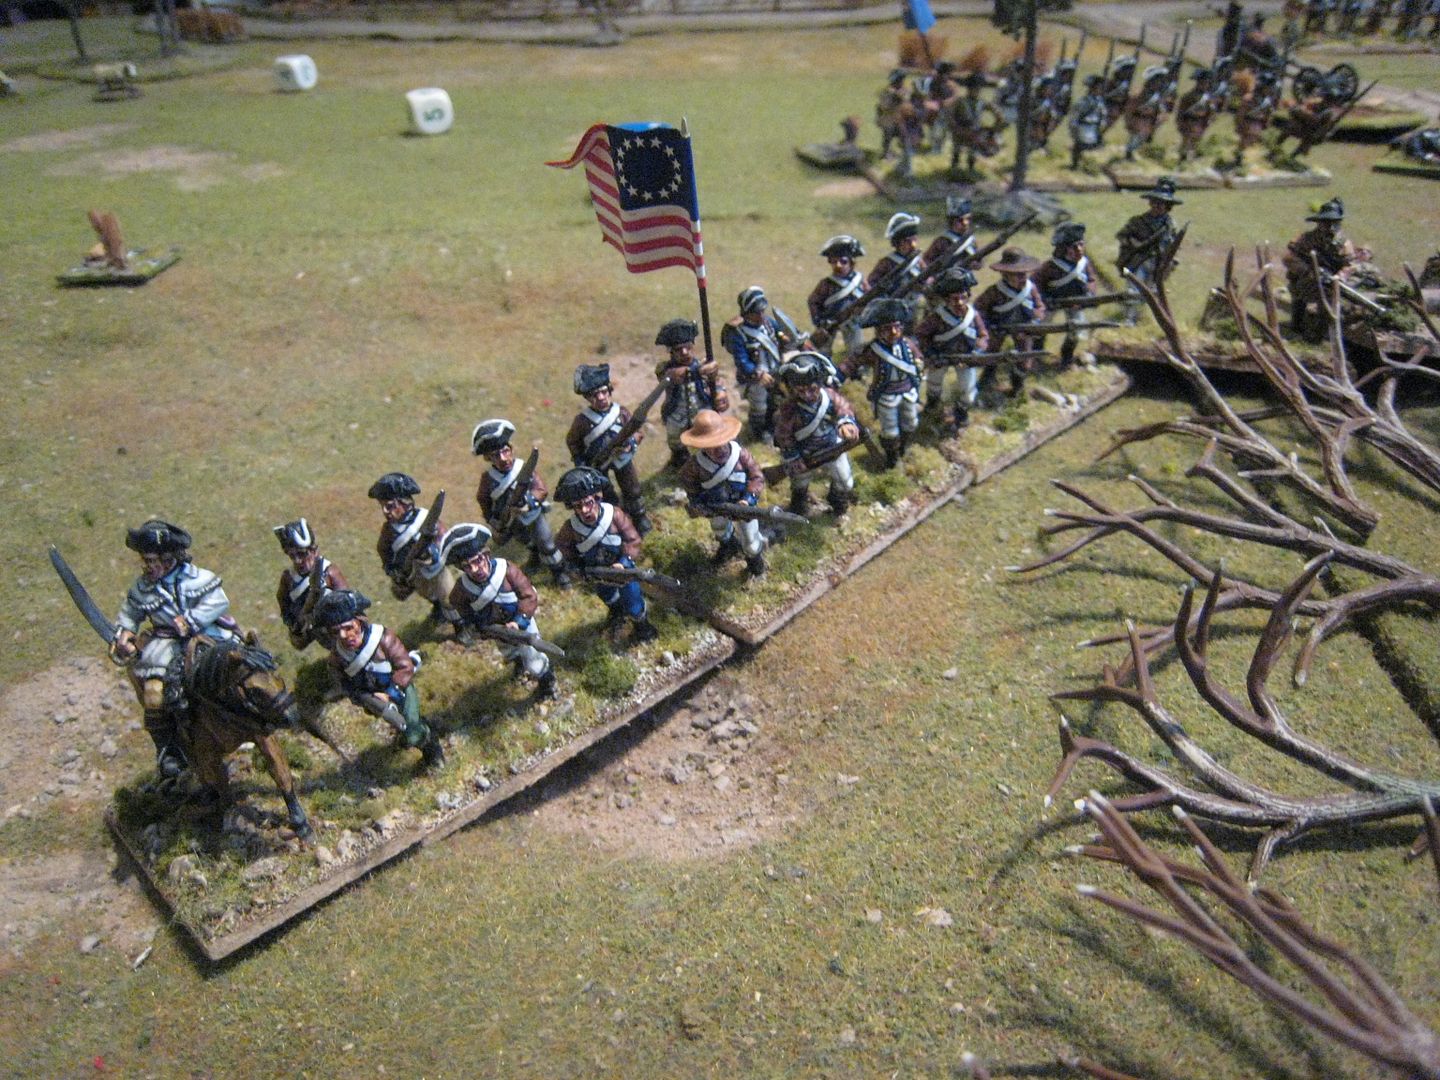
Some more AWI at last!  On Wednesday I took a day off work and met up with "Eclaireur" and "Supercilius Maximus" (aka "Ronan the Librarian") at the former's north London pad to have a go at Stono Ferry.  I brought along an American militia brigade, the 71st Foot and a couple of bits and bobs and the rest of the figures used were from EC's own collection.  The table was dressed with EC's sumptious Realistic Modelling terrain and some nifty home-made abatis (fashioned from those diy plastic model trees that you add clumps of foliage to) and redoubts made using Renedra gabions.  For rules we of course used EC's own "British Grenadier!".

Stono Ferry is not one of the AWI "biggies" and probably isn't that well known a battle.  It's one of those rare engagements that involves an American attack on a British defensive position.  After his attempt to invest Charleston in April 1779, Brigadier General Augustine Prévost decided to withdraw his British force back to its base at Savannah.  Stono Ferry was a crossing point at which the British built a supply camp.  A small force under the command of Lieutenant Colonel John Maitland of the 71st Foot was tasked with guarding the ferry. Brigadier General Benjamin Lincoln, commanding the American Southern Army, saw an opportunity to attack the British position.

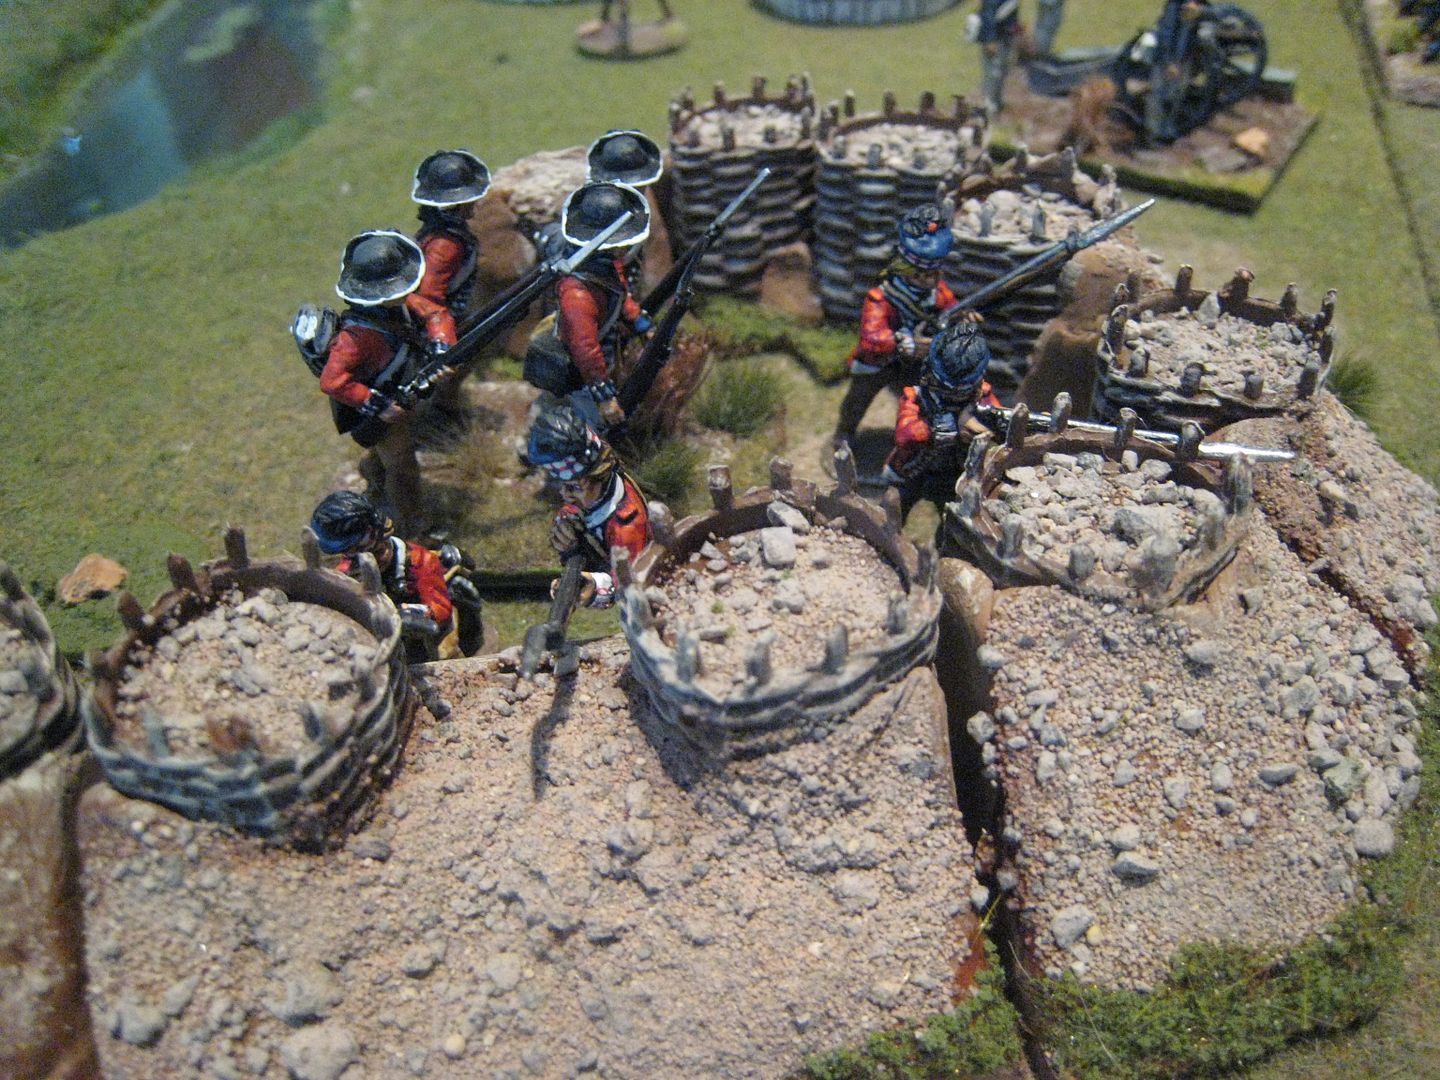
Here's the British camp.  The forces (at 1:10) consisted of: the 2nd battalion of the 71st Foot (24 figures); Hessian Regiment von Trumbach (24); South Carolina loyalists (24); one 6-pounder and two 3-pounders.  Protecting the camp are 3 redoubts, each of which has to contain 4 figures from the loyalist militia unit.  So with those reductions the British player basically has two decent-sized infantry units, one of which is graded "elite" (the 71st) and 3 pieces of artillery.  The 8-figure loyalist unit that remained after 3 bases had been detached for service in the redoubts didn't have much impact given its size. "Not much of a command for you", as Michael Caine said to Stanley Baker at Rourke's Drift, and clearly defending the entire perimeter would be difficult.  I had brought along the 4 figures from the King's Mountain Miniatures highlander range that I painted last year and these wee put in the redoubt on the right flank.  I don't think they were part of the official orbat, but we counted them for firing purposes.


The American forces greatly outnumber the British ones.  The American player has: two 12-figure skirmish units; four Continental infantry battalions (24 figures each); one Continental light infantry battalion (18); five militia battalions (of 16 and 18 figures); some militia cavalry and four guns.  That's three whole brigades, although the frontage of the British camp is such that the American player cannot bring everything to bear at once.

Ronan took the American side and I took the British, while EC umpired and generally threw in suggestions. The first three or so turns involved the Americans advancing into position.  On the American left the leading light infantry unit became bogged down in swampy terrain, but otherwise the units advanced steadily and Ronan began to move his militia brigade around to his right to attack the left flank of the British position.


 I thought there was little point in moving my troops around.  EC had said that the 71st can be split into two units of 12.  However, I decided early on my strategy as the British player would be to resist running around the perimeter and instead concentrate fire on a couple of lead American units in the hope that this would cause some morale problems and provoke a couple of brigade retreats.  Most of the American units are graded "militia" so morale will be fragile under pressure.  That said, the brigade assaulting the British front-right, where the 71st was positioned, consisted of regular Continental infantry which would be harder to break.  Eventually the Continental brigade came into range, with a Georgia regiment in the lead and various battalions of militia in support:


Over on the British left, the Hessians could see the American light infantry move around to the side of the position while riflemen skirmishers started probing the front of the abatis:


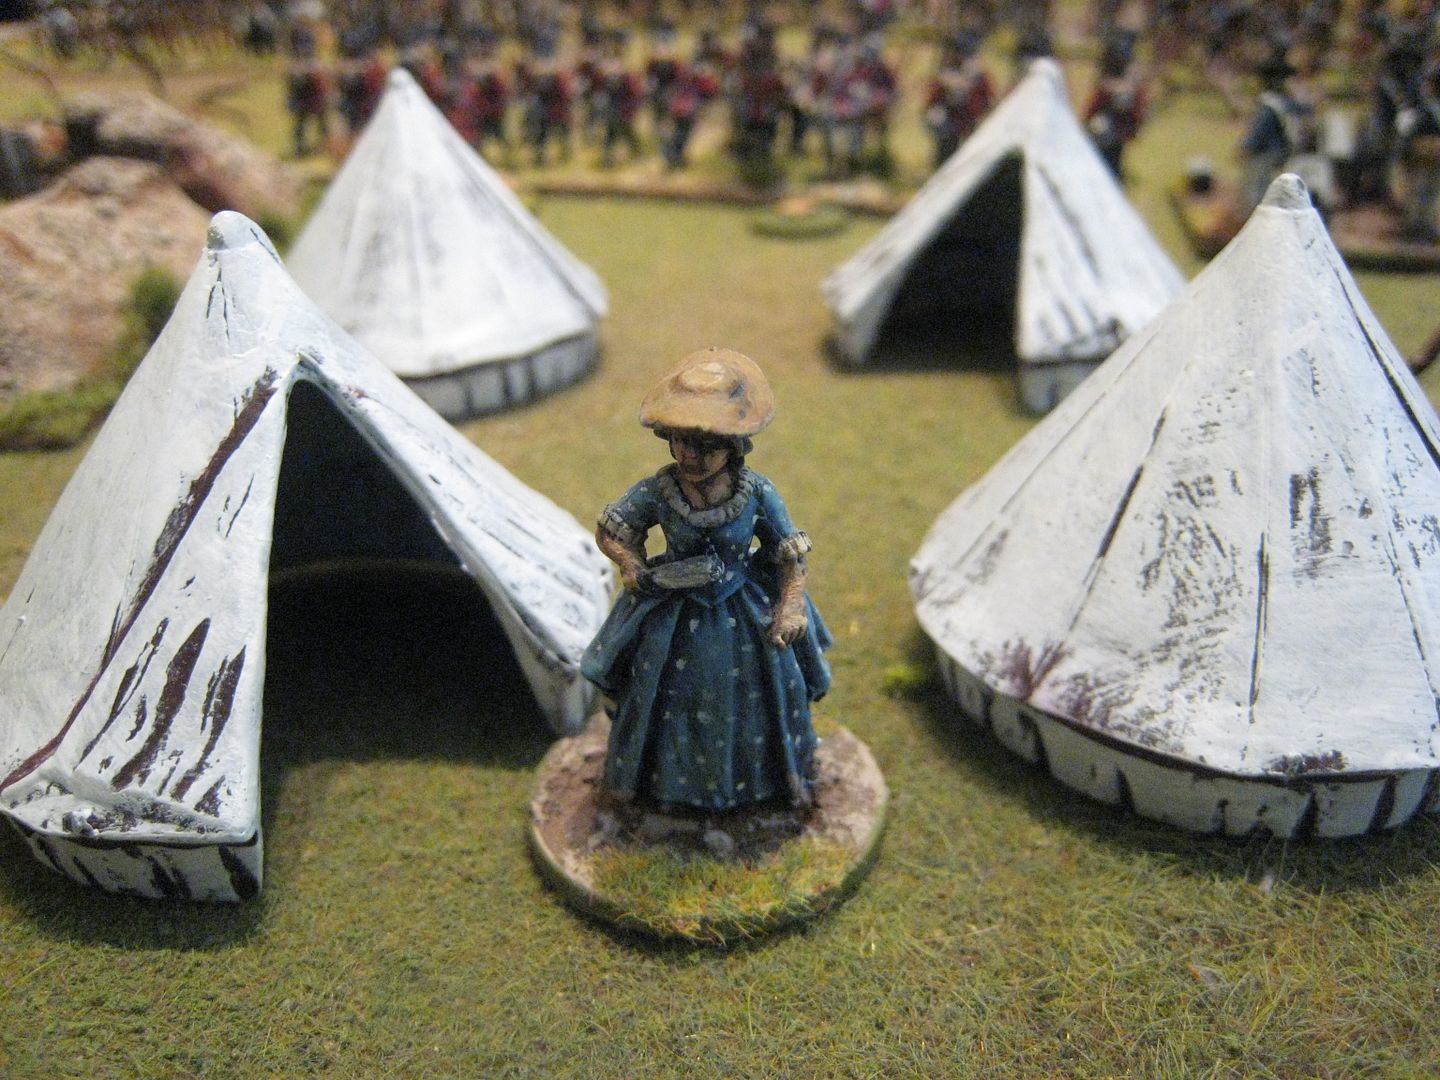
Maitland's mistress emerged from his tent to see what all the noise was, while fire-fights began and both ends of the British position:


Ronan found himself rolling low dice on his firing, while I was rolling reasonably high.  The American Continentals, opposite the 71st, survived a couple of morale throws resulting from high casualties being recieved.  But eventually the Georgians broke and took the rest of the brigade with them:


However, the Hessians came under increasing pressure when the skirmishing riflement to their right broke through the abatis.  The rule we used was that a unit had to remain at the abatis for one turn, representing work cutting through all the branches, and then took one DP (disruption point) going through it.  The British guns were firing canister at close range by this time, but I began rolling low scores and this swung things in favour of the Americans on the left.  Eventually, depiste taking casualties, the American light infantry broke through the abatis and overan the British 3-pounder battery at the corner of the position as more American militia approached the Hessian right.


Over on the British right, the 71st were now taking enfilade file from the guns that the Americans had brought up in support of their attack. The highlanders started taking heavy casualties and I realised that instead of a defence line I now had isolated pockets of troops that would not be able to deal with all the Americans now reaching the British camp.  As time was running out we accelrated the arrival of the third American brigade, which assaulted the redoubt in which the Hessians had now sought refuge.  Behind them, the 71st finally failed a morale throw and it was all over for Maitland.


This was a game where fortune seemed to ebb and flow very quickly.  When the Continental brigade retreated I thought "let's now do the same on the other side of the camp" but the dice failed me and the position was reversed.  Winning the initiative and so having the ability to fire first was crucial for the British player, and I lost that too in the later stages.  Another problem for the British is being able to move inside the camp.  What I probably should have done was to play a fighting retreat back away from the abatis and keep the units together, instead of allowing troops to get cut off.   The American player needs to control his dispositions carefully, as otherwise units are left in the middle of the table with nothing to do.  Getting into shooting contests is also unhelpful for the American player - I suspect the best thing is to get over the abatis as quickly as possible and try to overwhelm the British.  Of course if charges fail to go in, as happened with the Continentals, one is left stuck in a firefight.  We had thought that this game might be over very quickly, but in fact it kept going for about 10 turns and we weren't quite finished at the end.  

It's a neat little scenario.  You get the chance to have a British camp and lots of Southern militia types on the table and the American player has rather more thinking to do than in several other better-known battles.  I painted my 71st years ago using Perry marching figures, but I'll have to paint another battalion's worth using the King's Mountain Miniatures firing pose figures.       

Sunday, 31 March 2013

Perry Miniatures plastic AWI British infantry

A lack of painting time over the past couple of weeks means that I don't have a finished painted unit of the new Perry plastic AWI figures, but I thought I'd post some initial impressions now that I've finished painted 4 and have assembled a complete unit of 12.  Each box provides 30 hatmen, 2 NCOs, 1 drummer, 1 officer, 2 ensigns and 2 casualties.  Luckily the Perries are making the command sprue available separately, as this box provides about 2 battalions' worth of infantry at a 1:20 ratio.  The ensigns don't have gorgets, but otherwise are similar figures to the officer - i.e. no lace and no epaulettes; you could perhaps mix and match.  The ensigns don't have to carry the flags, as there are sufficient spare arms to give them swords or muskets. The key feature of this set for a collecting perspective is the different hats - tricornes, "Saratoga" hats and cut-down/uncocked hats.  This makes the figures usable across various campaigns and I very much hope that future AWI plastic sets will continue this theme, as that will increase the variety.

So, the positives: superb detailing and "casting" (I don't know what the equivalent plastic word is!); hardly any mould lines; excellent "Perry" faces; the variety offered by the command figures; ease of painting.  I also like the trail-arms pose (there is a "charging" option too).  This is a new pose in the Perry range and seems an apt one for troops moving quickly through rough and wooded terrain.  I've seen comments from some people who don't like it, but I do.  Marching and firing figures are already available in metal.  Another new feature on these figures are the "tumplines", i.e. rolled blankets in which the troops stored personal items.  These were slung across the back, but the figures are sculpted such that you can leave the tumplines off - all the other necessary straps are sculpted on to the back of the figures.  Finally, these figures are in the one-piece "gaiter-trowsers" (or "overalls" as the Americans called them), which again help on flexibility of use.

To my mind there are two negatives, although I suspect these will dissipate with practice at assembling the figures.  First, there's no obvious place where the tumplines should sit on the figures' backs.  Unlike the French and British Napoleonic infantry, for example, which have clear "bare" areas where the backpacks go, it's tricky getting the tumplines to sit naturally anywhere on the back of the figure. I was expecting there to be a flat bit on the tumplines to indicate the part that is fixed to the figures, but that isn't there either. The back of the figure itself doesn't give any indication, as it's sculpted to work without tumplines being attached. One solution is just to leave them off.  It may just be me, as Eclaireur finds that the tumplines sit well with the upper part across the ammo pouch and thinks a couple of the figures seem to be mildly recessed under the right shoulder to help the fit.  Perhaps I just need to experiment more.  Eclaireur also made the good point of having the folds of the tumplines facing upwards, as otherwise the bits of kit stored inside the blankets would fall out (I think the examples on the Perry website have the tumplines the other way around).  But as it is, I wonder whether the tumplines on the painted figures I've photographed here just look "stuck on".  Another suggestion was to dissolve or heat the bit of the tumpline which is attached to the figure, to bend it a little.  I might give that a go.  I also wondered about the straps for the tumplines, which don't appear to be sculpted on the figures - but apparently the blankets were attached to the canteen or breadbag straps.  (I also couldn't identify the bayonet scabbard belt, but perhaps that is "hidden" under something else.)    

The second issue I've had is that the different hats are very delicate and if you're not ultra careful it's easy to cut chunks out of them when you remove them from the sprue. The hardest ones to cut off are the un-cocked hats (i.e. the hats I'll use most frequently), as they are joined to the sprue by a triangle-shaped bit of plastic that needs to be carefully carved out of the hat.  Again, hopefully this will get easier in time, but it's going to be important to keep some of the leftover hats as spares, I think.

But those two points aside, I have no complaints whatever with the figures and the figures receive a hearty recommendation from Tarleton's Quarter.  The painting guide is right up there with the Napoleonic French hussars box's guide as a model of its kind (almost worth the price of the box in itself).  I had no idea that the troops' overalls came in different colours (white for summer, dark blue, brown or black for winter), and there is a helpful section on loyalist units that are thought to have worn lace on their coats, and so can be modelled with these figures (although, ironically, it seems that the officers of loyalist units often had lace, even if the hatmen didn't; so the command figures here need lace painted on).  And talking of painting, these paint up like a dream.  They are certainly easier to paint than the metal equivalents.  So they officially join the Perry plastic Napoleonic French infantry as being "figures that almost paint themselves".  

So what do I have planned?  Having started 25mm AWI back almost 10 years ago now, I pretty much have every British regiment in miniature.  I'm going to re-do a couple that require larger units for certain scenarios or which appear in "the South" and I only have them painted up in full warrant uniform, and some loyalist regiments as well (ignoring lace issues - I'm not going to bother scraping all the lace off the figures if it transpires that the King's Royal Virginia Rangers or whatever didn't have lace on their coats).  So here's the list:

- 17th Foot: 24 figures (for Princeton);
- 40th Foot: 32 figures (for Princeton);
- 57th Foot: 18 figures (for Hudson Forts);
- 63rd Foot: 30 figures (for Hudson Forts;)
- De Lancey's Regiment: 18 figures - red faced blue, which un-cocked hat;
- Royal North Carolina Volunteers: 8 figures - red faced blue; cocked hat;
- New Jersey Regiment: 12 figures - red faced blue, in-cocked hat (or I might go for the green 1777 uniform);
- Queen's Own Loyal Virginians: 12 figures (green faced red; cocked hat);
- Prince of Wales' Loyal American Volunteers: 20 figures - green faced blue, cocked hat;
- Loyal American Regiment: 16 figures - green 1777 uniform.

And the figures in the photos?  They are the King's Orange Rangers in green coats for the 1777 Hudson Forts scenario (in the third volume of AWI scenarios published by Caliver Books).