Stono Ferry is not one of the AWI "biggies" and probably isn't that well known a battle. It's one of those rare engagements that involves an American attack on a British defensive position. After his attempt to invest Charleston in April 1779, Brigadier General Augustine Prévost decided to withdraw his British force back to its base at Savannah. Stono Ferry was a crossing point at which the British built a supply camp. A small force under the command of Lieutenant Colonel John Maitland of the 71st Foot was tasked with guarding the ferry. Brigadier General Benjamin Lincoln, commanding the American Southern Army, saw an opportunity to attack the British position.
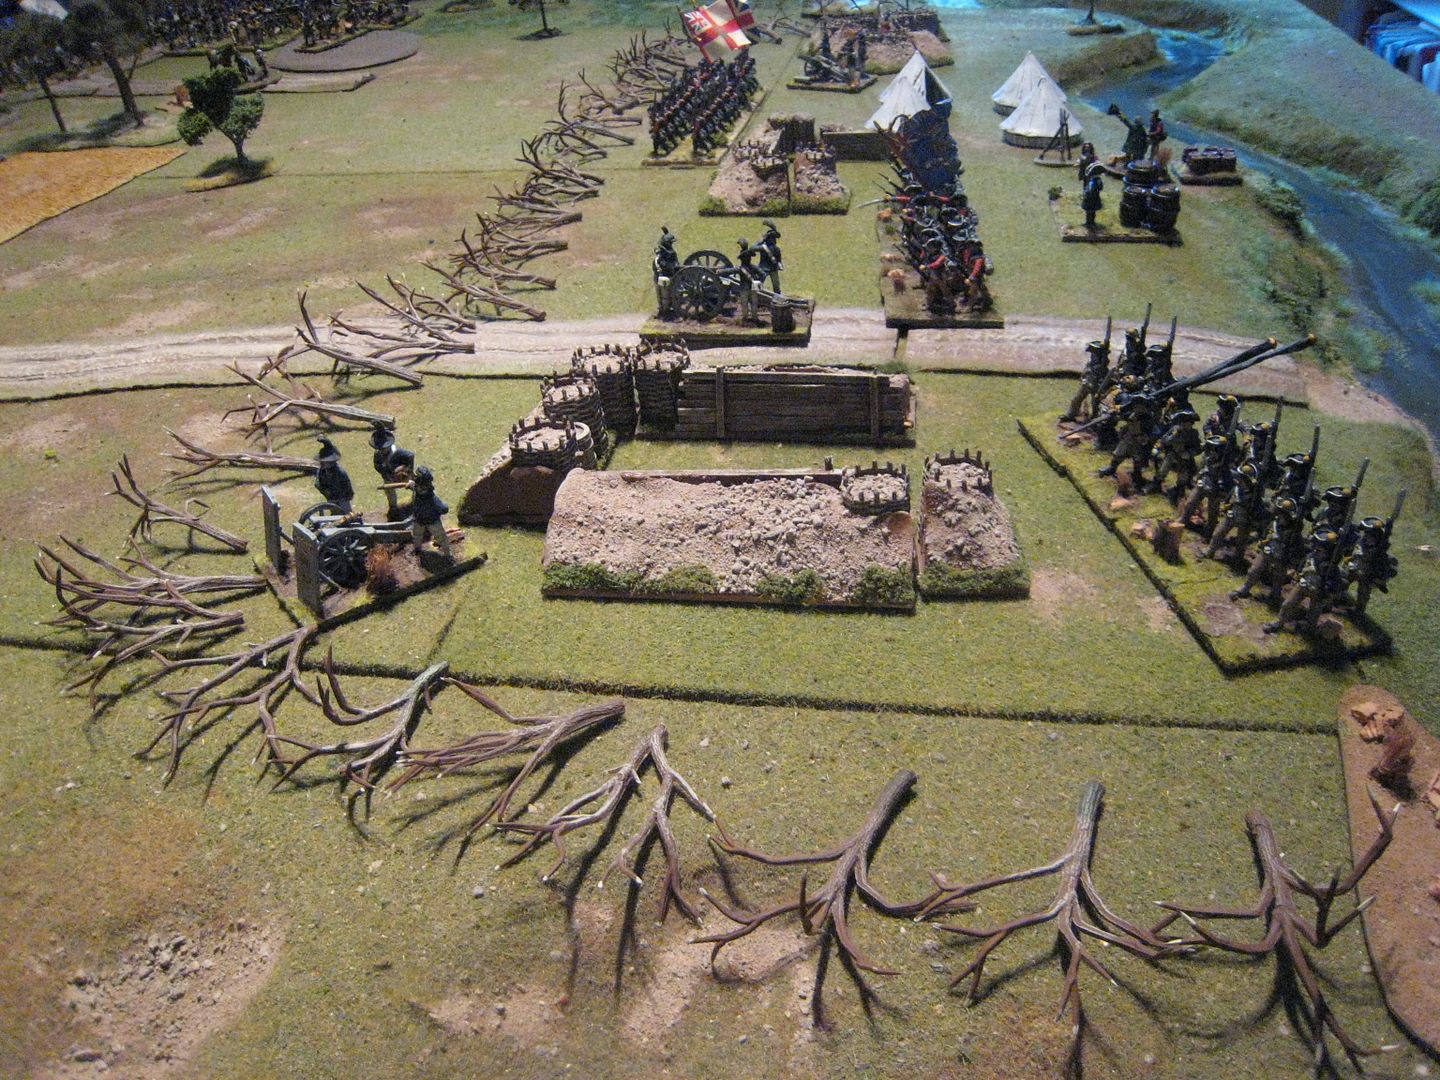
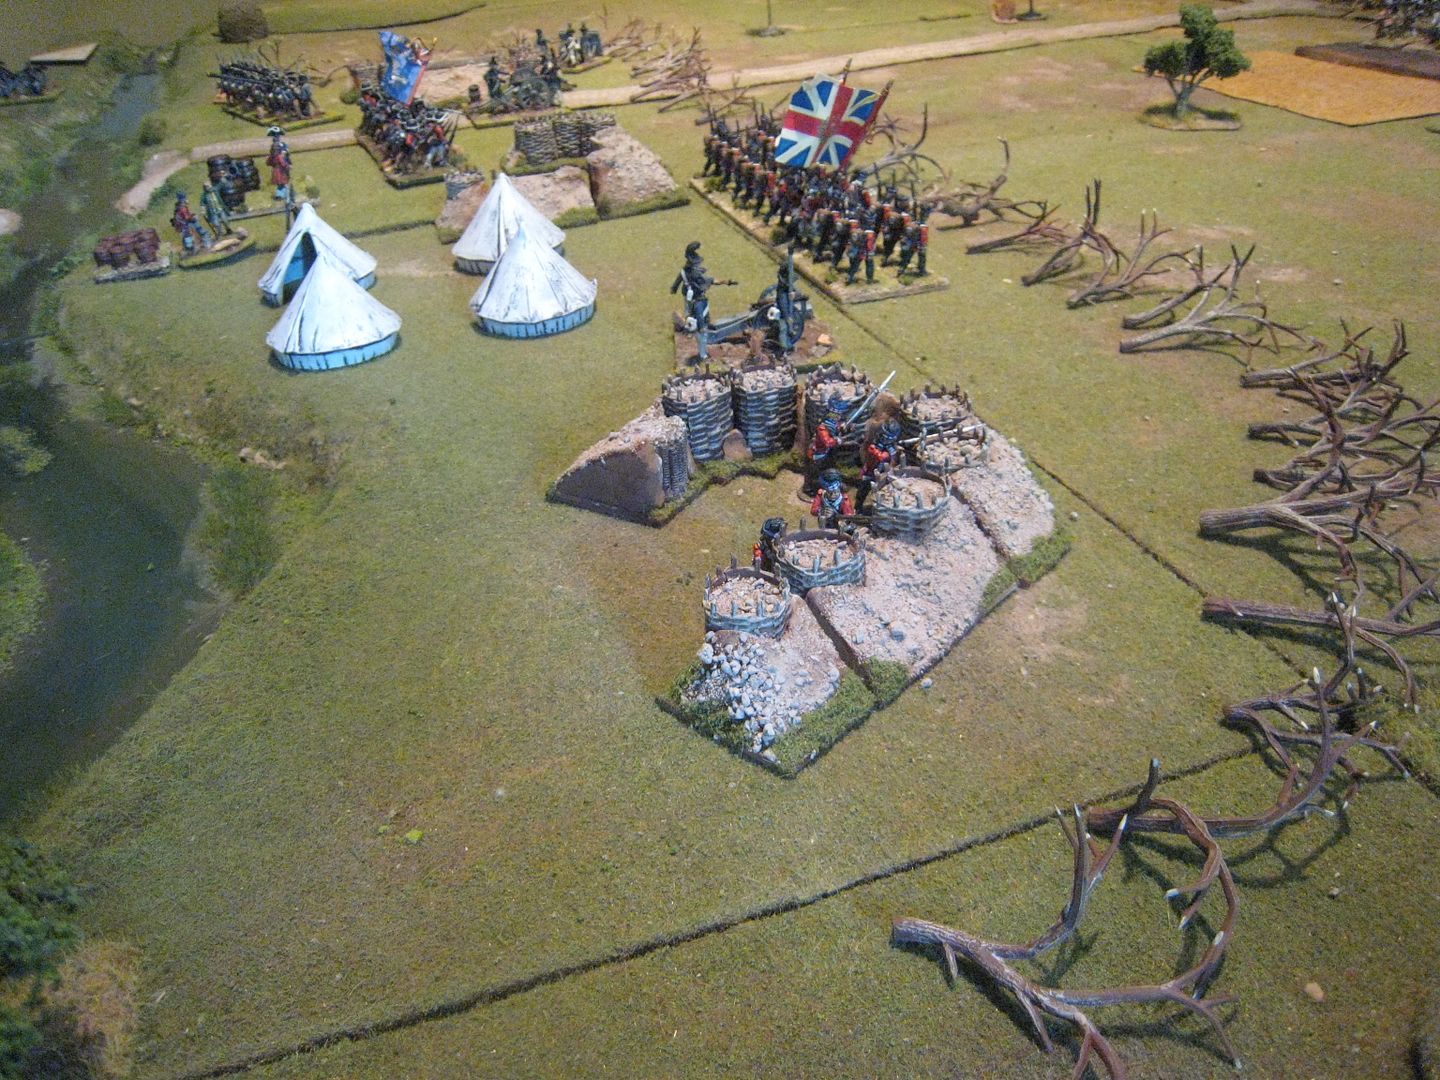
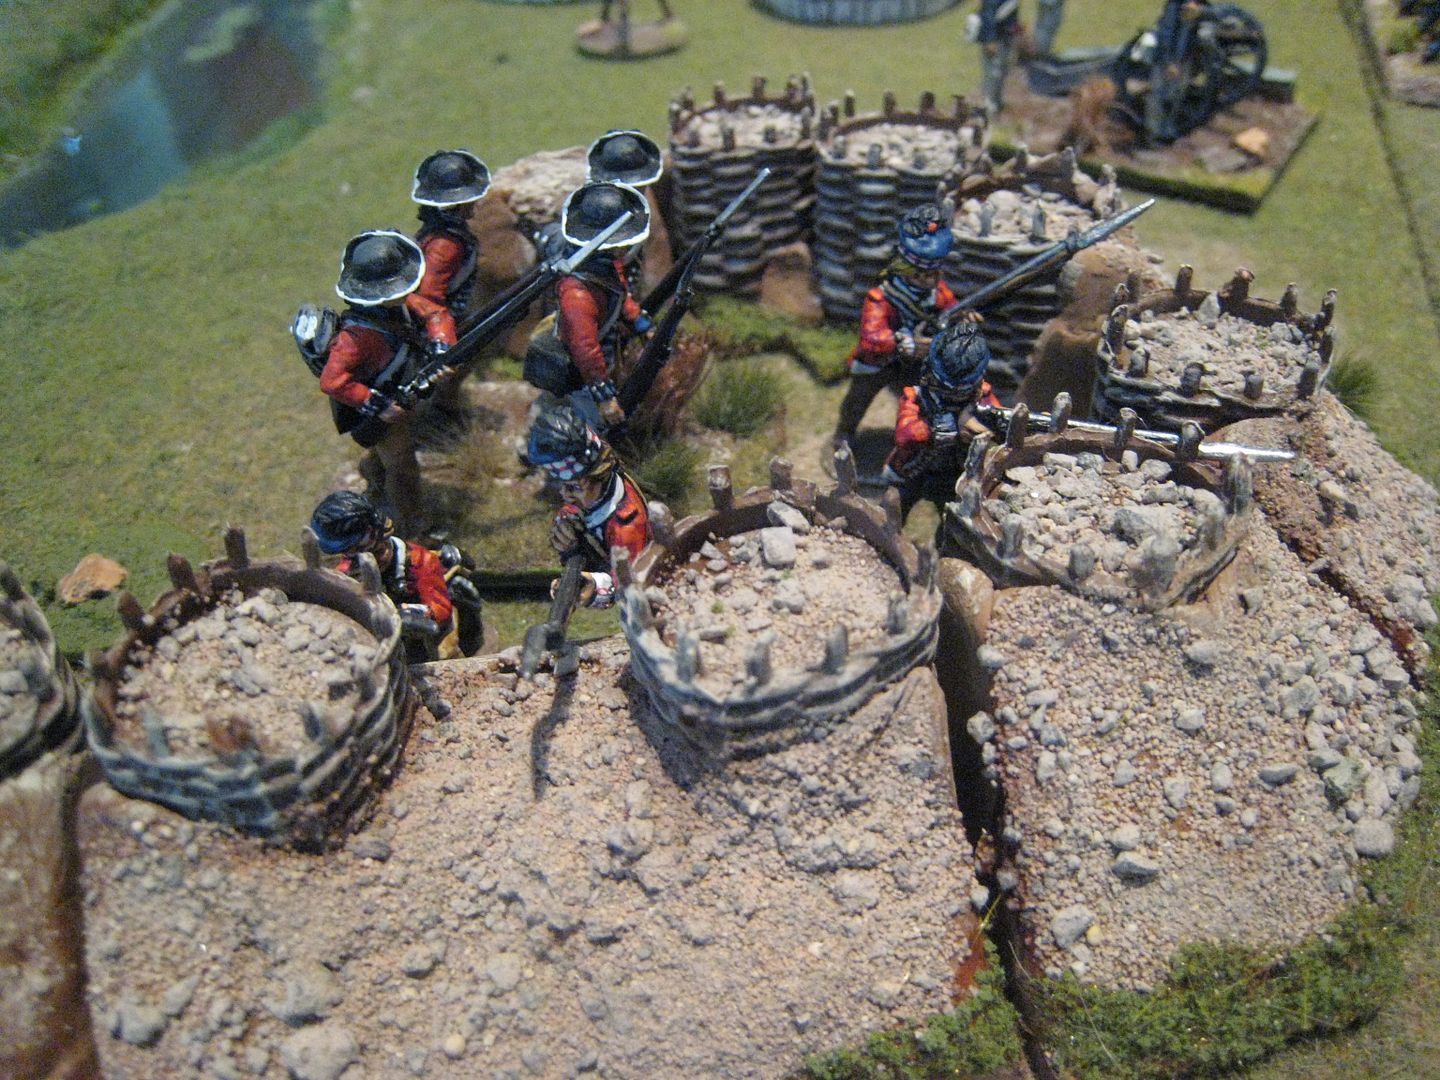
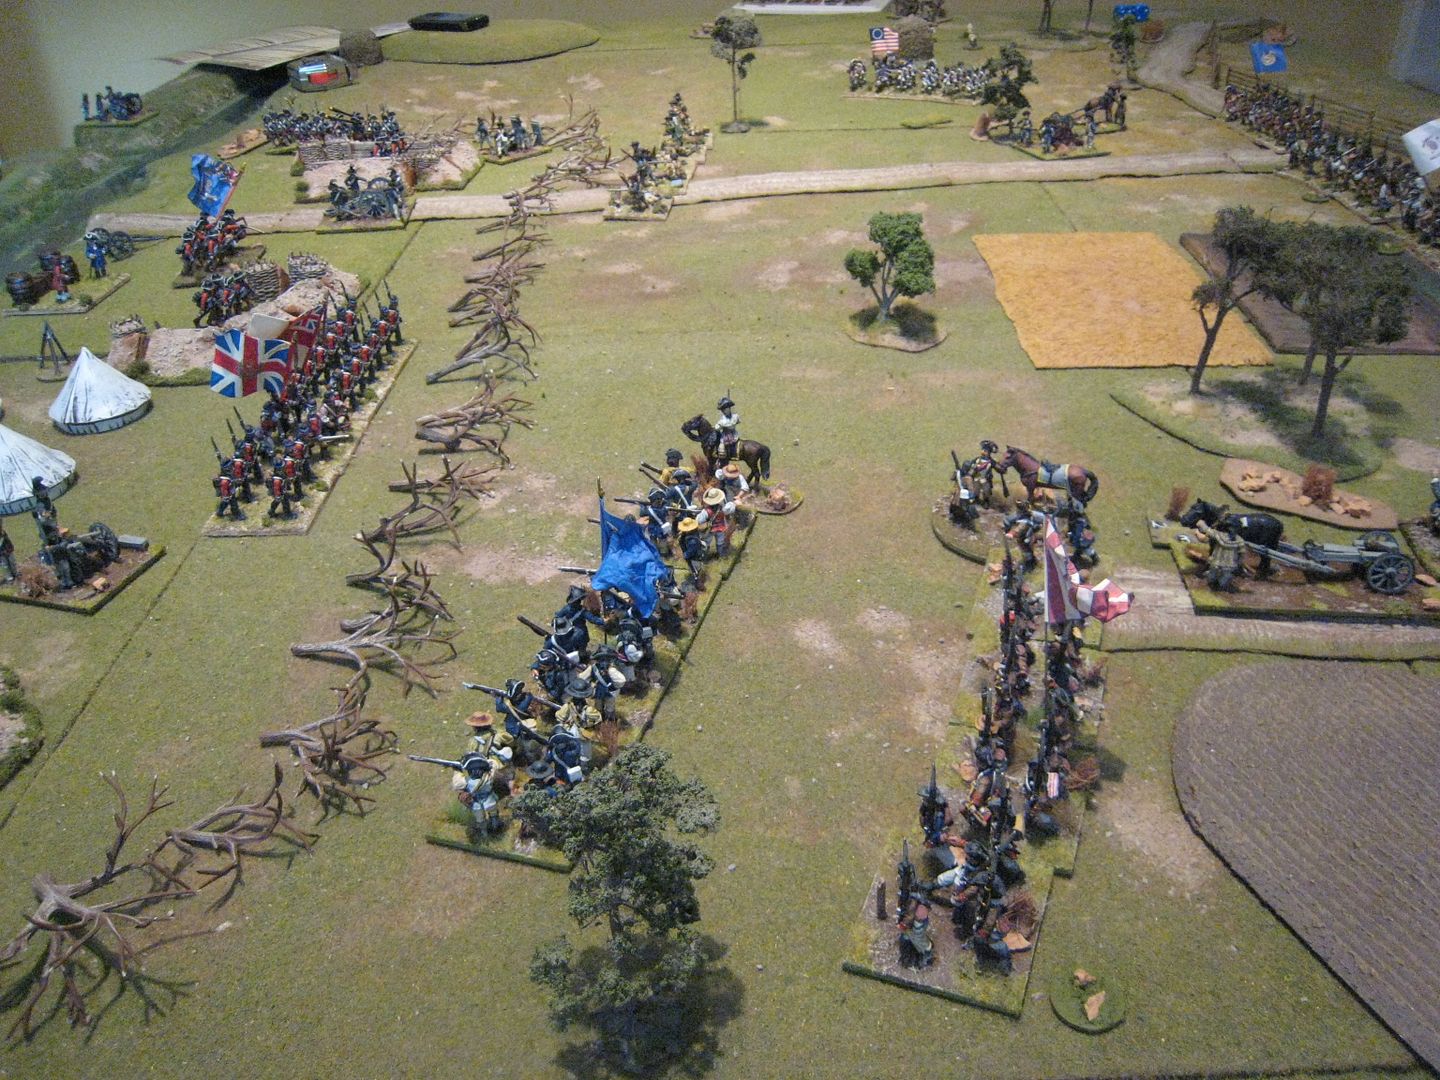
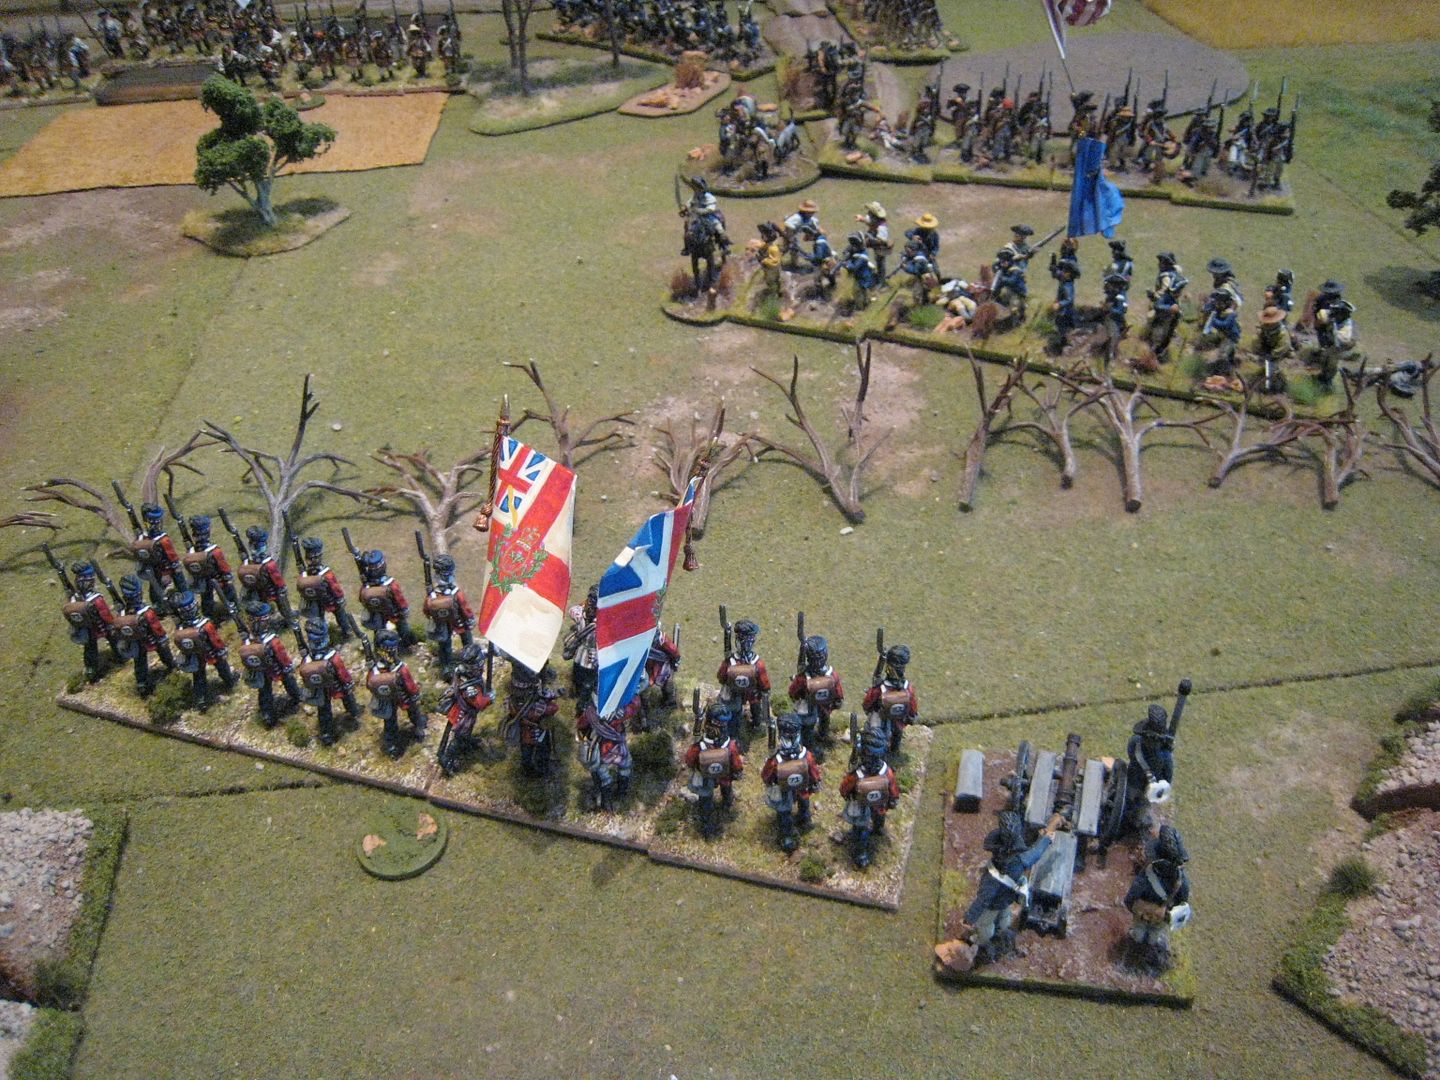
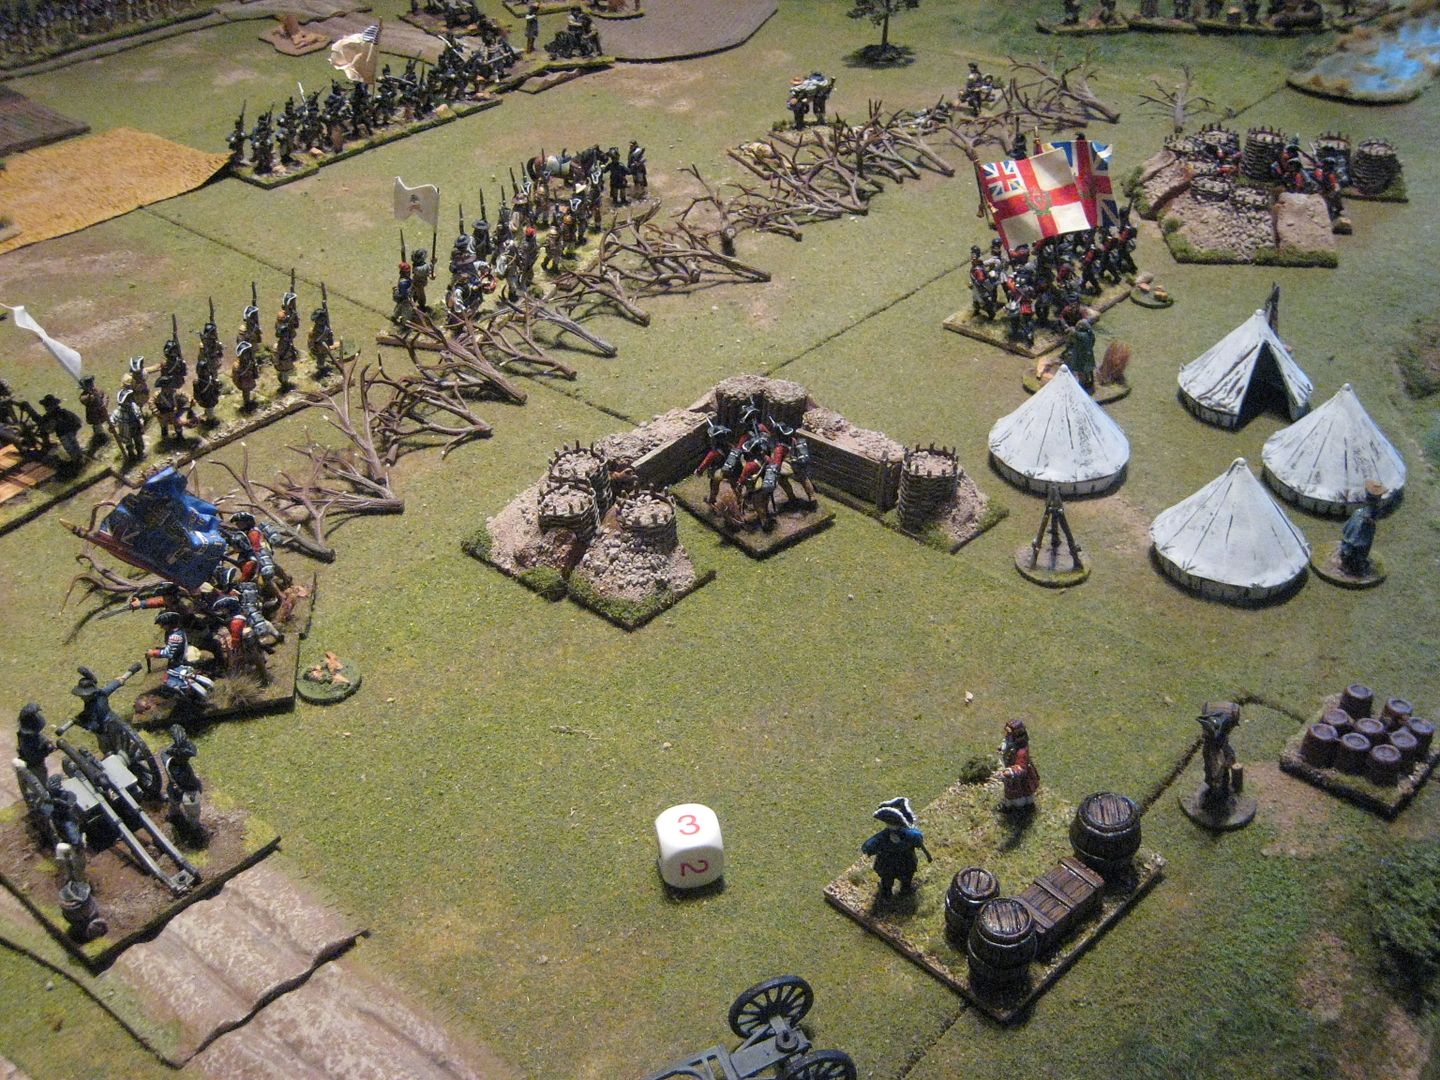
Here's the British camp. The forces (at 1:10) consisted of: the 2nd battalion of the 71st Foot (24 figures); Hessian Regiment von Trumbach (24); South Carolina loyalists (24); one 6-pounder and two 3-pounders. Protecting the camp are 3 redoubts, each of which has to contain 4 figures from the loyalist militia unit. So with those reductions the British player basically has two decent-sized infantry units, one of which is graded "elite" (the 71st) and 3 pieces of artillery. The 8-figure loyalist unit that remained after 3 bases had been detached for service in the redoubts didn't have much impact given its size. "Not much of a command for you", as Michael Caine said to Stanley Baker at Rourke's Drift, and clearly defending the entire perimeter would be difficult. I had brought along the 4 figures from the King's Mountain Miniatures highlander range that I painted last year and these wee put in the redoubt on the right flank. I don't think they were part of the official orbat, but we counted them for firing purposes.
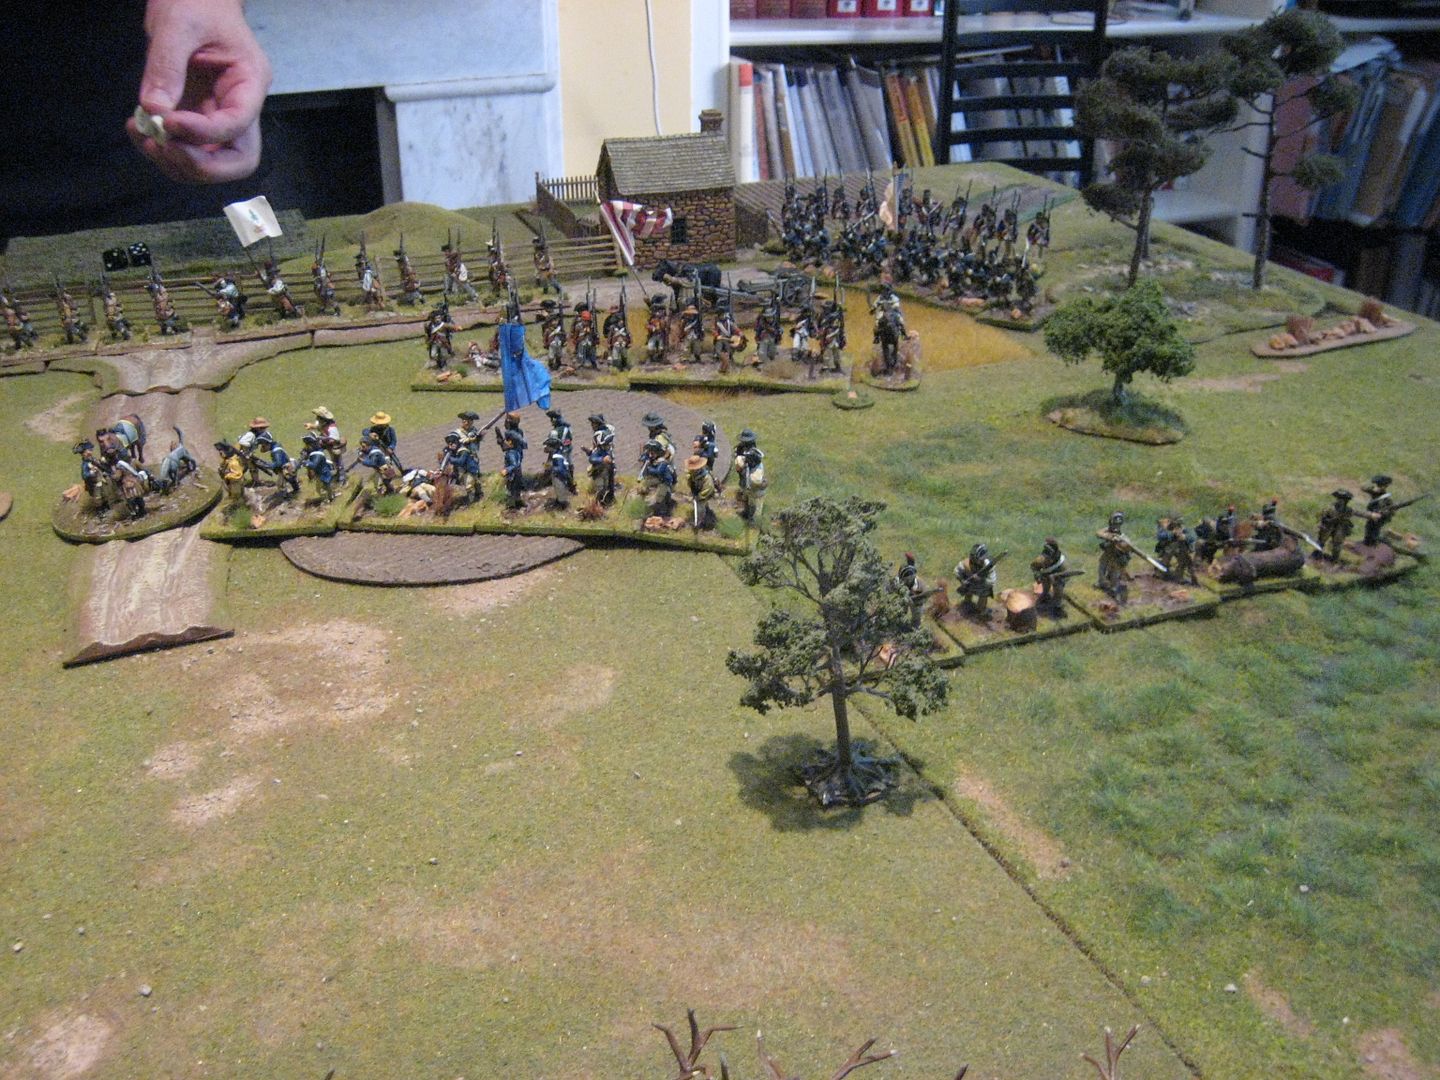
The American forces greatly outnumber the British ones. The American player has: two 12-figure skirmish units; four Continental infantry battalions (24 figures each); one Continental light infantry battalion (18); five militia battalions (of 16 and 18 figures); some militia cavalry and four guns. That's three whole brigades, although the frontage of the British camp is such that the American player cannot bring everything to bear at once.
Ronan took the American side and I took the British, while EC umpired and generally threw in suggestions. The first three or so turns involved the Americans advancing into position. On the American left the leading light infantry unit became bogged down in swampy terrain, but otherwise the units advanced steadily and Ronan began to move his militia brigade around to his right to attack the left flank of the British position.
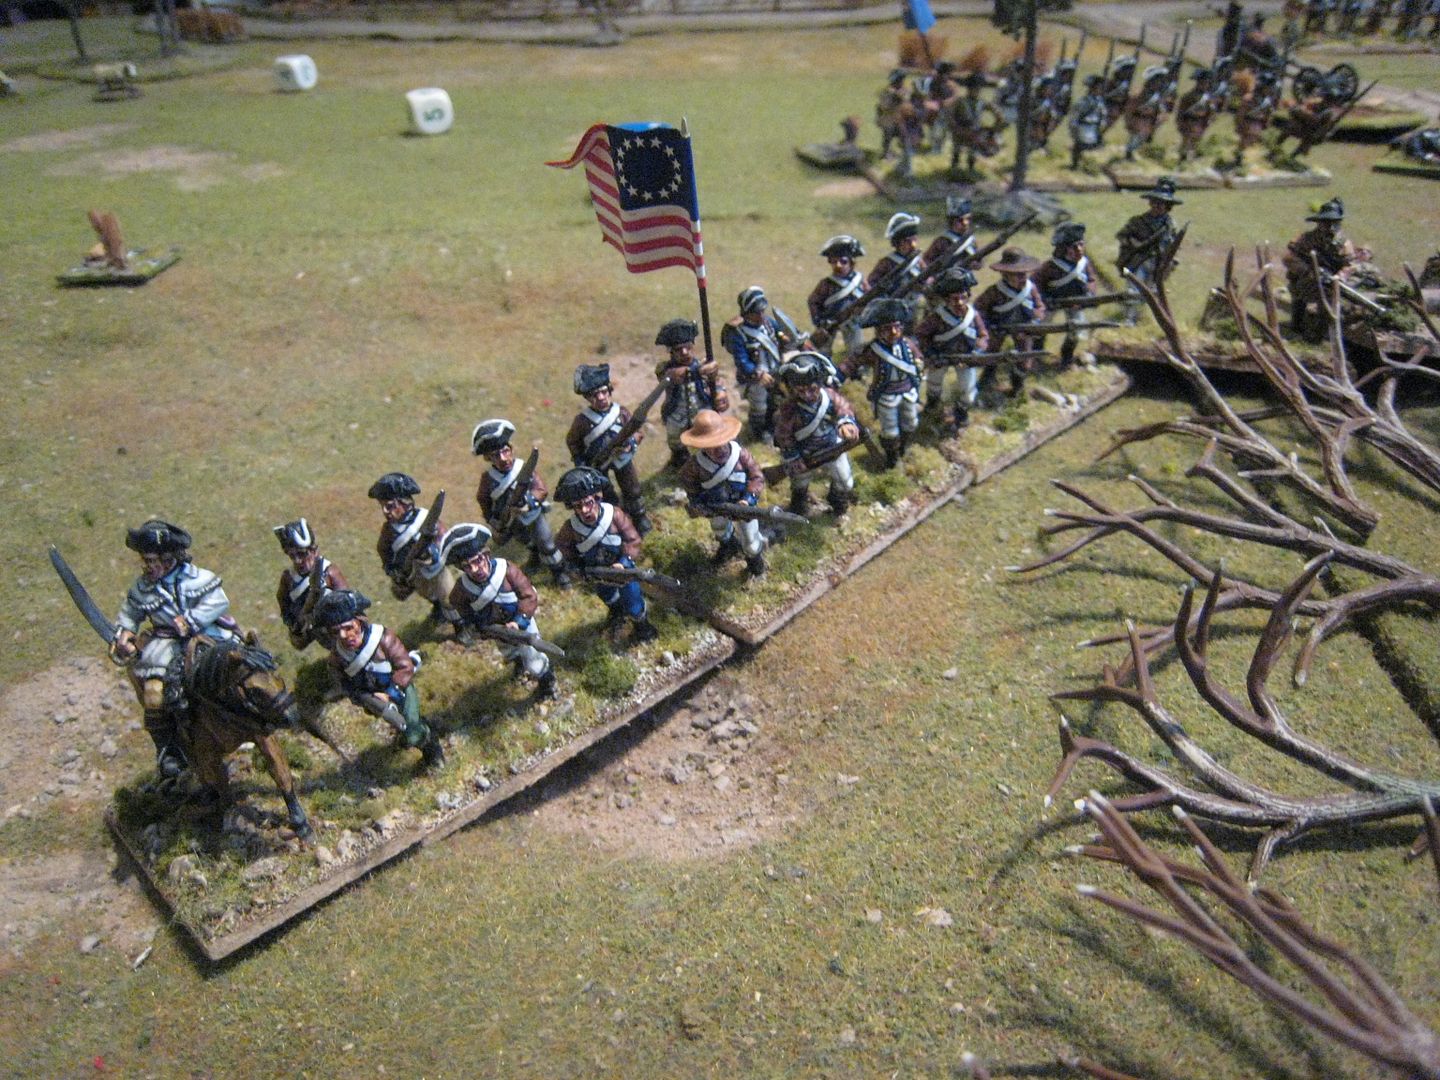
I thought there was little point in moving my troops around. EC had said that the 71st can be split into two units of 12. However, I decided early on my strategy as the British player would be to resist running around the perimeter and instead concentrate fire on a couple of lead American units in the hope that this would cause some morale problems and provoke a couple of brigade retreats. Most of the American units are graded "militia" so morale will be fragile under pressure. That said, the brigade assaulting the British front-right, where the 71st was positioned, consisted of regular Continental infantry which would be harder to break. Eventually the Continental brigade came into range, with a Georgia regiment in the lead and various battalions of militia in support:
Over on the British left, the Hessians could see the American light infantry move around to the side of the position while riflemen skirmishers started probing the front of the abatis:
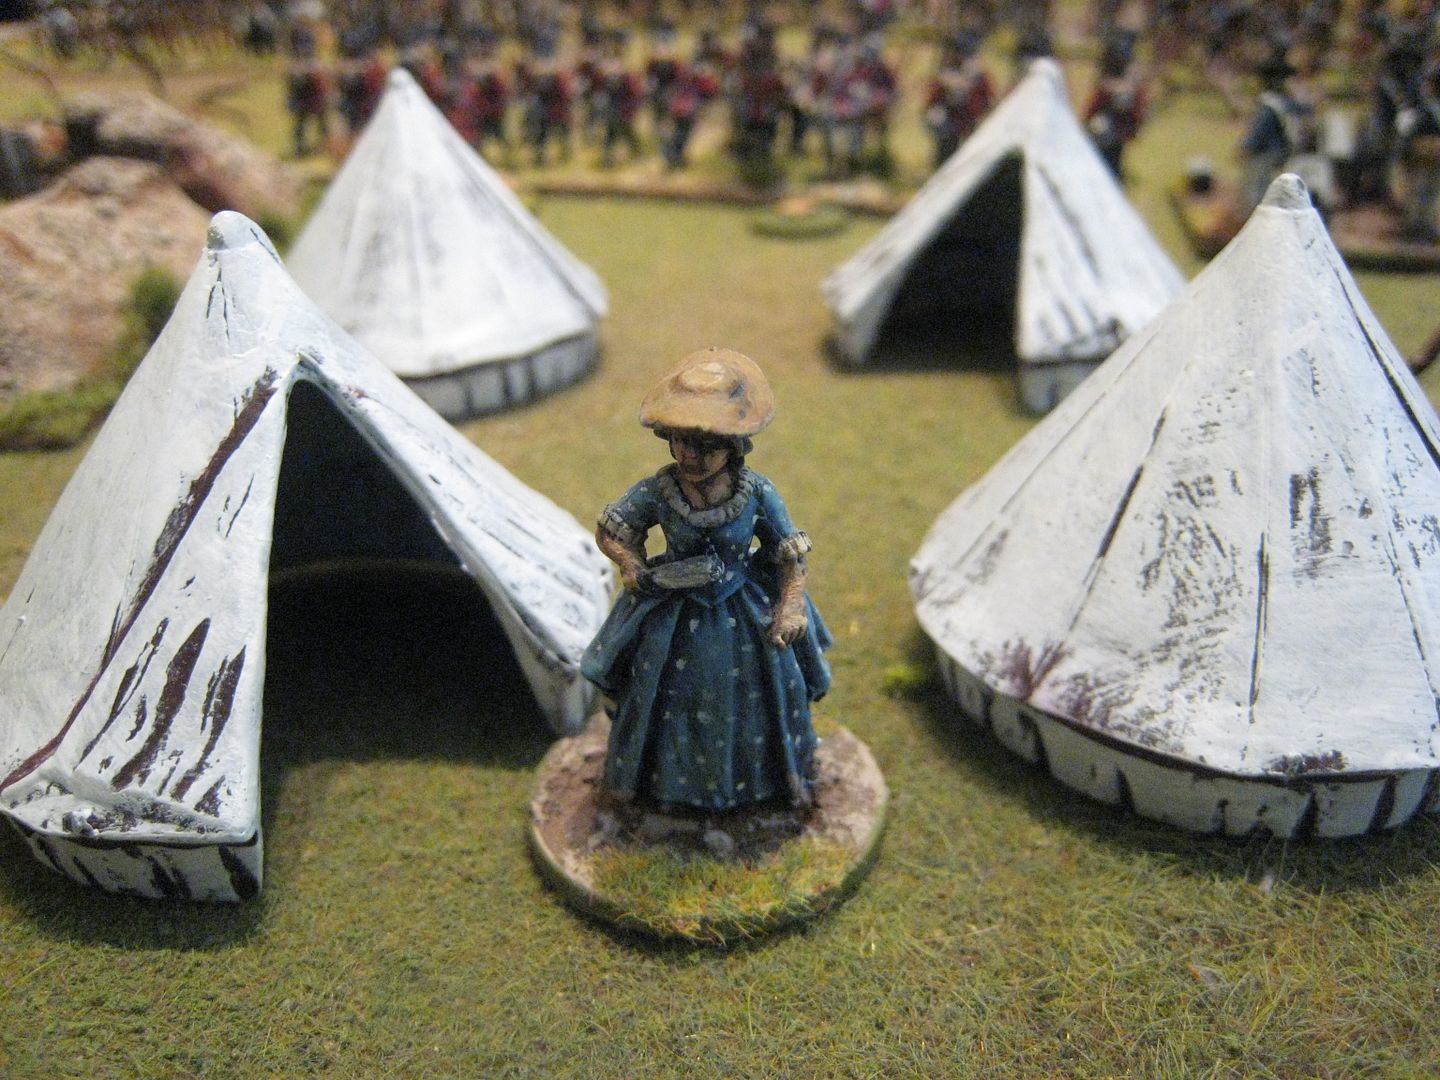
Maitland's mistress emerged from his tent to see what all the noise was, while fire-fights began and both ends of the British position:
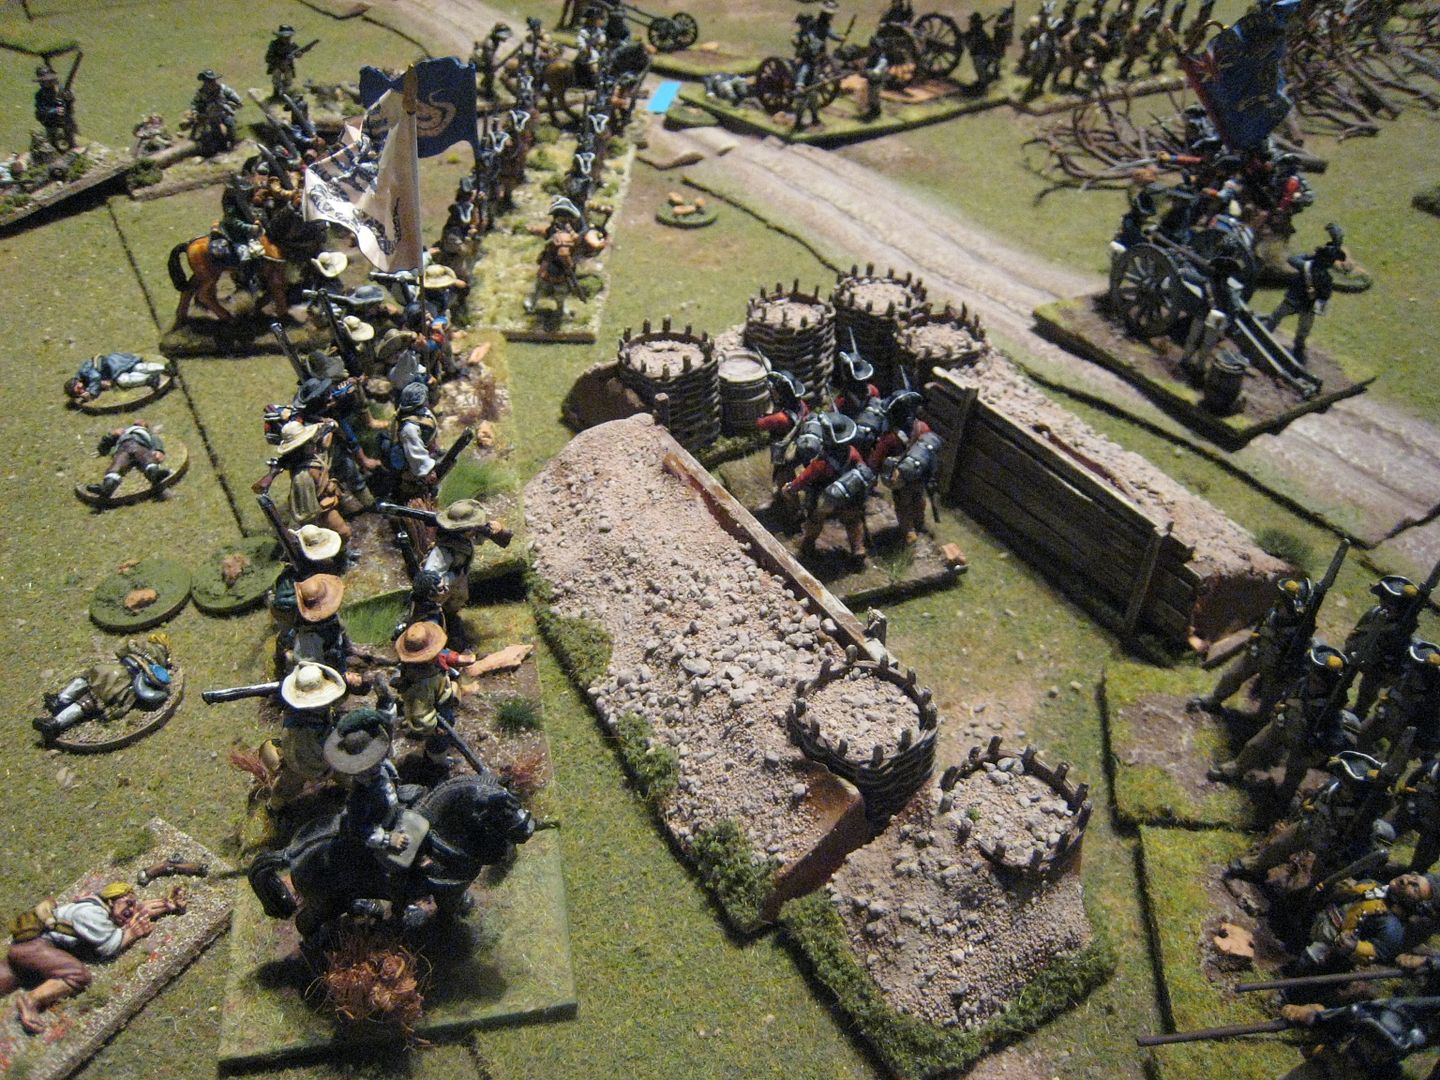
Ronan found himself rolling low dice on his firing, while I was rolling reasonably high. The American Continentals, opposite the 71st, survived a couple of morale throws resulting from high casualties being recieved. But eventually the Georgians broke and took the rest of the brigade with them:
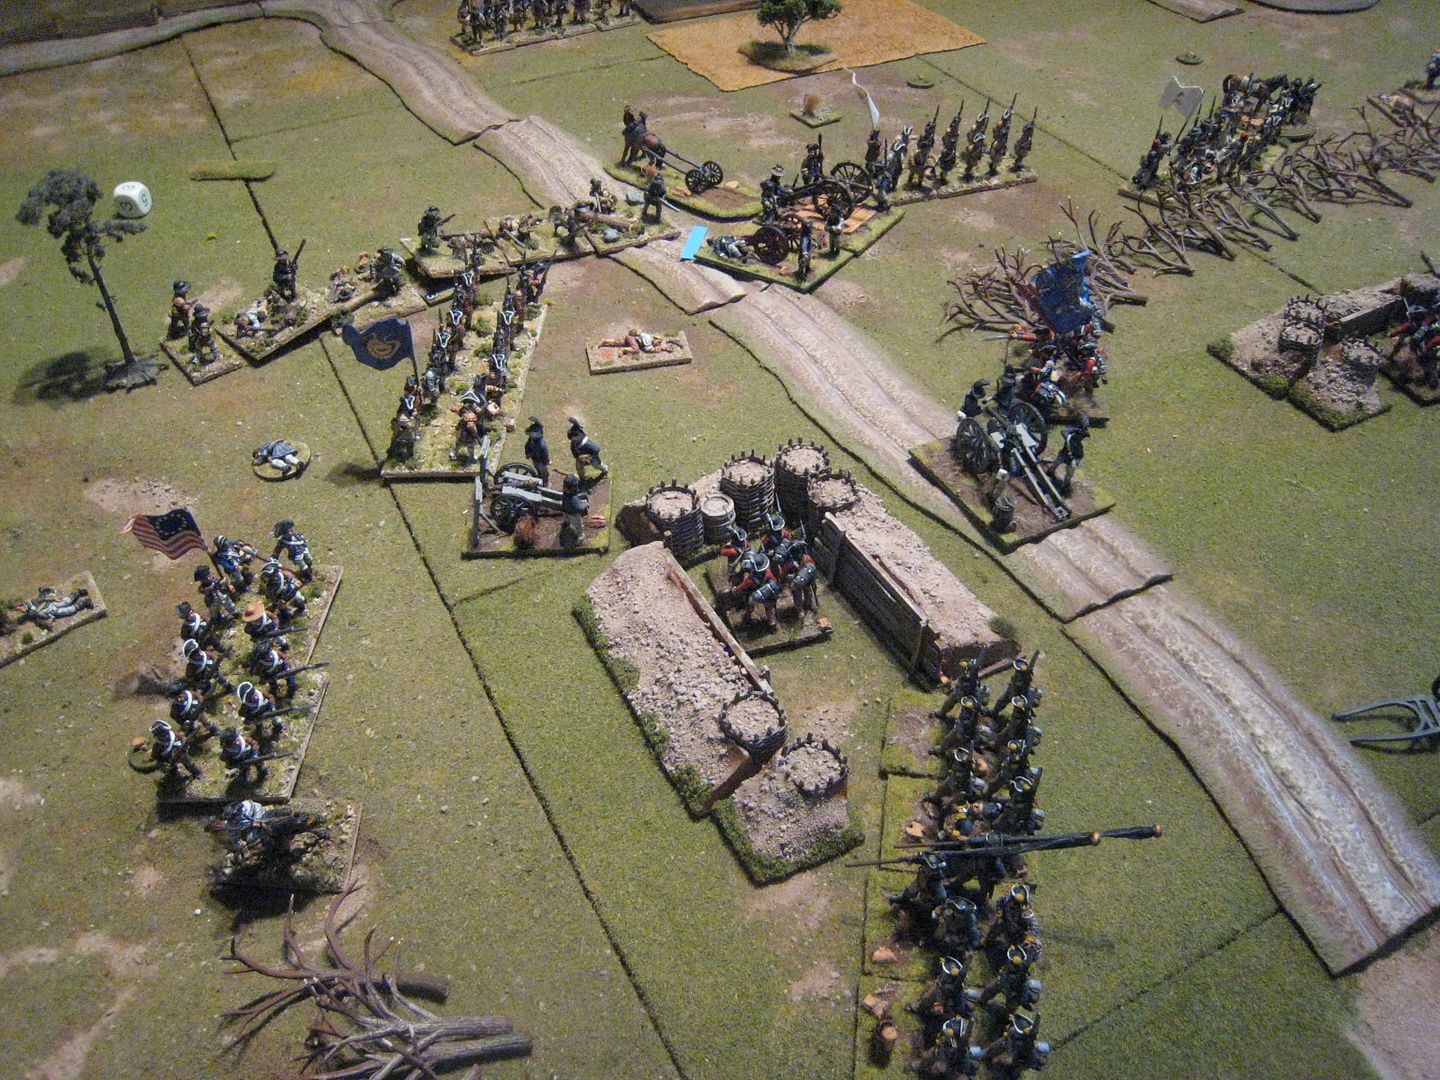
However, the Hessians came under increasing pressure when the skirmishing riflement to their right broke through the abatis. The rule we used was that a unit had to remain at the abatis for one turn, representing work cutting through all the branches, and then took one DP (disruption point) going through it. The British guns were firing canister at close range by this time, but I began rolling low scores and this swung things in favour of the Americans on the left. Eventually, depiste taking casualties, the American light infantry broke through the abatis and overan the British 3-pounder battery at the corner of the position as more American militia approached the Hessian right.
Over on the British right, the 71st were now taking enfilade file from the guns that the Americans had brought up in support of their attack. The highlanders started taking heavy casualties and I realised that instead of a defence line I now had isolated pockets of troops that would not be able to deal with all the Americans now reaching the British camp. As time was running out we accelrated the arrival of the third American brigade, which assaulted the redoubt in which the Hessians had now sought refuge. Behind them, the 71st finally failed a morale throw and it was all over for Maitland.
This was a game where fortune seemed to ebb and flow very quickly. When the Continental brigade retreated I thought "let's now do the same on the other side of the camp" but the dice failed me and the position was reversed. Winning the initiative and so having the ability to fire first was crucial for the British player, and I lost that too in the later stages. Another problem for the British is being able to move inside the camp. What I probably should have done was to play a fighting retreat back away from the abatis and keep the units together, instead of allowing troops to get cut off. The American player needs to control his dispositions carefully, as otherwise units are left in the middle of the table with nothing to do. Getting into shooting contests is also unhelpful for the American player - I suspect the best thing is to get over the abatis as quickly as possible and try to overwhelm the British. Of course if charges fail to go in, as happened with the Continentals, one is left stuck in a firefight. We had thought that this game might be over very quickly, but in fact it kept going for about 10 turns and we weren't quite finished at the end.
It's a neat little scenario. You get the chance to have a British camp and lots of Southern militia types on the table and the American player has rather more thinking to do than in several other better-known battles. I painted my 71st years ago using Perry marching figures, but I'll have to paint another battalion's worth using the King's Mountain Miniatures firing pose figures.






21 comments:
A fantastic game and AAR, sir. Wonderful table and figures!
Fantastic table full of beautiful figures and great terrain plus a super AAR! Wonderful Giles!
Christopher
Greate AAR !!!
Best regards Michael
Great Battle. Stono Ferry is one of my favorites from the Southern theater of the AWI. http://www.southerncampaign.org/ has published some good articles on Stono Ferry in the past.
Excellent game. Beautiful miniatures. Well done.
Nice report thanks, I'll be back for a re-read.
Lovely looking game; although you must stop putting up reports of games with comparatively few figures! I start to feel weak!
As I have about two months before I have to travel again we must meet up and discuss South American wars!
Great report Giles! Wonderful looking game!
The AWI is one of my favorite periods. Great looking figures and game!
EC's gabions turned out very well. I really like the battered militia unit with bandaged heads etc. Super terrain and AAR, Giles.
By the way - we're doing a wine tasting for sommeliers in September if you can spare an afternoon?
Malc
That's a lovely looking game, but more than that it looked like it was a lot of fun to play... as the talking heads on MOTD are want to say.. "a game of two halves"
Great Bat Rep and good pics to boot.
The terrain is really impressive and those tall trees in the first pic are to die for (amazing!!).
I'd be very interested in finding out home made or did you buy them?
Darrell.
Great stuff Giles!
Interesting battle I wasn't aware of. Time for me to do some more reading. Wonderful terrain and figures - well done.
Excellent AAR and photos! Thanks!
Lovely looking game Giles and great informative report.
Enough to remind me that I must get back to adding some AWI units this year - especially with Alan adding more figures now.
Cheers
Simon.
Beautiful!! The battlefield is fantastic, some wonderful pieces of terrain, and the report excellent!
That's a very nice table setup; both terrain and figures. I'll have to see about playing this scenario myself.
Great stuff, Giles.
Nice to read a game report from the AWI, Giles!
fantastic table terrain and figures..very nice indeed
A great battle report Giles and along with all the eye candy, the abatis and redoubts look very effective.
Cheers,
Pat.
Post a Comment