Showing posts with label King's Mountain Miniatures. Show all posts

Tuesday, 27 June 2017

Lieutenant-Colonel Sir Thomas Stirling

Thomas Stirling was born in 1733 into a family that held the baronetcy of Ardoch, a place near Perth in the Scottish highlands.  Thomas was the second son and received his first commission in October 1747, shortly after his 14th birthday, from the Prince of Orange as ensign in the 1st Battalion of General Marjoribanks' Regiment, which was with the Scots Brigade in Dutch service.  Ten years later he raised a company for the 42nd Foot, which was mustering to head off to the Americas, and was promoted captain.  He stayed with the regiment until the end of the AWI.  He saw action in the F&IW, in Canada and the Caribbean, taking part in the capture of Havana in 1762. In August 1765 Stirling and his company travelled from Fort Pitt in western Pennsylvania to the Illinois country to accept the transfer of Fort DeChartes, situated on the east bank of the Mississippi River, from the French.  Several months Stirling and his men were relieved and they sailed down the Mississippi to New Orleans and Pensacola.  They arrived back in New York in June 1766 after a trip of over 3000 miles.  The following year Stirling and the 42nd transferred to Ireland for garrison duty, where they remained until the commencement of the AWI.   Stirling became the lieutenant-colonel of the regiment in 1771.

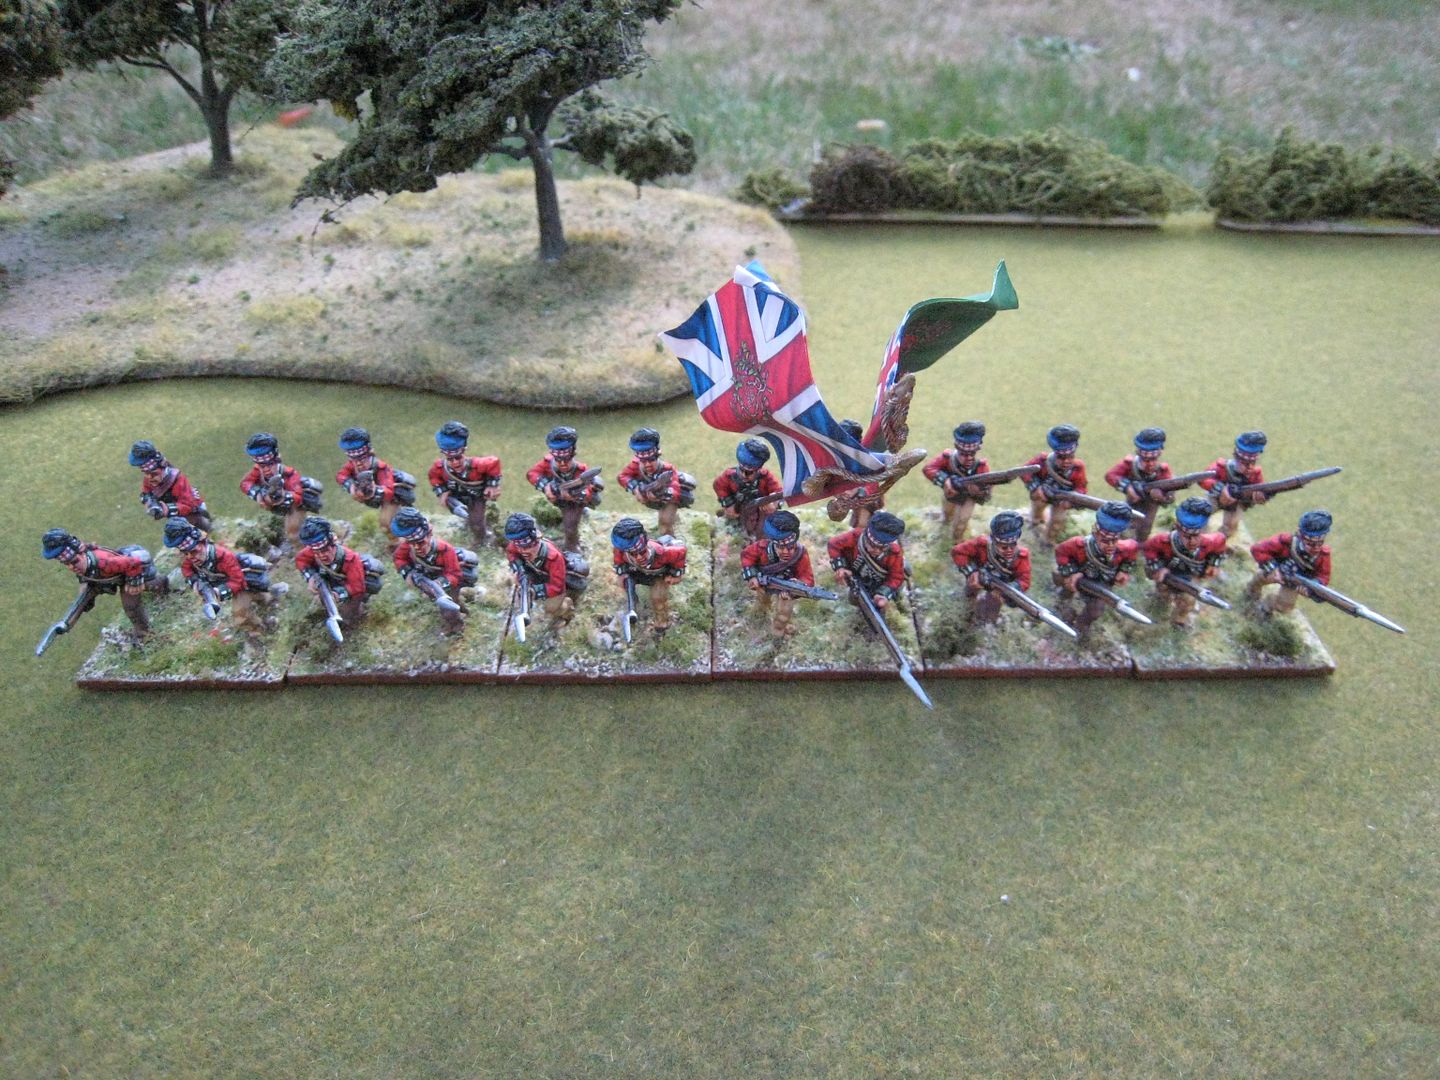
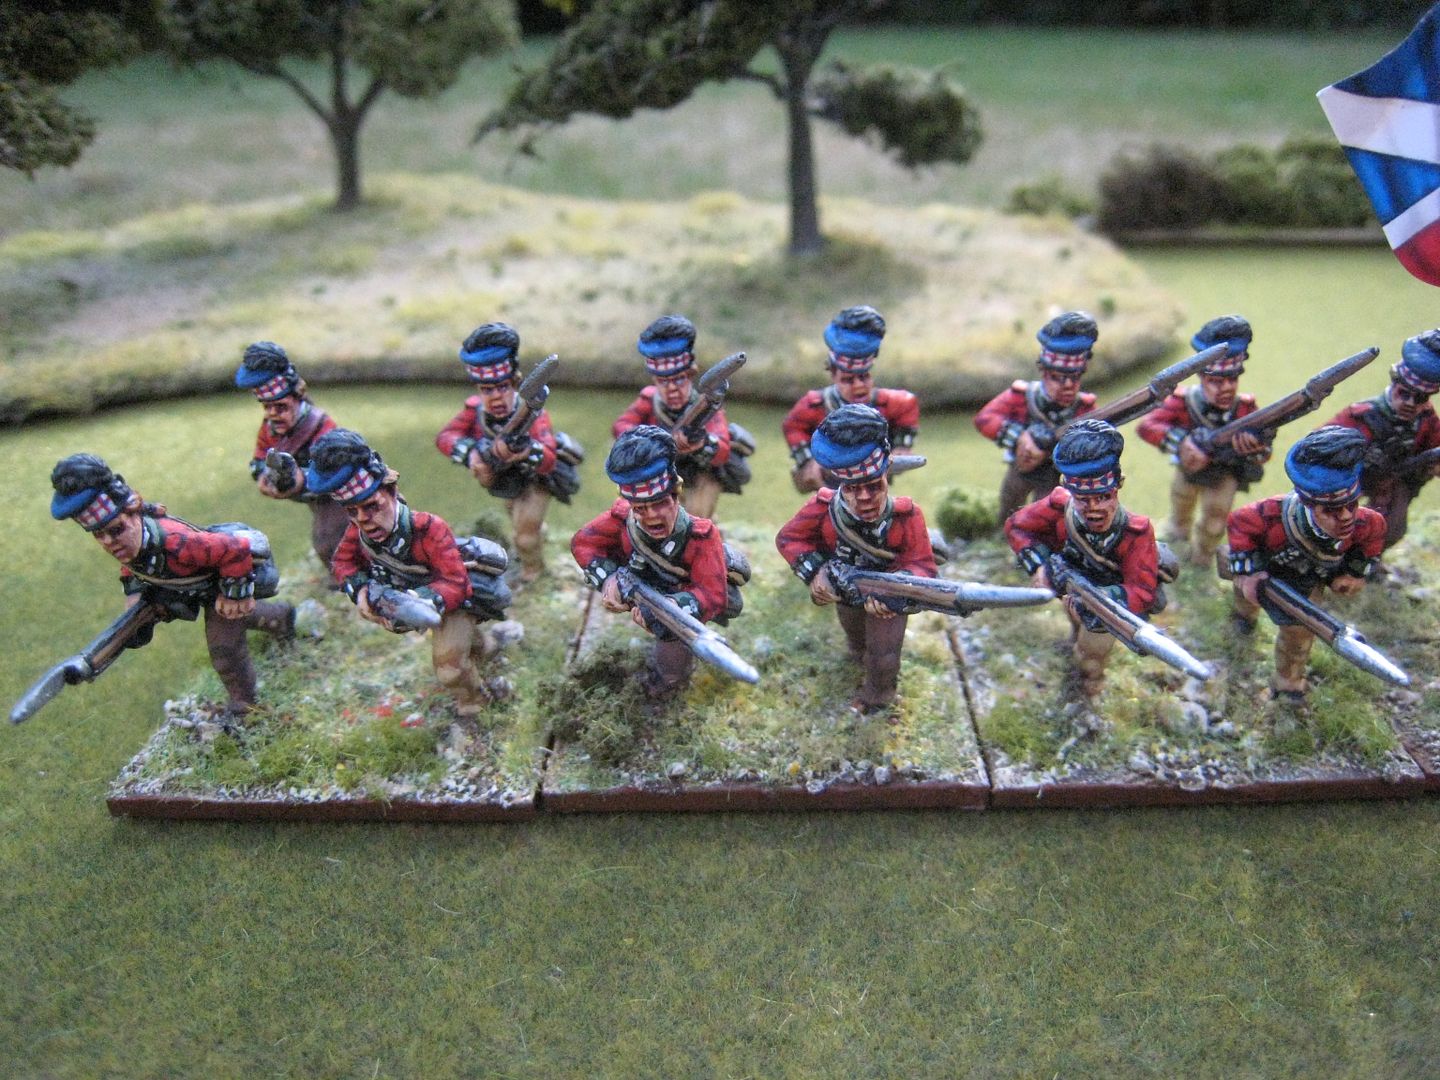
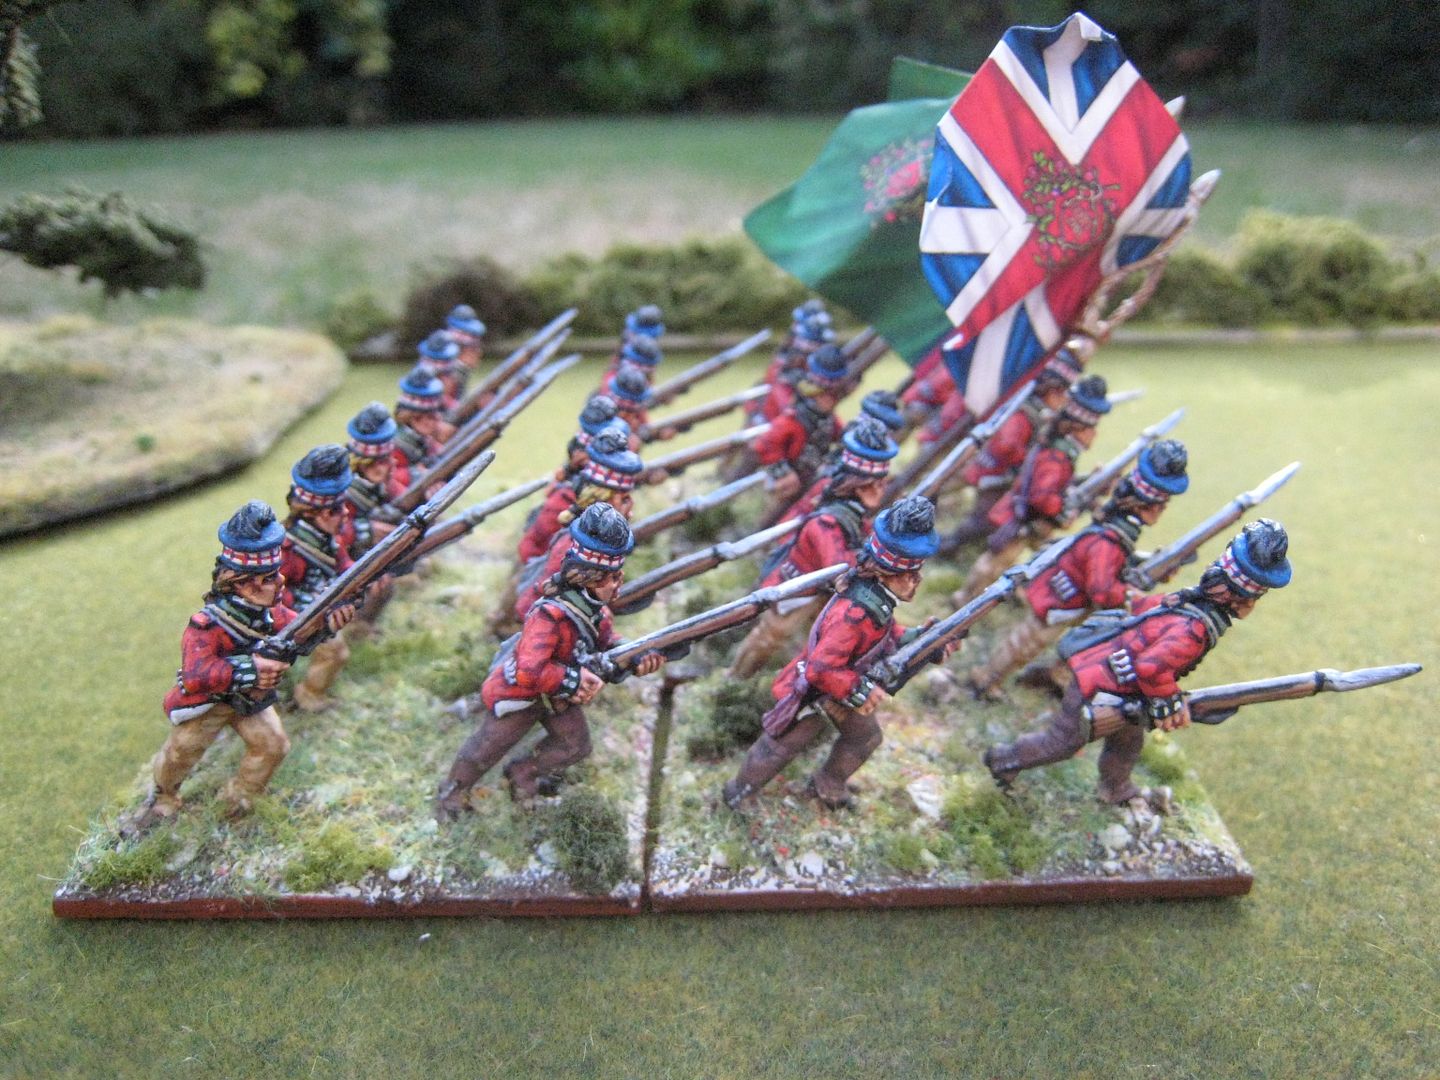
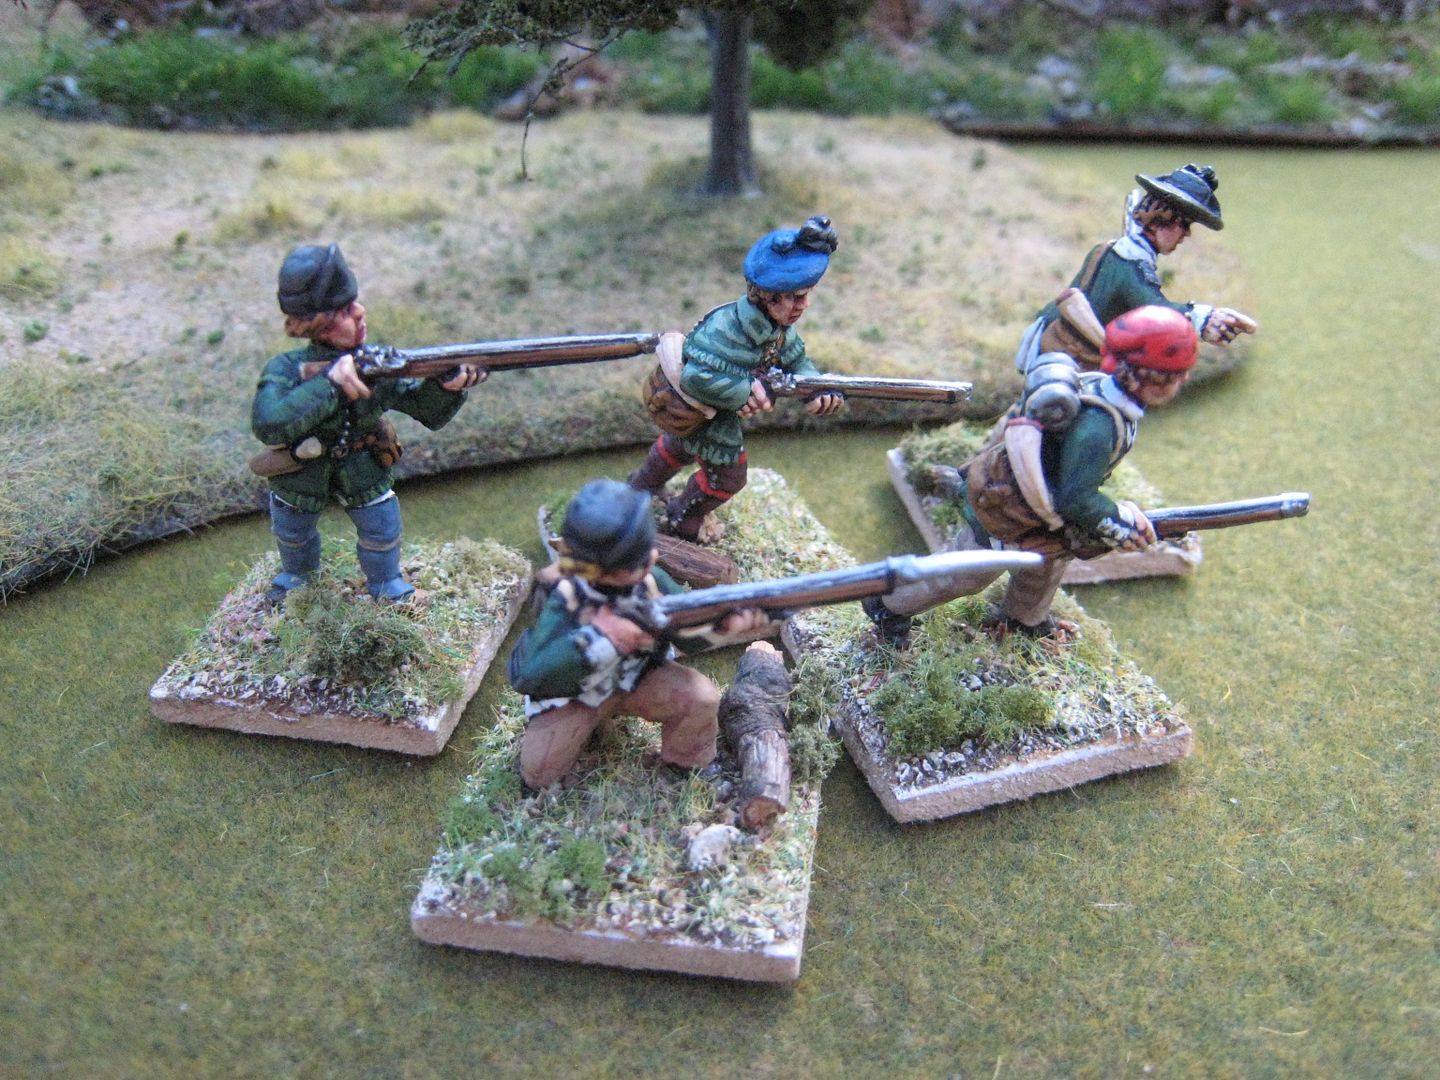
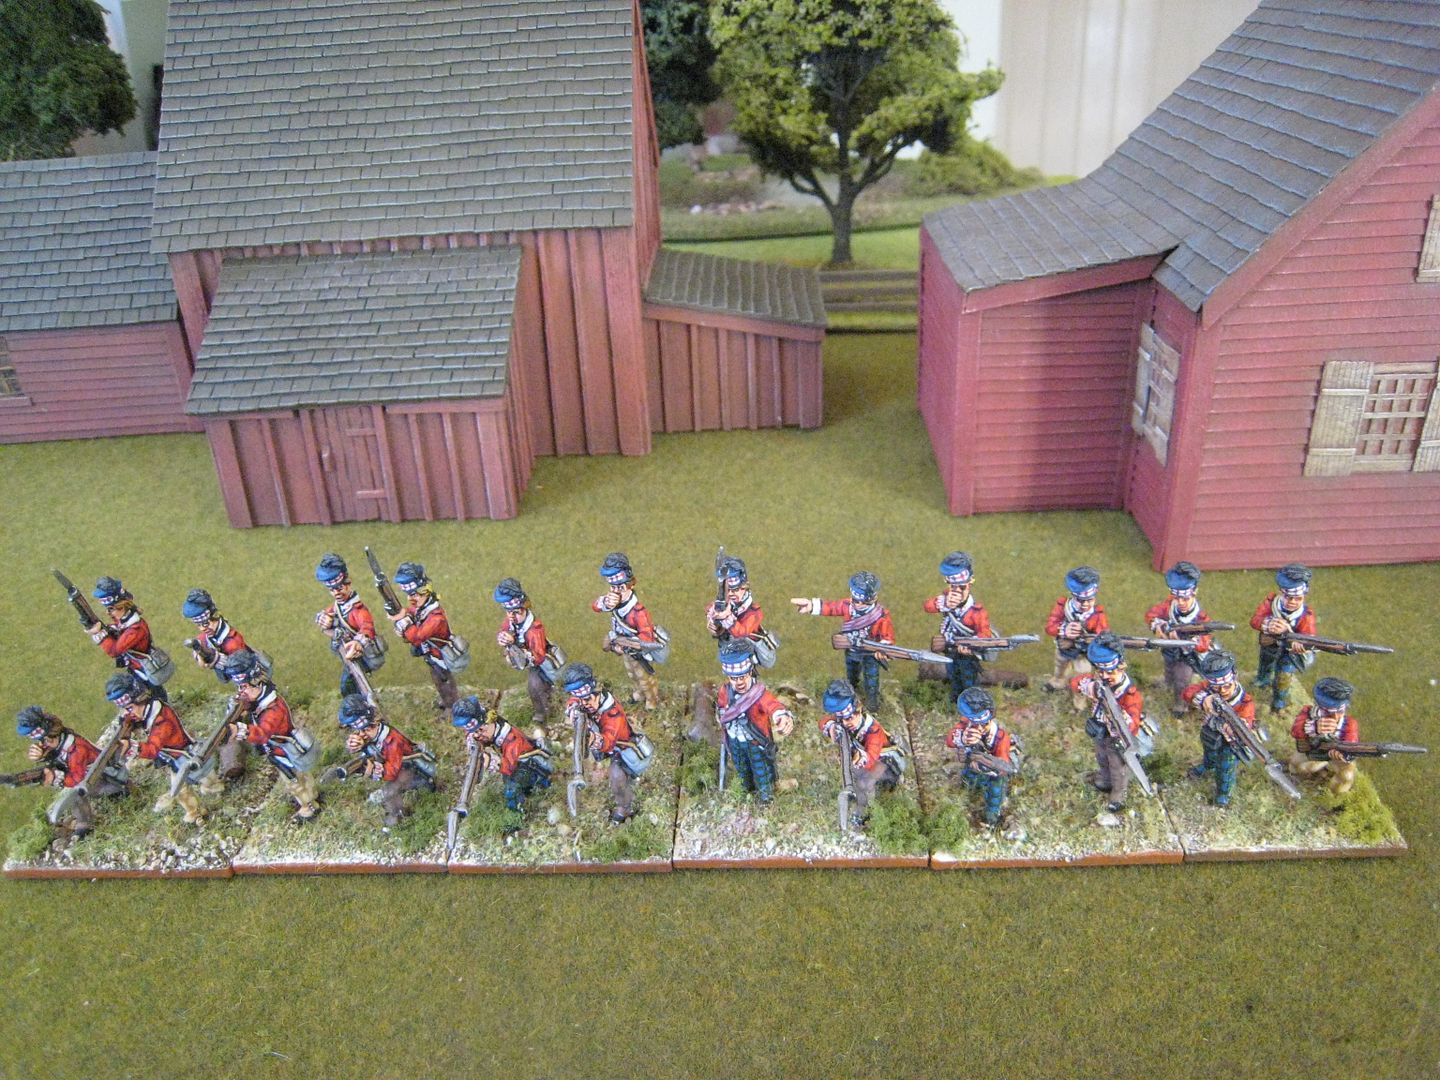
The Black Watch returned to America in 1776, having spent time raising fresh recruits in Scotland after news of the rebellion reached Britain.  Stirling appears to have been at pains to train his regiment in frontier-style fighting.  The regiment fought in the New York campaigns of 1776 and 1777.  Stirling and his men performed notably in the attack on Fort Washington in November 1776 - General Howe wrote in his General Orders that he "is extremely sensible of the Universal Spirit and Alacrity which evidently animated all the Troops that were Yesterday engaged, and desires his particular thanks may be given ... To Lieut.-Col. Sterling, and the 42d. Regiment...".  In June 1777 Stirling, like other senior officers, began receiving brigade commands, initially comprising the 33nd Foot and the two battalions of the Black Watch.  In February 1779 he commanded troops from those regiments and the light companies of the Guards in a raid on Elizabethtown, New Jersey.  This time Stirling received plaudits from the American side - the New Jersey Journal stated that "Colonel Stirling who commanded the detachment shewed himself throughout the whole expedition not only the officer, but the well bred gentlemen..."

On 1 May 1779 Stirling was appointed to an honorary position, as Aide-de-Camp to the King.  In June he was breveted to the rank of brigadier general and he was given what was nicknamed the "Royal Brigade", of the 7th Foot (the Royal Fusiliers), the 23rd Foot (the Royal Welsh Fusiliers) and the 42nd (the Royal Highlanders).  However, this brigade was sadly short-lived and the other regiments were soon replaced with the 63rd and 64th.  In 1780 Stirling was badly wounded by a musket ball in the leg in a skirmish near the Connecticut Farms during Knyphausen's attack on New Jersey.  Surgeons did not expect him to survive; he did, but his days on active service days were over.  Letters to his relatives show that his recovery was slow and painful, but he successfully managed to prevent amputation of his leg.   

Despite his wound, he continued to progress up the ranks.  He became colonel of the 71st Foot in 1782 and later that year was promoted to major-general.  In 1790 he became colonel of the 41st Foot.  Promotion to lieutenant-general came in May 1796 and finally to full general in 1801.  In 1799 he succeeded his elder brother as baronet of Ardoch, but Thomas was unmarried and childless and so the baronetcy came to end when he died in 1808.  

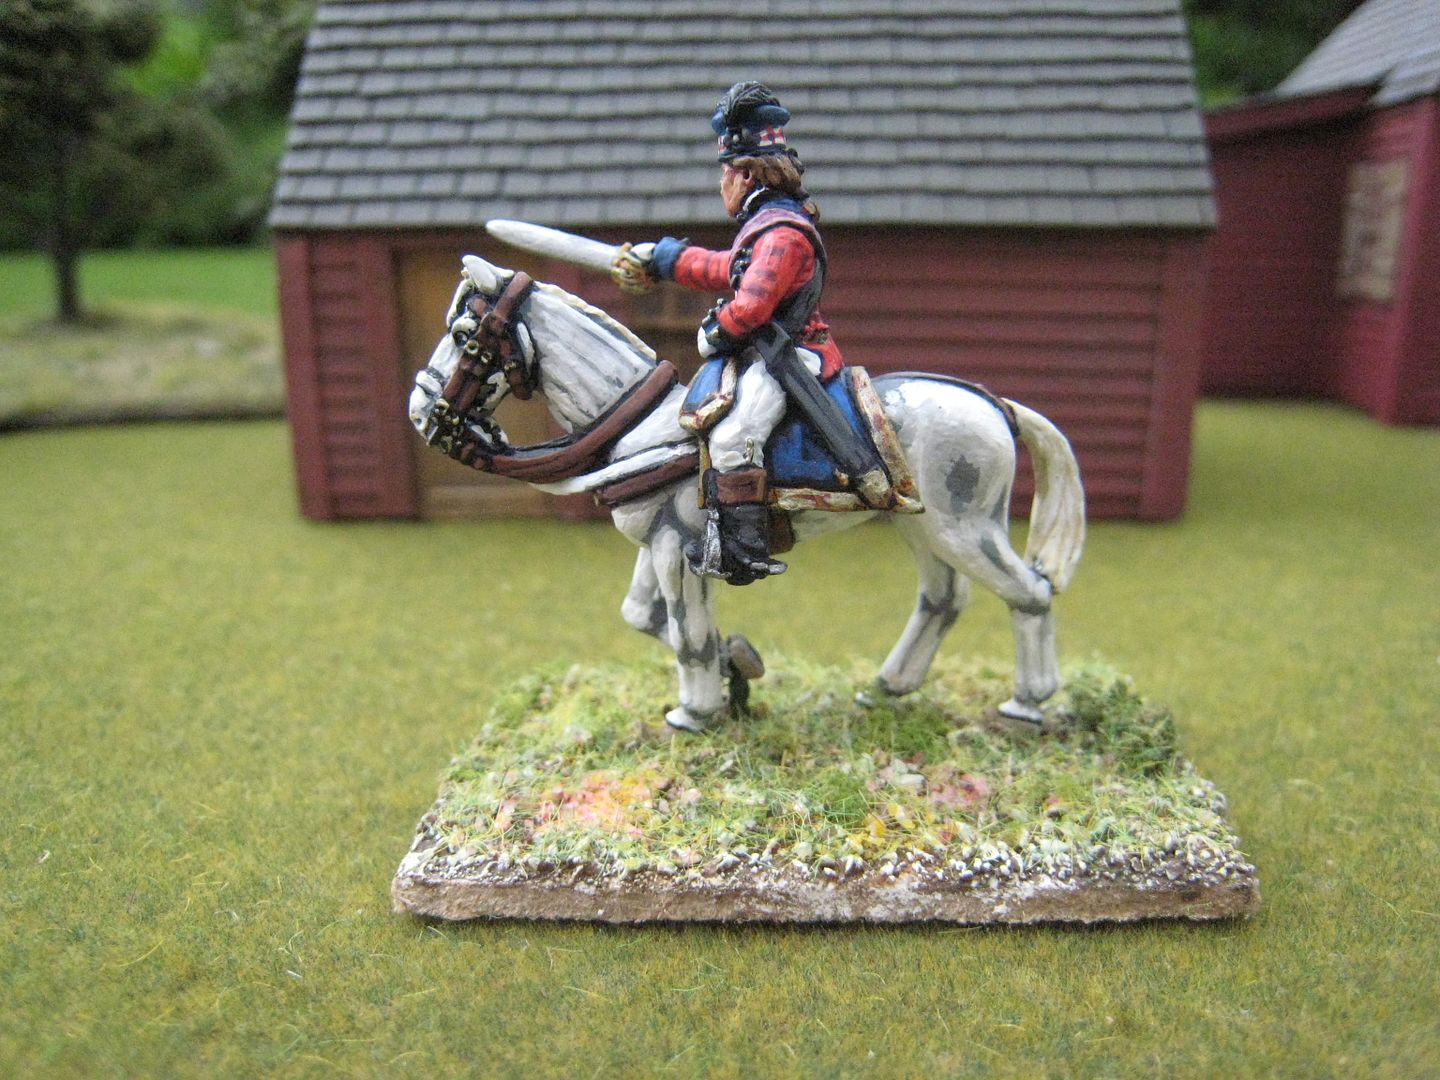
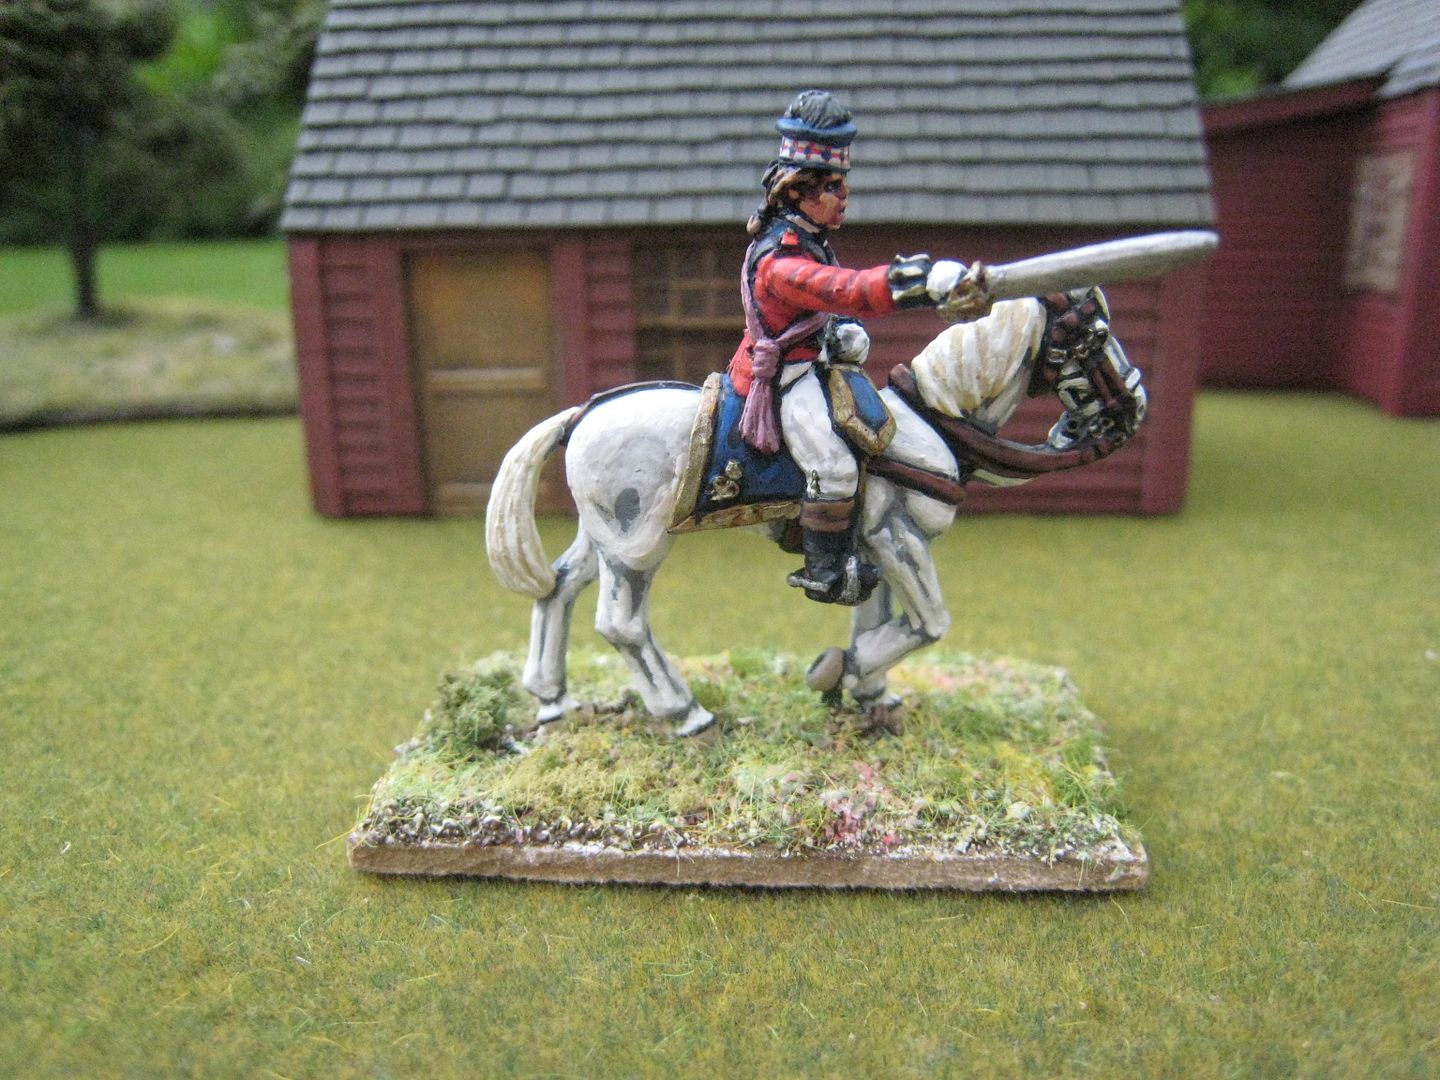
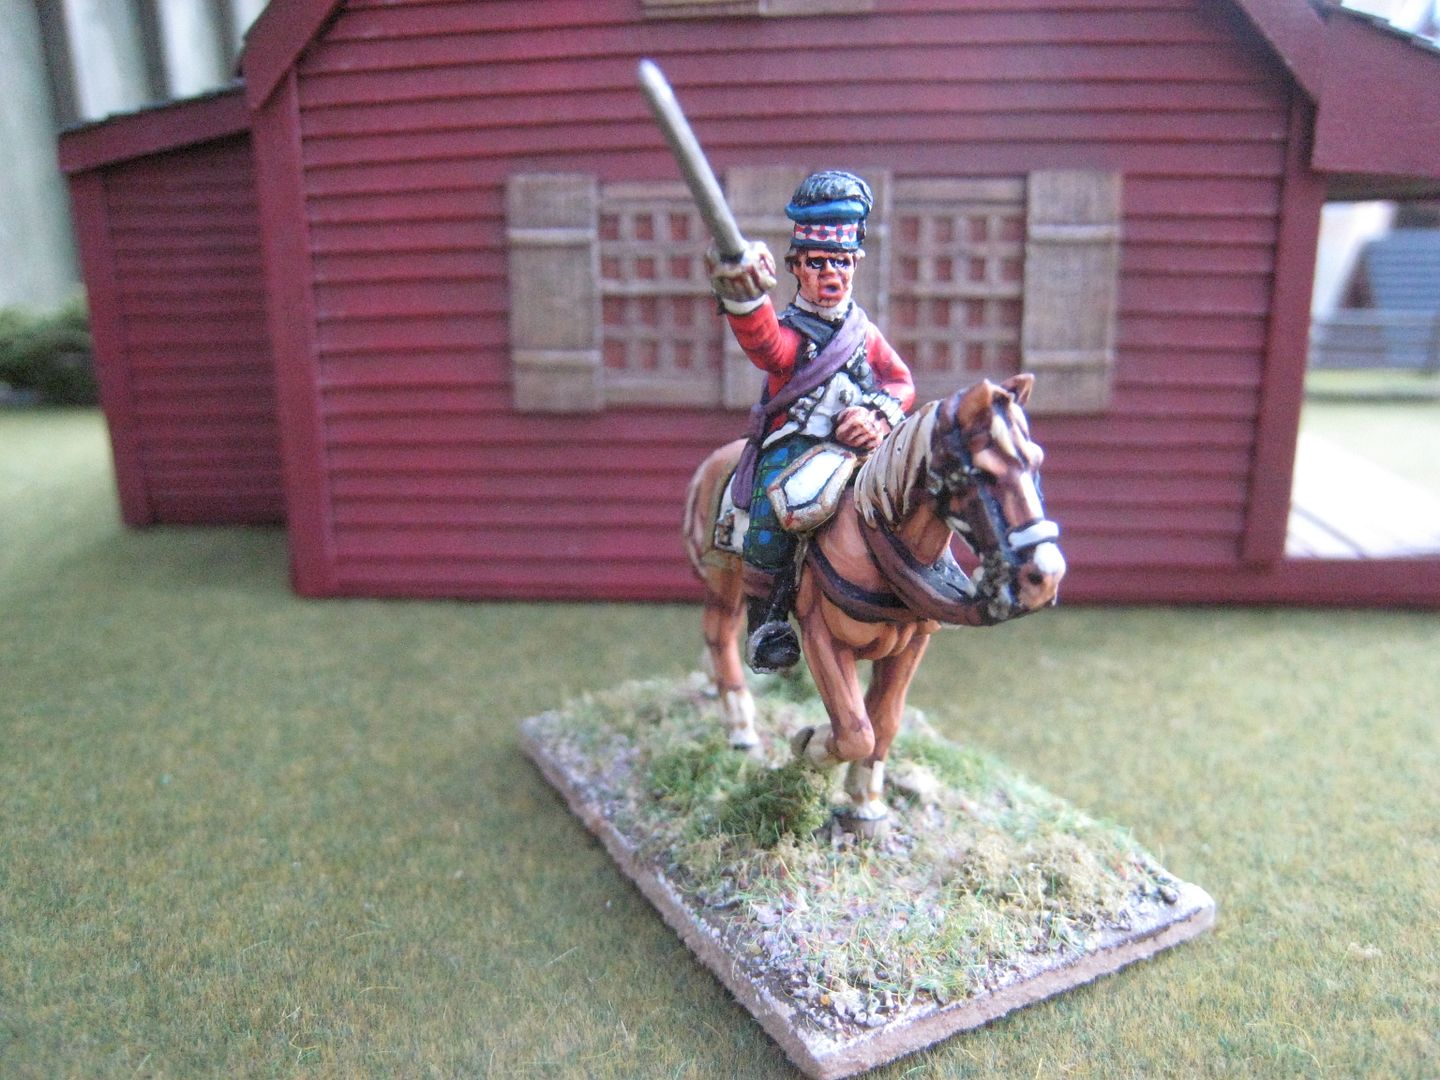
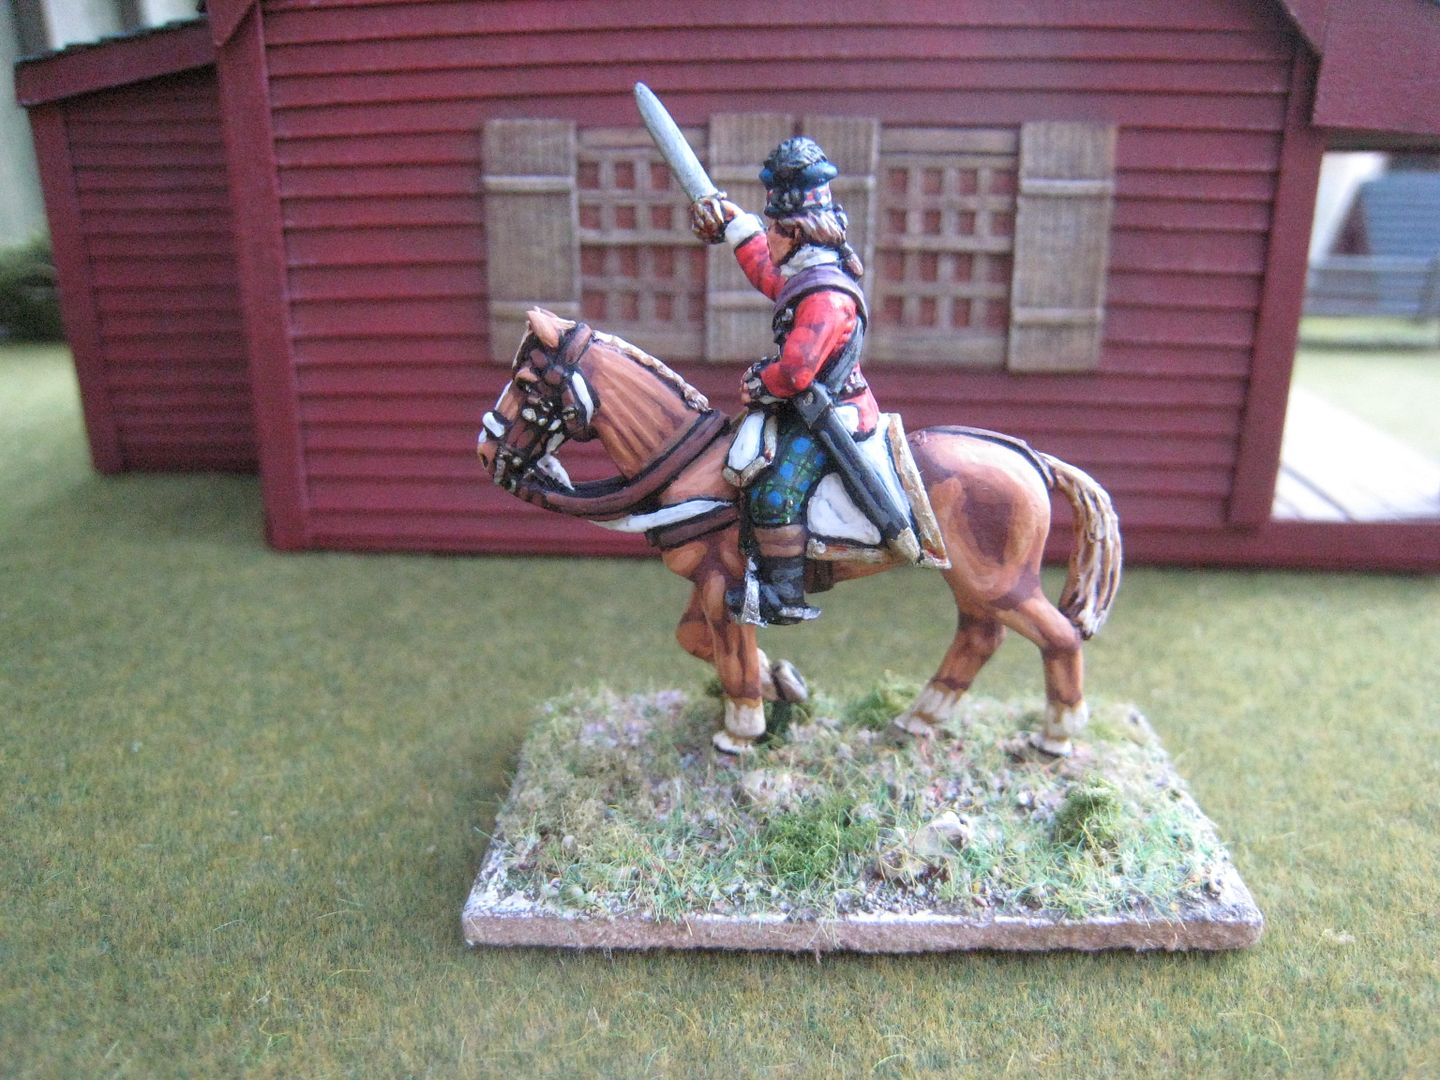
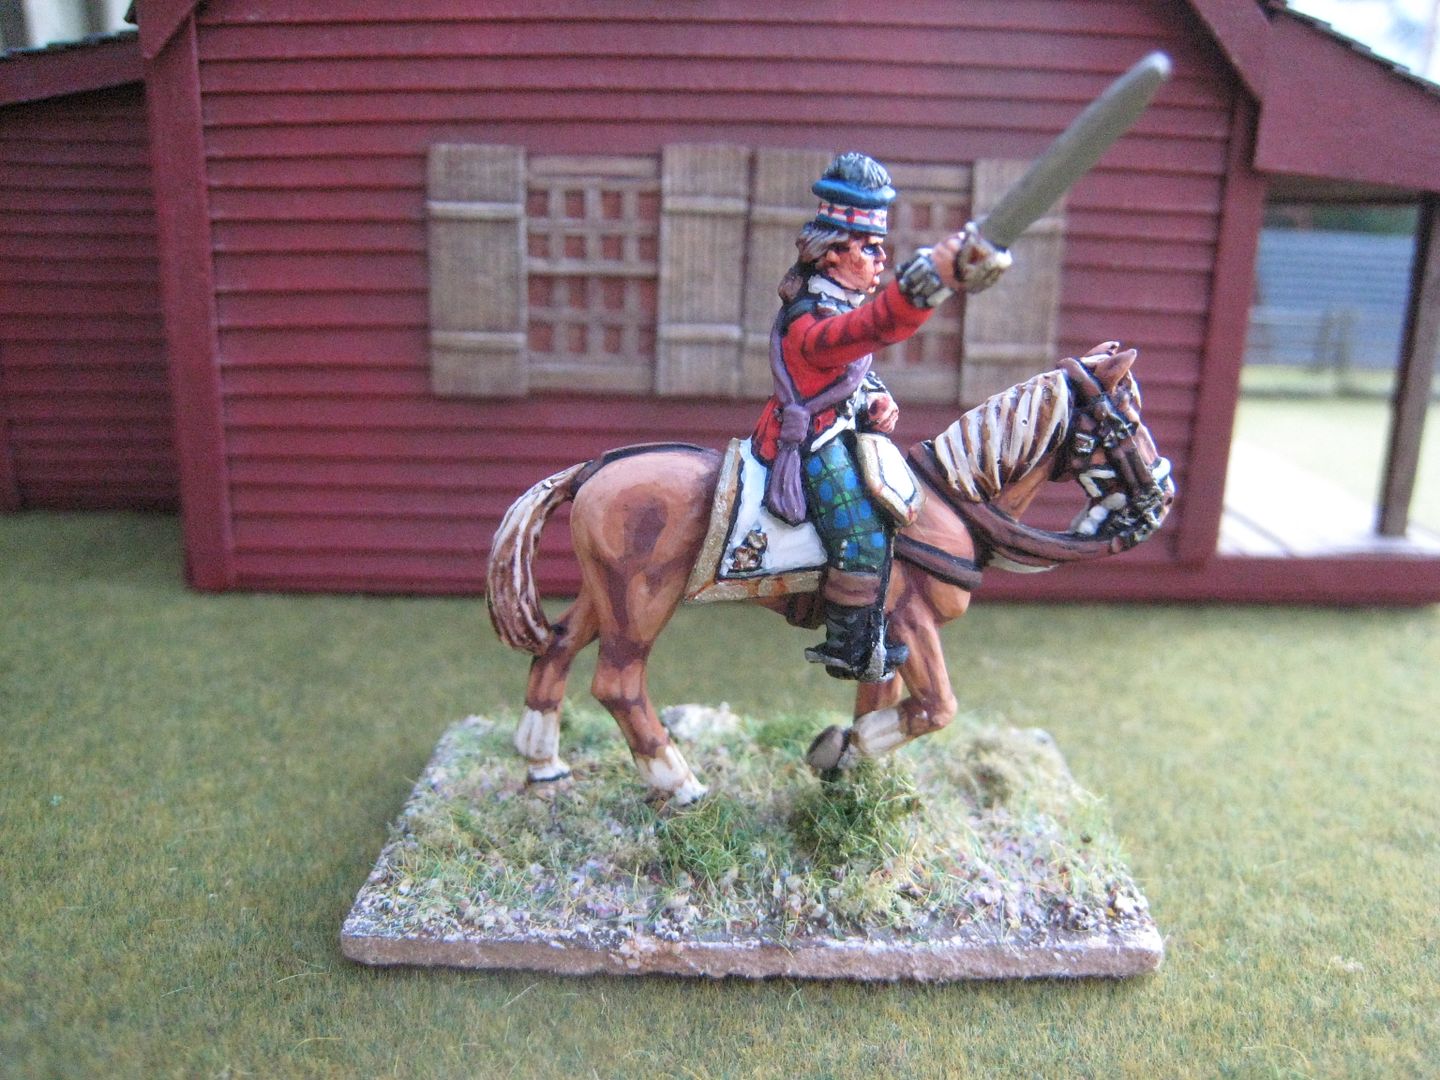
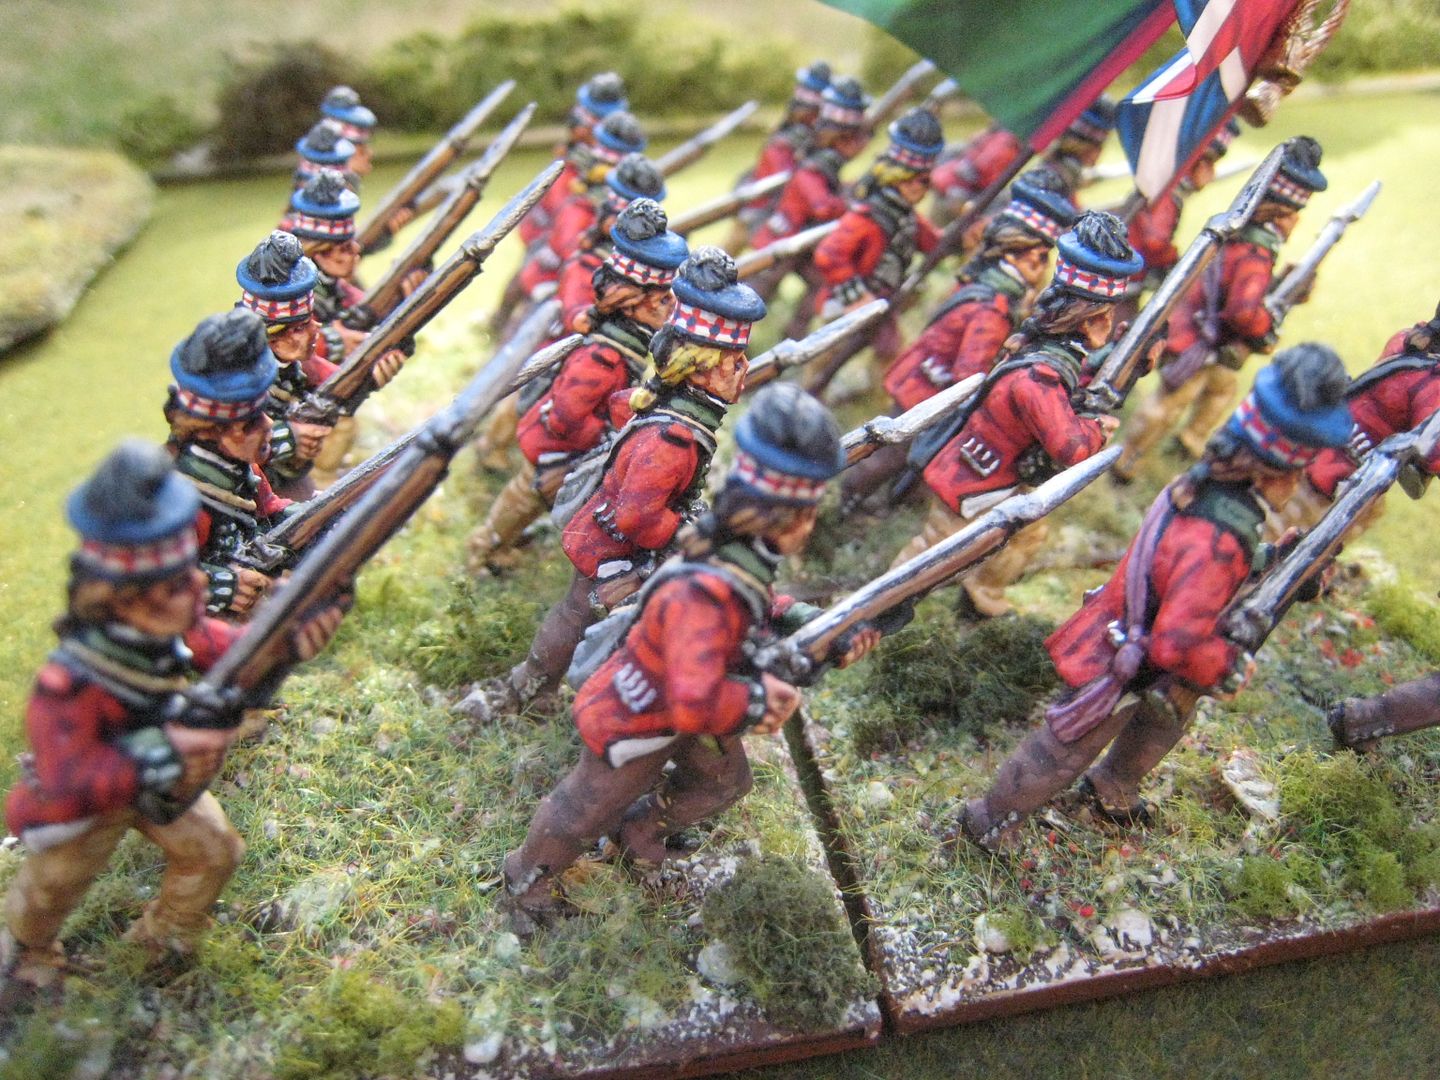
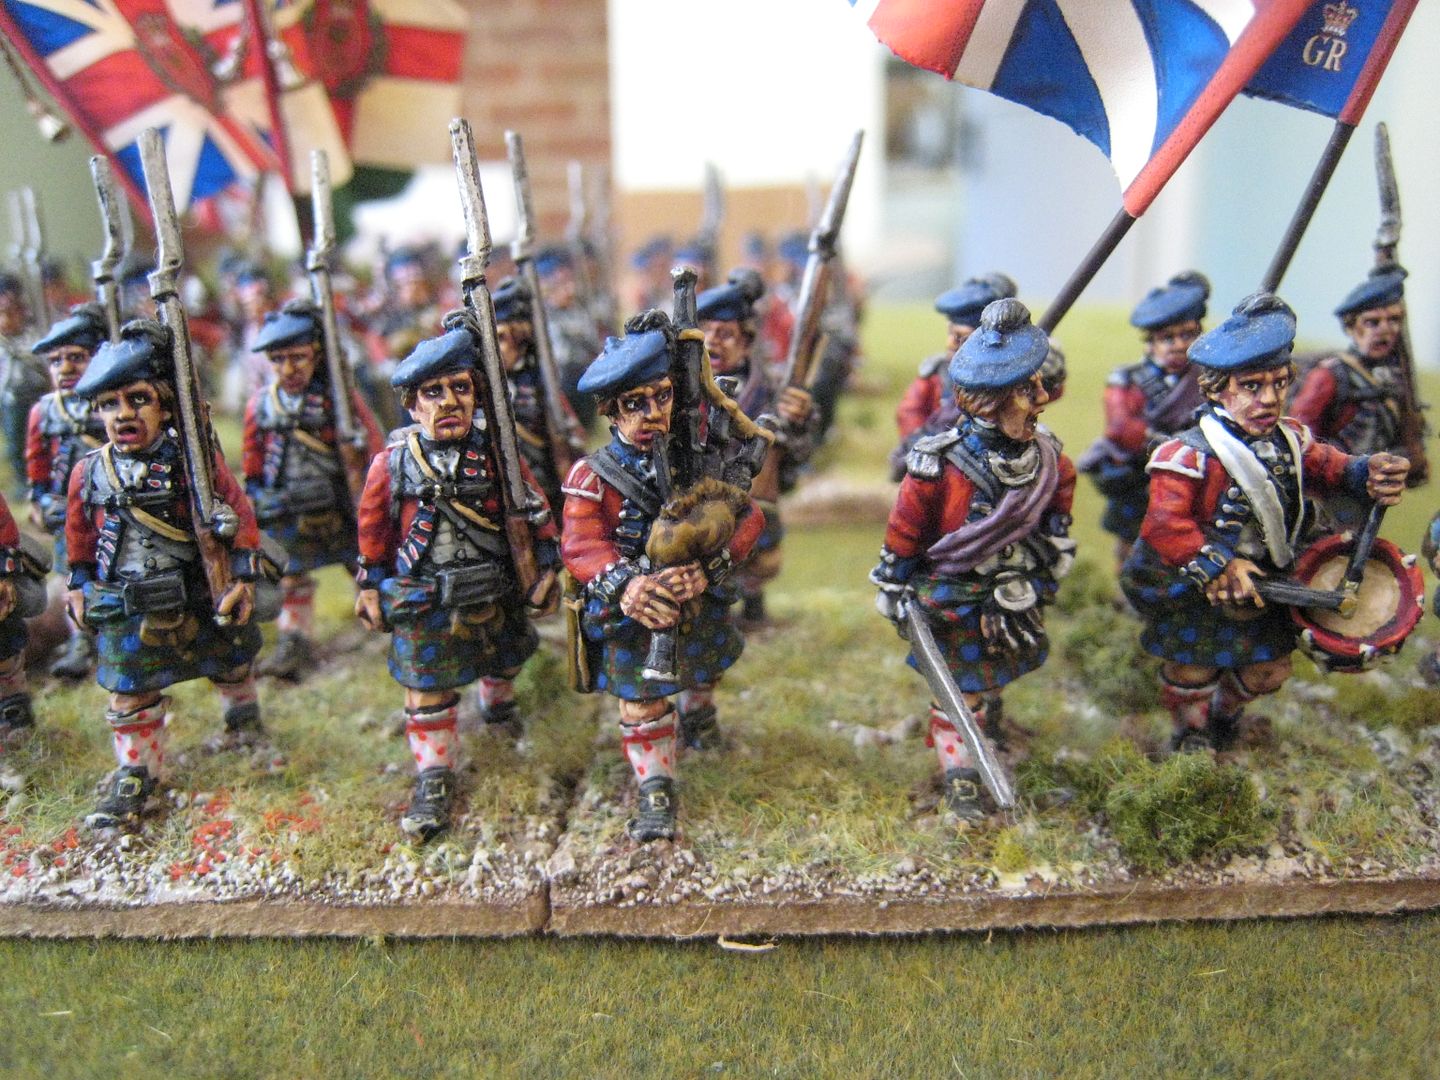
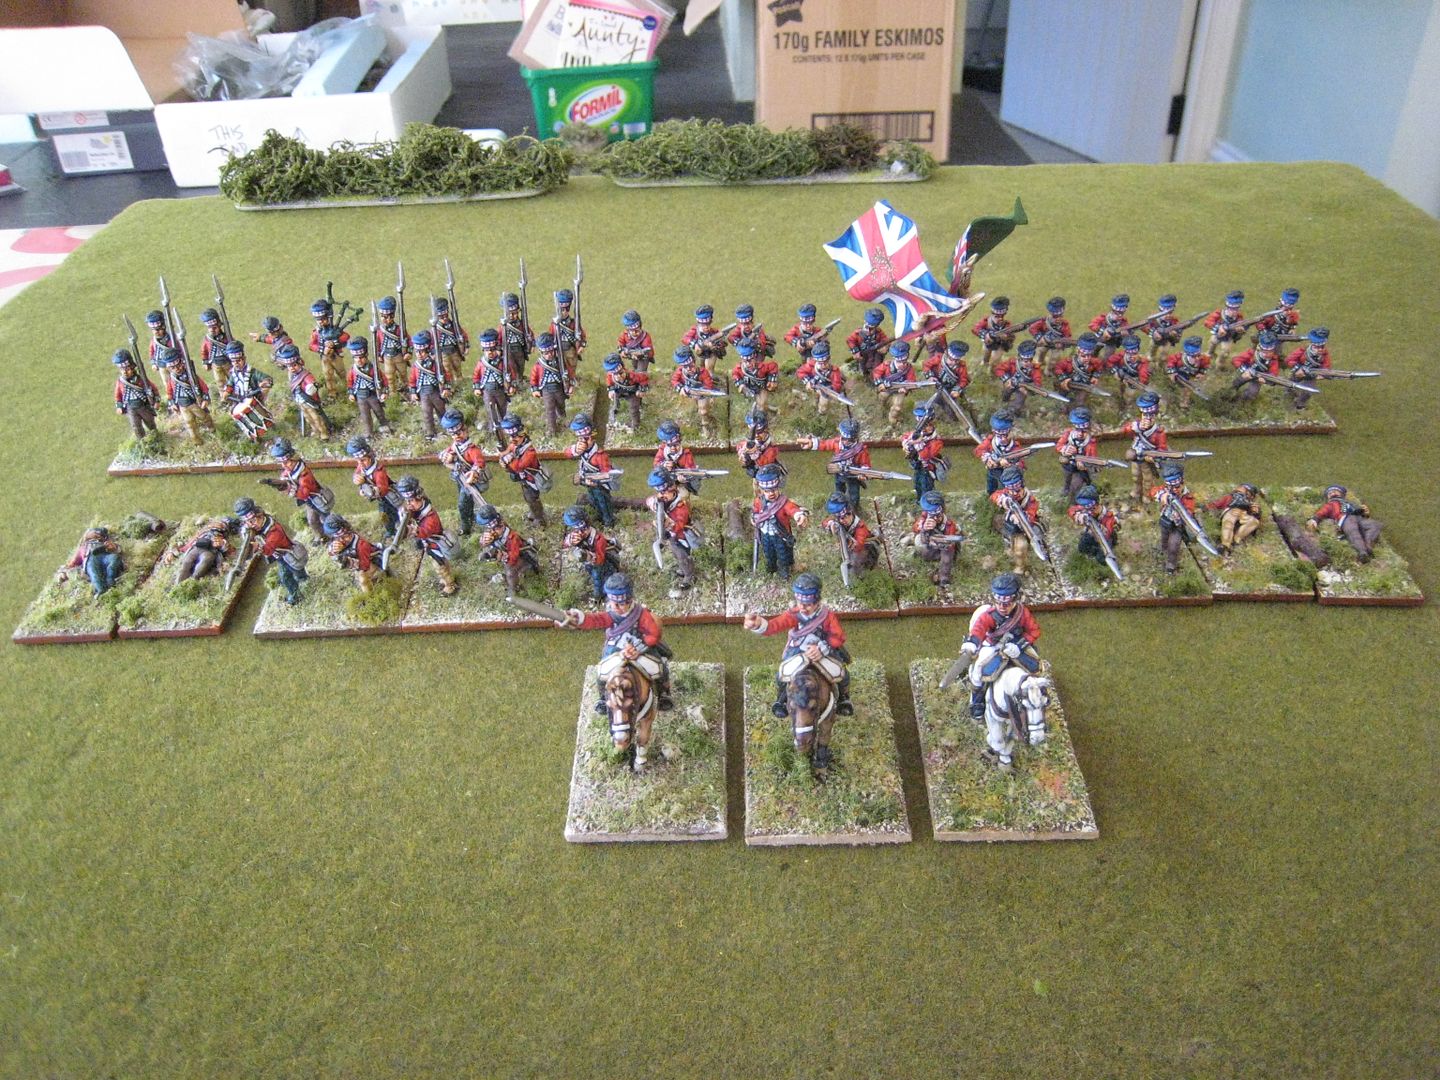
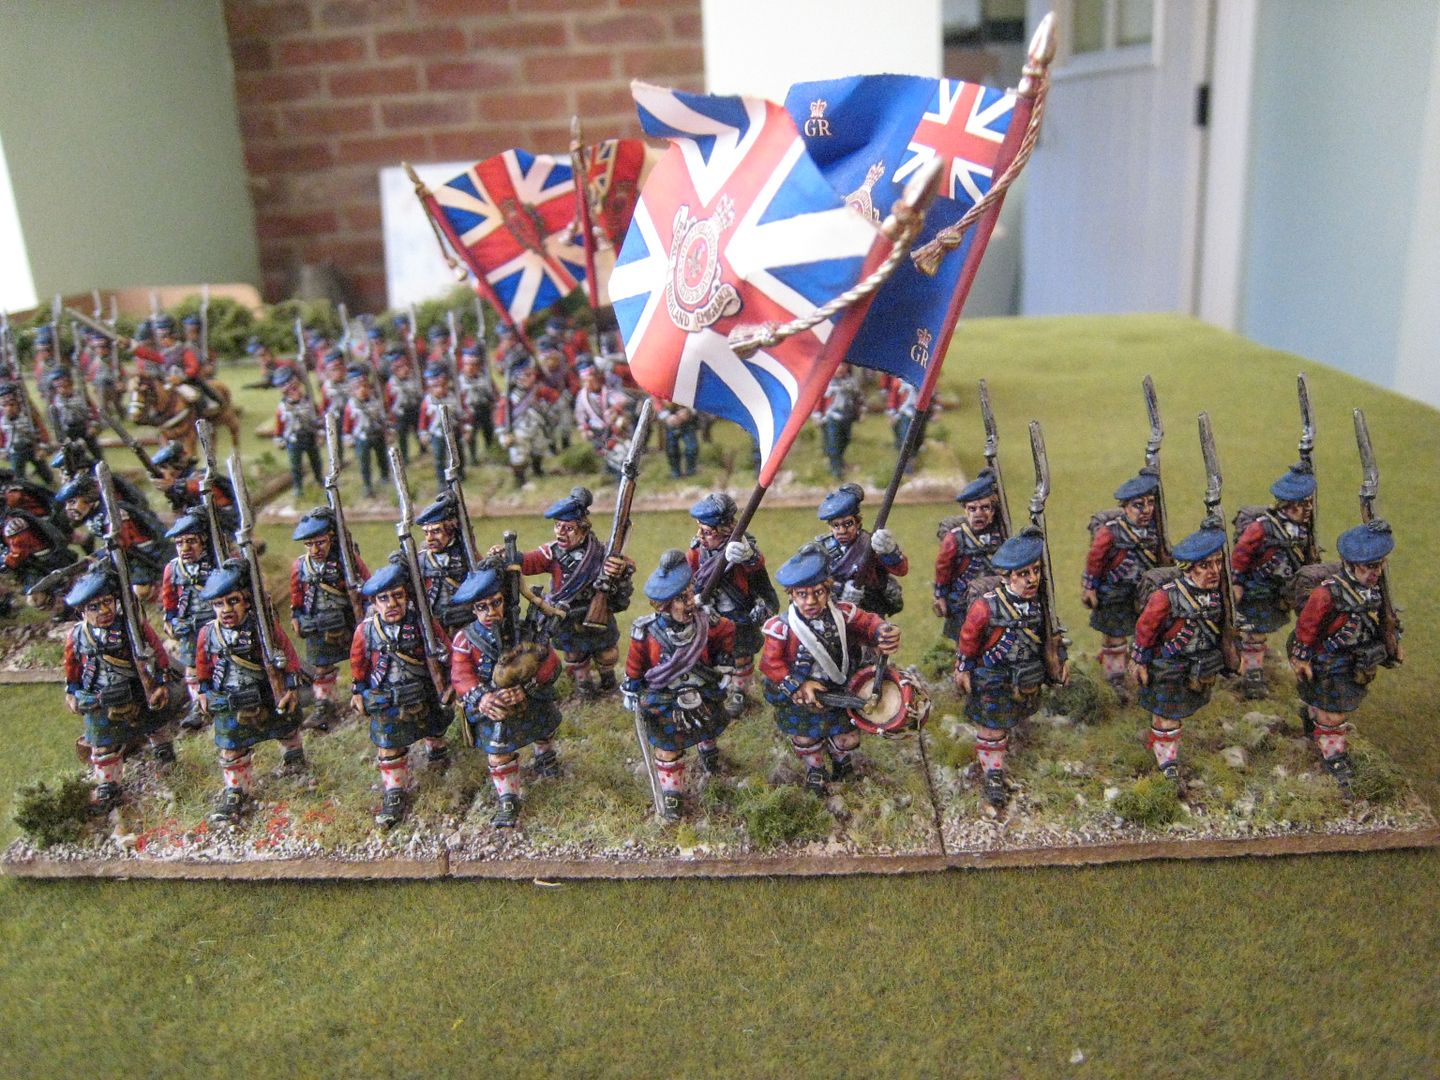
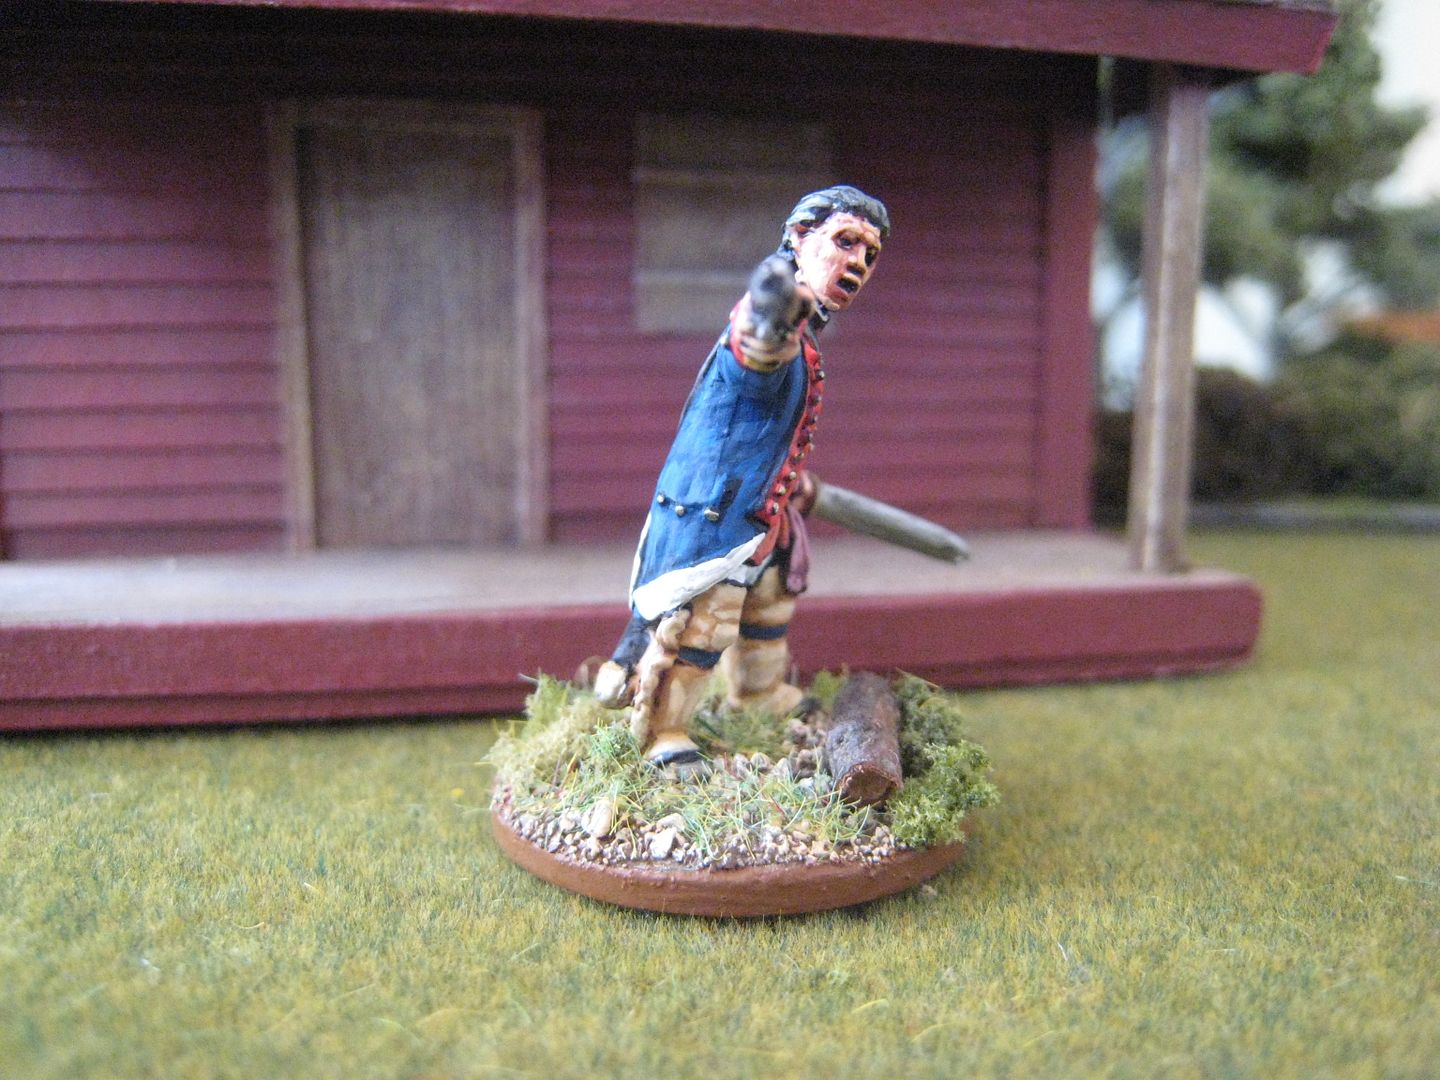
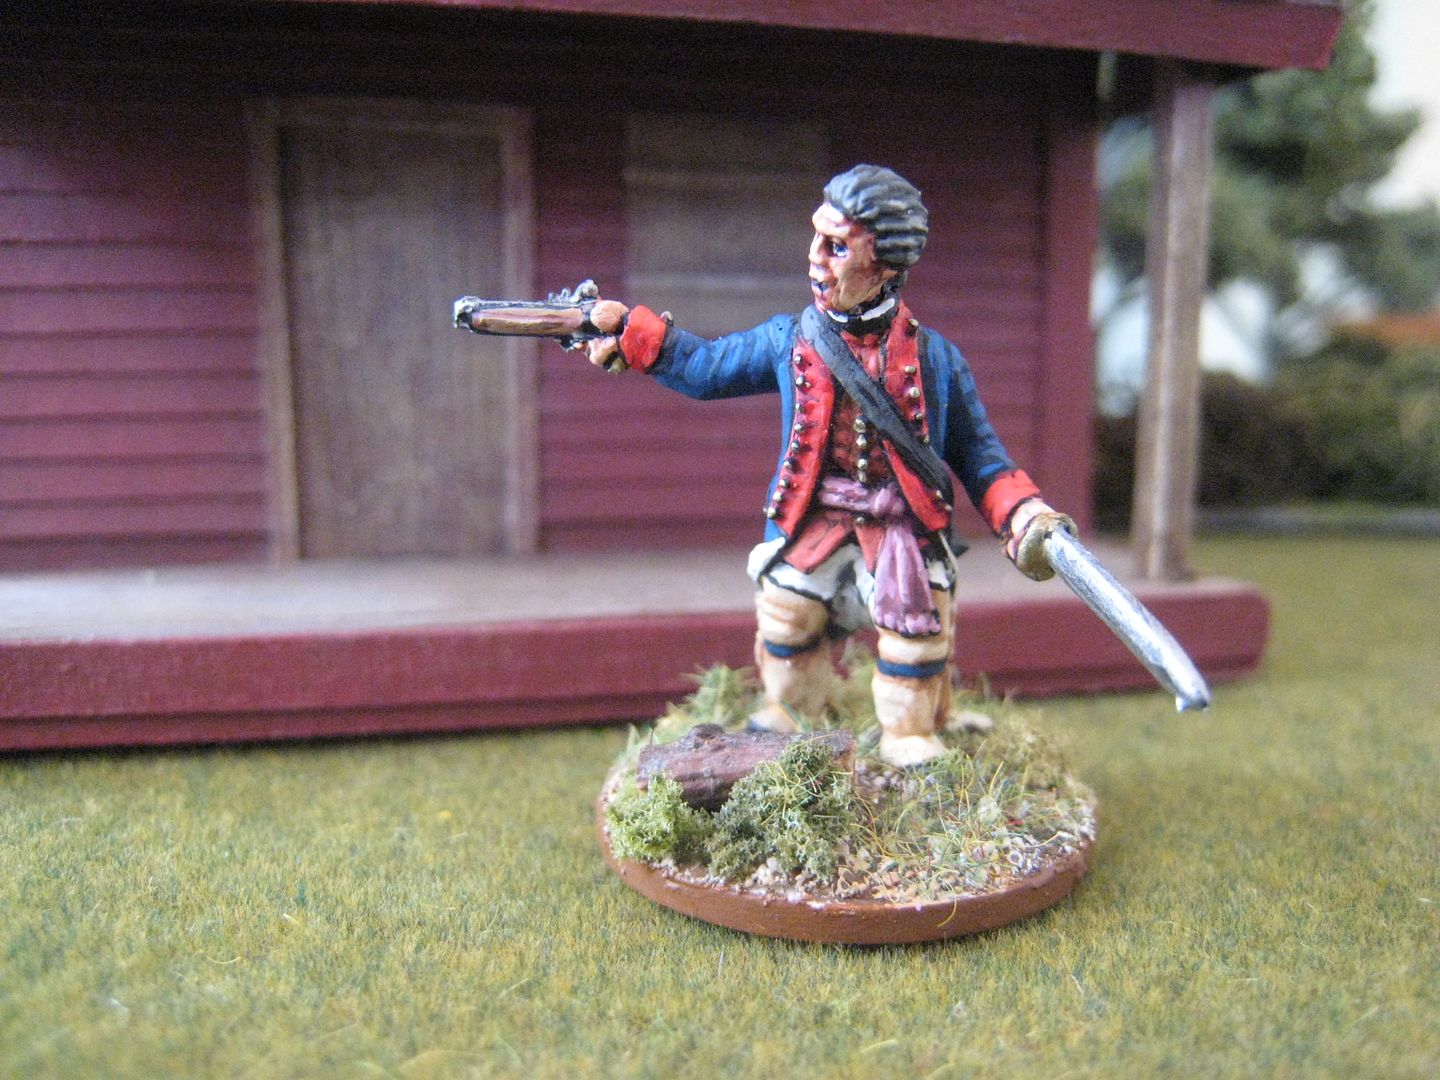
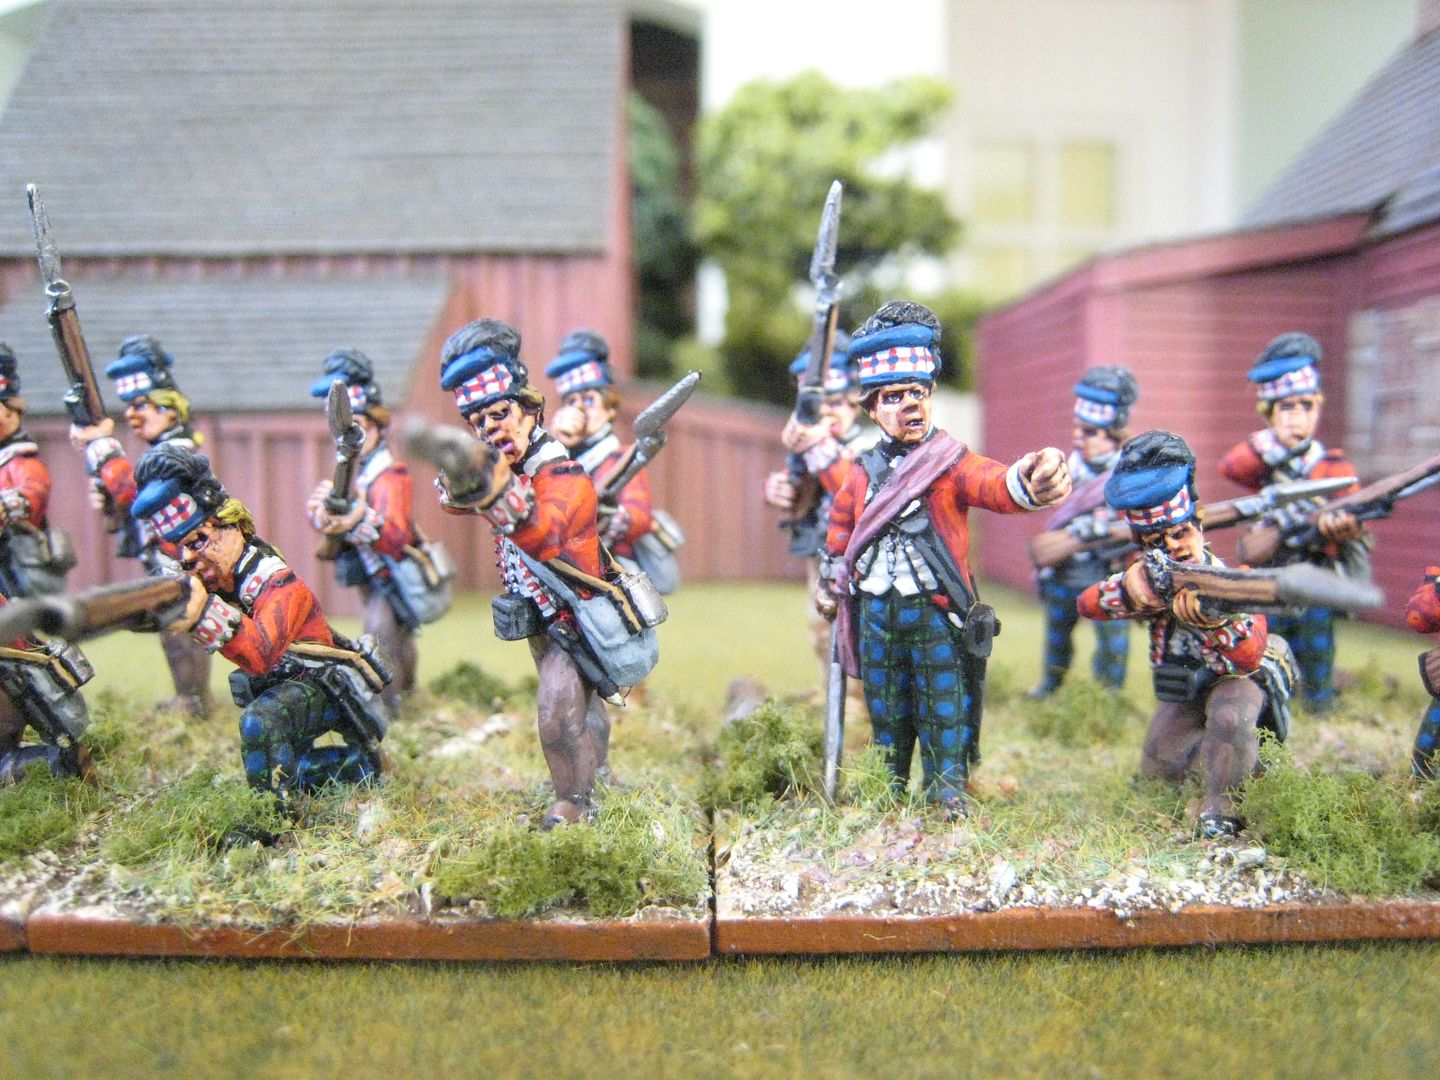
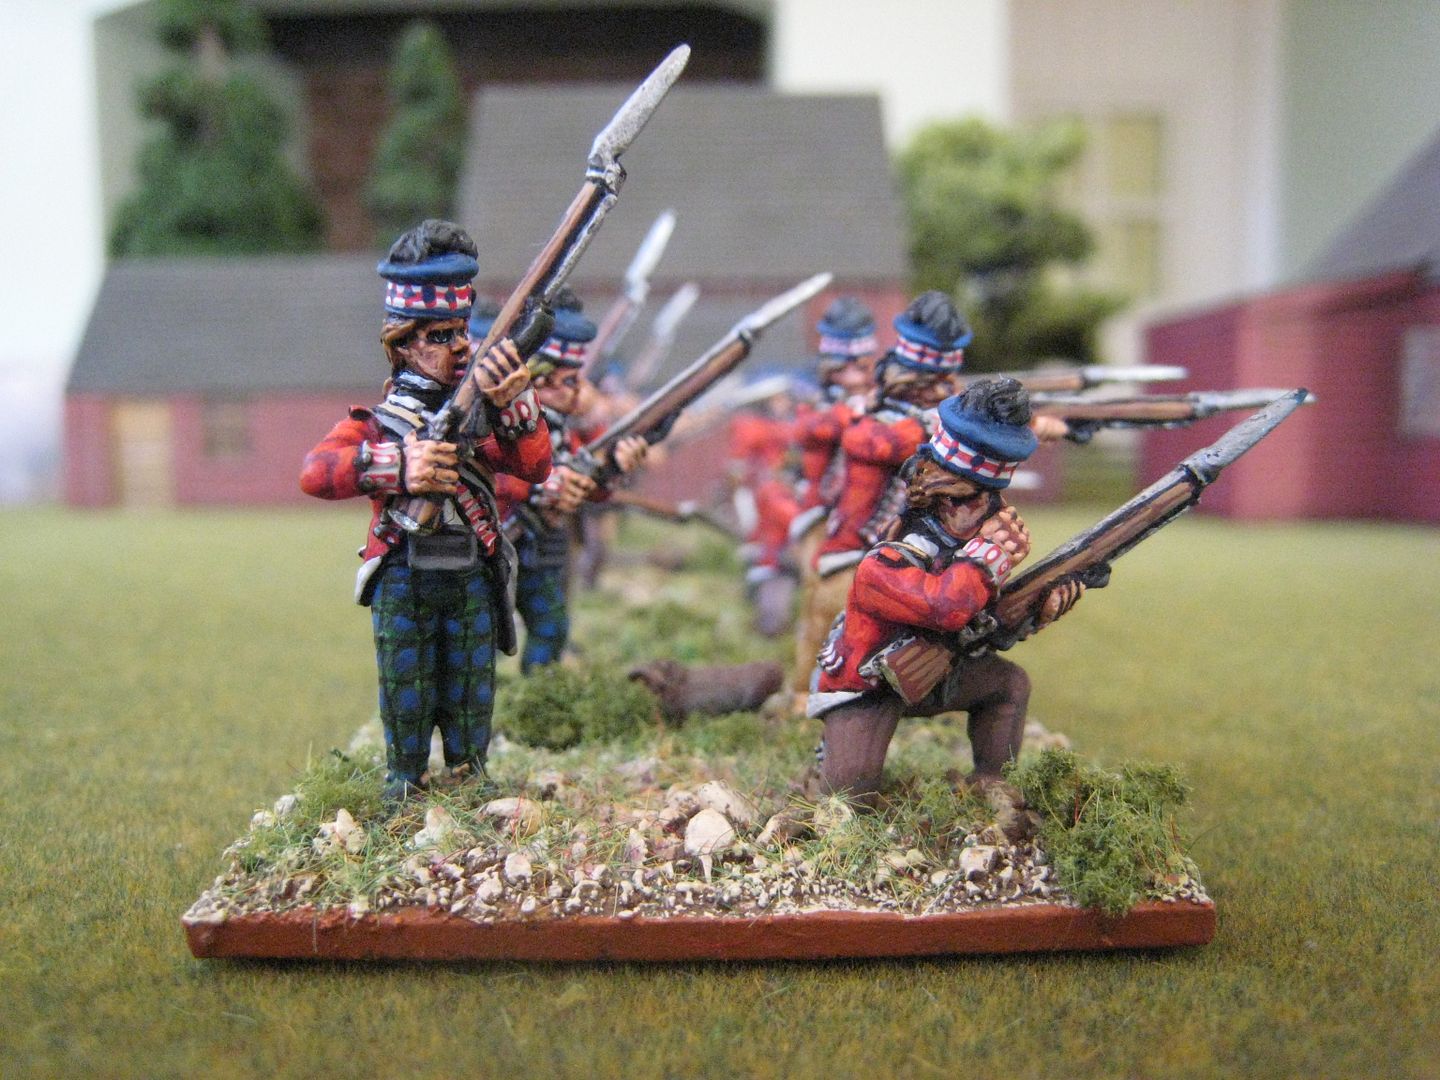
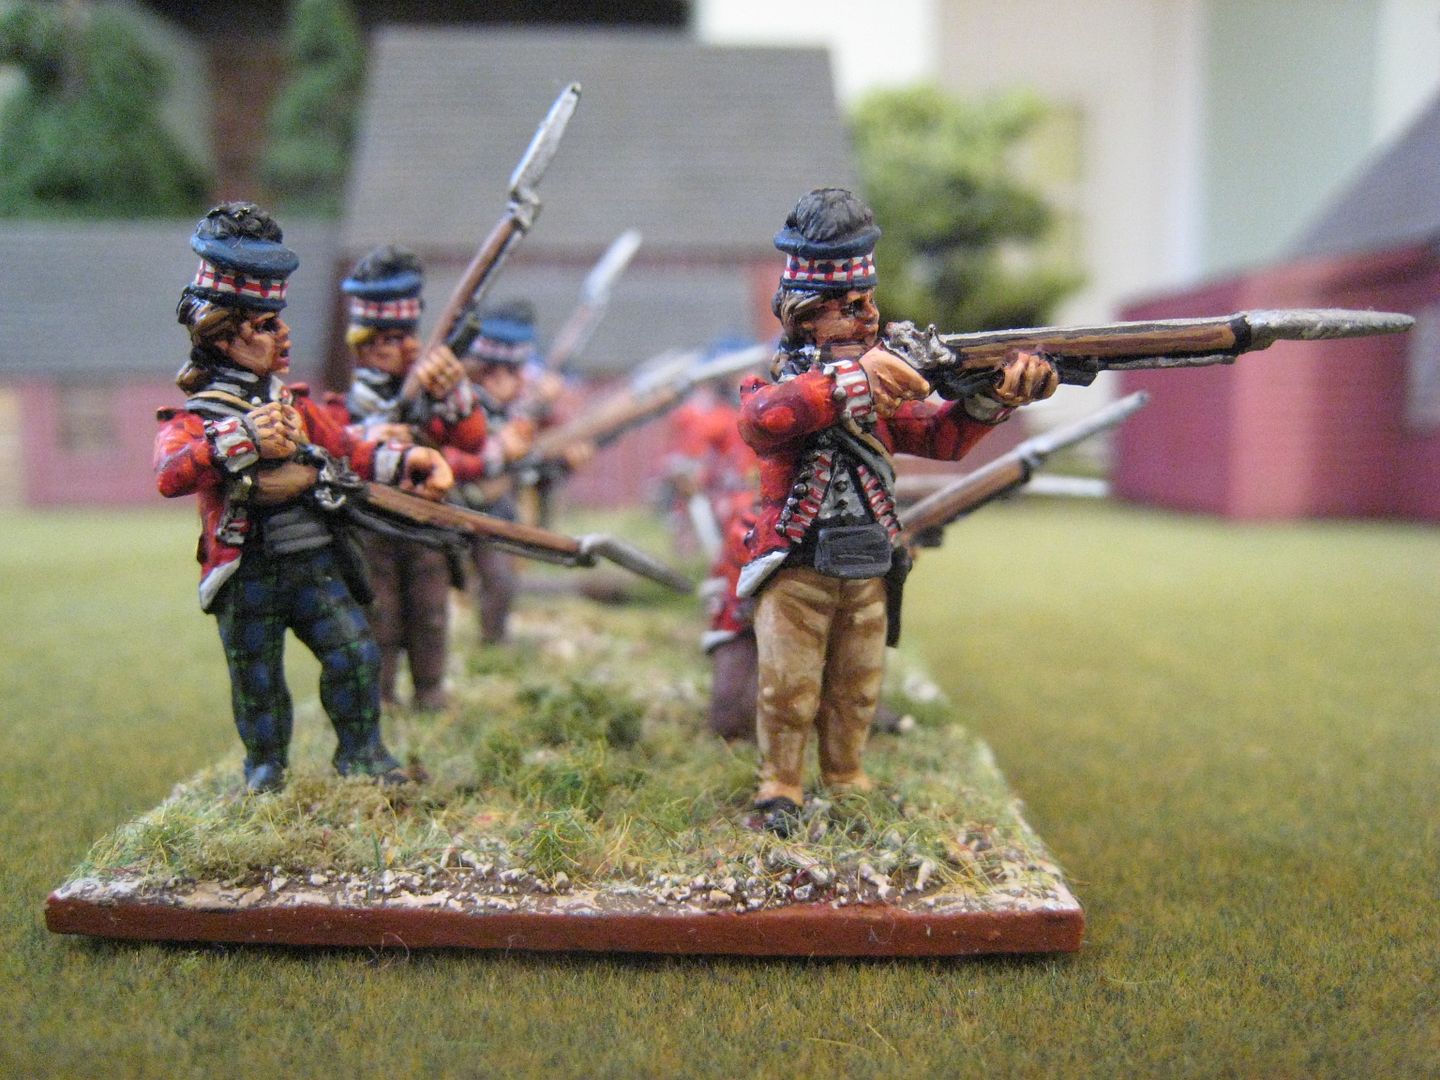
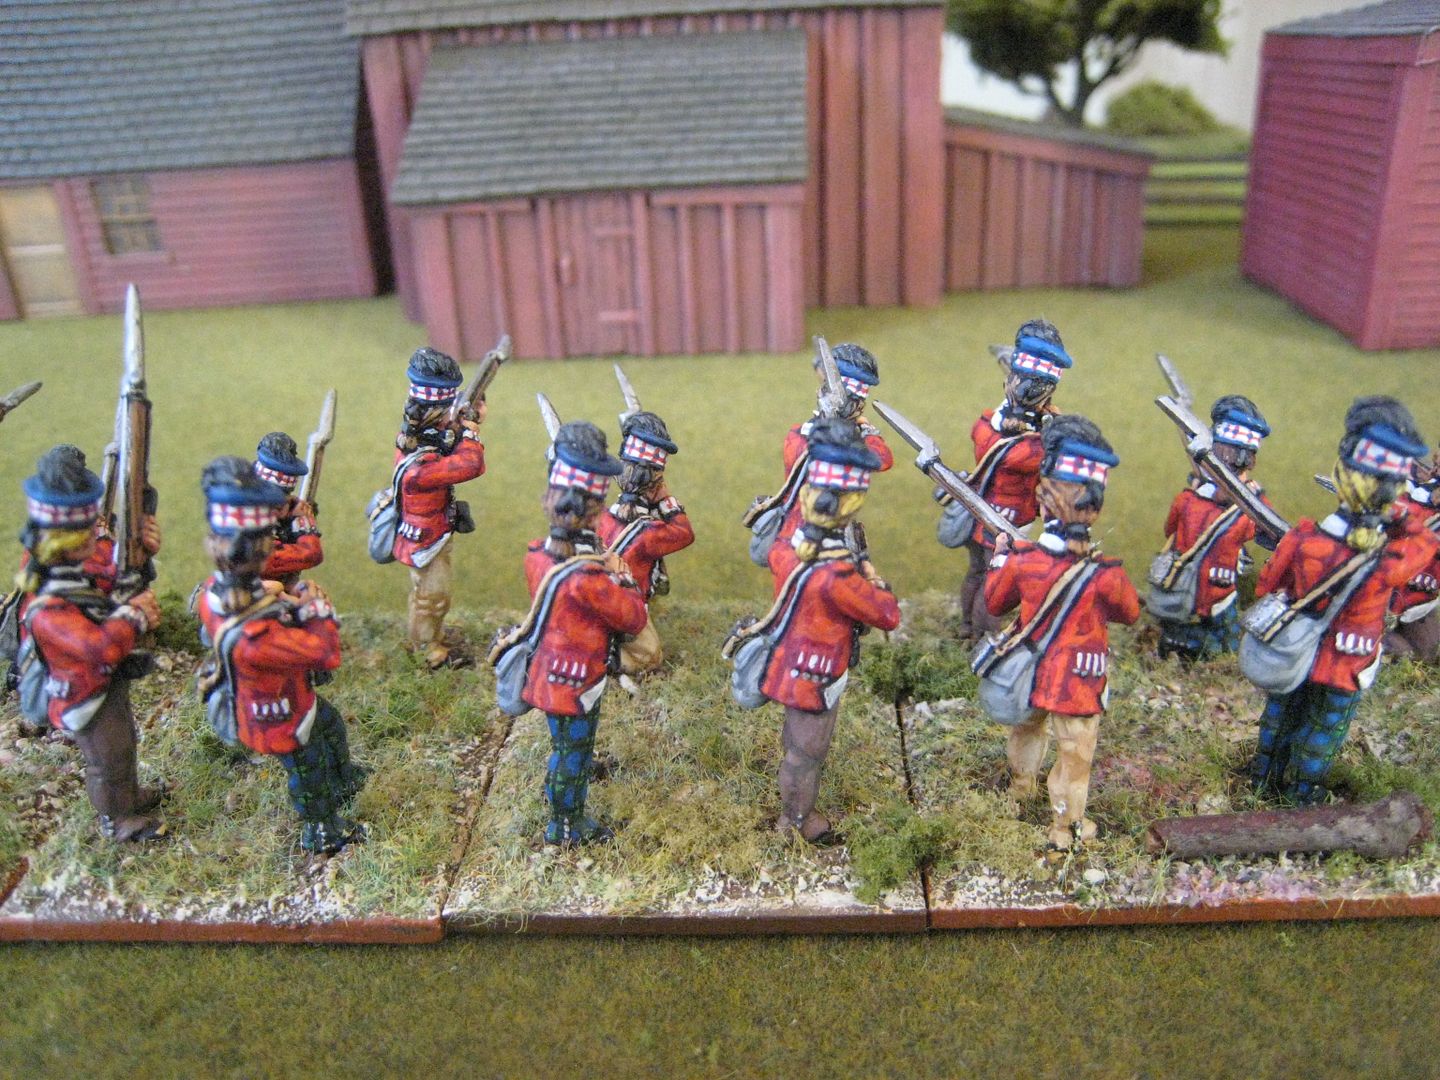
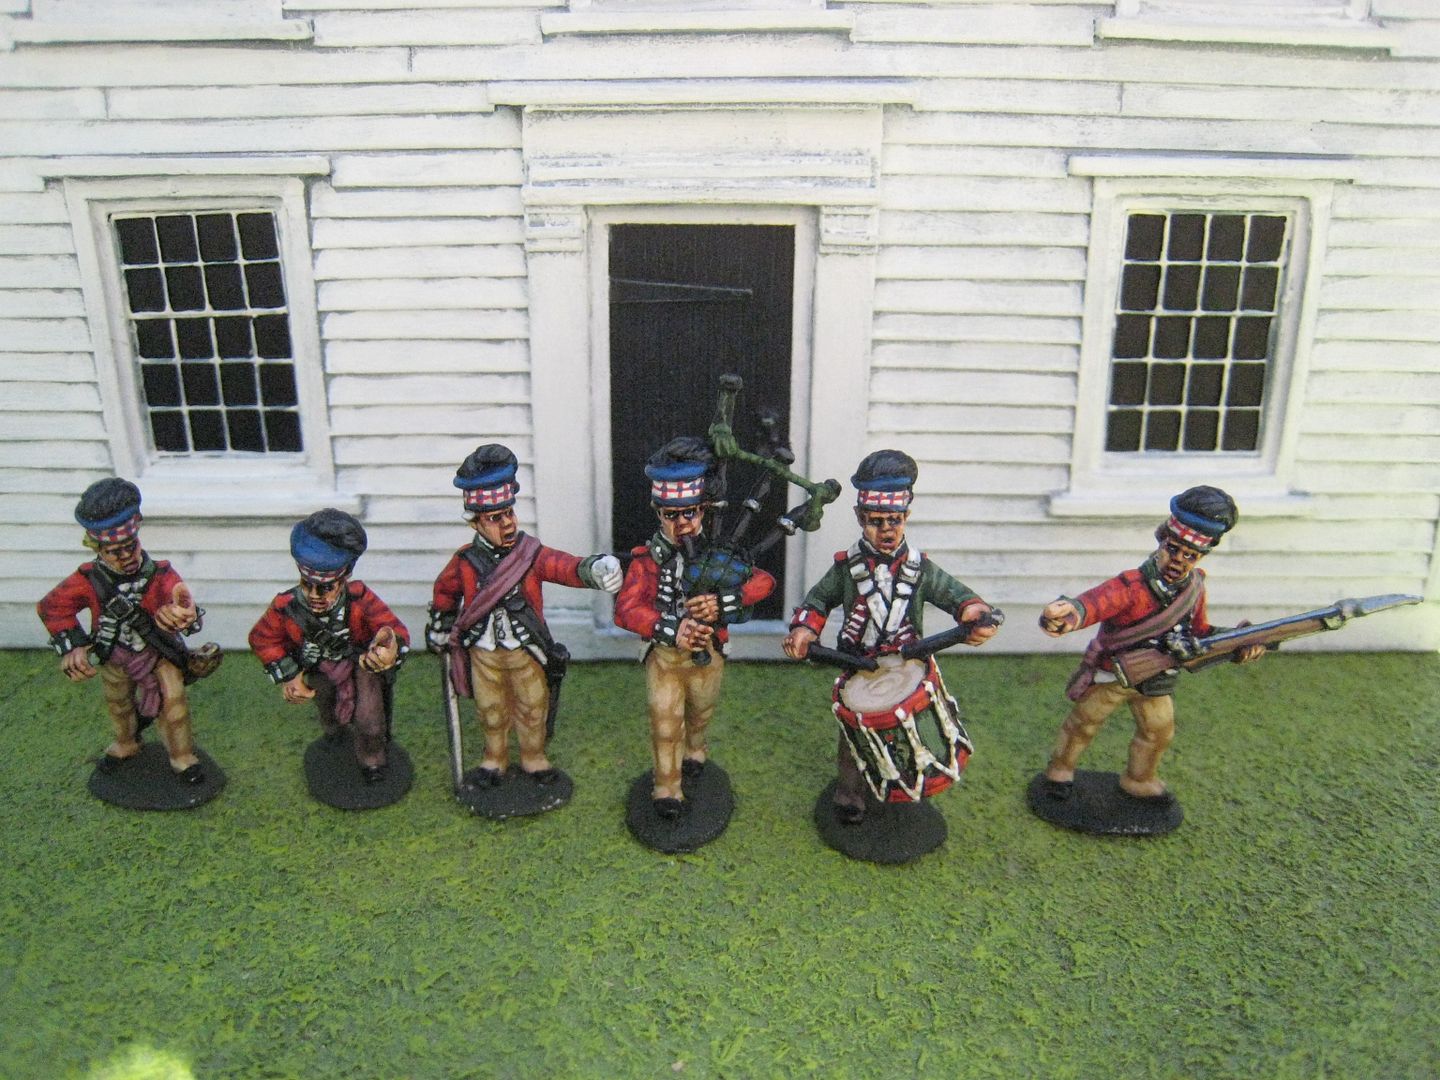
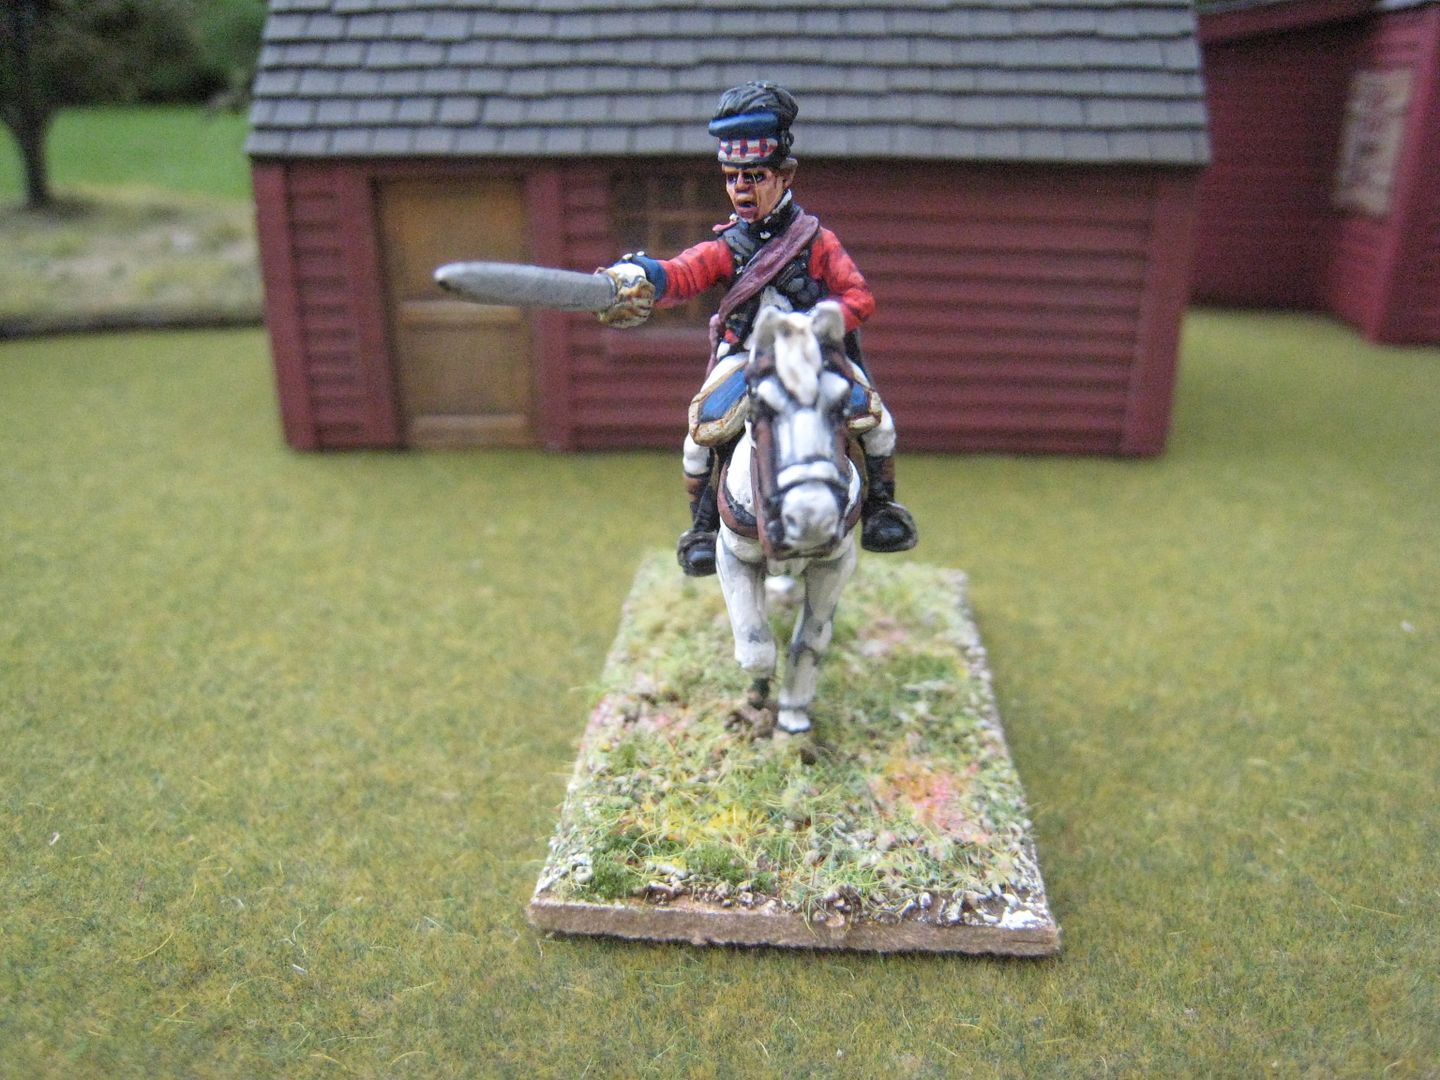
This is the second of the King's Mountain Miniatures Highland officers I painted last year, following on from the 71st Foot's James Baird.  Stirling appears as a brigade commander in the Harlem Heights scenario in the 3rd Caliver/"British Grenadier" scenario book.  As I noted with the Baird figure, the right arm is separate so you can position it how you like and this pose is different to Baird's.  I probably should have given Stirling powdered hair; but to be honest, I hadn't decided who this figure was going to be when I painted it!  But it's good that finally, after over 10 years, my 42nd Foot finally have their commander.

1 figure. Painted April 2016.


Friday, 5 May 2017

Pulaski's Legion (2)

This is the infantry element of Pulaski's Legion (the mounted troops being here).  In the "British Grenadier!" scenarios it appears as a unit of 6 skirmishers at Savannah.  So far as I can tell, the only way to model this unit in 25mm without doing your own conversion work is to use KMM figures as they provide heads specifically for the Legion (KMM-08).  This then gives you a choice for modelling the Legion infantry - you can use the generic Continental infantry figures or the newer dismounted dragoons.  I chose the latter as KMM's proprietor, Bill Nevins, had sent me several packs of these figures and I was keen to try them out.  The Continental infantry figures are probably more appropriate for the specific Legion infantry (as opposed to Legion cavalry who have dismounted to skirmish), but given that only 6 figures are required I don't really think it matters.  But if you want to make up a unit of Pulaski's Legion infantry, then the figures in overalls and packs would be perfect. 

I have 7 figures here because I wanted to add the officer as well (there's also an eigth figure in the range which isn't present in the unit - a standing loading figure).  The rank and file figures are based in threes as second-grade skirmishers under the "British Grenadier!" rules.  I suppose I could add three more figures and use this unit as the dismounted version of the cavalry, given that charging the fortifications at Savannah isn't really something any sane gamer is going to try (historically that didn't work out well for Pulaski).  Like the mounted troops, I painted these figures about a year ago.  I did take photos at the time but I wasn't really satisfied with them and decided to wait until the rest of the Legion was finished before having another go.  To the right is a picture of the entire Legion, with Pulaski at its head.  As I've said, these troops only feature in the Savannah scenario (although the Legion, or parts thereof, were engaged in skirmishes at other times), which is the orbat I have half an eye on at the moment.  I'm currently working on more cavalry for both sides and I've also just added a couple of figures to my 3rd Continental Dragoons, to bring them up to strength for the Indian Field scenario - you can see those here.    

7 figures.  Painted April 2016. 


Friday, 21 April 2017

Captain Sir James Baird

The 71st Foot was one of several regiments raised specifically to serve in the AWI, raised in 1775 by Colonel Simon Fraser (a previous incarnation of "Fraser's Highlanders", numbered the 78th Foot, was raised in 1757 and disbanded in 1763).  I've now painted 3 battalions' worth - see here and here) - and last year I worked on some mounted officers for this regiment and the 42nd.  This is the first of a trilogy of posts on those figures, using what little information I've been able to find about the men involved (this research has delayed these posts by some months!).  I don't generally use mounted officers for anything less than brigade commanders, so I've looked through the various "British Grenadier!" scenarios to see where highland regiment officers appear in this role.  Something you learn quickly about the AWI is that there were many "battlefield commissions" whereby regimental officers took command at general level, some very successfully (Lieutenant-Colonel James Webster of the 33rd being an excellent example).  Simon Fraser did not accompany his new regiment to America.  Lieutenant-Colonel Archibald Campbell took command, but he was captured in 1776 (along with many others from the 71st while on board troop ships) and not released until two years later.

This figure represents James Baird, who appears as a "Major" and a brigade commander in the "British Grenadier!" Briar Creek scenario. He was the son of Sir William Baird of Saughtonhall, the 5th Baronet of the Baird Baronetcy of Saughtonhall.  It's not clear when James was born, but he succeeded his father as the 6th Baronet in August 1771.  The following year he joined the army as an Ensign in the 17th Foot.  He became a Lieutenant in 1776 and appears to have purchased a Captaincy in the 71st Foot in 1777.  At some point after the American war he must have transferred to the cavalry, as in 1796 he became the Lieutenant-Colonel of the 28th Light Dragoons.  Sir James Baird died in 1830.

Baird led one of the light companies of the 71st (which had multiple battalions) in the attack on Savannah in December 1778.  He then seems to have been given command, or at least commanded one of its two constituent companies, of what sources refer to as "the Light Infantry Corps", which consisted of the light companies of the first and second battalions together with some Loyalist troops from the New York Volunteers and De Lancey's Brigade.  This command may have resulted in a temporary battlefield commission to Major, as I can find no confirmation that Baird received a formal commission to this rank within the 71st Foot.  It was the Light Infantry Corps that Baird is thought to have commanded at Briar Creek, fought on 3 March 1779.

There are currently two mounted highland officer figures available in 25mm.  One is a Brigadier-General Simon Fraser personality figure in one of the Old Glory command packs.  He's a different Simon Fraser to the Colonel of the 71st.  Colonel Fraser was from the prominent, formerly Jacobite-supporting, Clan Fraser of Lovat  - he eventually became the 19th chief of the clan.  The Brigadier seems to have part of a less exalted branch of the Frasers.  The other mounted figure is from King's Mountain Miniatures.  This figure comes with two choices of right arm - one holding a sword and the other pointing straight ahead.  I was told by chum Brendan Morrissey that the saddlecloths used by British officers were usually in the colour of the regimental facings, so Baird's has the white facings of the 71st Foot.  As a light infantry officer it may have been unlikely that Baird would have mounted on a horse in battle, but I like to have my brigade commanders easily identifiable and I think this KMM figure suits him very well.  Now I had originally intended to use this figure for Lieutenant-Colonel John Maitland, who commanded the 71st's 1st battalion at Stono Ferry in 1779; but I then discovered that Maitland lost his right arm in the Seven Years' War and so I'll need to do something special for him....      

1 figure.  Painted April 2016.


Monday, 24 October 2016

76th Foot (2)

When I first posted about the 76th Foot in June 2014 (see here) I explained how I intended to paint up two units' worth of figures.  As I explained in that earlier post, in the published "British Grenadier!" scenario books, the 76th appear in two battles: Petersburg (volume 3) and the hypothetical Gloucester Point (volume 2 - a planned but abandoned British break-out attempt from Yorktown).  In the Petersburg scenario, the ratio of 1:15 creates a large unit of 32 figures that is divided into two "wings" of 16 figures each.  In Gloucester Point, there is just one unit of 24 figures.  I decided to paint one "wing" in marching poses and the second "wing" in charging poses, the latter being bulked out to 24 figures to accommodate the Gloucester Point scenario.  So here's that second wing.

I won't repeat the AWI service history of the 76th Foot, which is set out in my previous post.  And needless to say, these are all King's Mountain Miniatures figures.  Bill Nevins' extraordinary commitment to this range means that (together with the Perry range) we are now well served for highlanders.  In fact it's hard to think of what's missing, except skirmishing flank companies, perhaps.  I placed the colours with this "wing", as the relevant figures seemed to me more suited to the charging poses than the marching ones; but you can use them for either.  I mixed in a couple of casualty figures - again, these work for any of the three poses that the KMM figures come in (the third being firing line).  There isn't a charging officer but there is a charging sergeant figure - I've used two of those in this unit.  I can't recall why it's taken me so long to post about this second batch of the 76th.  I think it took me a good while to get around to ordering the colours from GMB (who then delivered very promptly).

24 figures.  Painted January to March 2016.  Flags from GMB.    


I recently took all my highlander figures out of their boxes for a parade. My current tally is this: the 42nd/Black Watch (30 figures); the 84th/Royal Highland Emigrants (18); 3 units of the 71st (18, 18, 24);  2 units of the 76th (16, 24); the "4th combined grenadier battalion" (16); plus 3 mounted officers and 4 casualty figures.   That's 171 highlanders in total (in fact it's 172 if you include the highlander mini-me in the Perry interrogation pack, and I haven't included any of the generals who happened to be Scottish), of which around 115 are wearing some sort of tartan. And I've painted 50-odd highlanders for Bill too. I'm not quite finished - I need a unit of 71st Foot skirmishers for Gloucester Point, and in theory a 16-figure unit of light companies for Briar Creek, but I'll probably give the latter a miss.  Here are a few photos of my collected Jocks (although without the grenadier battalion).  I'm intending to write posts about the three mounted officers shortly. 


Thursday, 20 October 2016

Butler's Rangers

John Butler (1728–1796) lived in the Mohawk Valley from his early teens and became highly proficient in the local Indian languages.  This led to his employment as an officer in the Indian Department during the French & Indian War.  After the war he became a substantial landowner and retained close links to the Indian Department.  He also became a lieutenant-colonel in the Tryon County Militia (of which Nicholas Herkimer was Brigadier-General) but when the AWI broke out he remained loyal to Britain and moved to Canada.  He helped mobilise up-state New York's Indians to support the Saratoga campaign and Butler participated in the battle of Oriskany.  He was then promoted  lieutenant-colonel for a second time and given authority to raise his own regiment.  This unit became known as Butler's Rangers and ultimately comprised ten companies of around 60 men each. 

Butler's Rangers earned notoriety for their participation, along with their Indian allies, in the "Wyoming Valley Massacre" of July 1778, so named because of the alleged killing and torturing of Patriot prisoners and the subsequent destruction of much property, and then the "Cherry Valley Massacre" of December 1778 which saw the killing of civilians as well as militia.  The violent actions in the Mohawk Valley of loyalist units like Butler's Rangers and the Iroquois who had sided with the Crown prompted the Sullivan Expedition of 1779.  George Washington's orders to General John Sullivan demonstrate the ferocity of the fighting in the region:

"The Expedition you are appointed to command is to be directed against the hostile tribes of the Six Nations of Indians, with their associates and adherents. The immediate objects are the total destruction and devastation of their settlements, and the capture of as many prisoners of every age and sex as possible. It will be essential to ruin their crops now in the ground and prevent their planting more.
 
I would recommend, that some post in the center of the Indian Country, should be occupied with all expedition, with a sufficient quantity of provisions whence parties should be detached to lay waste all the settlements around, with instructions to do it in the most effectual manner, that the country may not be merely overrun, but destroyed.
But you will not by any means listen to any overture of peace before the total ruinment of their settlements is effected. Our future security will be in their inability to injure us and in the terror with which the severity of the chastisement they receive will inspire them."
The Sullivan Expedition made good progress in the achievement of those objectives, but failed to land a "killer blow".  As a consequence, Iroquois raids continued, but the Indians were a much depleted, and dispersed, force.  The largest battle of the Expedition was at Newtown on 29 August 1779.  The Indians and Loyalists, a force which included Butler's Rangers, positioned themselves in earthworks, but Sullivan's clever flanking attacks, vigorous fighting by the 2nd and 3rd New Hampshire Regiments and the Americans' artillery won the day.  The regiment disbanded in June 1784 and its soldiers appear to have settled in Ontario.  A few years later Butler formed his veterans into a local militia which, under the name of the Lincoln Militia, fought in the War of 1812.  John Butler did not live to see that further conflict between the US and Great Britain.  He died in 1796, a prominent political leader of Upper Canada.  There's a much more detailed history of the regiment by Calvin Arnt here.

I've designated these figures as "Butler's Rangers", but to be honest it's designed for use as generic Loyalist rangers in scenarios which call for such, like Oriskany, the Saratoga battles and Savannah, to give just 3 examples.  The figures are King's Mountain Miniatures' Continentals with a variety of heads.  I wanted the unit to have a high degree of uniformity but still have the look of some modifications for the field.  Both the McGregor/Mollo and Smith/Kiley uniform books show Butler's Rangers in dark green hunting shirts, so I made up a couple of figures in that dress.  Otherwise, I've modelled these figures according to this online article by Calvin Arnt.  Most portrayals show the Rangers in dark green coats with red facings, and leather caps with a brass front.  Arnt argues that the facings were most likely to have been white, not red.  I'll not explain his reasoning here - the article in the link does so at length.  As for headgear, Arnt doesn't like "jockey caps" and argues that the Rangers probably wore slouch/round hats and perhaps tricornes for the NCOs and officers.  I decided, however, that I wanted to have a couple of figures in caps and so I used a variety of KMM heads.  The caps here are KMM 10 but with the peak cut/shaved off.  I didn't use brass-fronted caps because I've always been a bit suspicious of whether people who spent a lot of time sneaking around would wear something that would catch the sunlight.  No doubt others object to Arnt's conclusions by I would emphasise that these are intended more for use as generic Loyalists (the "British Grenadier!" scenario for Oriskany, for example, requires 6 "rangers" in Butler's brigade - that unit can't be "Butler's Rangers" as the regiment didn't exist until later; but I'll use these figures).  The two figures in hunting shirts could also be used as Patriots.  

9 figures.  Painted September 2016.


Wednesday, 12 October 2016

Brigadier-General Nicholas Herkimer

Nicholas Herkimer was born in 1728 (or thereabouts), the son of German immigrants.  His family lived in the German Flatts area of upstate New York, in the Mohawk Valley.  Herkimer saw action in the French attack on German Flatts in November 1757.  The following year he was promoted to captain in the local militia.  By the time war broke out in 1775, Herkimer was a militia colonel.  In June 1776 he led a small forced to see the Mohawk leader Joseph Brandt, in an attempt to persuade Brandt to remain neutral in the war with Britain.  Brandt refused, and remained loyal to the Crown for the duration of the war.  By September 1776 Herkimer had been made a brigadier general in the Tryon County militia.  In August 1777 British troops laid siege to Fort Stanwix (on the site of modern Rome, New York) and Herkimer ordered the local militia to form a relief column.  There is some suggestion that Herkimer wanted to wait  but was stung into action by his junior officers, who had used the fact that Herkimer's brother was a Loyalist officer to question Herkimer's motives.  The militia set off and on 6 August Herkimer's column was ambushed in a ravine by a mixed force of Loyalists, jaeger from Hanau and Mohawks under Brandt's command.

Shortly after the ambush began Herkimer's horse was shot and he himself was badly wounded in the leg.  He propped himself up against a tree and continued to direct the battle as best as he could.  The Indians had sprung the trap too early and the rear elements of Herkimer's column fled.   Those who remained faced what must have been a horrific hand-to-hand battle.  A common tactic of the Indians was to wait for the flash of a musket before rushing to attack with hand-held weapons before the firer had time to re-load.  However, the Americans were able to rally and fight their way back down the ravine to higher ground.  Herkimer was able to organise a more effective and co-ordinated withdrawal and the remains of his force were able to disengage and retreat back to Fort Dayton.  The battle was very cost for the American side, which lost approximately 450 casualties against 150 dead and wounded Loyalists and Indians.  Herkimer's wound was attended to, but his leg because infected and the decision to amputate was taken too late.  The operation took place 10 days after the battle and was not successful.  Herkimer died on 16 August, aged 49.

This figure continues the Mohawk frontier theme of last post's Magua.  I put this figure together from King's Mountain Miniatures' "officer firing pistol" (code OMM-009) with one of the heads from OMM-07.  I had intended this figure to be the officer for a unit of loyalist rangers I was painting for the Oriskany orbat (see next post), but I decided the uniform coat was too long.  I put the figure to one side, but then realised it would be perfect for an American officer, so why not Herkimer himself.  His leg was shattered early in the fight, but let's not let that get in the way of having a nice figure on the table, and I thought the pose looked suitably desperate.  As with Magua, I used a picture for reference material.  Above is the painting "Herkimer at the Battle of Oriskany" by F C Yohn, from circa 1901.  My sources aren't consistent on what uniform a brigadier-general would have worn this early in the war.  By 1780 the official uniform for this rank in the Continental Army was dark blue faced buff, but I have seen some references to dark blue faced red for early war officers.  And of course Herkimer was militia, not Continental Army.  Yohn may have worked from a dark blue faced red uniform coat that was worn by the commander of Fort Stanwix, Colonel Peter Gansevoort who was promoted Brigadier in the militia later in the war.  So I decided to stick with red facings rather than buff - it just looked more militia-ish. (I've started a new label with this post - "Personalities".  This will capture the "real life" people in my collection, as opposed to generic command figures or fictional characters like Magua and Hawkeye.  There are other personalities in my collection not as yet featured on TQ - the British generals, for example, and Tarleton himself.  Hopefully I'll add those in due course.)  

1 figure.  Painted September 2016.


Friday, 20 February 2015

71st Foot (2)

The 71st Foot was one of the first regiments I painted for the AWI, over 10 years ago now - those earlier efforts can be seen here.  The 71st raised 2 battalions and both were present at the battles of Long Island and Brandywine - for the "British Grenadier!" orbats the units are 18 figures each - so I painted both battalions.  For Cowpens and Stono Ferry (the latter being in the forthcoming 4th scenario book) you need one battalion of 24 figures.  That was no problem, as I could take one of the 18-figure battalions and add another stand of 6 figures from the second battalion.  However, my 71st are in a marching pose and at Stono Ferry the regiment defended its camp against an American assault.  I played a test game of Stono Ferry with Eclaireur a while ago and used my existing marching figures - the report on that is here.  Bill Nevins has since released firing line highlanders in his excellent King's Mountain Miniatures range and so I decided to paint up a new unit in firing line poses to use in this particular scenario.  This now brings the number of highlanders in my British collection to 124 figures!

There are a couple of things to note about this unit.  First, I wanted the unit to look like one that had assembled quickly to react to a surprise attack.  That explains why I've used a variety of poses.  Yes, I know that British regulars didn't usually kneel to shoot; but I think the irregular look of the line is suitable for this kind of engagement.  The men are defending a camp which has some abatis protection - why wouldn't they kneel to take advantage of that cover?  Secondly, the sharp eyed will notice that some of the bases are larger than others.  That's simply a mistake - I didn't notice until I'd finished the basing, and what had happened was that I hadn't realised I'd run out of my standard 4-figure infantry bases and was using ones I assumed were the correct size.  I'm not too sure what they are, but then I suppose this adds to the irregular look of the unit.  Thirdly, I decided not to have flags.  I don't think there were flags with the detachment at Stono Ferry and I thought the unit would look more authentic without them.  Lastly, given that my existing 71st are all in tartan trews, I gave these chaps some trews as well.  But I couldn't face painting 24 pairs of them so the others are in standard brown and tan overalls.  If you ever paint highlanders don't forget that the belts, equipment etc were usually black.

24 figures.  Painted over the summer, 2014.  The buildings in the background are custom-made by Tablescape.


Friday, 15 August 2014

Highlander Casualties

Just a quick post while I work up a couple of longer ones.  These are painted examples of the prone casualty figure from the King's Mountain Miniatures highlanders range.  KMM do 3 highlander casualty figures - 2 standing (although I think one is designed to be advancing/charging) and this dead chap.  I have painted 4 for my own collection - 2 from the 71st Foot and 2 from the 76th Foot.  The 42nd Foot in my collection are in full plaid (at the moment - eventually I will do them in overalls and campaign dress as well) so I haven't painted any casualty figures for the Black Watch as yet.  However, below are a couple of these figures that I have painted for Bill as the 42nd.

Four figures. Painted May 2014.


Wednesday, 2 July 2014

AWI Highlanders (8)

As readers of this blog may recall, I've been painting a large number of King's Mountain Miniatures highlanders for the company's proprietor, Bill Nevins.  I've posted photos before of some of those figures as I complete them (which I've taken largely for promotional use by Bill and his agents).  It was while painting more of these figures for Bill over the past couple of months that I began working on the units for myself that are now beginning to arrive from the painting desk.

So I thought I might as well post the photos I took recently of some finished command figures.  These figures were in the second release of highlanders, I think around October or November last year.  These figures will of course appear in the units I'm painting for my own collection, but you might get a better view of the figures themselves in these shots.  The highlander units I'm painting for myself are the two "wings" of the 76th and a firing line 71st (I'll shortly re-do my rather crappy earlier post on the 71st Foot to post separately on each of the three units of the 71st that I'll have in my collection).  For Bill I'm just painting the 71st and the 42nd.  I painted these figures for the 42nd, 71st and 76th at the same time, so you can see the three regiments together in the first couple of photos.  The "rules" on musicians' uniforms can be tricky to remember: the drummer of the 42nd doesn't have reversed coat colours because Royal regiments didn't do that and were an exception to the general rule; and the pipers of the 71st and 76th don't have reversed coats because pipers were not official regimental musicians, but rather personal appointees of the colonels, and so didn't wear musicians' coats.