Wednesday 25 May 2011

NZ Wars - Auckland Militia


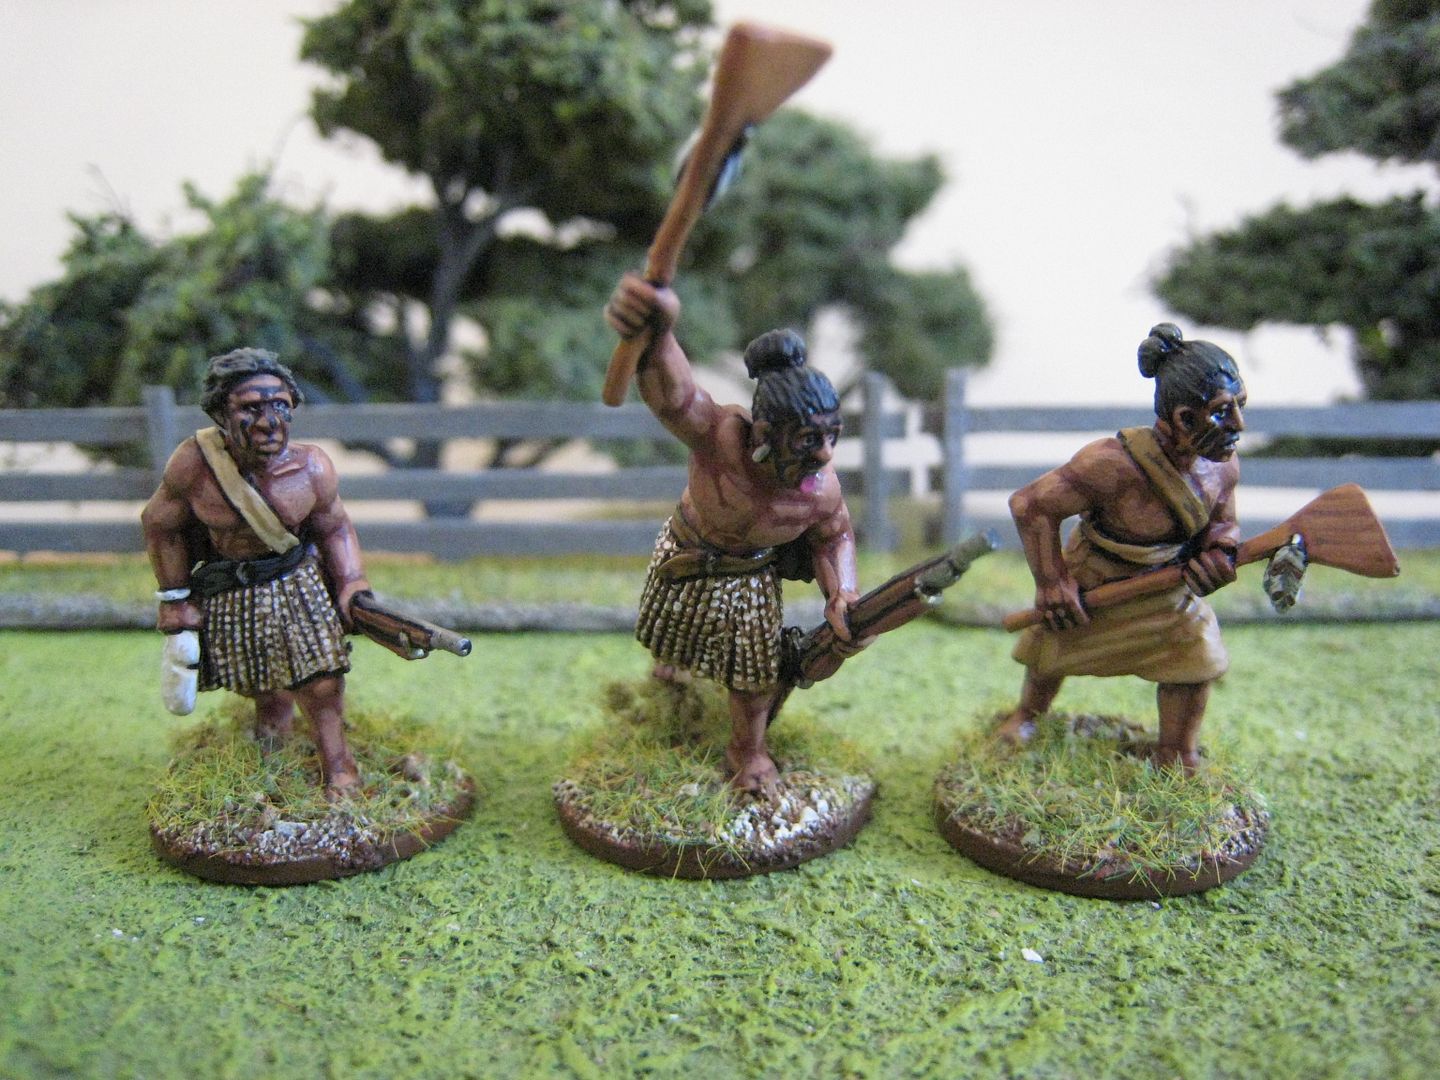
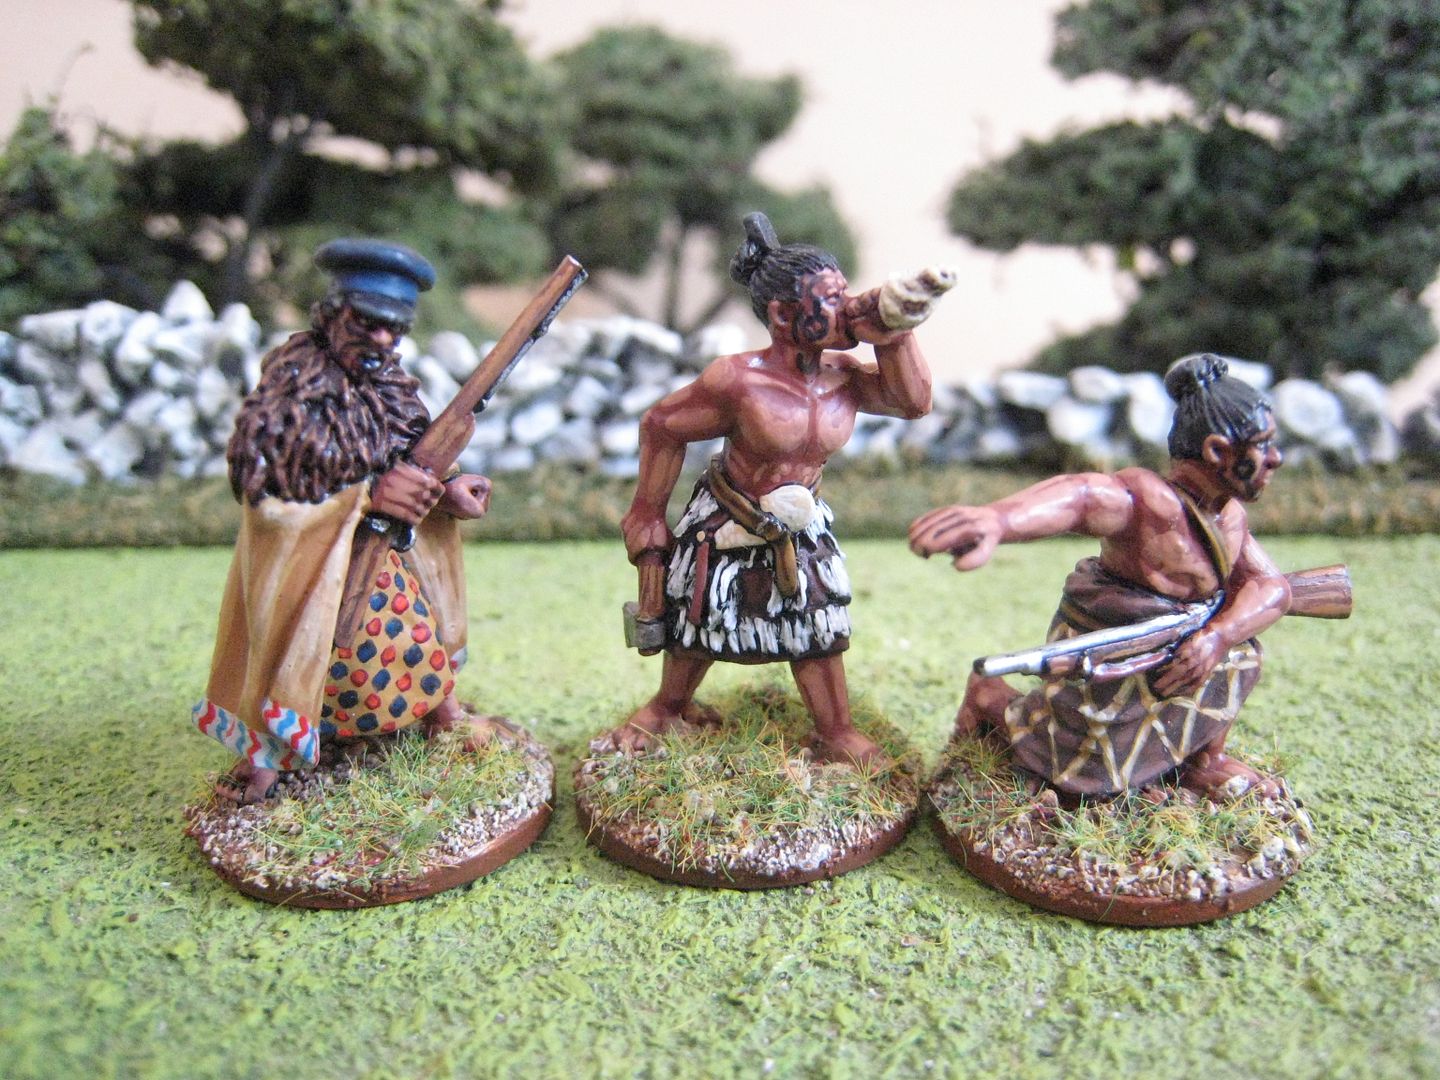
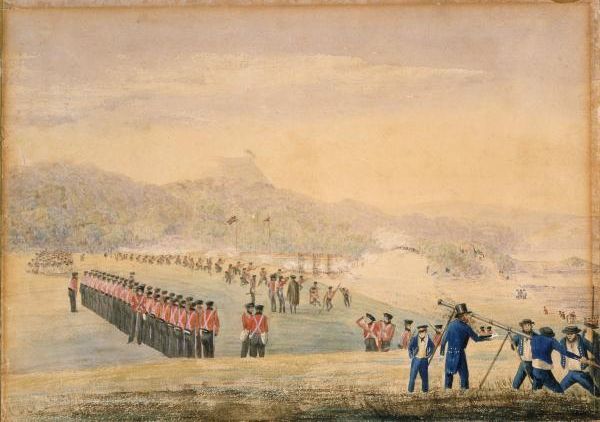
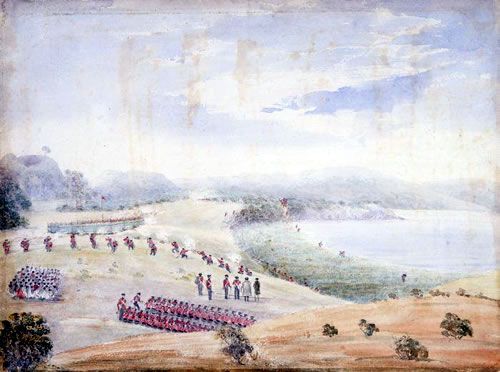
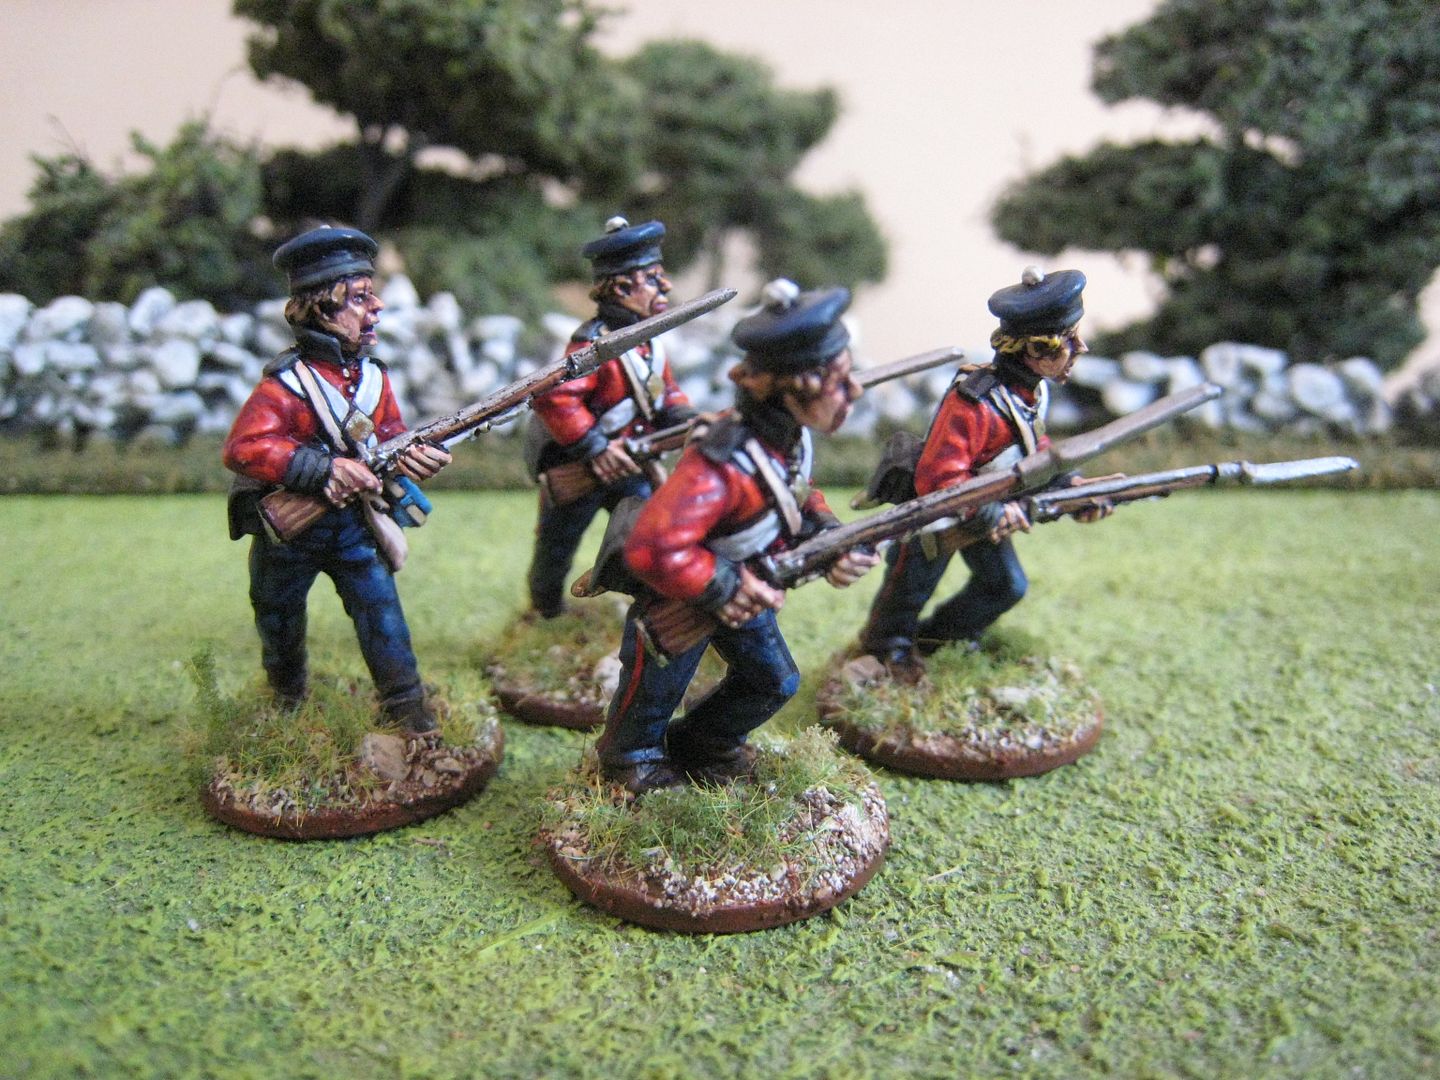
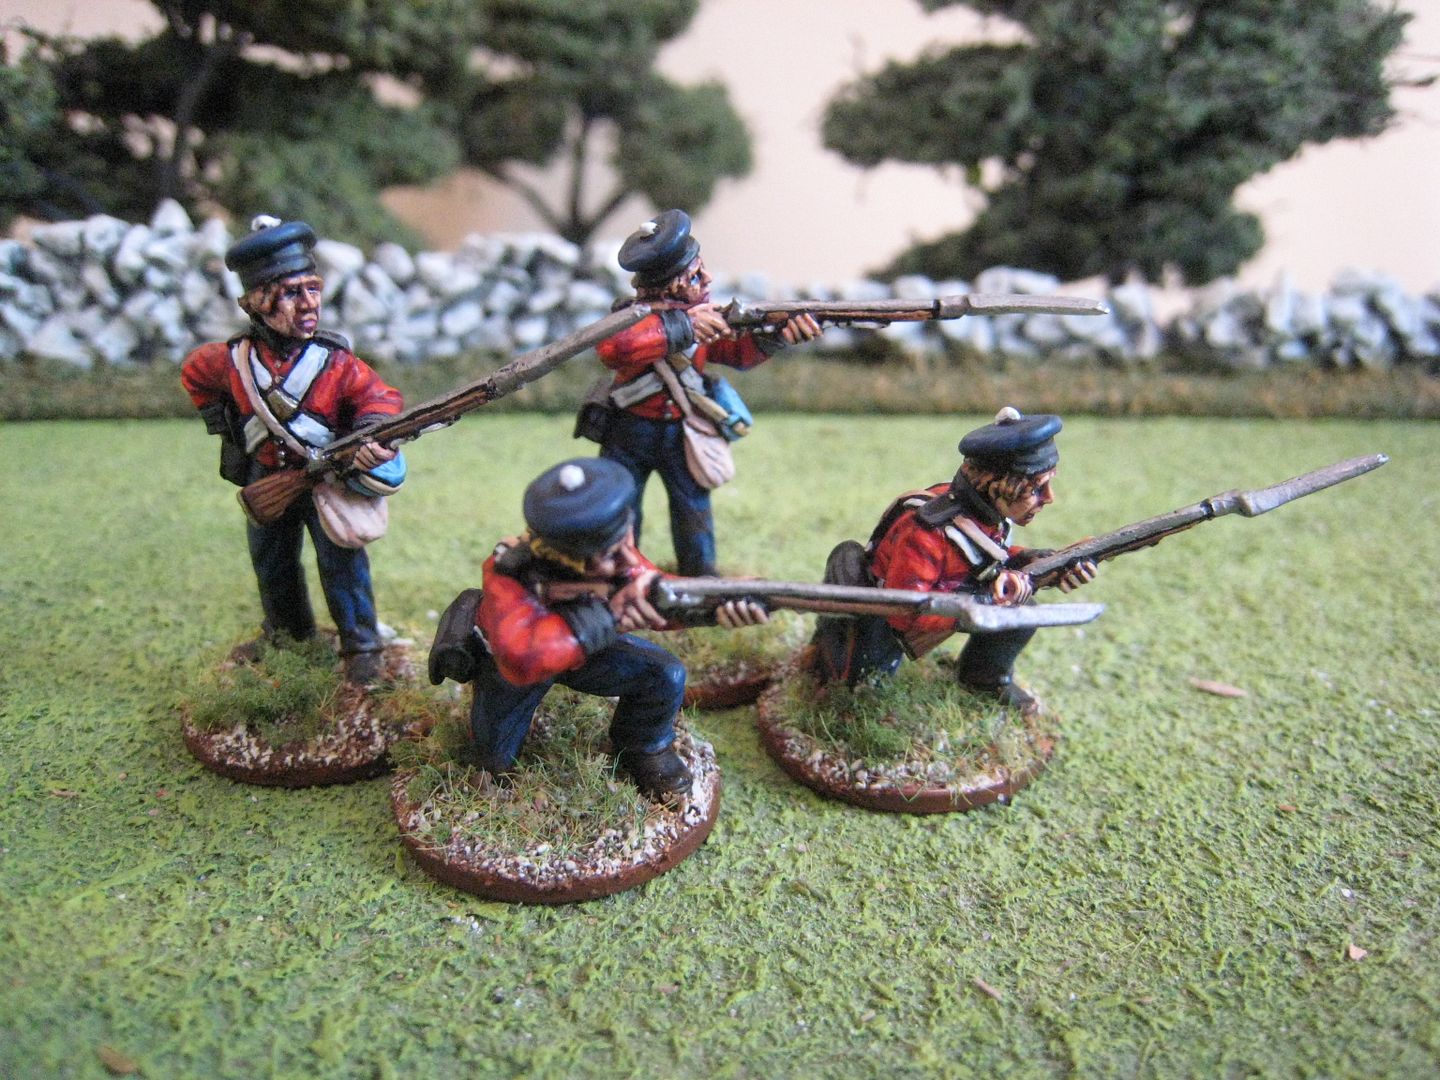
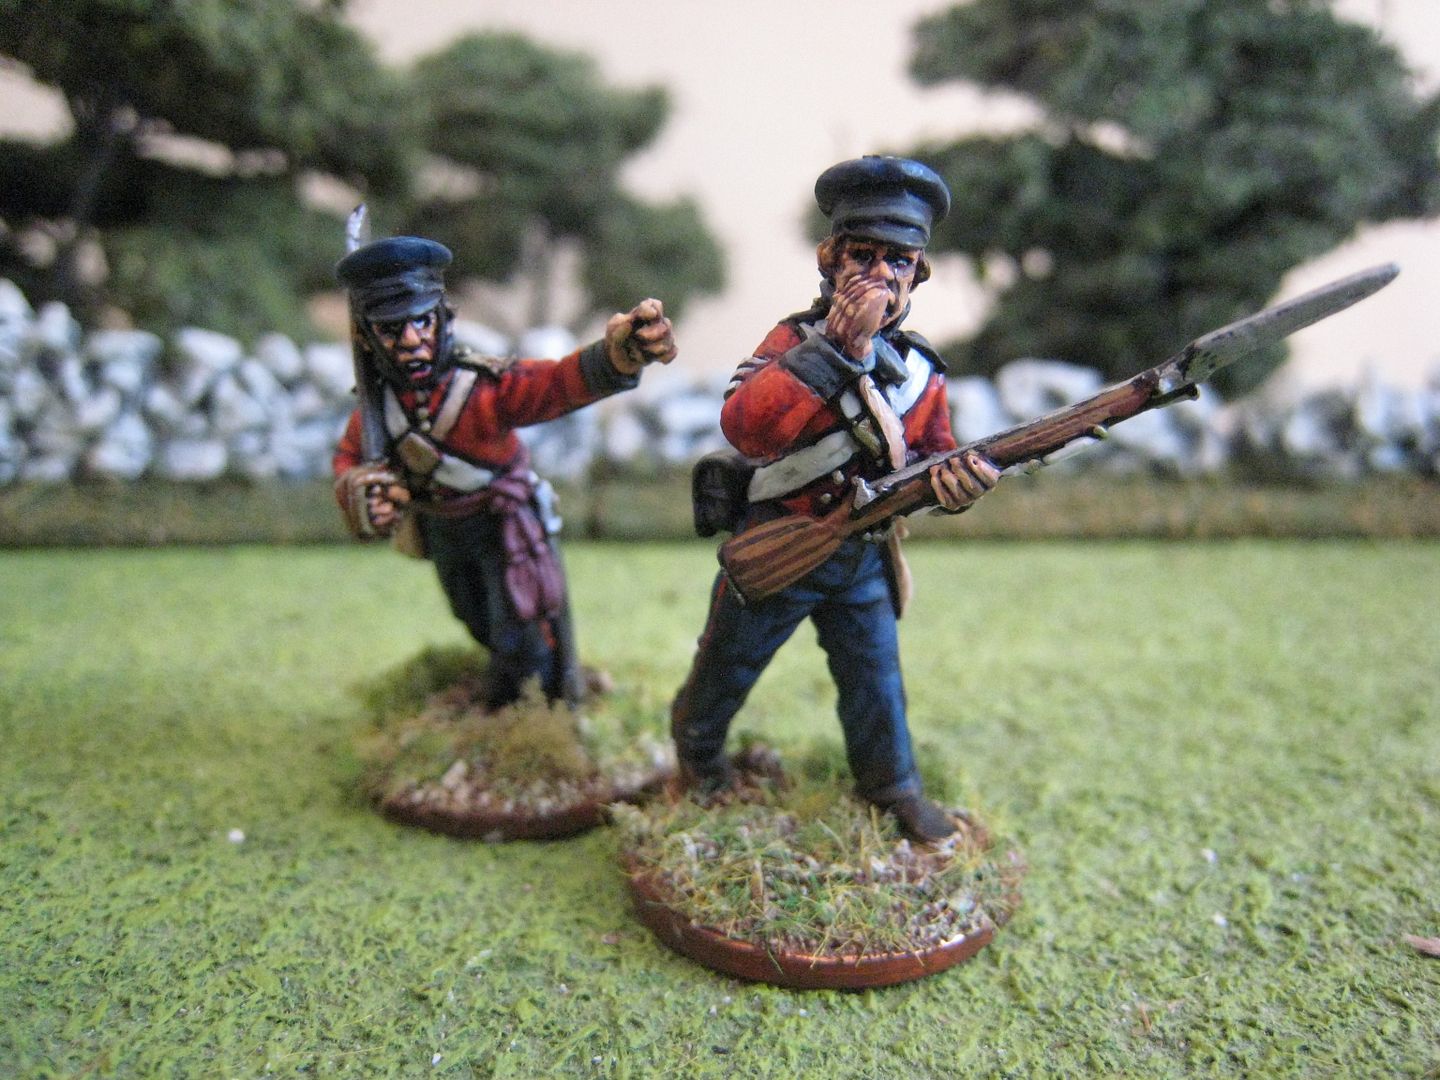
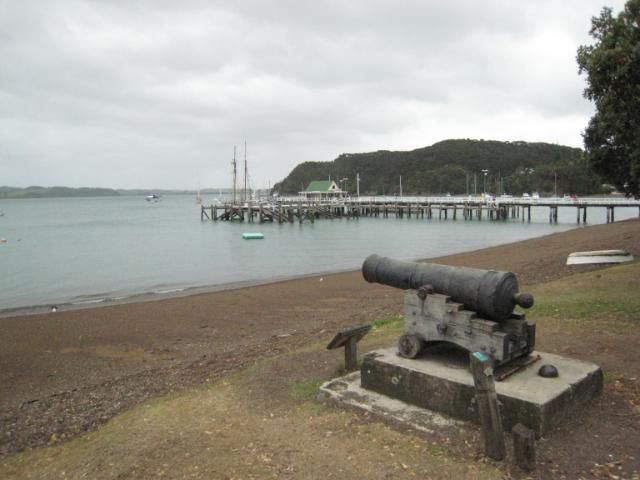
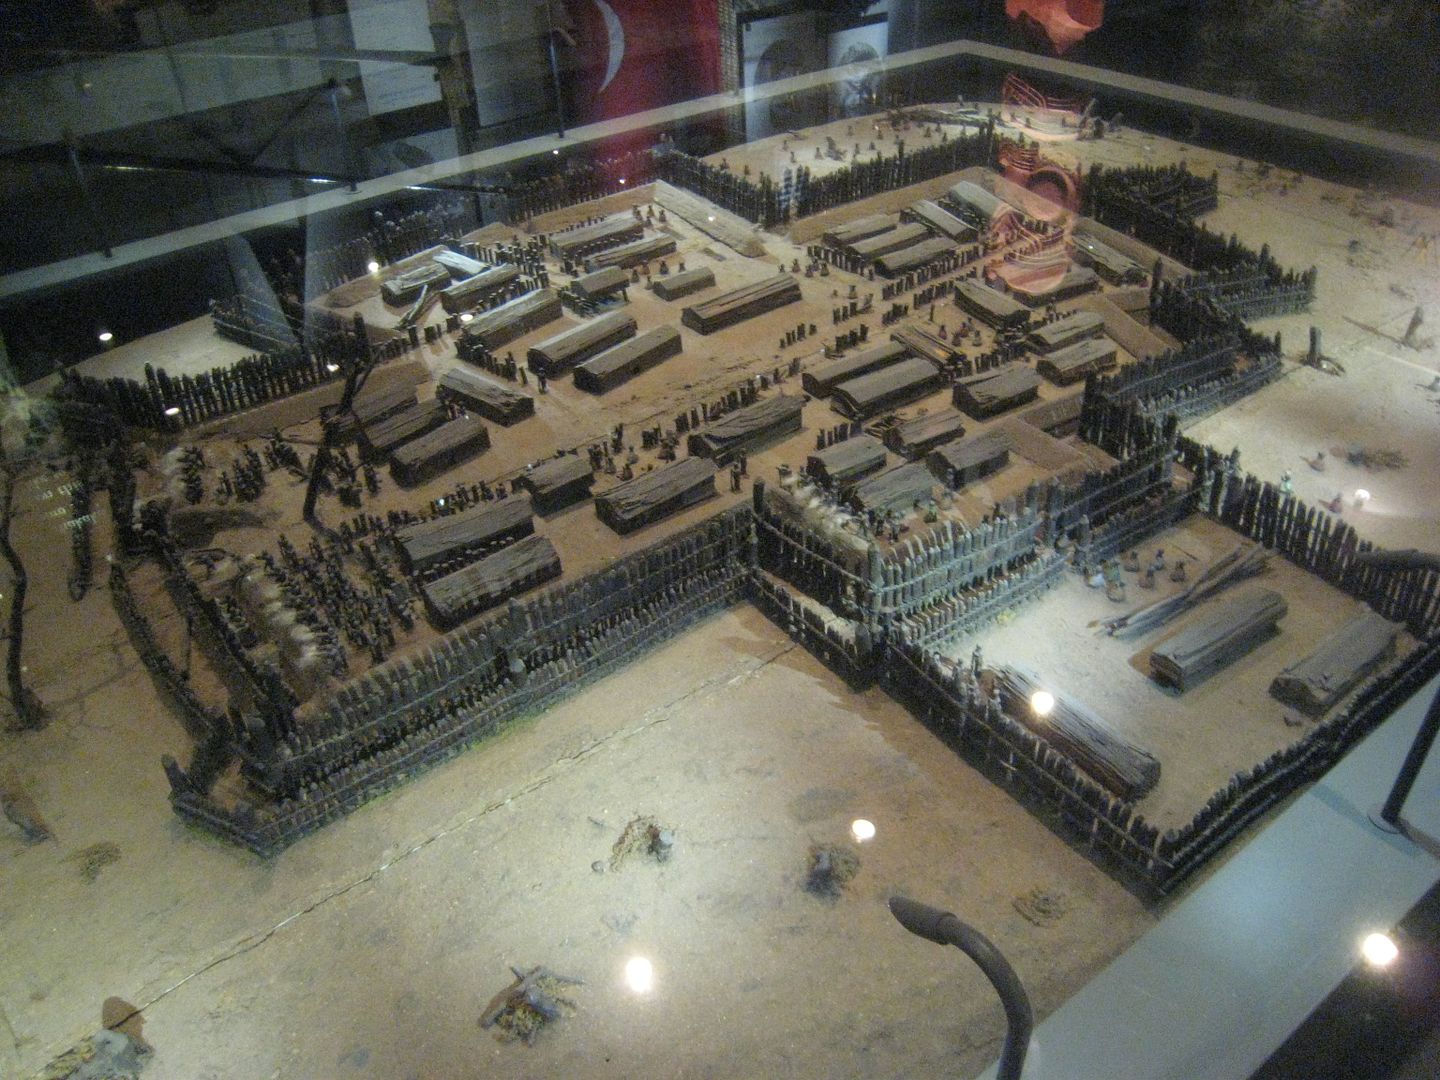
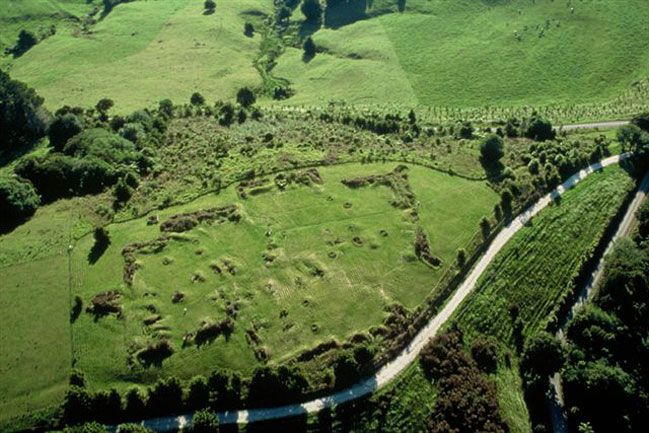
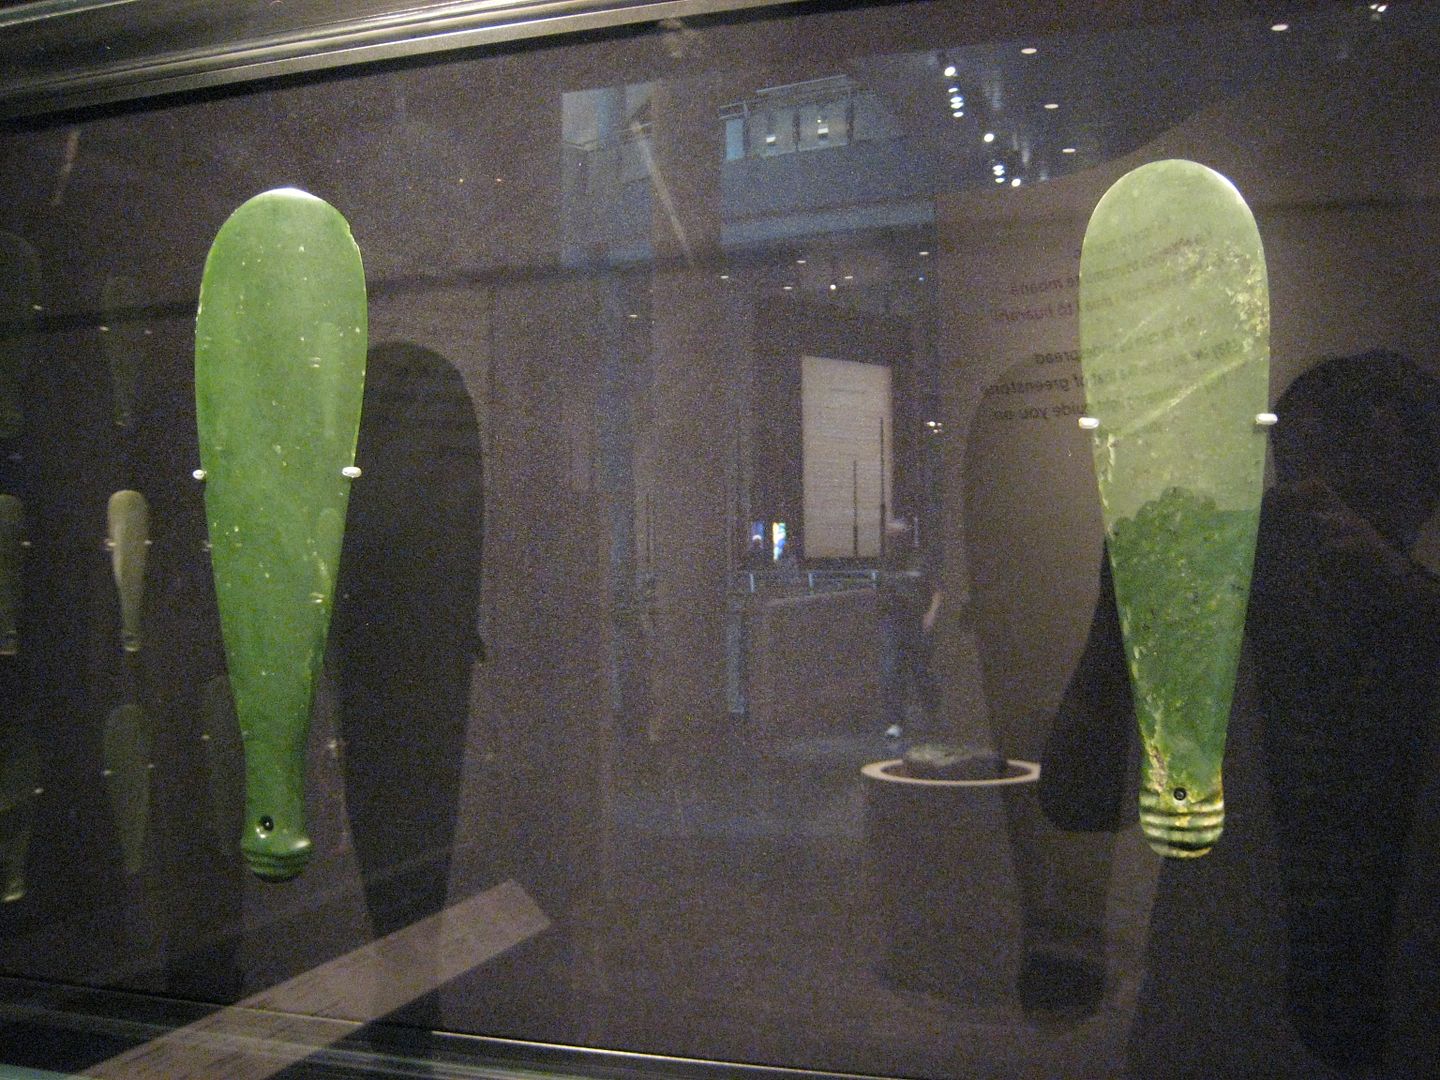
After the battle of Ruapekepeka, both sides appear to have wanted peace. Kawiti and Heke considered that they had worsted the British whilst the British, in the form of Governor Grey, liked to boast that the evacuation of a pa again indicated British victory. In reality, both sides were over-egging their positions, and the economic and physical cost of the conflict led them to broker a peace. Arguably, the most important factor in driving the Maori to cease hostilities was the effect of pro-government Maori attacks on Kawiti's and Heke's territory. British authority was maintained in theory, but it was the loyal Maori chiefs who acted as a buffer against the (unconquered) forces of Kawiti and Heke. One suspects that both sides knew that the end of the war signified a truce and not a peace, a fact perhaps demonstrated by Heke marching a large force into Russell at the end of 1846 - he removed the remains of the men killed in the attack on 11 March 1845 and then retired. Perhaps his aim was to demonstrate that he could go where he chose - hardly an indication of a British victory. Furthermore, the flagstaff at Russell remained broken and had been left where it lay when Heke cut it down on 11 March 1845. The Maori were far from defeated and this, arguably, made further conflict inevitable.


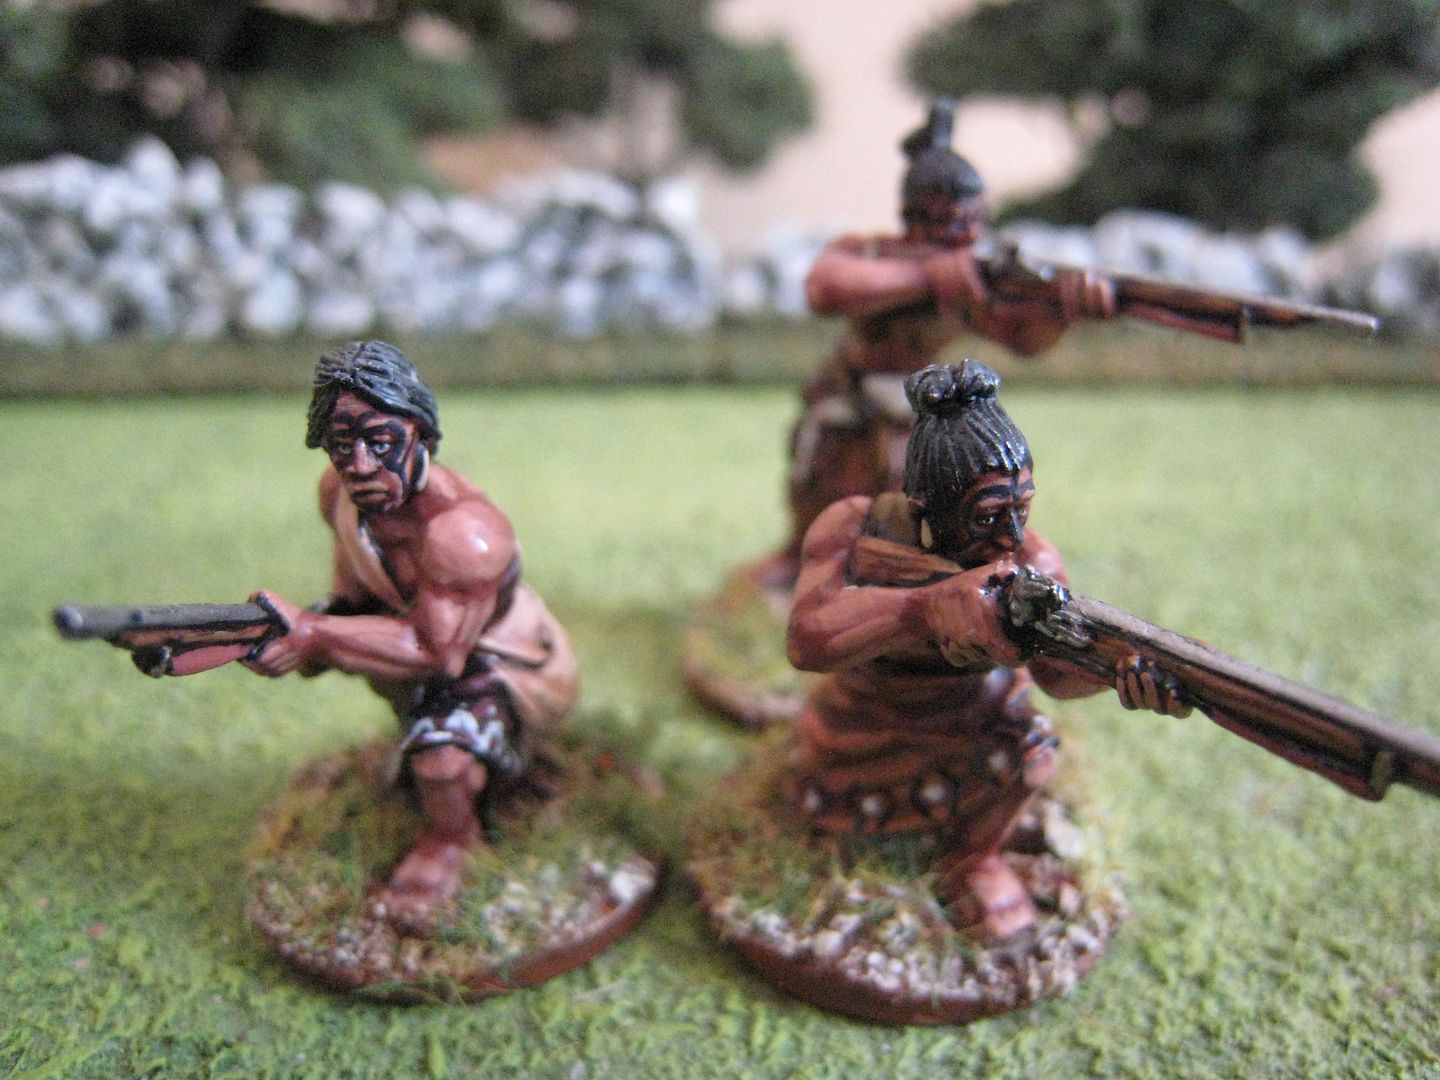
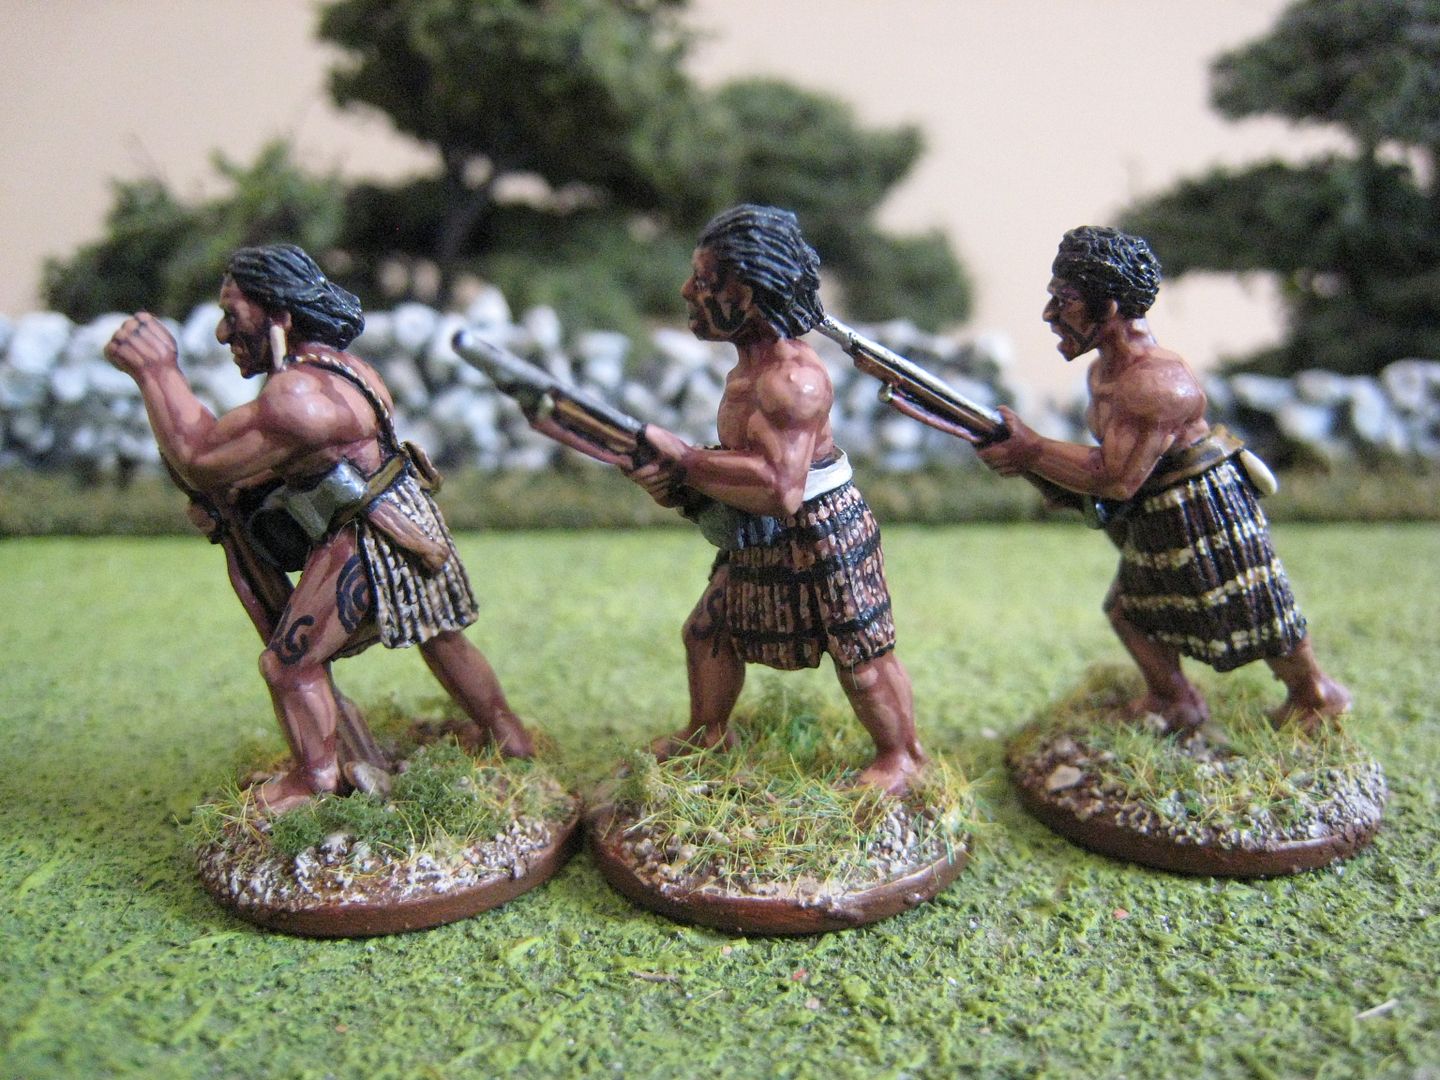
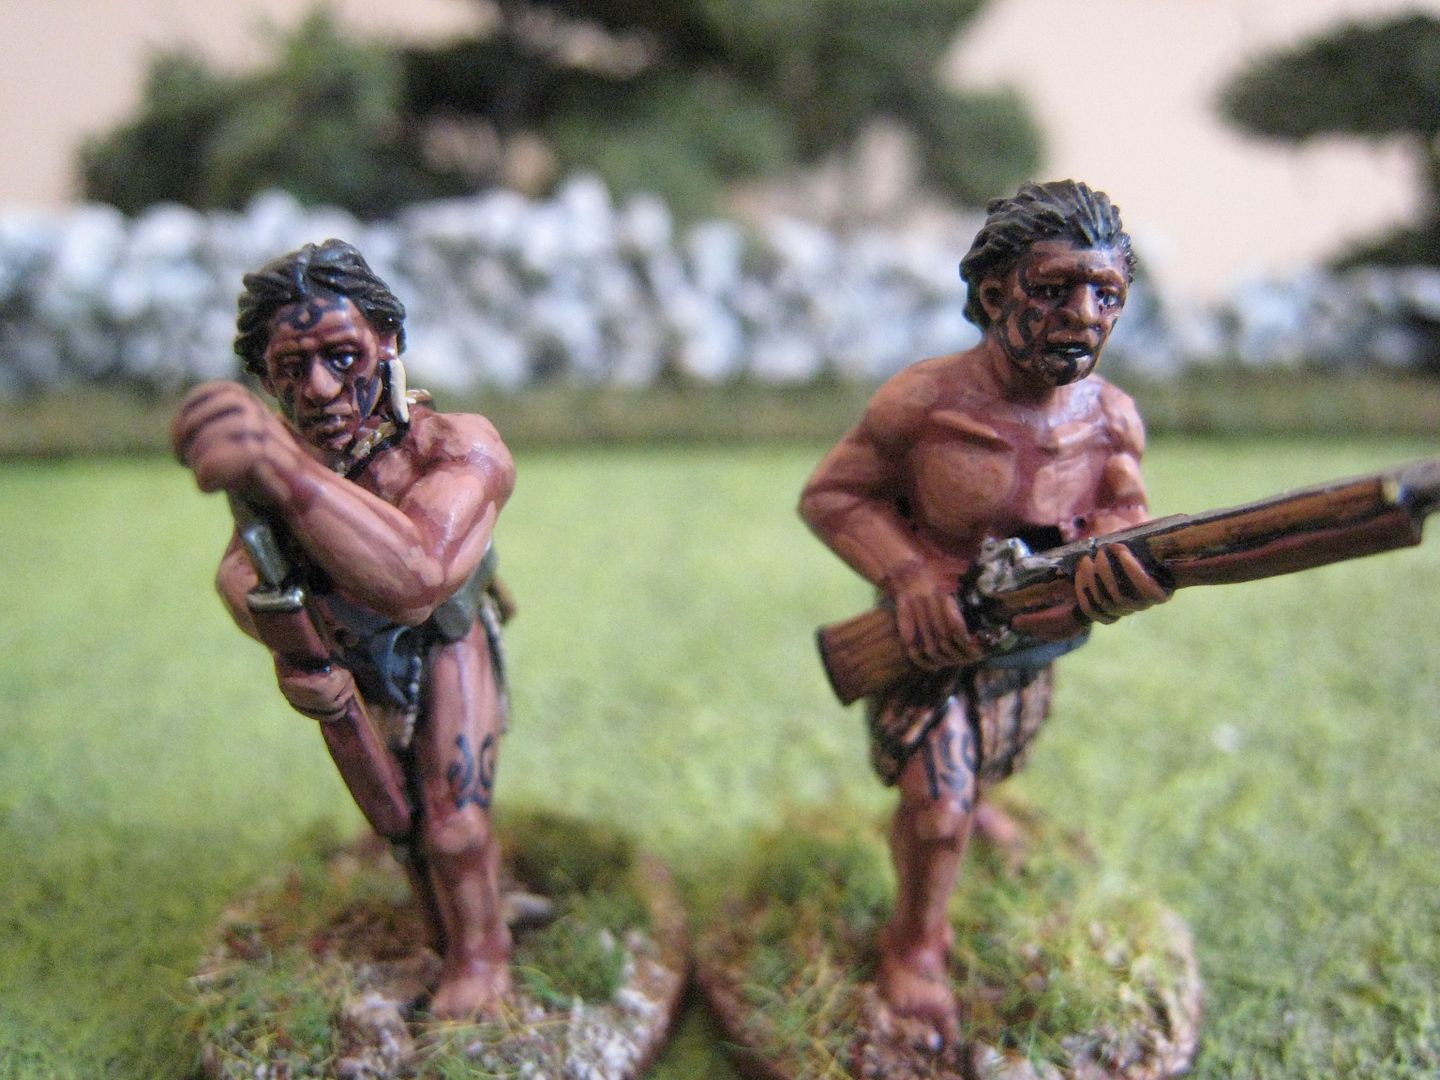
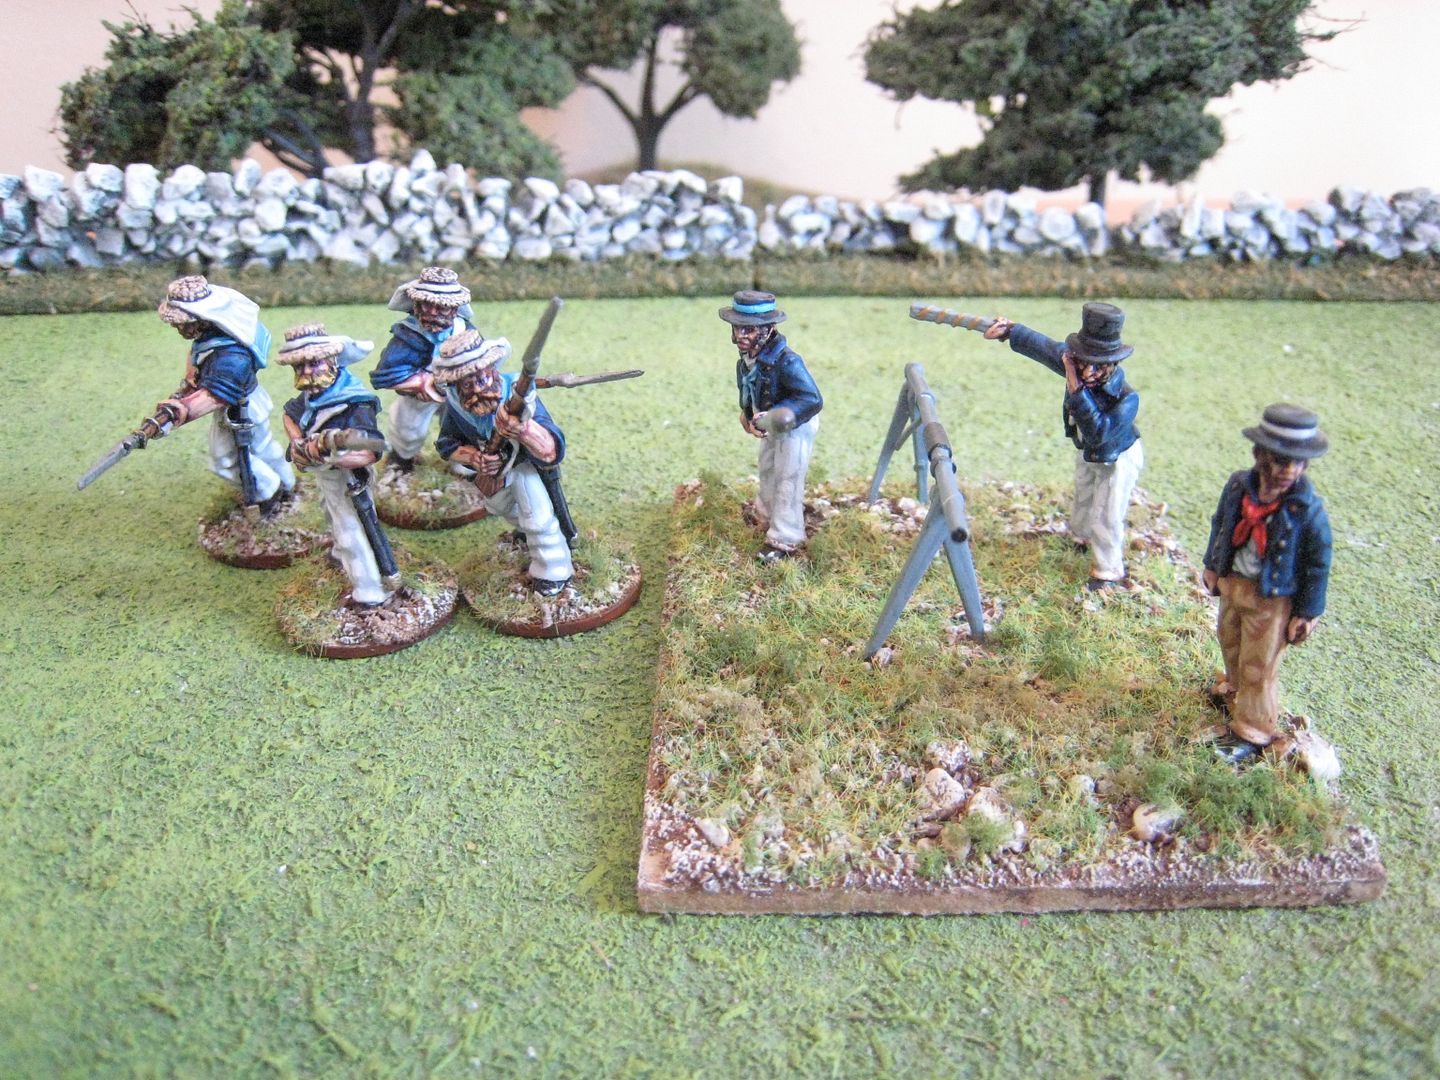
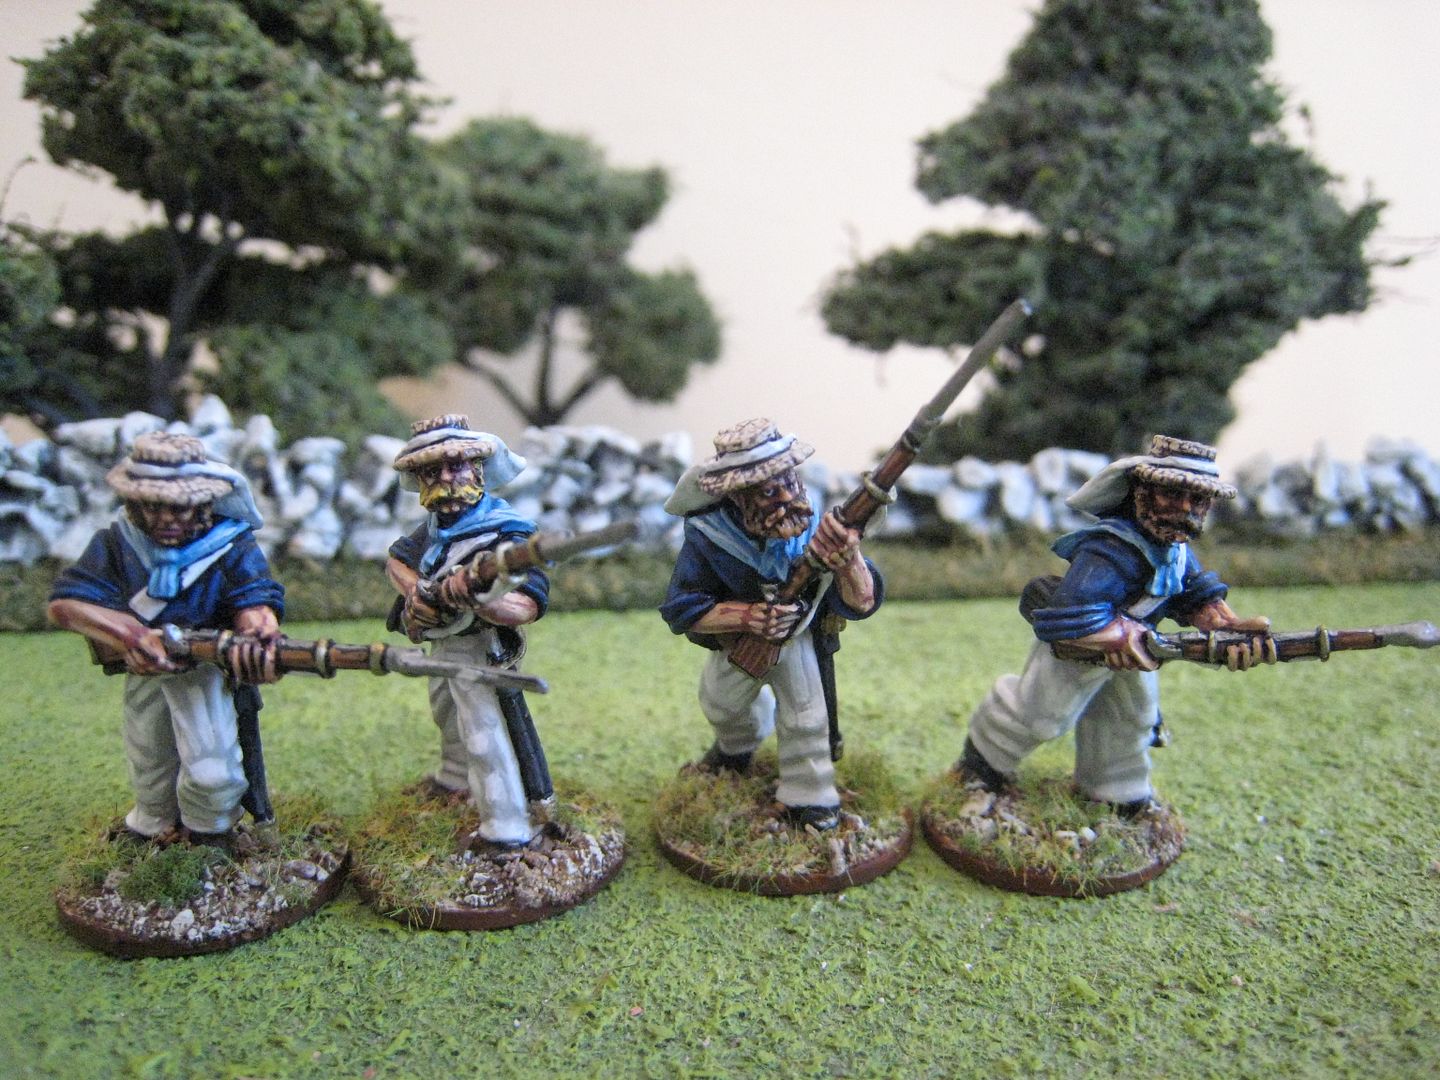
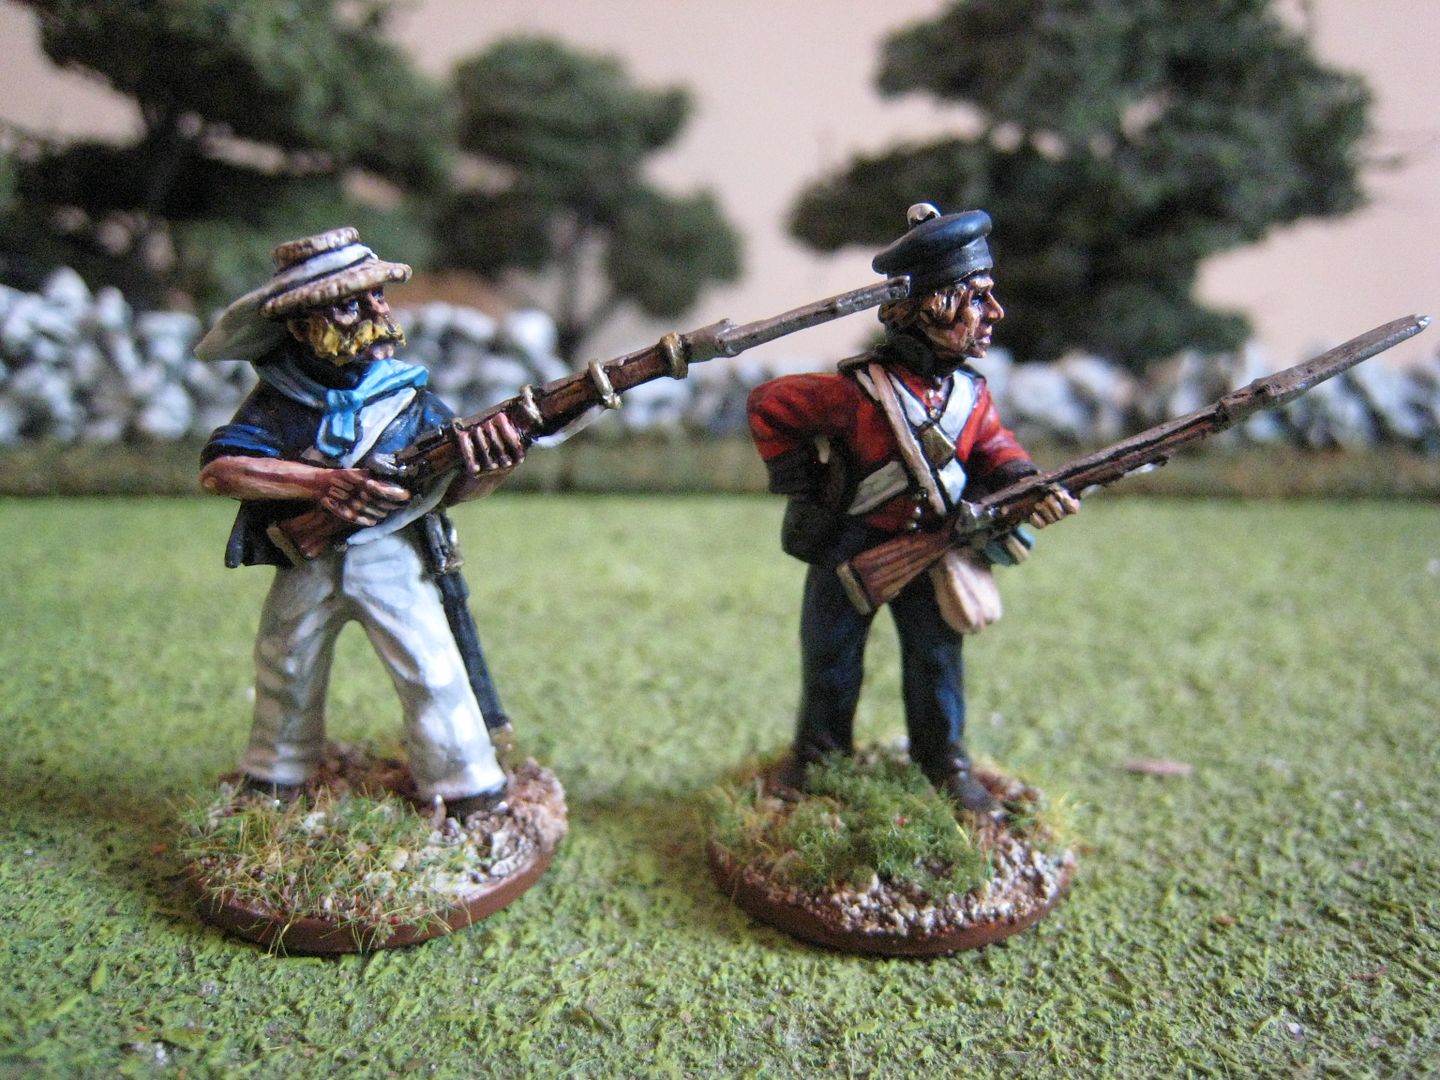
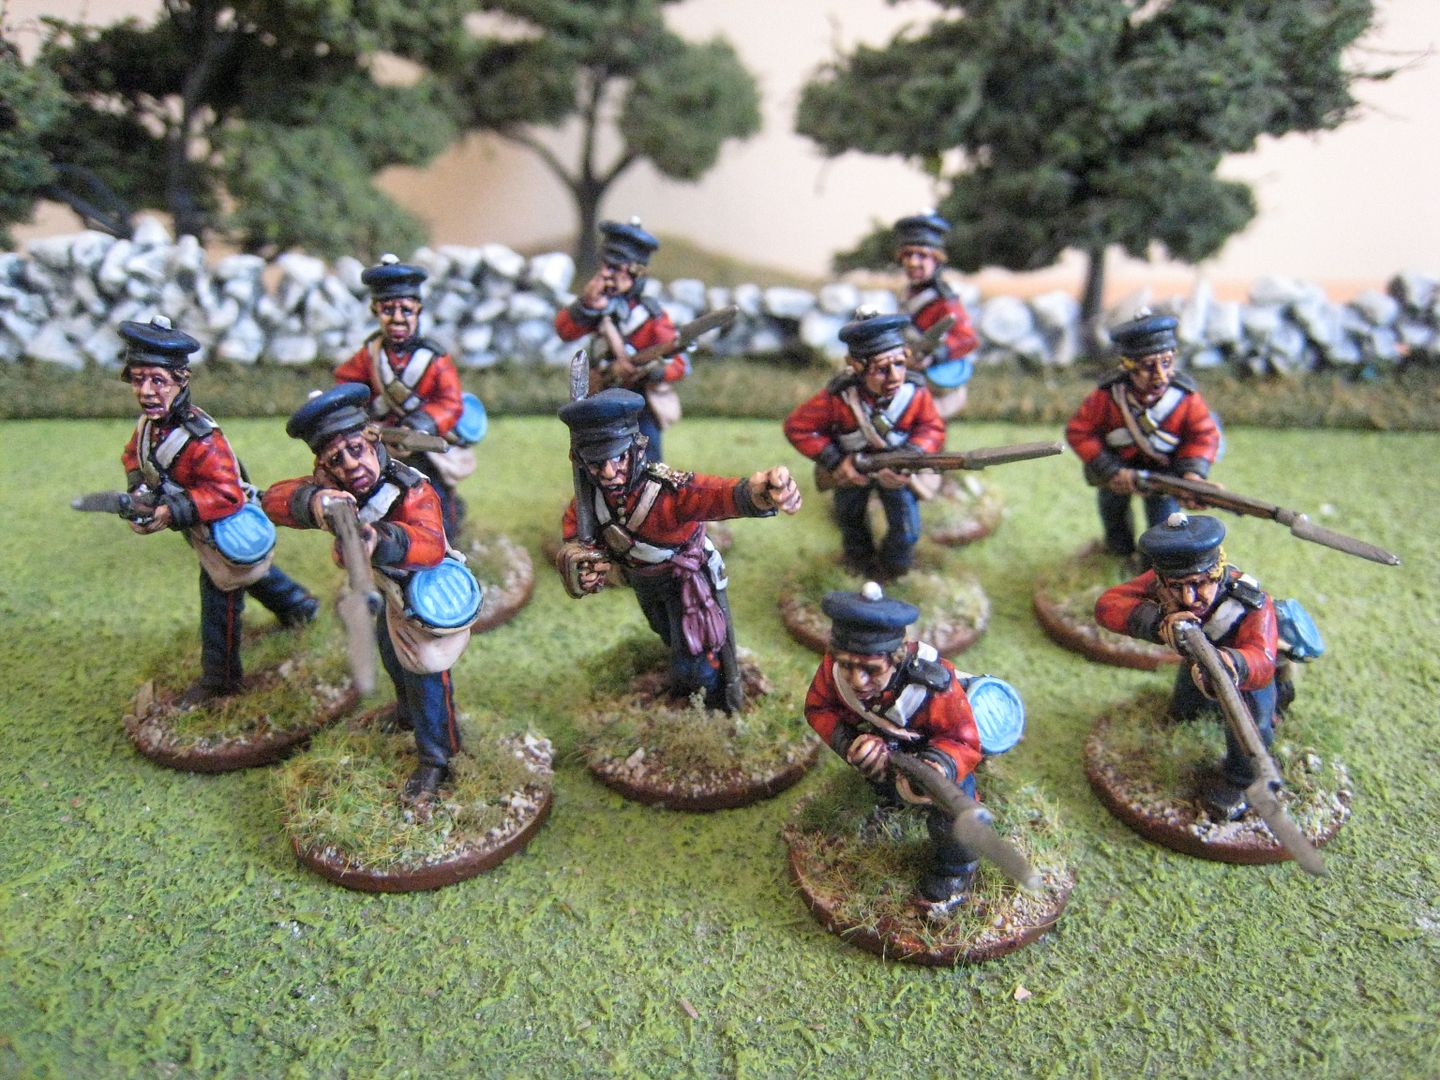
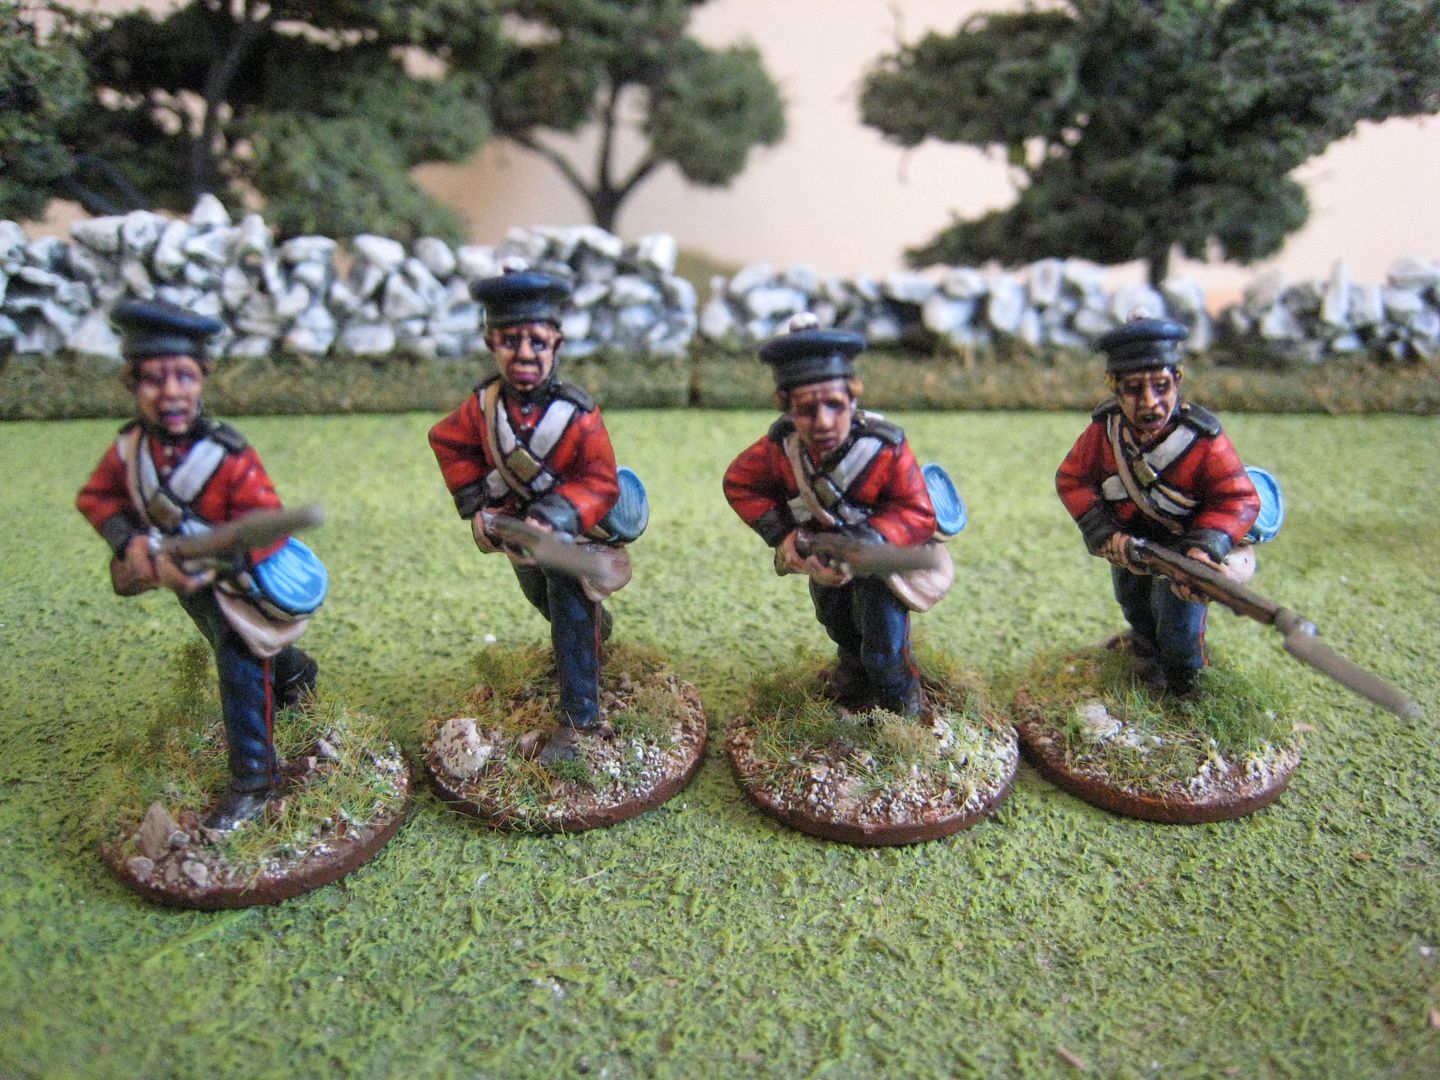
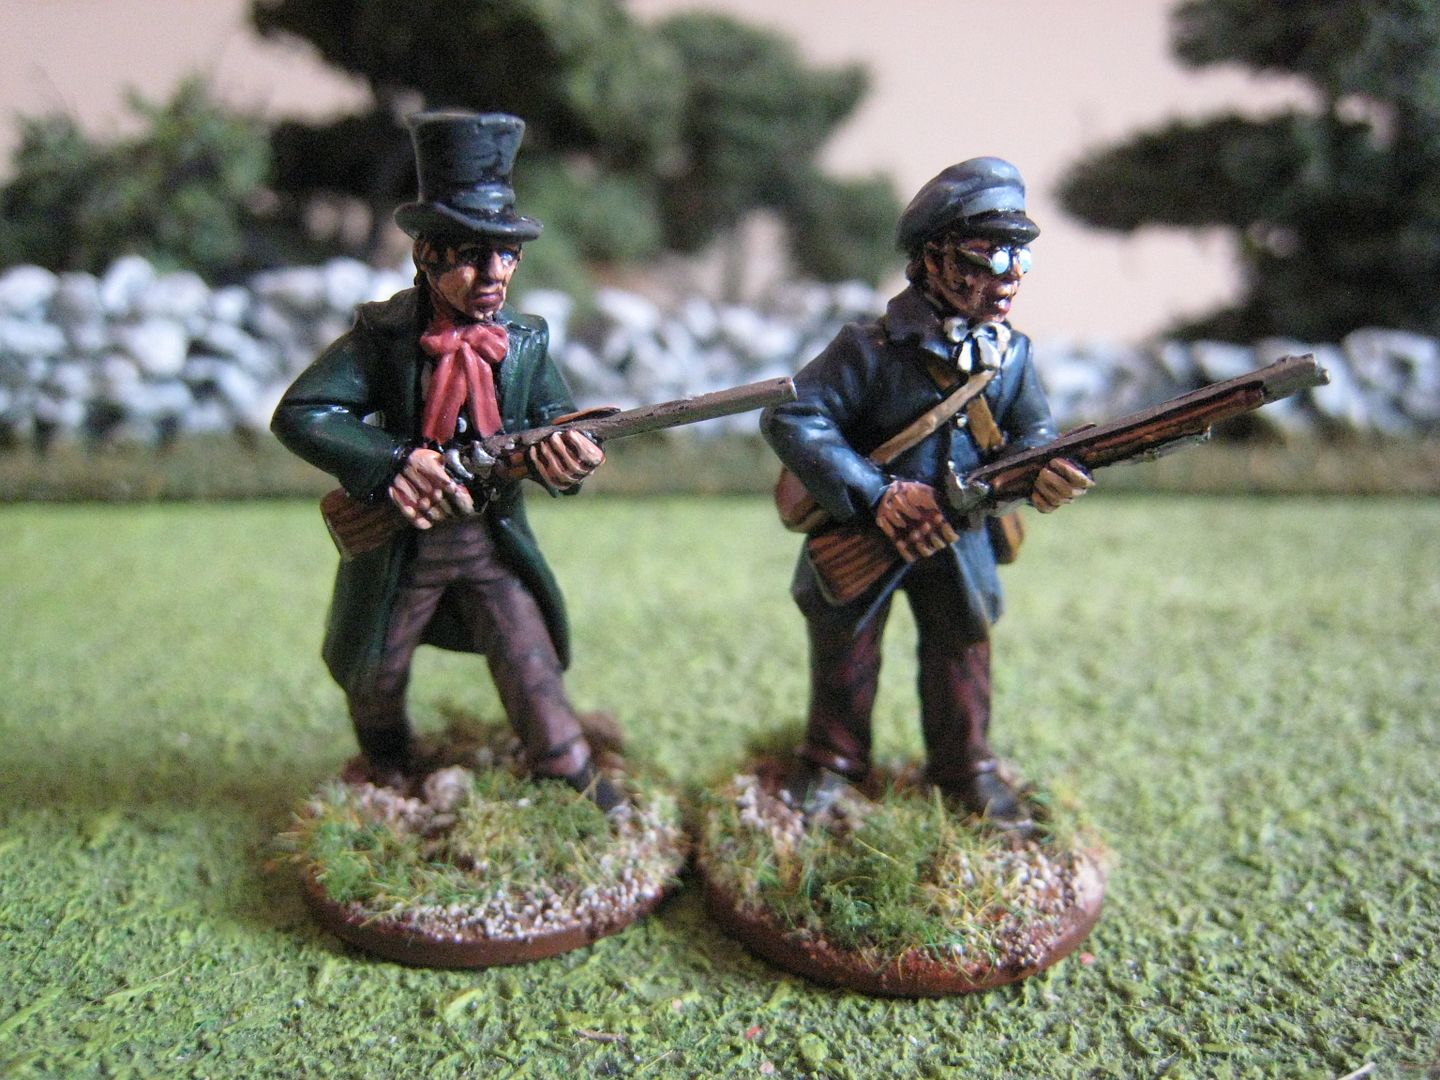
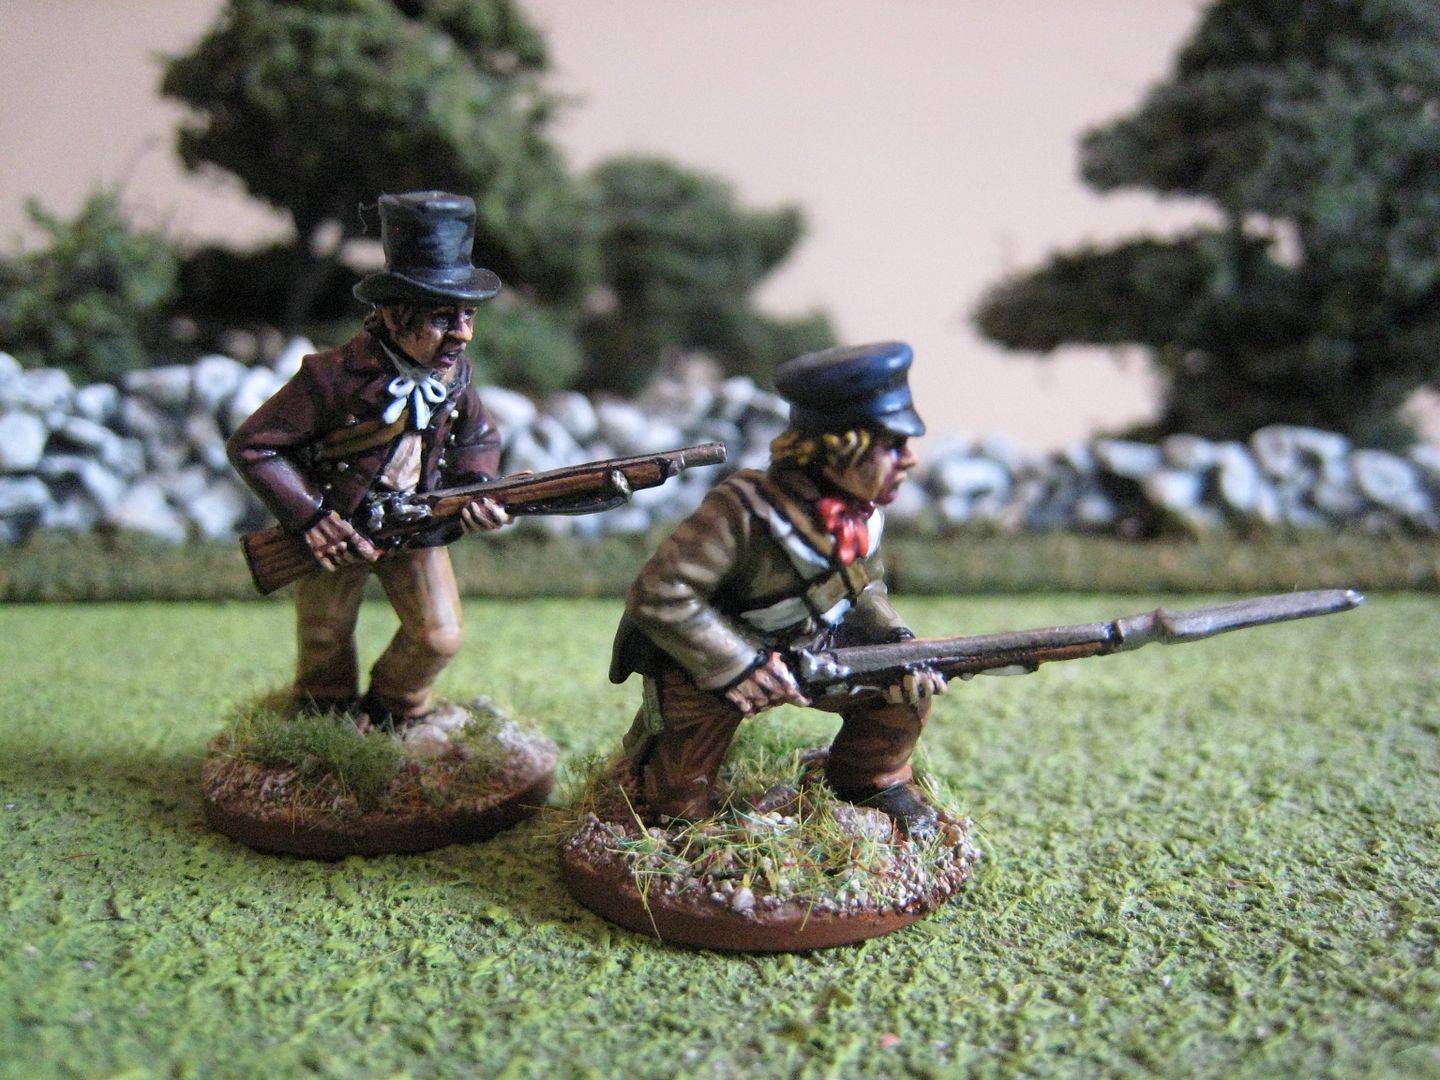
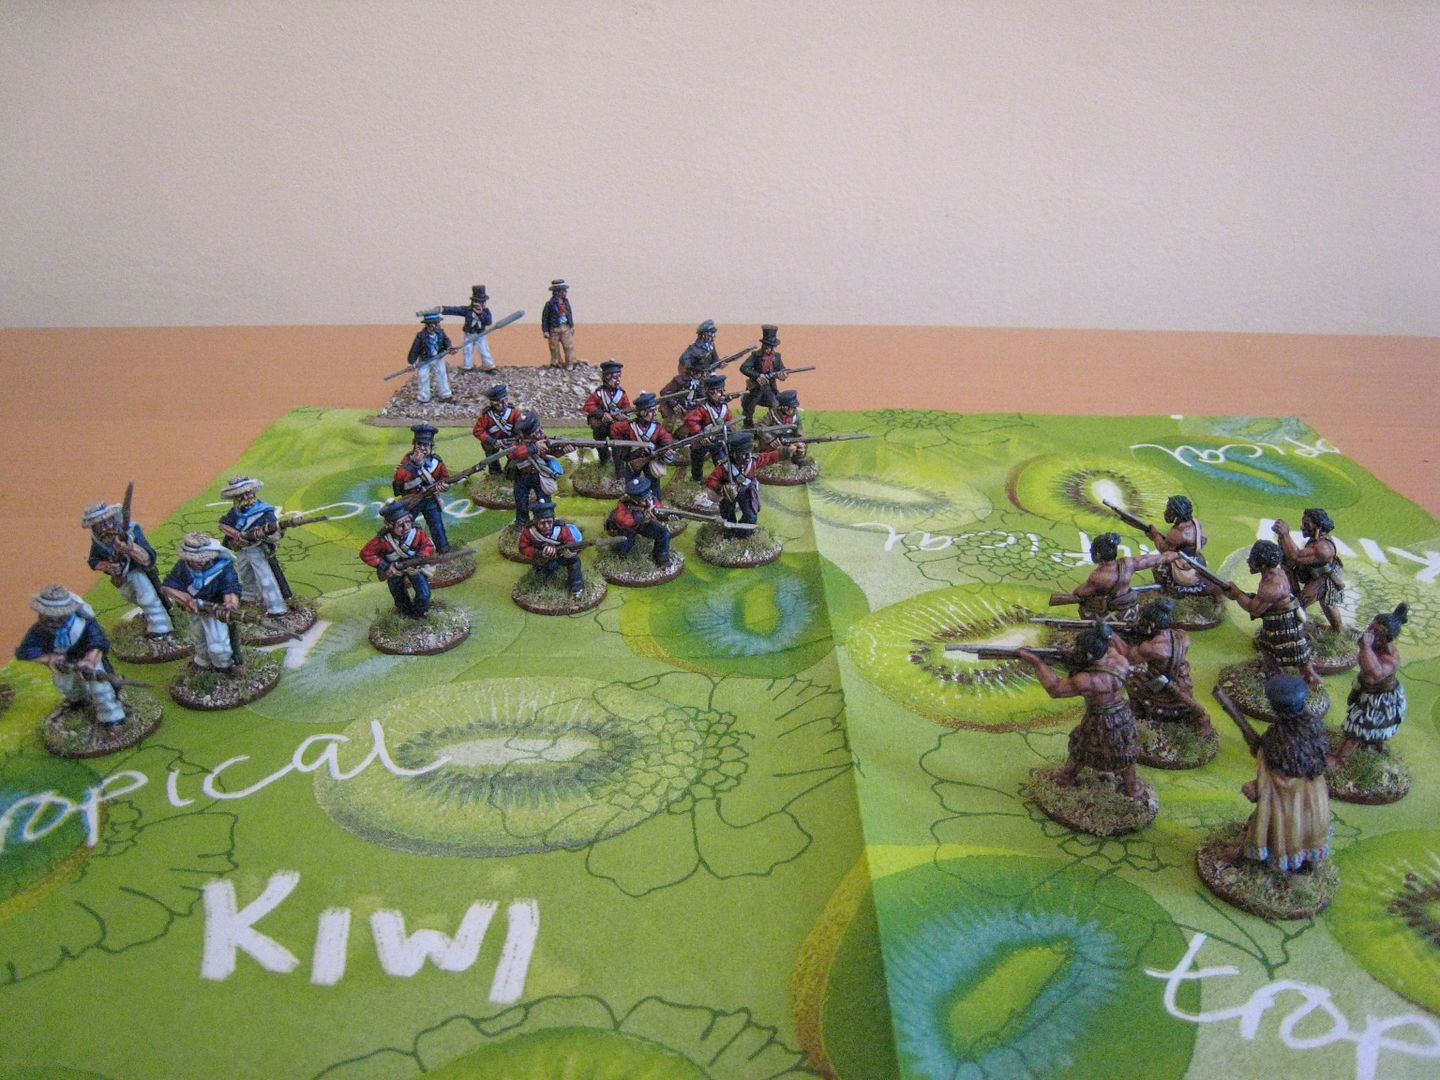
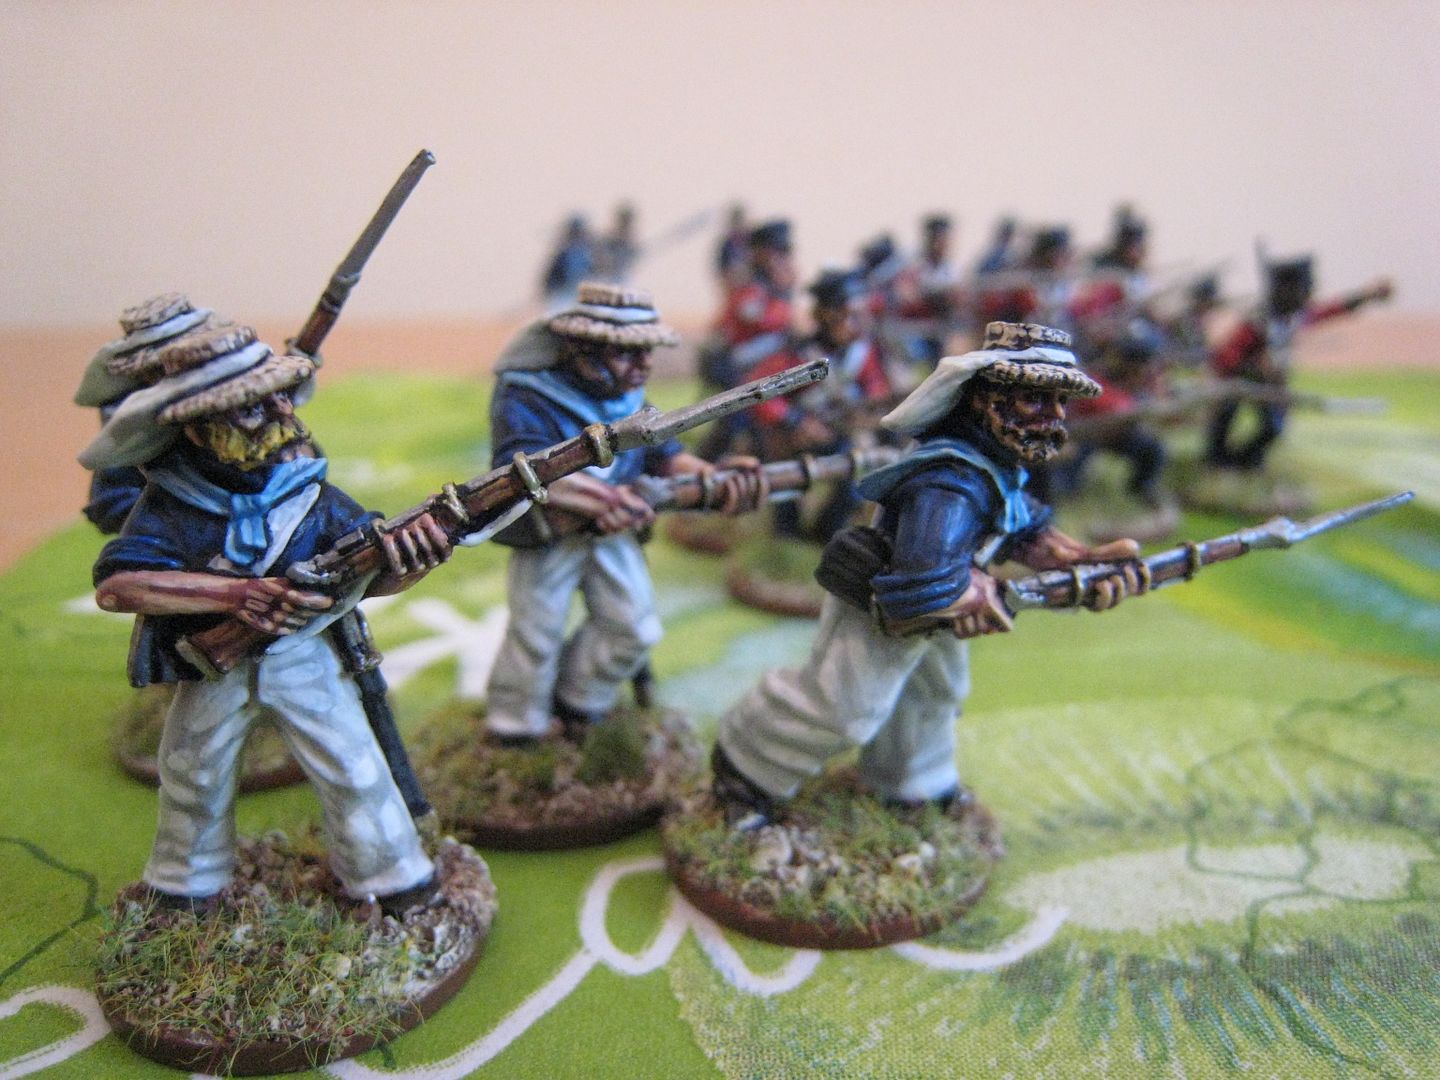
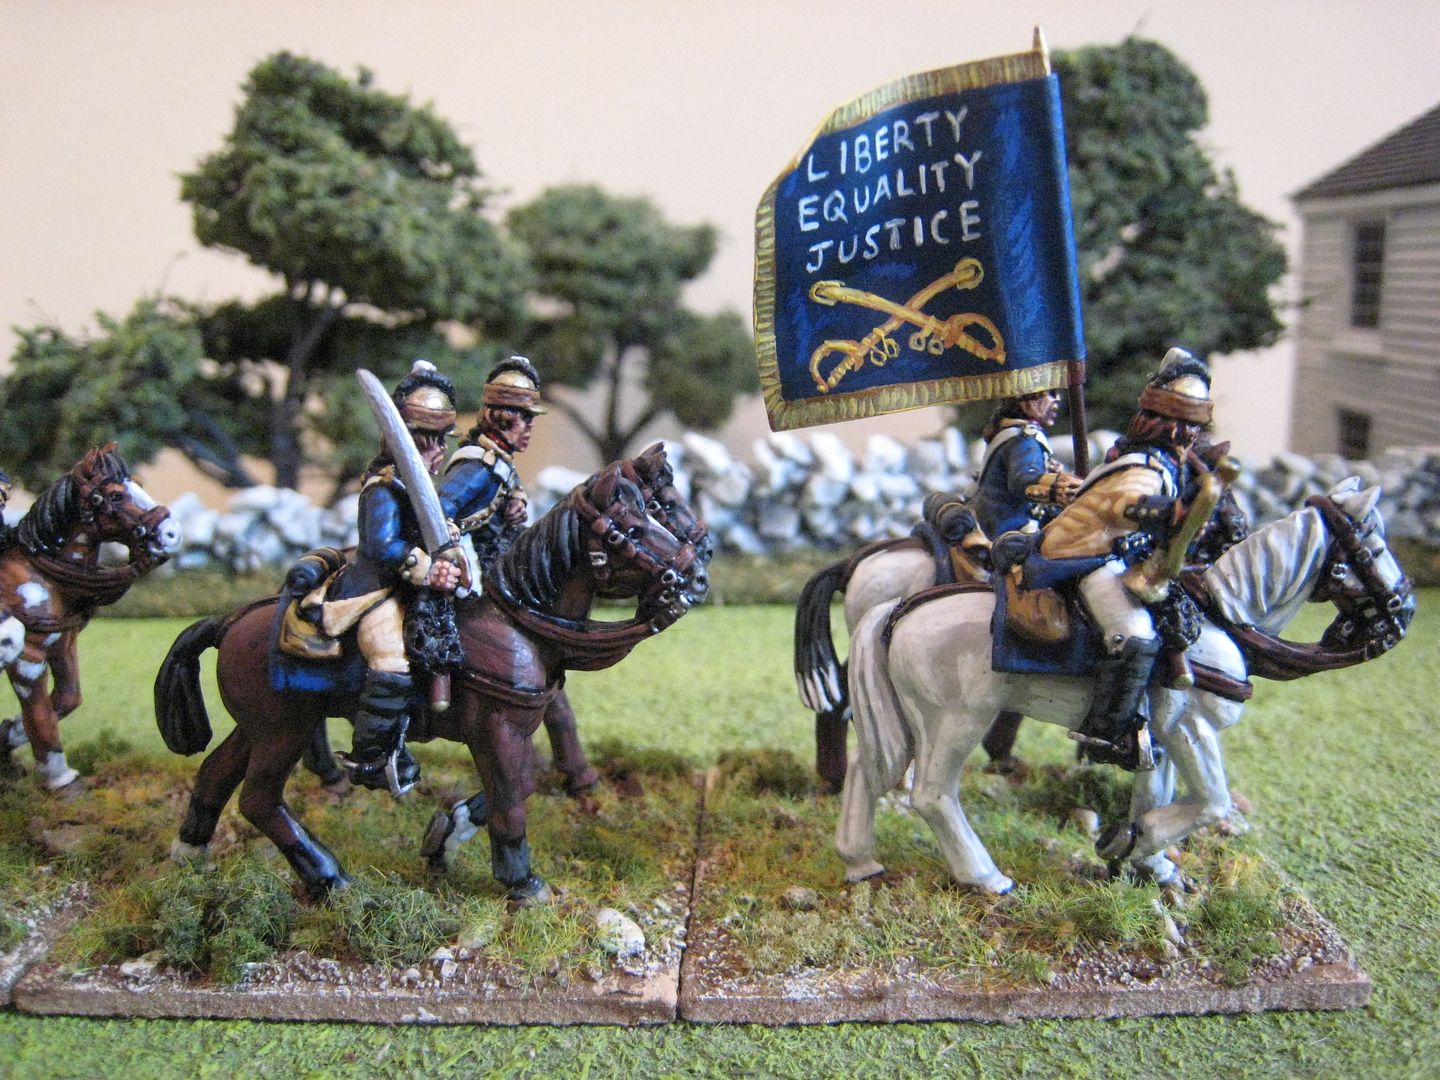
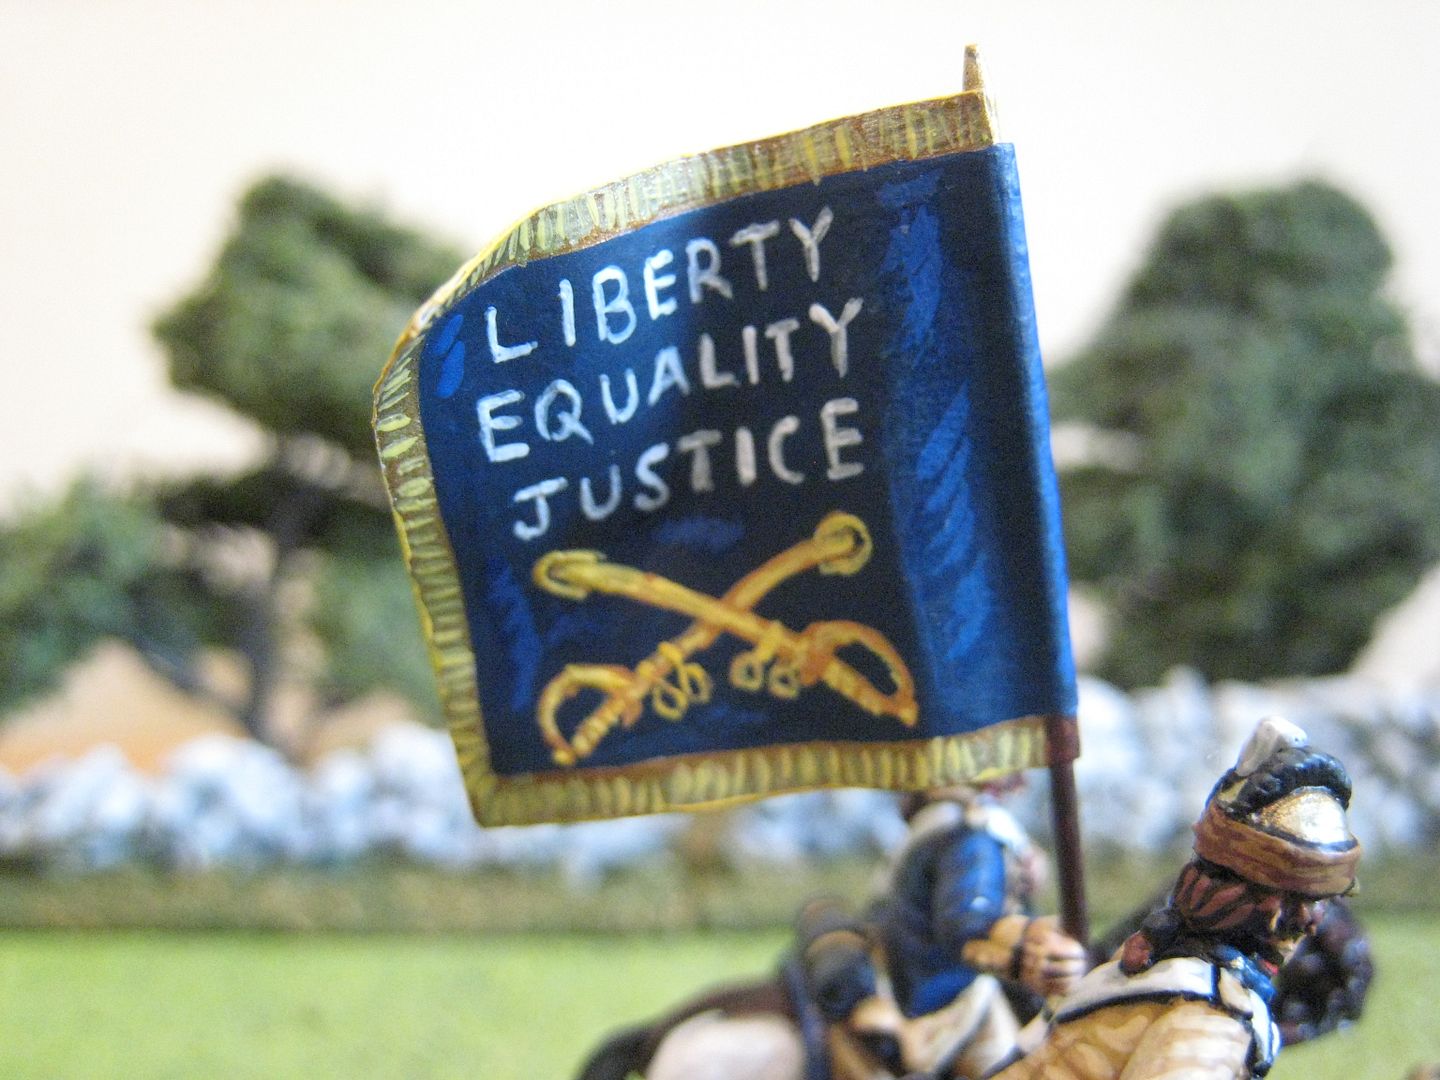
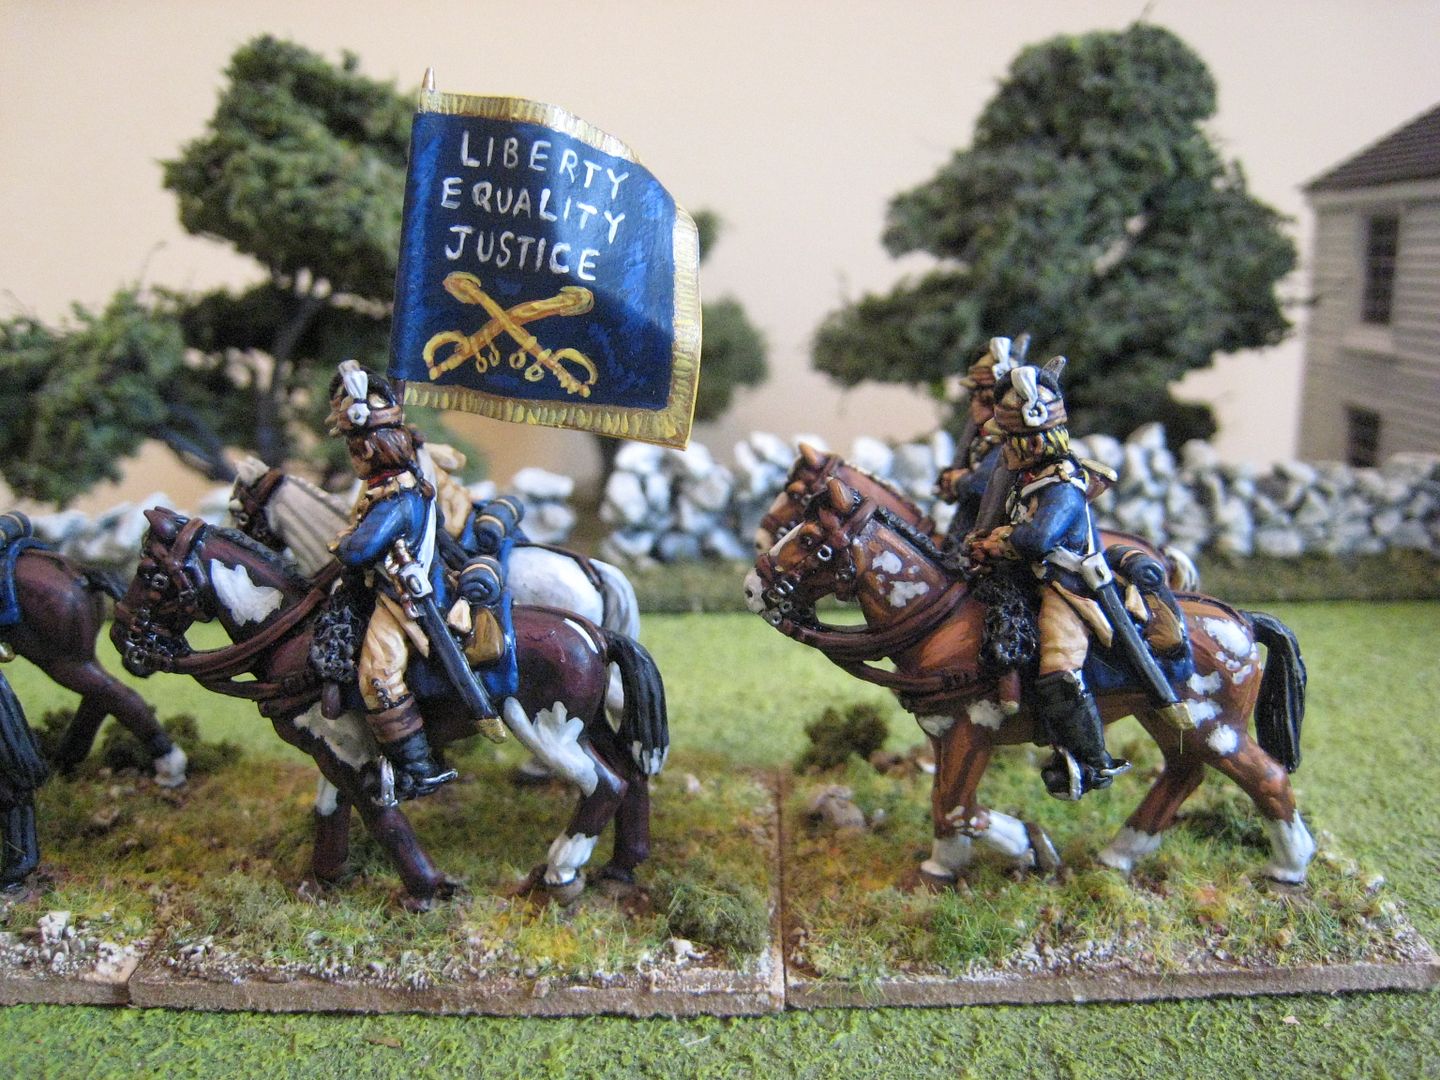
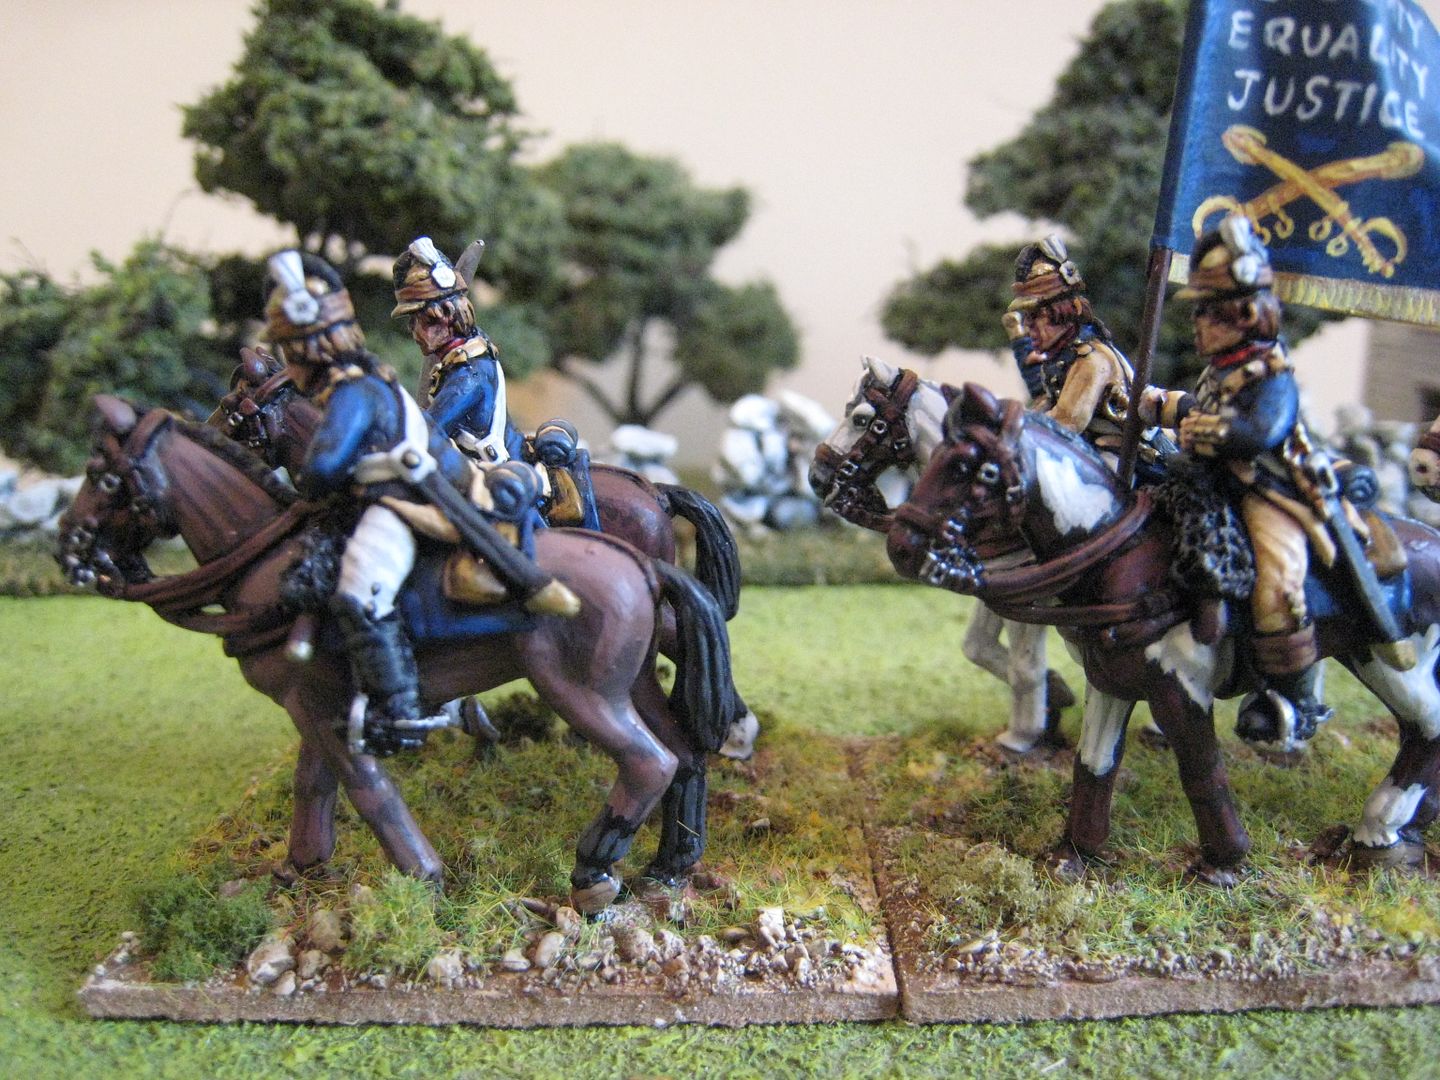
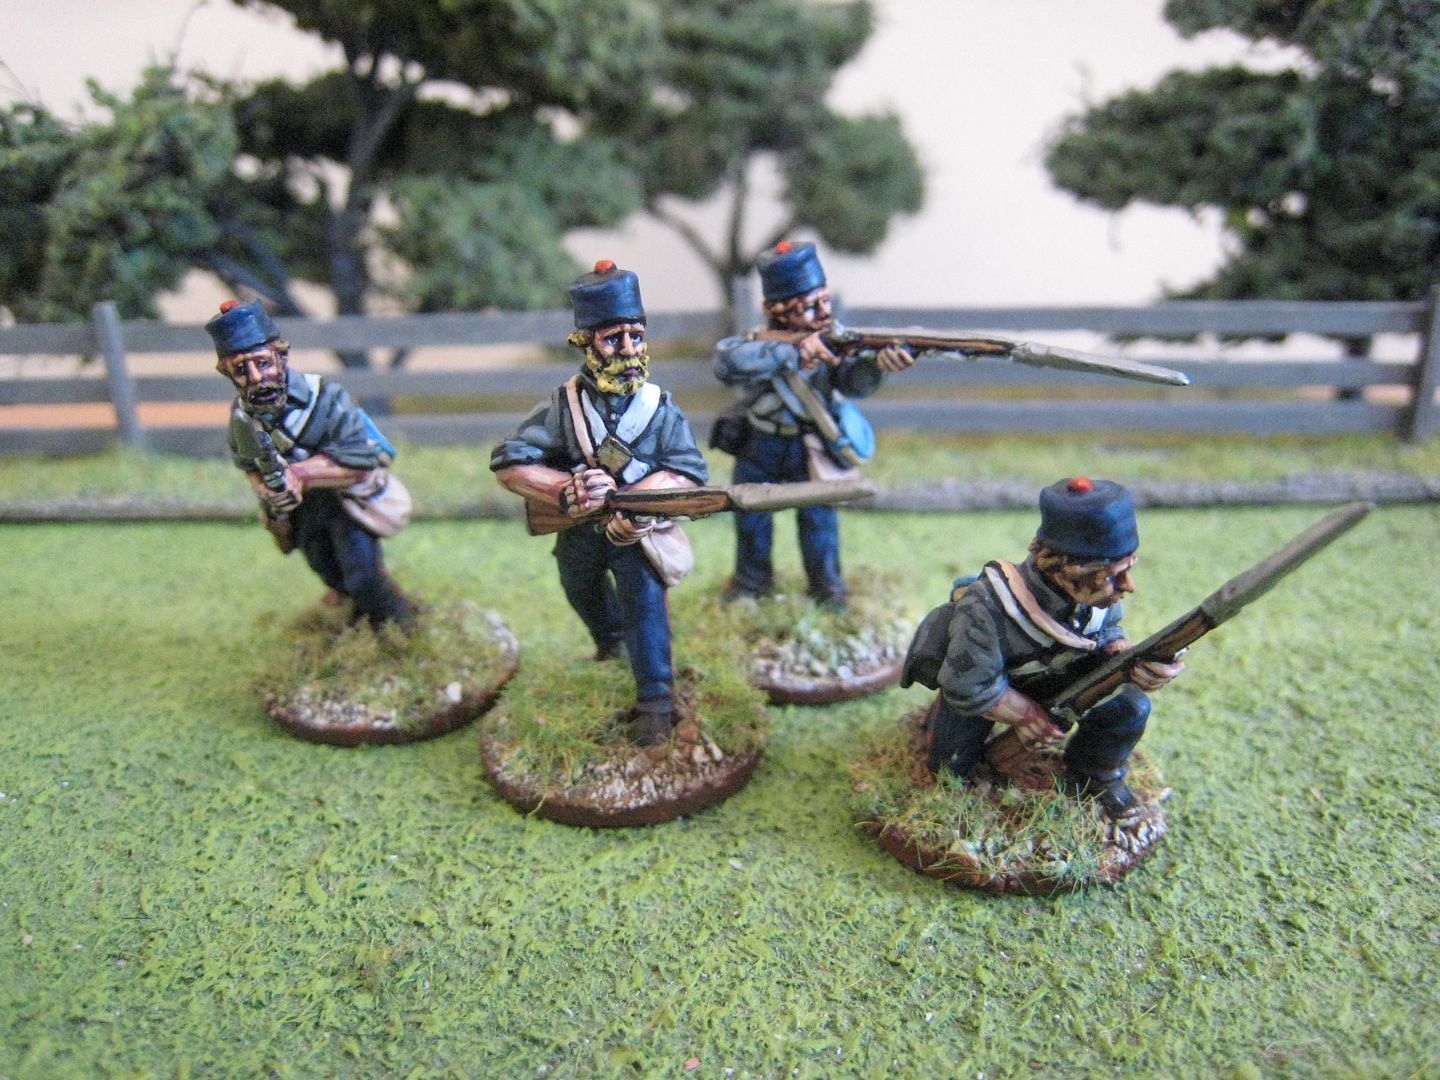
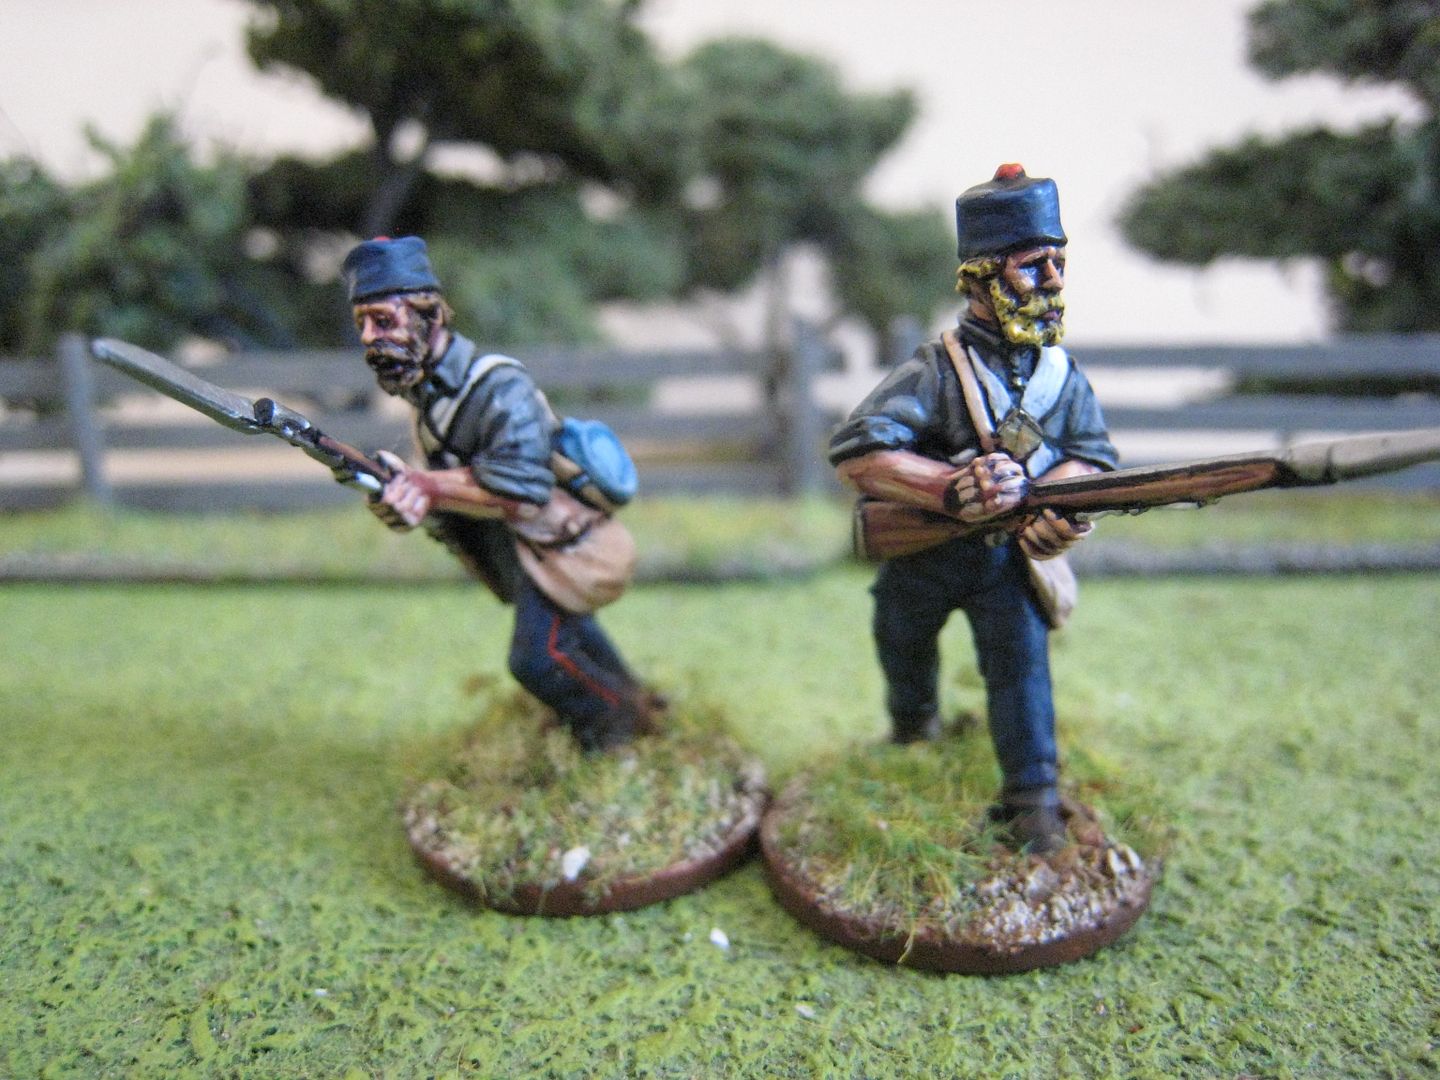
The figures shown here represent the Auckland Militia. I understand that they wore military clothing provided by the British regulars, so I have painted the trousers in the same way as the 58th Foot and given them blue-grey army shirts. Of the Empress Miniatures first release I still have some Maori chiefs to paint - when I have finished those I will add some information about the Taranaki and Wellington campaigns of 1846-47 (i.e. the fighting at the middle/bottom of North Island).


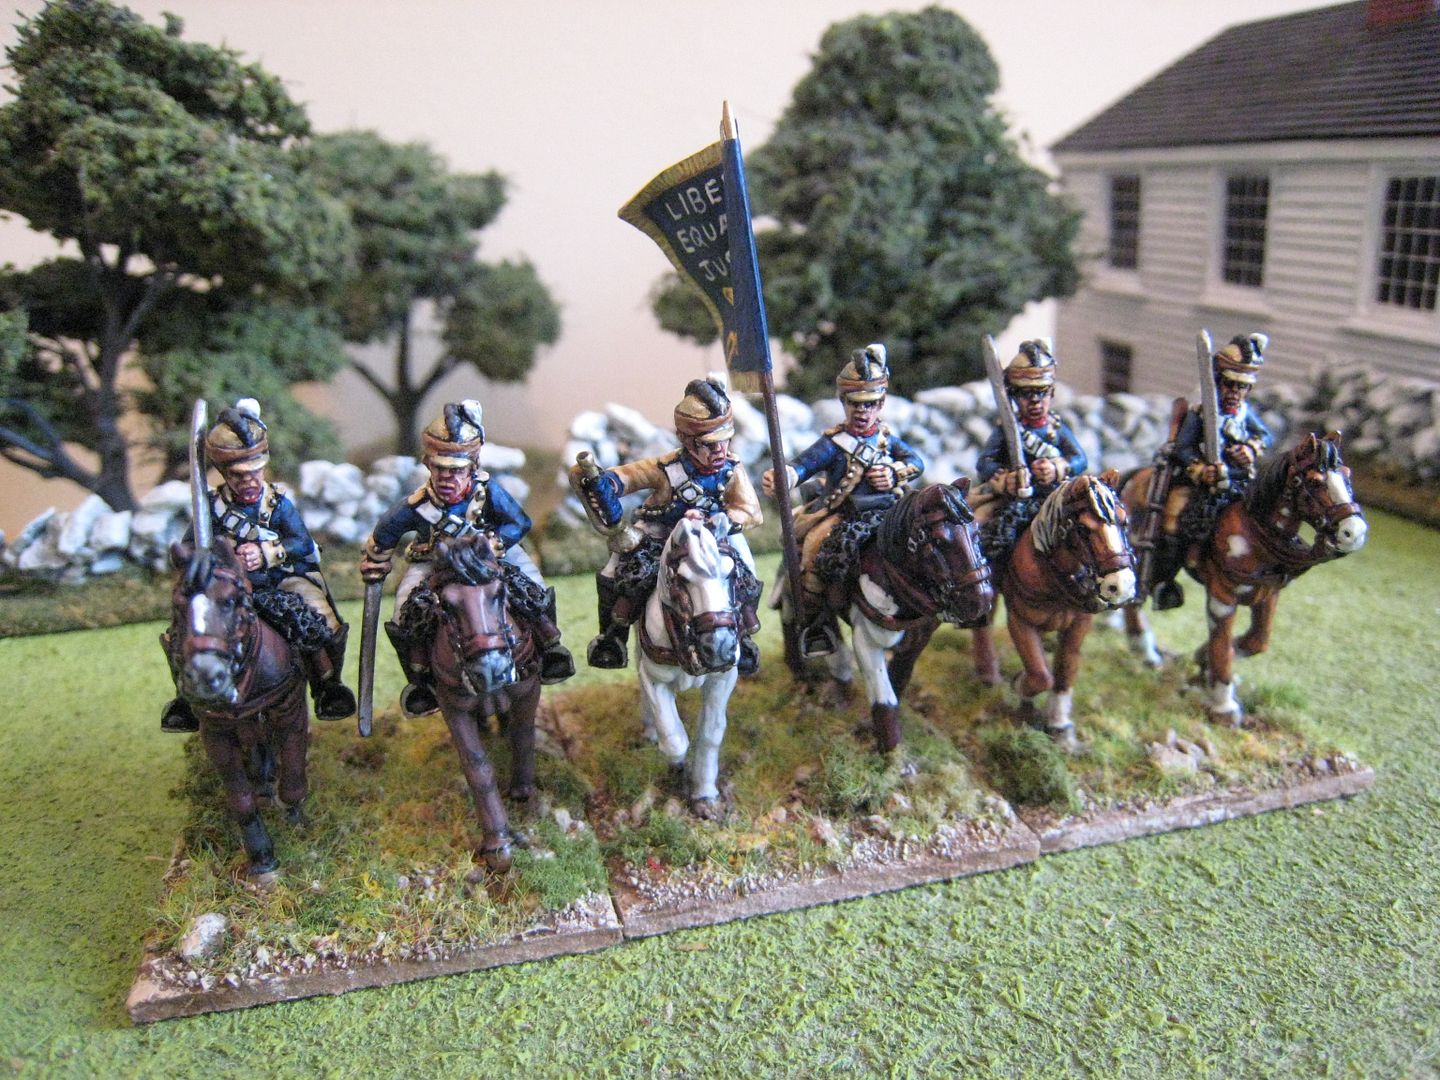
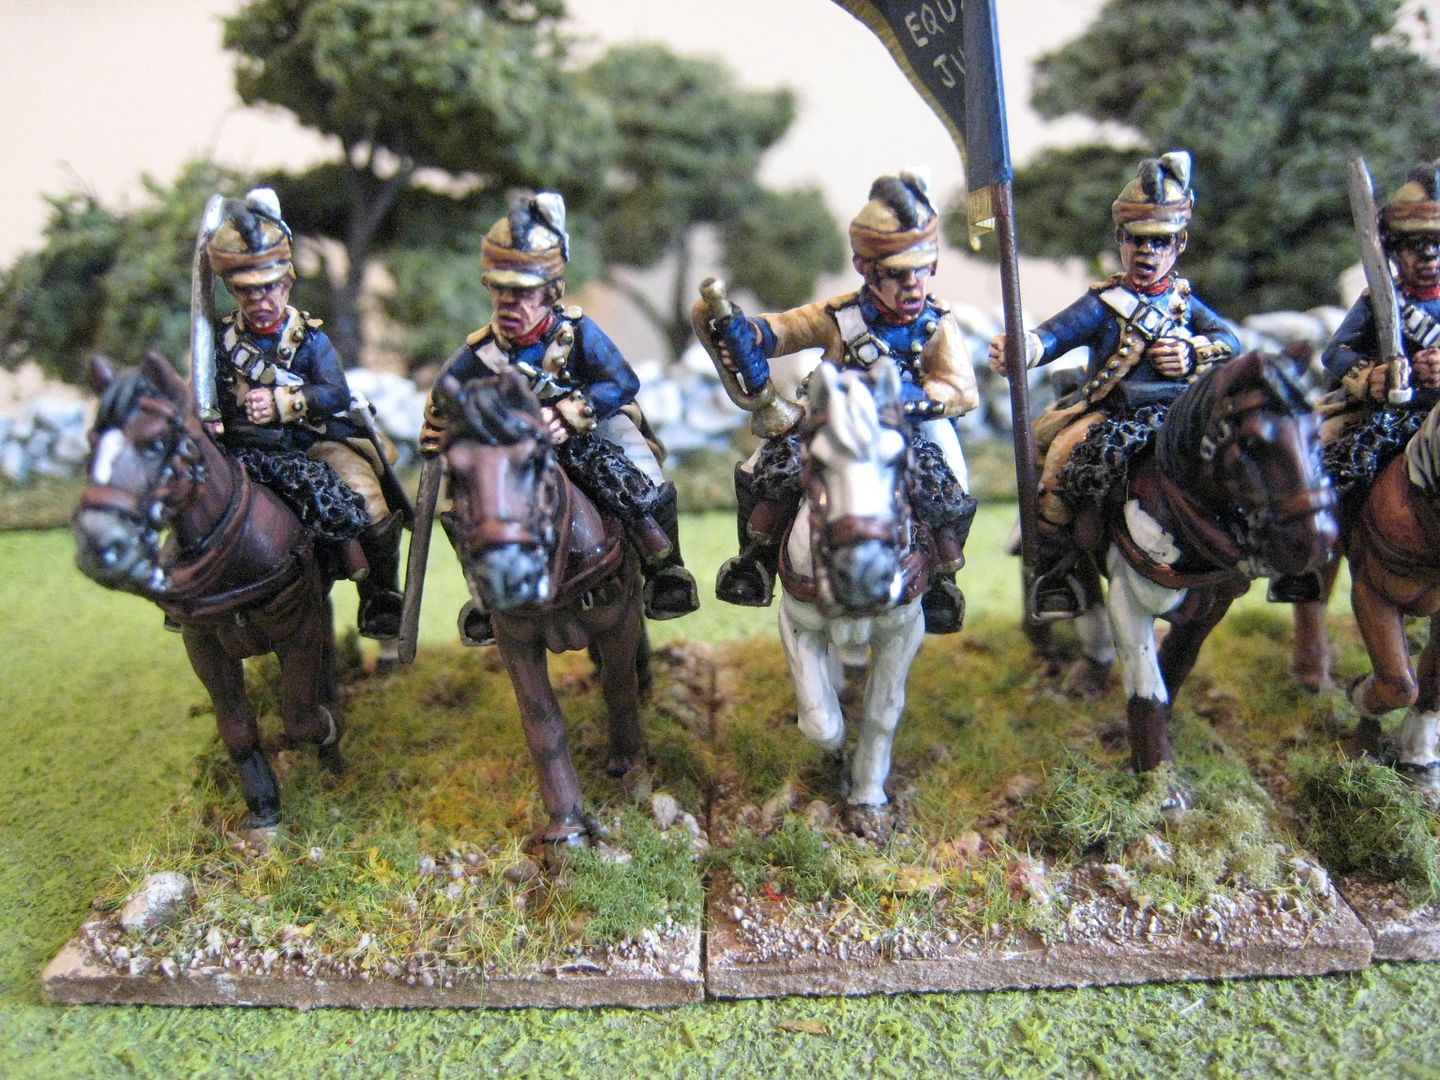
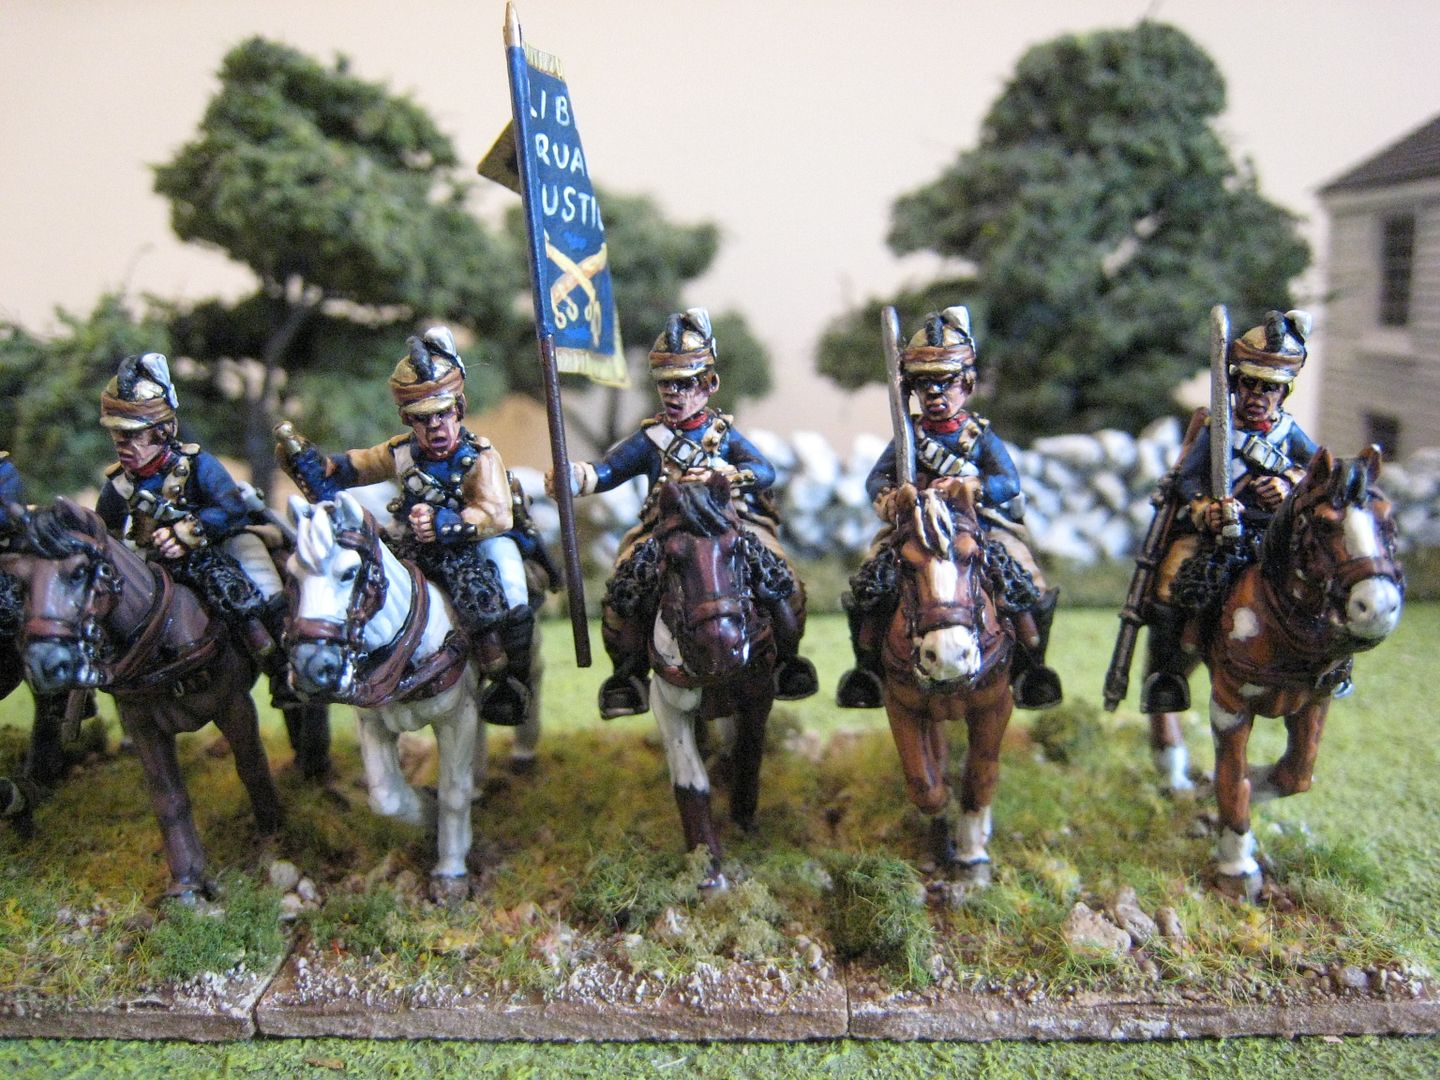
I hope readers have enjoyed this series of posts as much as I have enjoyed writing them. For me, this has been an opportunity to read up about this period and think again about areas of NZ that I have visited. Those who have little interest in this conflict may like to know that there are more 1815 and AWI posts on the horizon, specifically those French Old Guard I finished ages ago and Court Pulaski for the AWI. On the workbench are some Eureka Miniatures civilians and lost of AWI French. Oh, and I'm looking forward to painting my first 15mm figures in about 12 years...

Wednesday 18 May 2011

NZ Wars - Maori (2)


Grey, the new governor, was ambitious and young. Aged only 33 (in contrast to Colonel Despard, who was 60), Grey was determined to bring the colony to heel and issued an ultimatum to Heke and Kawiti which they could never accept. Grey then marshalled the forces available throughout the country and received reinforcements that had been sent from as far afield as India. His army grew to some 800 regular infantry, a naval brigade of 400, 450 friendly Maori and a dozen cannon of various calibres. He ordered Despard to attack the new pa at Ruapekapeka. Dragging heavy artillery through the bush required a huge effort and the force took 3 weeks to reach the pa. The bombardment began on New Year's Eve, 1845. At some stage Heke managed to sneak into the pa with 60 warriors.

By 10 January 1846 the guns had created a breach in the pa's outer palisade. The next day, Despard's Maori scouts reported that the pa had been abandoned and British troops moved to take possession. Whilst Kawiti and a dozen warriors were still in the pa, the majority were outside and the British were attacked by Maori firing from the bush (it's unclear whether this was a pre-meditated ambush, or whether the garrison were outside at prayer) and after a 3-hour fire-fight both sides withdrew. The abandonment by the Maori of Ruapekapeka again led the British to claim a substantial victory. But Grey knew that again a convincing military success had again eluded the British, and it appears that Maori casualties were lower than those of the British (which were about 45). Moreover, Heke and Kawiti were still at large. Belich believes that the Maori plan was to lure the British into an ambush, where hidden Maori could catch their enemy in the open. This is interesting given the slaughter of the attack on Ohaeawai, but the Maori strategy may have been to wear down the British by making them attack inland pas in difficult terrain. Captain Collinson of the Royal Engineers wrote: "1100 men were occupied a full month in advancing 15 miles and in getting possession of a pa from which the enemy escaped at the last moment, and escaped with the satisfaction to him of a drawn battle. The question is, was it worthwhile to go through all that laborious march to obtain such a result?" (Nowadays, driving through West Auckland prompts much the same feeling.)

The figures shown here are further Maori sculpts from Empress Miniatures, plus Heke again. Unfortunately, there will be a gap in posts until Saturday as work requires me to leave London for a couple of days.


Tuesday 17 May 2011

NZ Wars - Sources


I haven't quite finished off the bases of my latest Flagstaff War figures, so I thought I'd just do a short post on sources, as a couple of people have asked in the comments. I also need to thank Roly (Arteis) and Pat (Mericanach) for drawing my attention to books I wasn't previously aware of. Anyone coming fresh to this period and wanting to find suitable books will probably find that the most recommended titles are hard to track down cheaply. I've bought most of my books during my trips to New Zealand (and wish I'd listened to my inner wargaming voice and bought more books when I was at the Russell Museum last year), although second hand markets look potentially quite fruitful. That said, there is a mass of information on the internet, and helpful fora. I list below some information sources that I've found most useful.

Books


  • "Maori Fortifications" by Ian Knight - Osprey. I reviewed this book for Battlegames a few issues ago and recommend it highly. Easy to get hold of and the author is a reliable guide on Victorian warfare. Excellent illustrations and invaluable for anyone who has any pretensions to model a pa. Whilst the text jumps around in chronological terms, the book provides a short narrative of the entire New Zealand Wars.

  • "Victoria's Enemies (4)" by Ian Knight - Osprey. This has a good section on the Maori and two decent colour plates, one of which also shows the uniform of a 58th Foot private from the Flagstaff War.

  • "The British Army on Campaign (1)" by Michael Barthorp - Osprey. This only has a small section on the NZ campaigns but is useful nonetheless.

  • "The New Zealand Wars" by James Belich - Penguin. This is the only single volume detailed narrative of the entire period that I have found. There appears to be a DVD series that is connected to the book. Belich is a revisionist who objects to much received wisdom and, I think (as I have only read the early chapters so far), considers the idea of a British victory to be much more equivocal.


  • "Battlefields of the New Zealand Wars: A Visitor's Guide" by David Green - Penguin. This is what it says, namely a gazetteer, but it includes full descriptions of the sites it refers to and contains much useful information and photos. The introduction has a good summary of the historiography of the period. This book has been published only very recently and I really wish I'd had it when in the Bay of Islands last year!

  • "The Colonial New Zealand Wars" by Ryan and Parham - Granthan House. This is the one book that people in the know recommend. I can't find it for anything less than £60 and I'm not sure it's actually still in print. I gather that the second, 2002, edition is the one to have as it includes many more illustrations than the first.


  • "To Face the Daring Maoris: Soldiers' impressions of the First Maori War 1845-47" by Michael Barthorp - Hodder & Stoughton. I have just ordered this on Pat's and Roly's recommendation. Amazon have a couple of second hand copies.

Websites


Wargaming

Monday 16 May 2011

NZ Wars - Maori (1)


Colonel Despard continued to shell Ohaeawai, until on 8 July 1845 it was discovered that the pa had been abandoned overnight. Despard then destroyed it which enabled the British to claim a victory, despite their shattering losses of the 1 July attack. The Governor of New Zealand, Robert FitzRoy (the captain of HMS Beagle on Darwin's voyage, a descendant of Charles II and the future inventor of the weather forecast), saw the need for grandiose propaganda claims but knew that the British had achieved nothing near a victory in the field and lacked the resources for doing so. He therefore commenced peace negotiations, first with Heke and then, reluctantly, with Kawiti, whilst simultaneously puffing up the British attacks over the past few months. The stumbling block in the negotiations was the cession of some Maori land, over which neither Heke nor Kawiti appeared to claim title and so was designed to give FitzRoy another propaganda "victory". However, Kawiti prevaricated, knowing full well that the British were hardly negotiating from a position of strength, and the British offer of terms lapsed in September when FitzRoy was replaced by the redoubtable Captain George Grey. Grey had some sympathy for FitzRoy two-pronged propaganda and peace strategy, but realised that a peace settlement at this time would be tantamount to the British accepting defeat. So there would be more bloodshed before the Flagstaff War came to an end.


These photos show musket-armed Maori from 3 different packs in the Empress Miniatures range. My interpretation of the Empress Maori figures has caused some disagreement in the Allison household. If you google for colour photographs of Maori you will find people who look more "red" than "black", with skin tones that are more Polynesian than Aboriginal. Now I know from my visits to NZ that Maori skin tones are not uniform and the Kiwi made the point to me that Maori in the 1840s would have been darker than they are now. She thinks my Maori are too "red" and should be darker. Fair point and I'm sure she is correct, although if you look at the Maori portraits painted by Goldie and Lindauer in the closing years of the 19th century their subjects don't look all that "dark". However, getting skin tones right on 25mm non-Caucasians is tricky and everyone has their own idea of how differently they think such figures should be painted (with my AWI Indians, for example, I used the same flesh paints that I use for the Europeans). My approach to painting Maori skin was to find something that looked different to the paheka figures, but which was noticeably more "Pacific" than "Darkest Africa". I settled on the Foundry palette "South American Flesh 119", which seemed the most suitable of all the Foundry flesh palettes and at least is the closest in geographical terms. This look may not be the most historically accurate, but I'm pleased with it.


Another reason for choosing a slightly lighter skin colour was to ensure that the tattoos stood out better. These I painted with a dark blue colour rather than black (using Foundry "French Blue 65A"), which I think is more authentic anyway but also just looked a bit better. I decided that a "less is more" approach with ta moko was best. If you look at pictures of tattooed Maori from the 19th century you see that their entire faces were often covered with intricate tattoos, but obviously that would be very difficult to replicate in 25mm and probably look a complete mess anyway. So I've gone for reasonably simple geometric and swirl designs and made sure that those figures wearing shorter skirts had tattoos on their thighs and buttocks. In the 1840s Maori were still wearing traditional, rather than Western, clothes, and in fact these figures are probably wearing more clothes than they would have done in battle. I decided to follow a browns and beiges colour scheme to tie the warriors together.


6 figures. Painted April 2011.

Sunday 15 May 2011

NZ Wars - the Royal Navy


The defeat of Honi Heke by "loyal" Maori at Te Ahuahu gave the British an excellent opportunity to move against Chief Kawiti, the other ringleader of Maori resistance, at his pa at Ohaeawai. By this time, Colonel Hulme had been replaced as c-in-c of all British troops in New Zealand by Colonel Henry Despard of the 99th Foot. The British arrived at Ohaeawai on 24 June 1840 and Despard, with a force of 615 men and 4 cannon, immediately commenced a bombardment with his artillery in an attempt to create a breach in the pa's walls. 6 days later his 6- and 12-pounders had failed to have any impact, so Despard ordered up a 32-pounder from the ships standing by offshore. When the gun opened fire Kawiti launched a Sally against one of the artillery batteries and Despard responded by sending 250 men to assault the pa itself. These men consisted of flank companies from the 58th Foot and the 99th Foot, plus some sailors, Auckland Militia and other volunteers. 100 Maori were in the pa at the time, but the British were hurled back with heavy loss. The British managed to advance close to the pa under cover and then "50 paces" away charged. At that point the Maori fired a devastating volley, described by one soldier as "the opening of the doors of a monstrous furnace". Struggling to pull down the fences that formed the pa's outer defences, the British then took fire from all sides from Maori who the soldiers couldn't even see. Eventually, after about 10 minutes, the retreat was sounded. Almost half the assault party was killed or wounded in the attack.


Major Cyprian Bridge, who having witnessed the action at Puketutu should have been aware of Maori confidence in battle, wrote that after the assault the men were "tired and dispirited and disgusted beyond expression at having been defeated by a mob of savages and with such fearful cost too." Despard had assaulted a well-fortified pa without waiting for his artillery to create a clear breach, and that was clearly a grave mistake (apparently various officers objected to his plan to launch a frontal assault, many of whom subsequently died in the attempt). However, what he probably had not fully appreciated was just how skilfully the Maori had prepared the pa for defence, which included various innovations. The two palisades provided obstacles which would hold up attacking infantry, and behind that was a trench in which Maori musketmen could fire from cover. Flanking-angles were built into the trench system to ensure that attackers would be caught in fire from as many sides as possible; those British soldiers who made it through the first palisade found themselves in enfilade fire and didn't get much further. The garrison was protected from artillery bombardment by underground pits and bunkers. Despard had assumed that his artillery, which fired over 400 rounds, had pulverised and demoralised the Maori, but that assumption was completely wrong as the garrison was untouched. In fact, Maori losses for the entire battle are thought to have been fewer than 10 men. Ohaeawai was a disaster for the British and there was no further fighting for 5 months.


The figures here are a Royal Navy rocket and crew from Empress Miniatures and a pack of 4 sailors from Mutineer Miniatures' Indian Mutiny range. The latter are a bit chunkier than the former, but at present the Empress range has no seamen and the Mutineer figures make an acceptable stand-in and I have added a photo of a Mutineer figure next to an Empress one. The uniform of the sailors is defintely more India than Australasia - for example, the army did not provide neck shades for troops in service in NZ; but the navy may have done, I suppose - who knows? I suspect that sailors will feature in any new releases in this range, together with guns and crews. The rocket team is an excellent group of sculpts. I don't think that any rockets were deployed at Ohaeawai but they were present at Puketutu (as evidenced by the painting below by Cyprian Bridge). Heke's wife, Hariata, noted that the rockets made a lot of noise but ultimately didn't do much damage. I think I read that somewhere about British rockets in the Napoleonic Wars...


7 figures. Painted April 2011.


Friday 13 May 2011

NZ Wars - Hone Heke


From a British perspective, the villain of the piece so far in the Flagstaff War is Chief Hone Heke (c.1807 - 1850). After the sack of Russell, the aim of British expeditions against the Maori were intended, ultimately, to kill or capture Heke and his ally Chief Kawiti. Who was Heke and what were his objectives? To be honest, it's difficult to know and these are questions that have traditional answers and revisionist ones. It is clear that Heke objected to the imposition of British law when it conflicted with Maori law and customs. Then again, he enjoyed the economic benefits of coexistence with pakeha, which suggests that his anger was directed at the colonial government rather than the existence of the white settlers themselves. He certainly used the rhetoric of war of liberation when it suited him, accusing pakeha as wishing to treat Maori as slaves, for example. But the again, he appears to have wanted the white man to remain. In the words of "revisionist" James Belich , "he wished to regulate, not reject, European contact and settlement." Unfortunately, the British authorities could not give ground, especially after the sack of Russell.

We left Heke in a strong position. He had driven settlers out of Russell and had seen off Colonel Hulme's attack on Puketutu. However, at this point Heke came into conflict with neighbouring tribes who, if not "loyal" to the British at least had decided not to throw their lot in with Heke and Kawiti. Heke abandoned Puketutu and went to an older pa, Te Ahuahu. Whilst Heke was off searching for cattle one day, this pa was seized by a pro-government chief called Te Taonui. In the ensuing battle to reclaim his pa, Heke was badly wounded and appears to have lost a large number of men. This battle reminds us that the Maori themselves were divided between those who supported the British and those who did not (and the painting in the last post of the attack on Puketutu shows loyal Maori on the left of the painting). But Heke had a lot of support and once recovered from his wound was still in the game, so to speak, as we shall see.

This Empress Miniatures figures is quite clearly Hone Heke. The sculpt is taken from the illustration of Heke in the Osprey MAA "Queen Victoria's Enemies (4)", which shows him wearing "a short cape decorated with kiwi feathers over a longer flax coat, and a sea captain's cap which he habitually wore." The Osprey illustration doesn't show what he's wearing underneath the flax coat, and this requires painting on the Empress figure. I followed the Osprey and then painted the undergarment with a mosaic/tartan motif (in free-hand, Roly, not using a pen!). In the 1850s and 60s Maoris appear to have worn tartan-ish patterns on their clothes and it seems appropriate that chiefs would have pioneered this look earlier. I will explain my approach to Maori tattoos in a later post!

Lastly, just to say that Blogger royally screwed this blog (and many others) over the past 36 hours, which explains the disappearance of yesterday's post and the additions I had also made to Wednesday's post, which added more detail to the attack on Russell that kicked off the Flagstaff War. Hopefully those posts are now restored (at the expense of an evening's painting tonight). But I reckon I have about half a dozen more posts to go, so hopefully I can continue the one-post-a-day story of the First New Zealand War.

NZ Wars - 58th Foot


Hone Heke's attack on Kororareka/Russell prompted an evacuation of its inhabitants to Auckland. While the Maoris sacked the town, the Royal Navy sloop HMS Hazard commenced a bombardment, which destroyed many of the town's buildings. Hone Heke realised that the British were likely to return in force and so began work on a new fortified pa, called Puketutu, on the shore of Lake Omapere, about 15 miles inland. Soon after the evacuation of Russell a punitive force of British regulars and seamen was landed in the Bay of Islands under the command of Lieutenant-Colonel Hulme of the 96th Foot. Hulme had about 400 men, including 100 sailors, a naval rocket battery, elements of the 96th and some 200 soldiers from the 58th Foot. The 58th had recently arrived in New Zealand, having spent the previous 2 years on garrison duty in New South Wales. The force marched from the coast to Puketutu, through difficult terrain and heavy rain. The new pa had strong defences, with double and triple palisading in place on three sides. However, the rear of the pa was not completed and so was vulnerable to attack.


The British troops attacked on 8 May 1845. Colonel Hulme sent a main assault party of 216 men against the uncompleted rear of the pa and a skirmish line against the front. The main assault party took heavy fire not just from the pa itself but also from the bush. The British realised that an ambush had been set to protect the vulnerable side. 100 warriors charged out of the bush to attack the British assault from the rear. More Maori sallied out of the pa and fierce hand-to-hand fighting ensued. Eventually the Maori were all forced back inside the pa, but Hulme realised that he had to withdraw. The heavily fortified pa was easily able to withstand musket balls and the rocket battery had made little impact on its walls. Without heavier artillery Colonel Hulme had no choice but to retreat. Lessons had been learnt on both sides. The British appreciated the risks of frontal assault on fortified positions. The Maori realised that in a fire-fight in open ground the British regulars would most likely prevail. British casualties were 52 dead and wounded, with Maori losses thought to be about the same. Above is a watercolour of the battle that was painted by Major Cyprian Bridge of the 58th.


The figures here consist of two complete packs of rank-and-file and then an officer and a NCO from the command pack there are 2 other figures from the command pack which I have not yet painted, as I may transfer them to Carlist War duty. I can't immediately see any reason why these figures should not be used for the British Auxiliary Legion in the First Carlist War. There are slight differences in uniform between these and the Perry figures that also wear forage caps - the Empress figures don't wear backpacks and the shoulder tabs are different, but otherwise pretty much look the same. A problem which arises if you intend to paint up the figures for service in both conflicts is that the facing colours don't quite match up. For example, there is no BAL unit that wears the black facings of the 58th. When painting these figures I followed the illustration of a 58th Foot officer in the Osprey MAA "The British Army on Campaign (1)", which shows red shell-jacket and "Oxford mixture grey" trousers, which I've always regarded as a kind of dark blue-black. So for the trousers I used the Foundry palette "British Royal Blue 74" with an extra highlight of "Deep Blue 20B".

10 figures. Painted April 2011.


Wednesday 11 May 2011

NZ Wars - civilians


The Treaty of Waitangi of February 1840 created New Zealand as a British colony. Designed to alleviate tensions between the Maori and white settlers (or pakeha), the treaty was interpreted differently by the two sides and friction between Maori and settlers increased in the years following its signing. The central issue was the settlers' desire for land and the Maori's reluctance to accommodate that desire. Within a few years conflict broke out, with the first blood being shed in Nelson at the top of South Island. The first prolonged period of fighting, however, took place in the Bay of Islands, to the north of Auckland in North Island; the First New Zealand War, or "Flagstaff War" or "Northern War", broke out in January 1845 and continued until January 1846.


Local chiefs of the Ngapuhi tride in the Bay of Islands area, Kawiti and Hone Heke (the nephew of Hongi Hika who we met in the previous post) objected to British rule, although part of this appears to have been frustration at the economic consequences of the authorities' decision to transfer the capital of New Zealand from the town of Kororareka (renamed Russell soon afterwards) to Auckland. The Maori demonstrated their anger by cutting down the Union Jack flag pole at Kororareka, the symbol of British sovereignty. On 11 March 1845 Maori under Hone Heka and his ally Kawiti attacked Kororareka, a battle which Roly Hermans has recently worked into a Sharpe Practice scenario.


The attack was a disaster for the British. The forces in the town consisted of 140-odd soldiers from the 96th Foot, sailors from the sloop HMS Hazard and marines. The townsfolk contributed some 200 armed men to this force. The Maoris are thought to have fielded between 500 and 600 warriors. Defences around the town included 2 blockhouses and a stockade. These were taken by the Maori and the British garrison was put to flight. The soldiers and civilians both sought refuge in the ships lying at anchor in the harbour and Kororareka, the 5th largest town in New Zealand, was abandoned.


As they were the first combatants against the Maori, before British forces became involved, I thought I'd start with the settlers. These 4 figures form one pack in the Empress Miniatures rage. I was originally unsure about the top hats. I appreciate that people did wear them in the 1840s, but when going into battle....? Also, spectacles on a figure seem to be a Paul Hicks trademark - neat, but a pain to paint! Anyway, the range could usefully do with another couple of packs of civilians and hopefully they may be forthcoming. In the meantime, I'll be looking at other ranges, particularly the Perry ACW rioter figures. Below are a couple of photos of the area today. On the left is the harbour at Russell. The picture on the right shows the Bay of Islands from the Waitangi treaty grounds.


4 figures. Painted April 2011.


Tuesday 10 May 2011

New Zealand Week


It's New Zealand Week at Tarleton's Quarter. I took advantage of the recent bank holidays to paint the packs of Empress Miniatures' New Zealand Wars figures, and a few others, that I bought at Salute. Each day this week I will post pictures of a different set of figures and, hopefully, some notes about the Flagstaff War of 1845-6 for which these figures were designed. There are British regulars, civilians, Auckland militia, the Naval Brigade and, of course, lots of heavily-tattooed Maori - that should provide a post a day until Sunday!


To kick things off, I thought I'd post some photos of "Maoriana" that I took when in NZ a couple of months ago. These exhibits are mainly in the Auckland War Memorial Museum and one or two photos (I confess I can't identify which) are from Wellington's Te Papa museum. Above is a photo of a contemporary model of Ruapekapeka pa, together with a photo of the 'net of what the site looks like today. Ruapekapeka was built by the Maori chiefs Hone Heke and Te Ruki Kawhiti in 1845 and was one of the largest and most complex Maori fortifications. The name means "the bats' nest" and refers to how the Maori warriors lived in underground dug-outs and shelters, like bats. The British stormed the pa in January 1846 after a 2 week bombardment, only to find that the Maori had sneaked out the back. This model was made by Captain Henry Balneavis, commander of the 58th Foot's light company which took part in the attack on Ruapekapeka and who was keenly interested in Maori fortifications. The weapons are, hopefully, self-explanatory. The armour in the first photo below was a gift to Chief Hongi Hika from King George IV, when the former visited England in 1820. Apparently the Chief was presented with many other gifts, but sold them and bought muskets instead which he then used to subjugate his neighbours upon his return to New Zealand.

Incidentally, another aspect of New Zealand Week is the need to polish off various bottles of NZ pinot noir that have accumulated in my house. Last year I signed up with PureNoir, a supplier of "boutique" NZ pinot noir who provide you with a case of different wines every 3 months. The next case is arriving next week and I have a bit of a back log, caused by insufficiently rapid consumption of my previous 3 cases.


Wednesday 4 May 2011

Stylish Blogger Award


I have been nominated by a couple of other bloggers for this award, doing the rounds across the bloggosphere. The rules require me to thank the bloggers concerned, so many thanks to Axebreaker, Clarence Harrison, Legatus Hedlius and Steve. I am next required to share 7 things about myself. In no particular order, 7 memorable incidents from my life to date are:


- At school I performed a chemistry experiment in front of the Queen and Prince Phillip.


- The first time I went to the Edinburgh Festival I spent 2 hours in the back of a police car. (I have to say that the Borders and Lothian Police are the friendliest coppers you'll ever find; especially since the first thing I said to them was "I'm English, but please don't hurt me; and I'm a lawyer, so please don't arrest me.")


- On a stag do in Brighton I managed to lock myself out of my hotel room stark naked. (The worst part wasn't having to go down to reception to get a spare key. The worst part was the fact that I was utterly desperate for a pee, couldn't find a loo and had to, er, "hold" myself appropriately.)


- I once threw up in the late Susannah York's garden.


- I have read a lesson in Westminster Abbey.


- My grandfather's last words to me were "I think you should go and chase some skirt." (My then girlfriend was sitting next to me at the time.)


- My first ever paid job was playing the piano in a bar in Chelsea.


Lastly, I am required to nominate other worthy bloggers for their own stylish blog award. I nominate all those who left comments on my last post who haven't already been "styled", together with the invaluable AD, whose blog on largely lesser-known (at least to me) AWI actions is an invaluable source of inspiration, and my wine-trading pal Malcolm, whose valiantly wades through 15mm Naps.


The photos above and below show what I've been working on the past couple of weeks; a nice (and temporary) change from AWI and Naps, I'll happily admit. Better photos next week once I've finished the remaining figures in the release. Napoleon's Old Guard Chasseurs should be posted at the weekend.


Tuesday 3 May 2011

Armand's Legion


Charles Armand Tuffin, marquis de la Rouërie (1751-1793), arrived in America from his native France in 1776 and was authorised by Washington to raise a unit of foreign volunteers to fight with the Continental army. Armand's Legion, containing cavalry and infantry elements, was officially formed on June 25, 1778 at Boston, having taken over and augmented a unit formed in 1777 by Baron Ottendorf. In 1782 it was renamed the 1st Partisan Corps, by which time it had absorbed the remnants of Pulaski's Legion. The Legion was present at Monmouth, Brandywine Camden, Guilford and Yorktown but its reputation was not the best and it appears to have suffered from ill-discipline. In 1783 Armand was promoted to brigadier general and returned to France later that year. In the "British Grenadier!" scenarios the cavalry element appears as a 6-figure unit at Camden.


These are of course the new Eureka Continental dragoon figures, which come in two poses: at rest and charging. The figure that I had picked out as an at-rest officer is actually a charging trooper, which explains why he is leaning forward a little and isn't uniformed any differently to the other figures! I have two illustrations of the cavalry element of Armand's Legion in my library - Mollo/McGregor shows Armand himself in a British Legion-style jacket and a horsehair helmet; Zlatich/Younghusband (Osprey) has a trooper in a waistcoat and coat with a side-plumed, brass Tarleton helmet. I chose to use the Eureka "jockey cap" for the headgear as that seemed a good compromise; the crest is a bit small but it has the side-plume. I stuck to the Osprey's colour scheme of dark-blue coats and waistcoats with buff breeches and turnbacks (which aren't visible in the Osprey illustration but I thought buff turnbacks would look better than white ones). I painted the coats in a darker blue than usual, using Foundry's "French Blue 65" palette with a couple of extra highlights from "Deep Blue 20". Both reference books show a red stock, which adds a nice splash of colour. I reversed the coat colours of the trumpeter, but I have no authority for that.


The flag is home made. Having found nothing online about the Legion's flag (or indeed whether it had a flag at all) I decided to make something that combined American and French motifs. A variant on the French revolutionary slogan seemed suitable. I swapped "fraternity" with "justice" as the former word always reminds me of raucous early 20-something American students (further to a particular episode in a Barcelona nightclub) and the latter word just seemed more appropriate anyway. For the American element I added the crossed sabres of the US Cavalry; anachronistic, perhaps, but it sort of works. So the design is pure invention, but I like to think is the sort of thing that Armand or one of his officers might have dreamt up. As it happened, once back in France Armand became an enthusiastic supporter of the republican cause and the Revolution. However, his initial support turned to disillusion and he was instrumental in forming the Breton Association in his native Brittany which ultimately came into armed conflict with the revolutionaries.


6 figures. Painted March/April 2011.